How Does the Drop-Shipping Features works in Odoo Sales Module?
Published on May 3rd 2023
Drop-Shipping working in Odoo Sales Module
⇒The drop-shipping method is the supplier ships the product directly to the customer.
Step 1: Go to the ‘Purchase’ module.
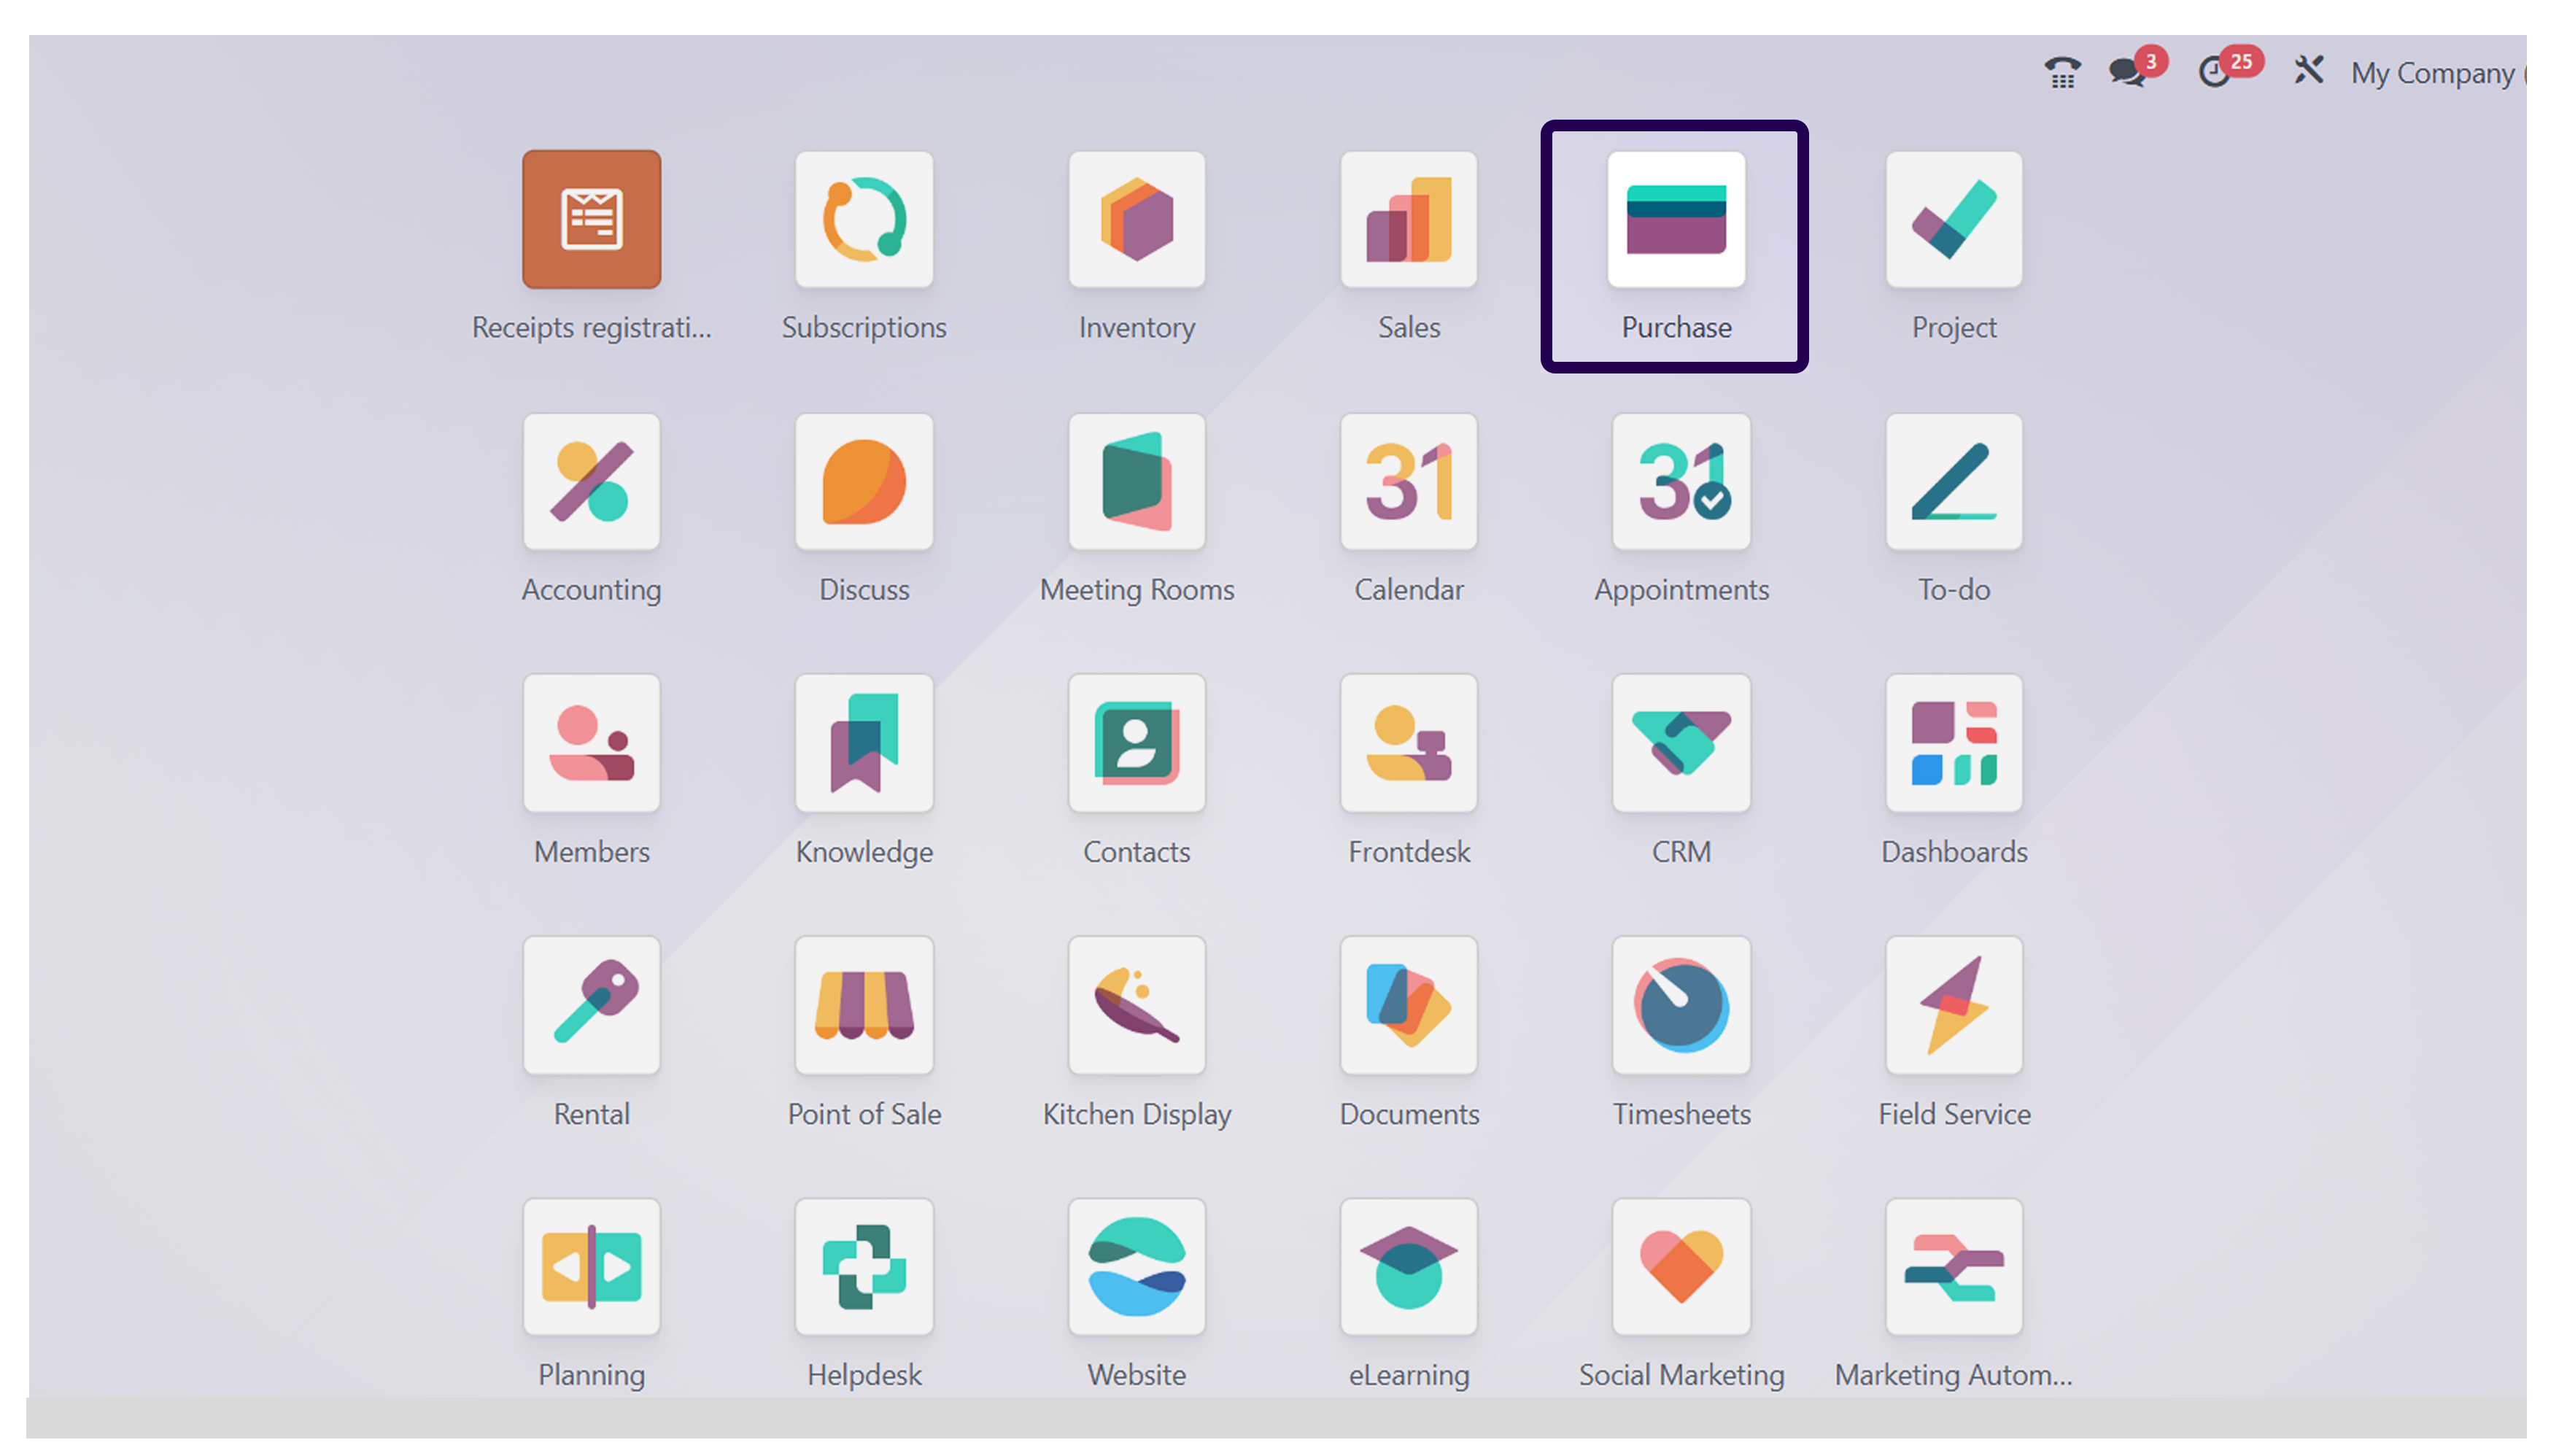
First of all, we will go to the purchase module, and click on the same.
Step 2: Go to the ‘Configuration’ and click on the ‘Settings’ button.
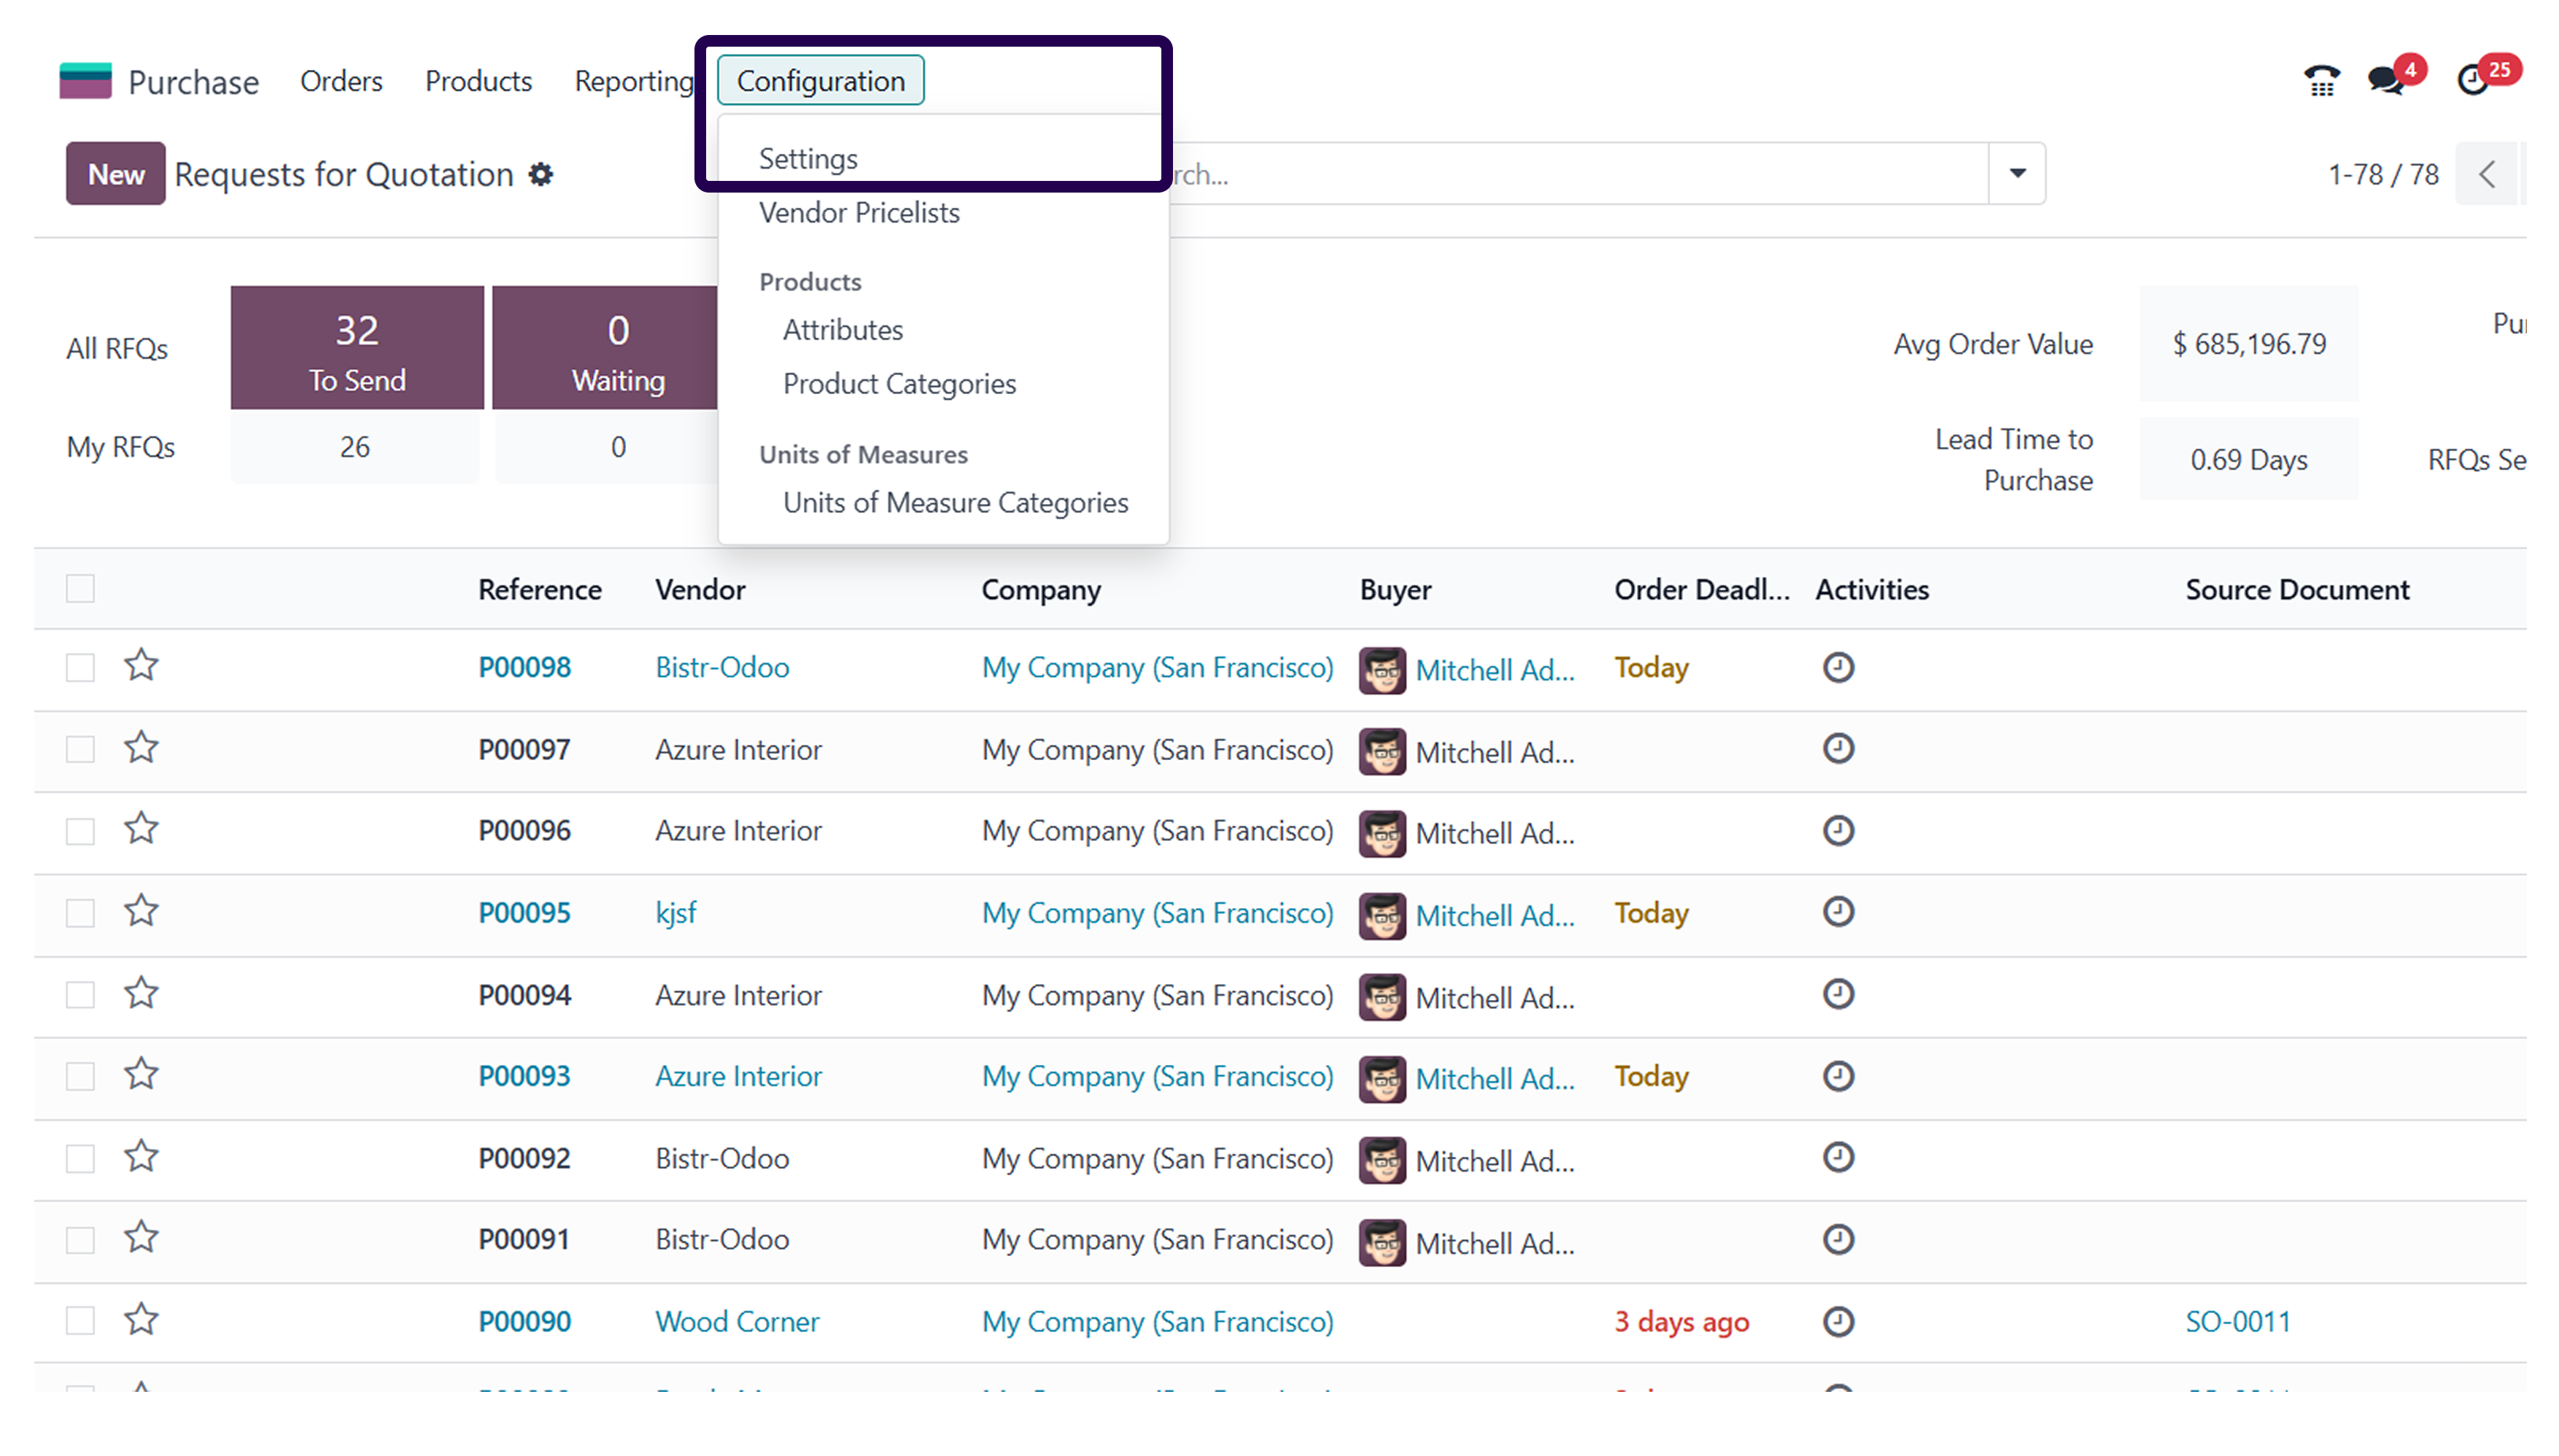
Once you have clicked on the purchase module, you will be redirected to the next page. Here you will have to click on the configuration option and then click on the settings button.
Step 3: Go to the ‘Logistic’ section and Activate the ‘Drop-shipping’.
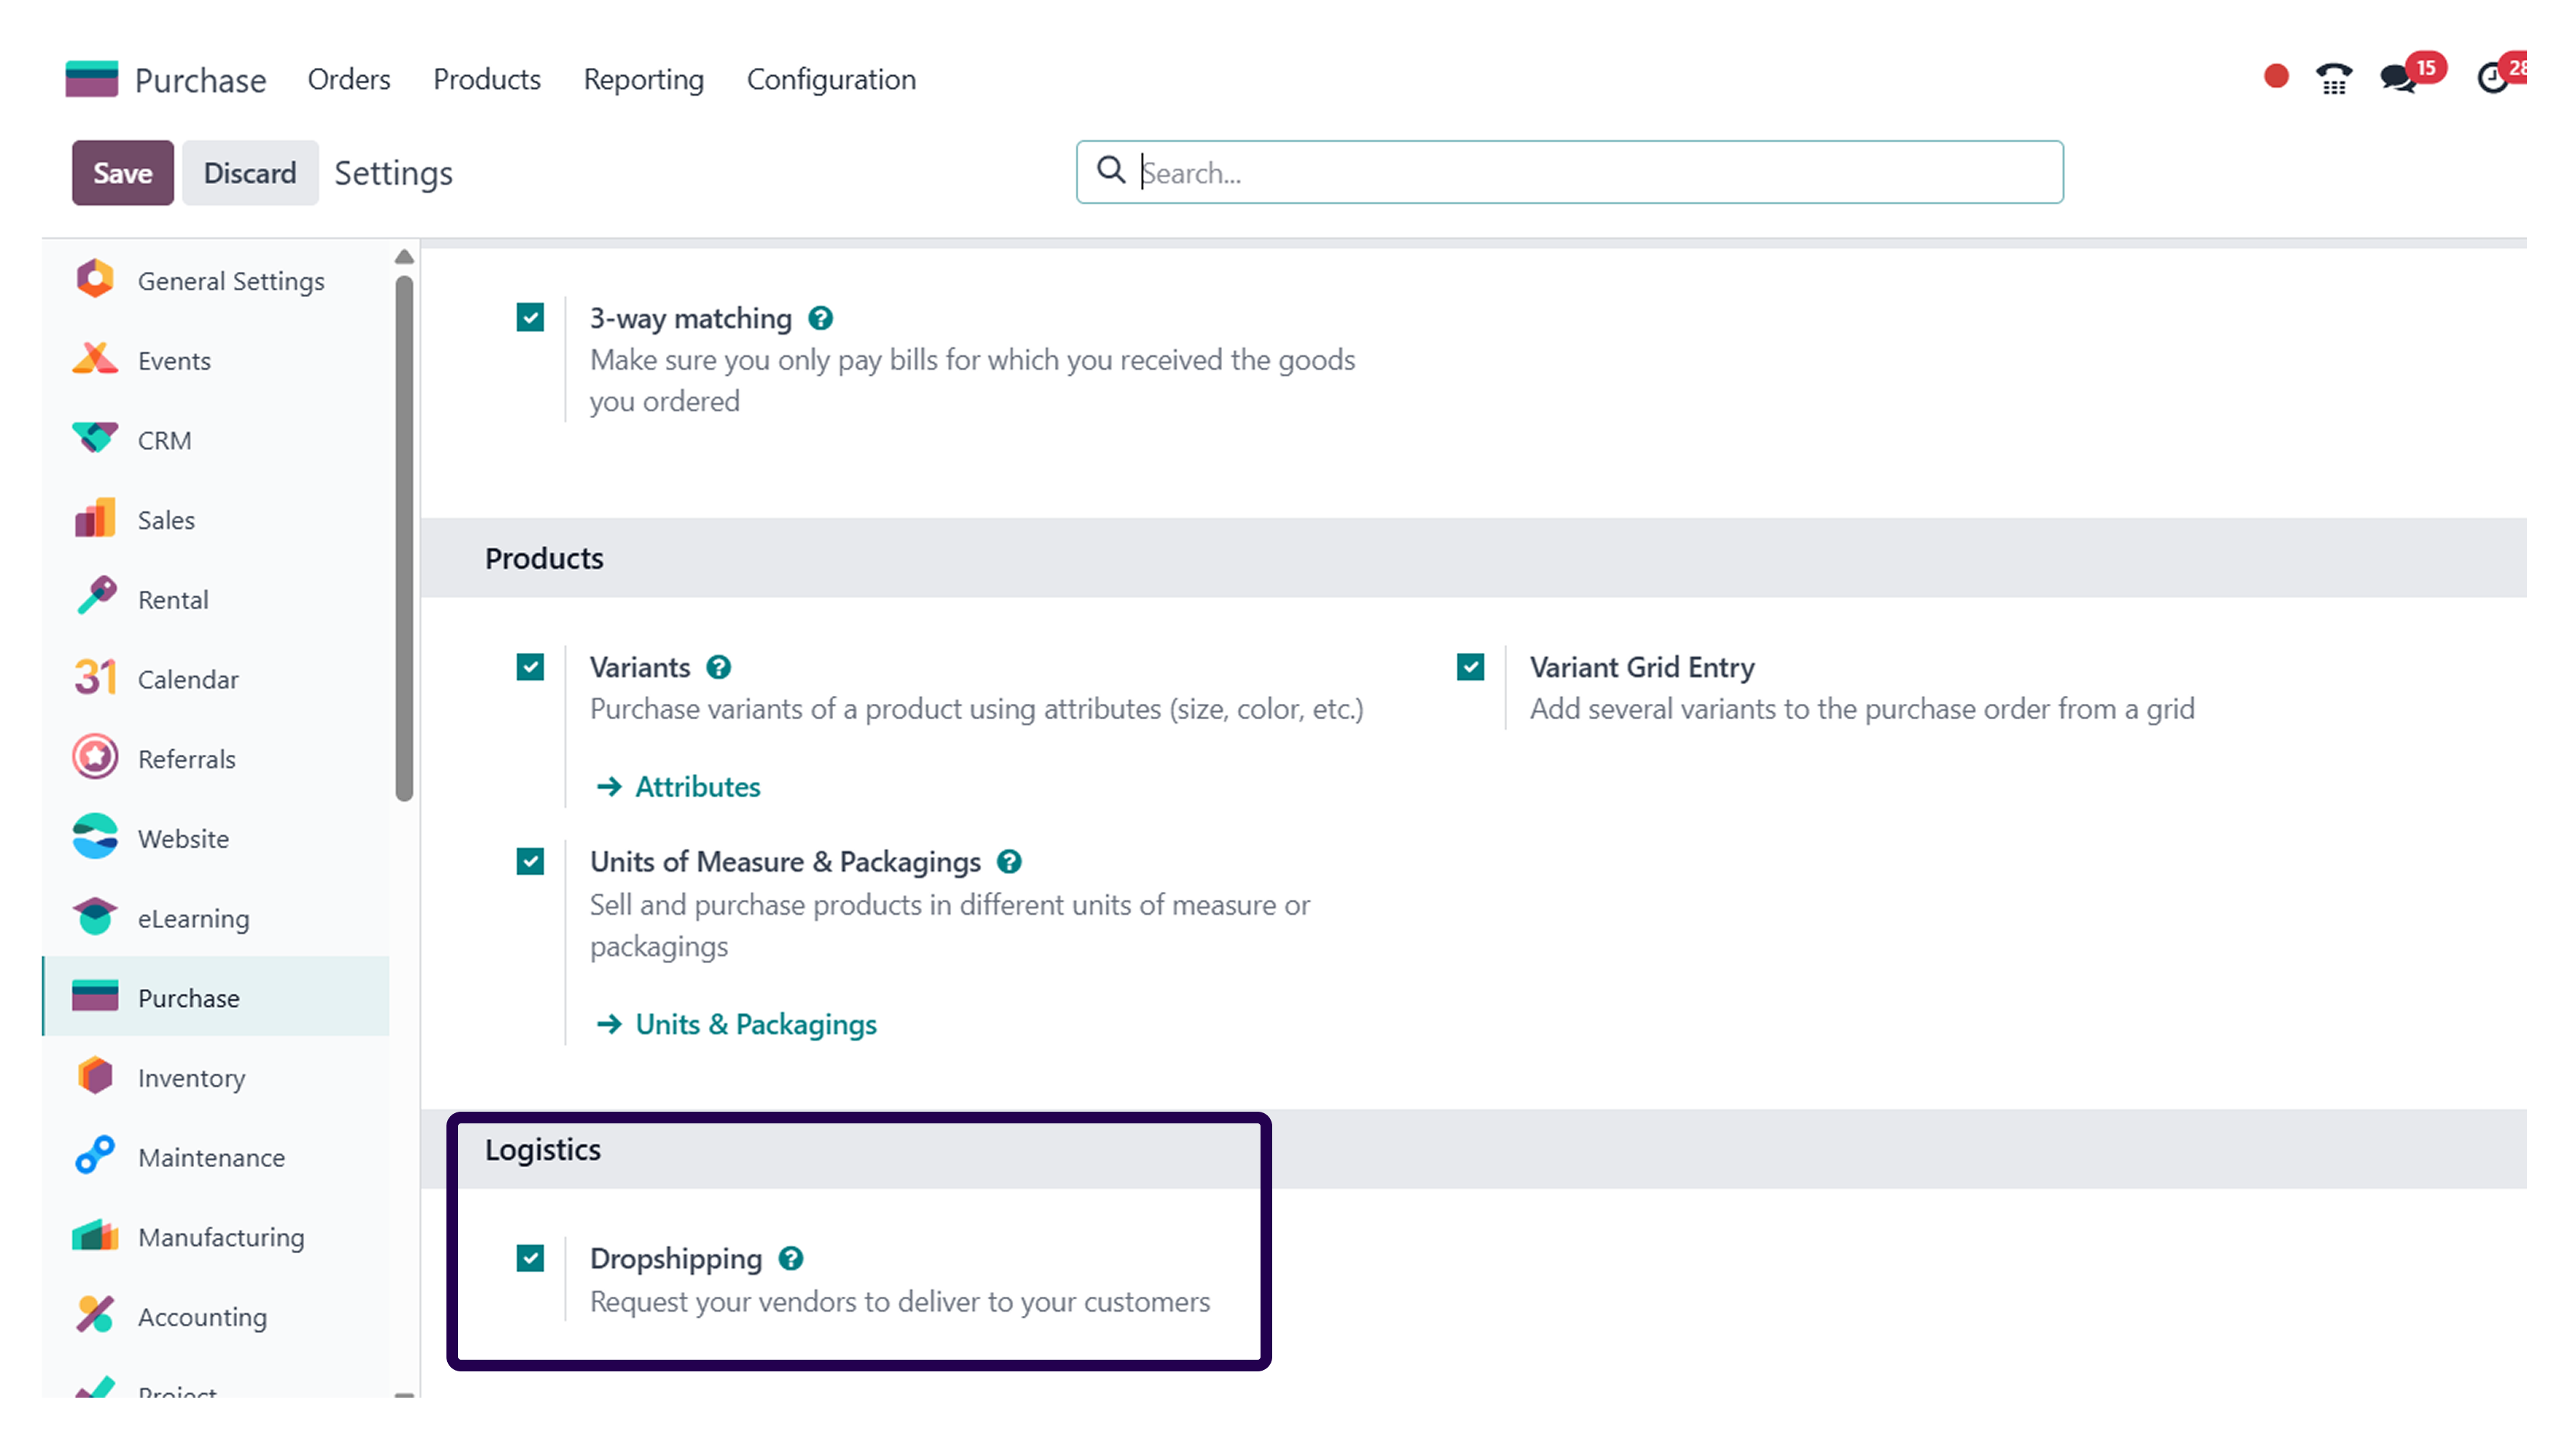
Once you have clicked on the settings button, you will have to ensure that the drop-shipping option has been activated under logistics.
Step 4: Click on the ‘Save’ button.
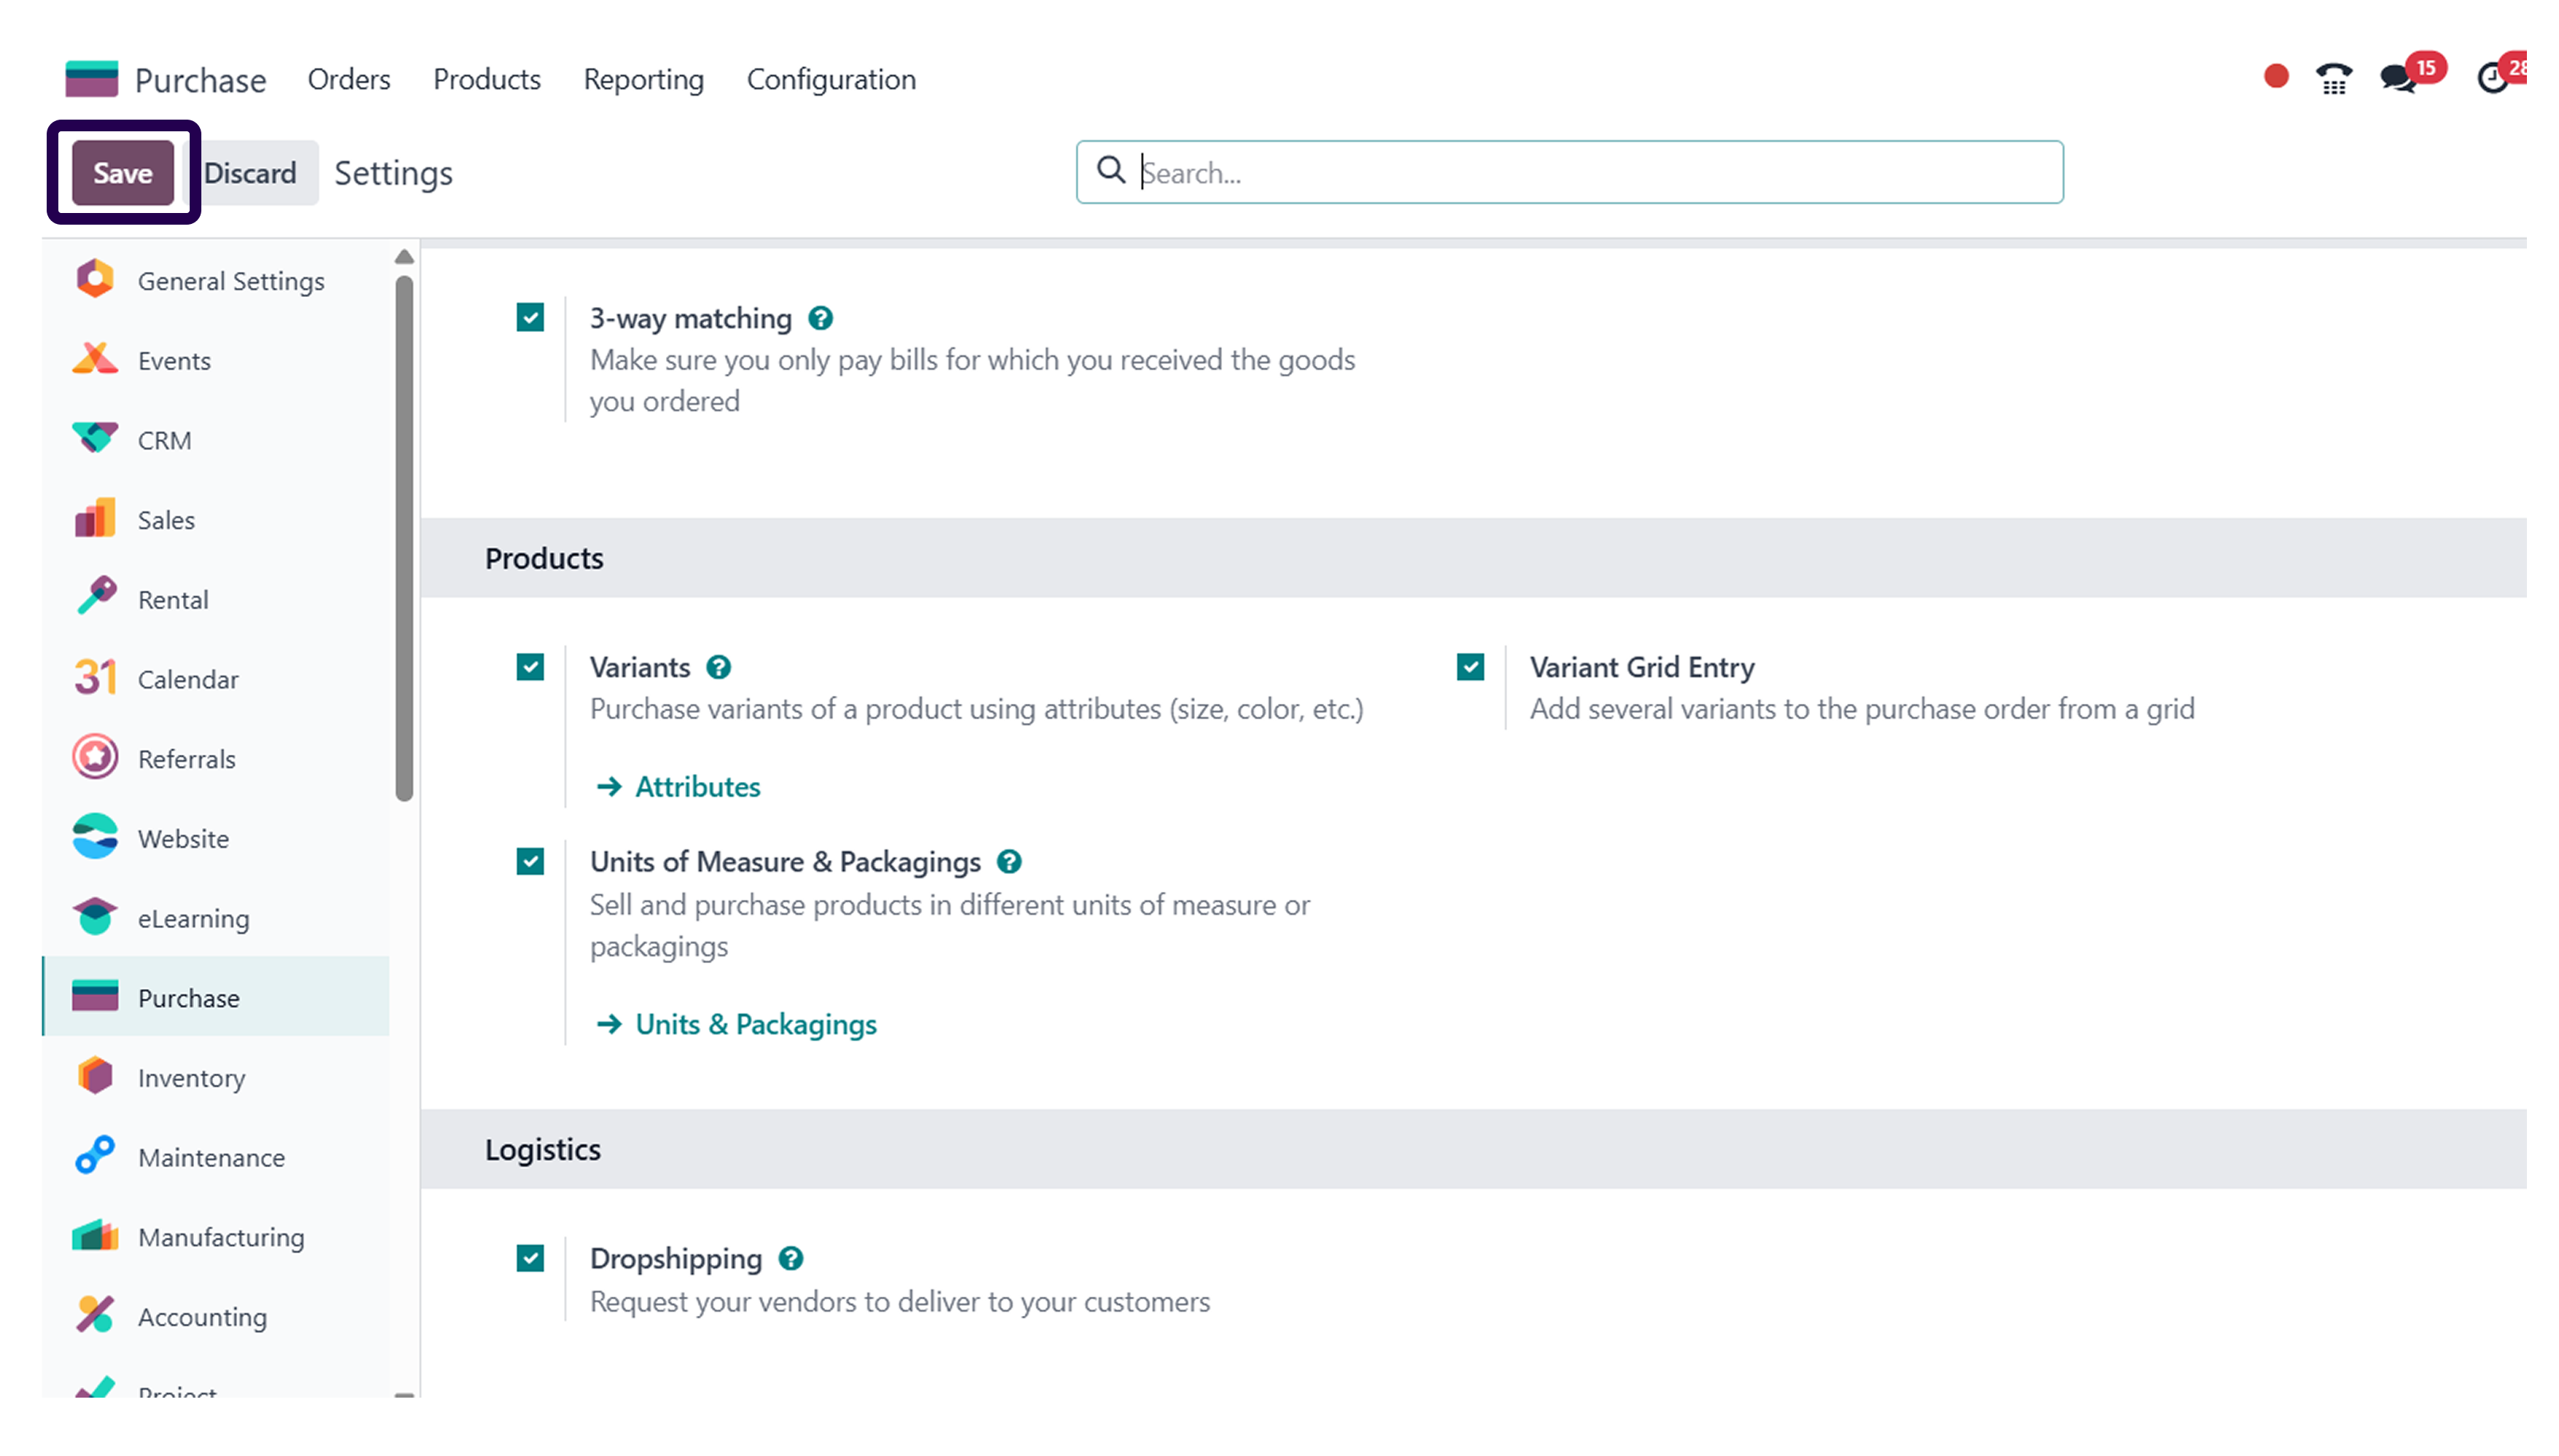
After activating the drop-shipping option, ensure to click on the save button.
Step 5: Navigate to the ‘Products’ and click on the ‘Products’ button.
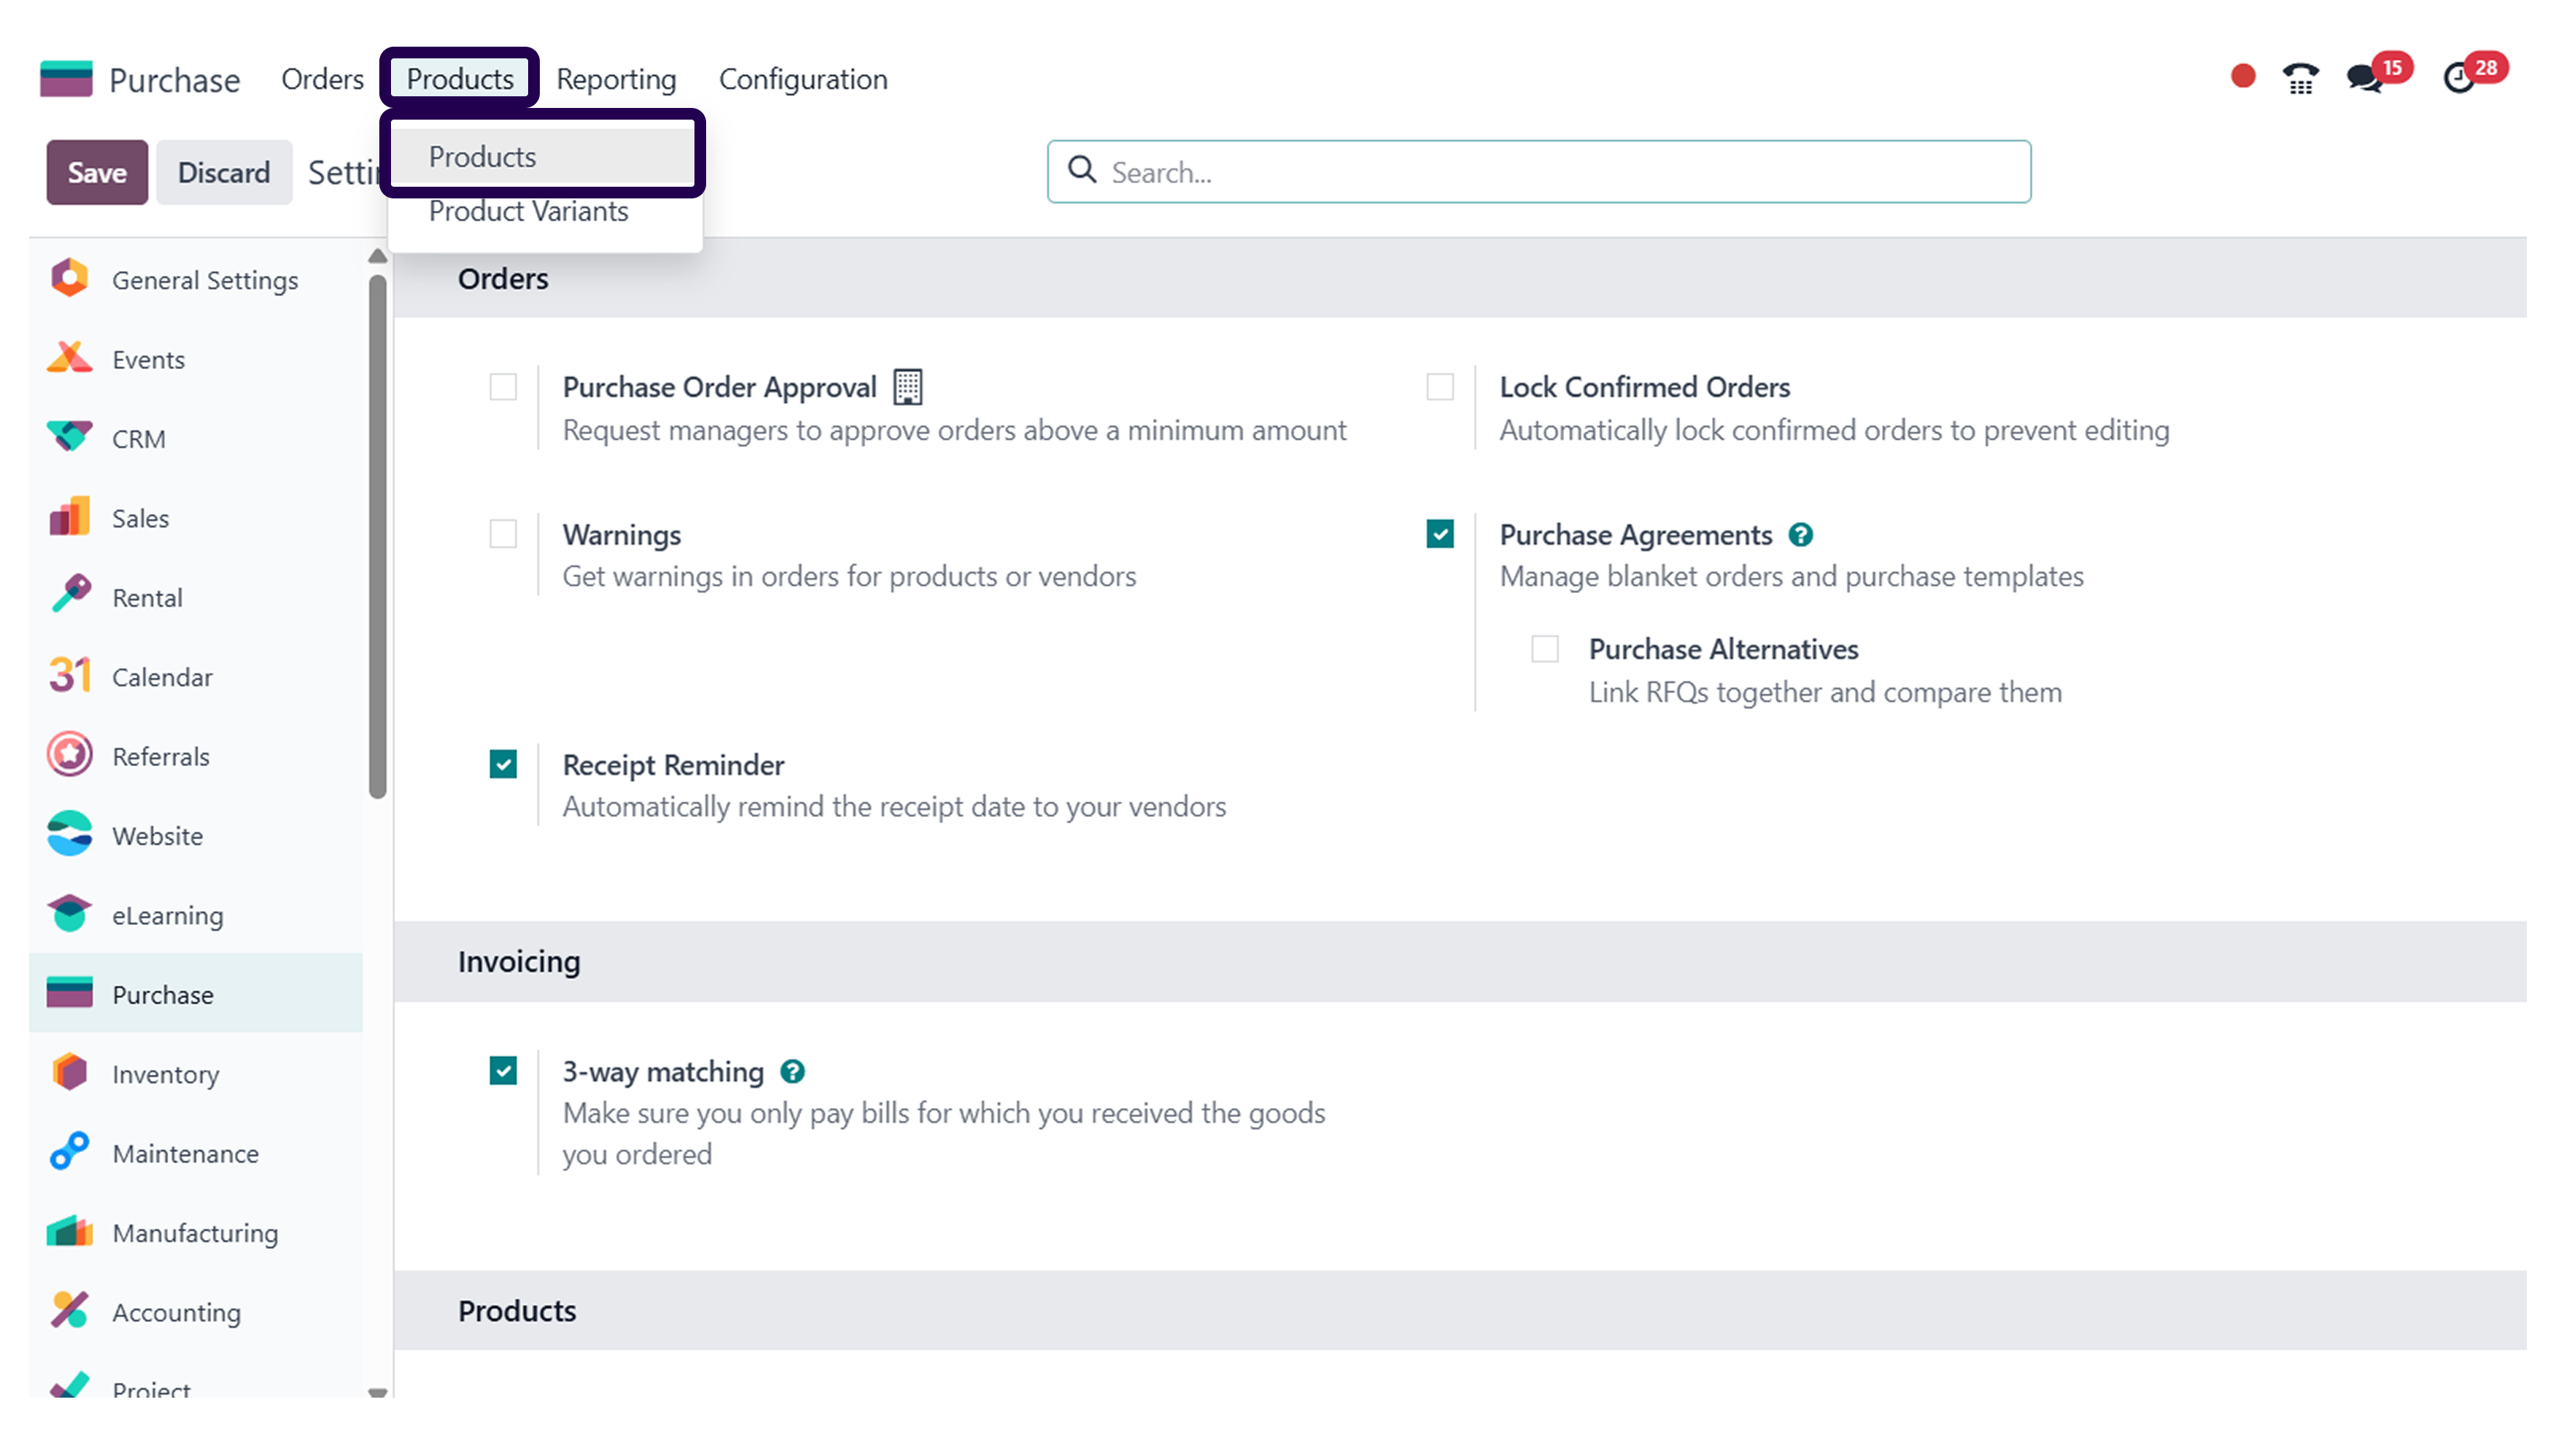
After saving the drop-shipping option, go to products, and click on the products option.
Step 6: Select the product and apply drop-shipping.
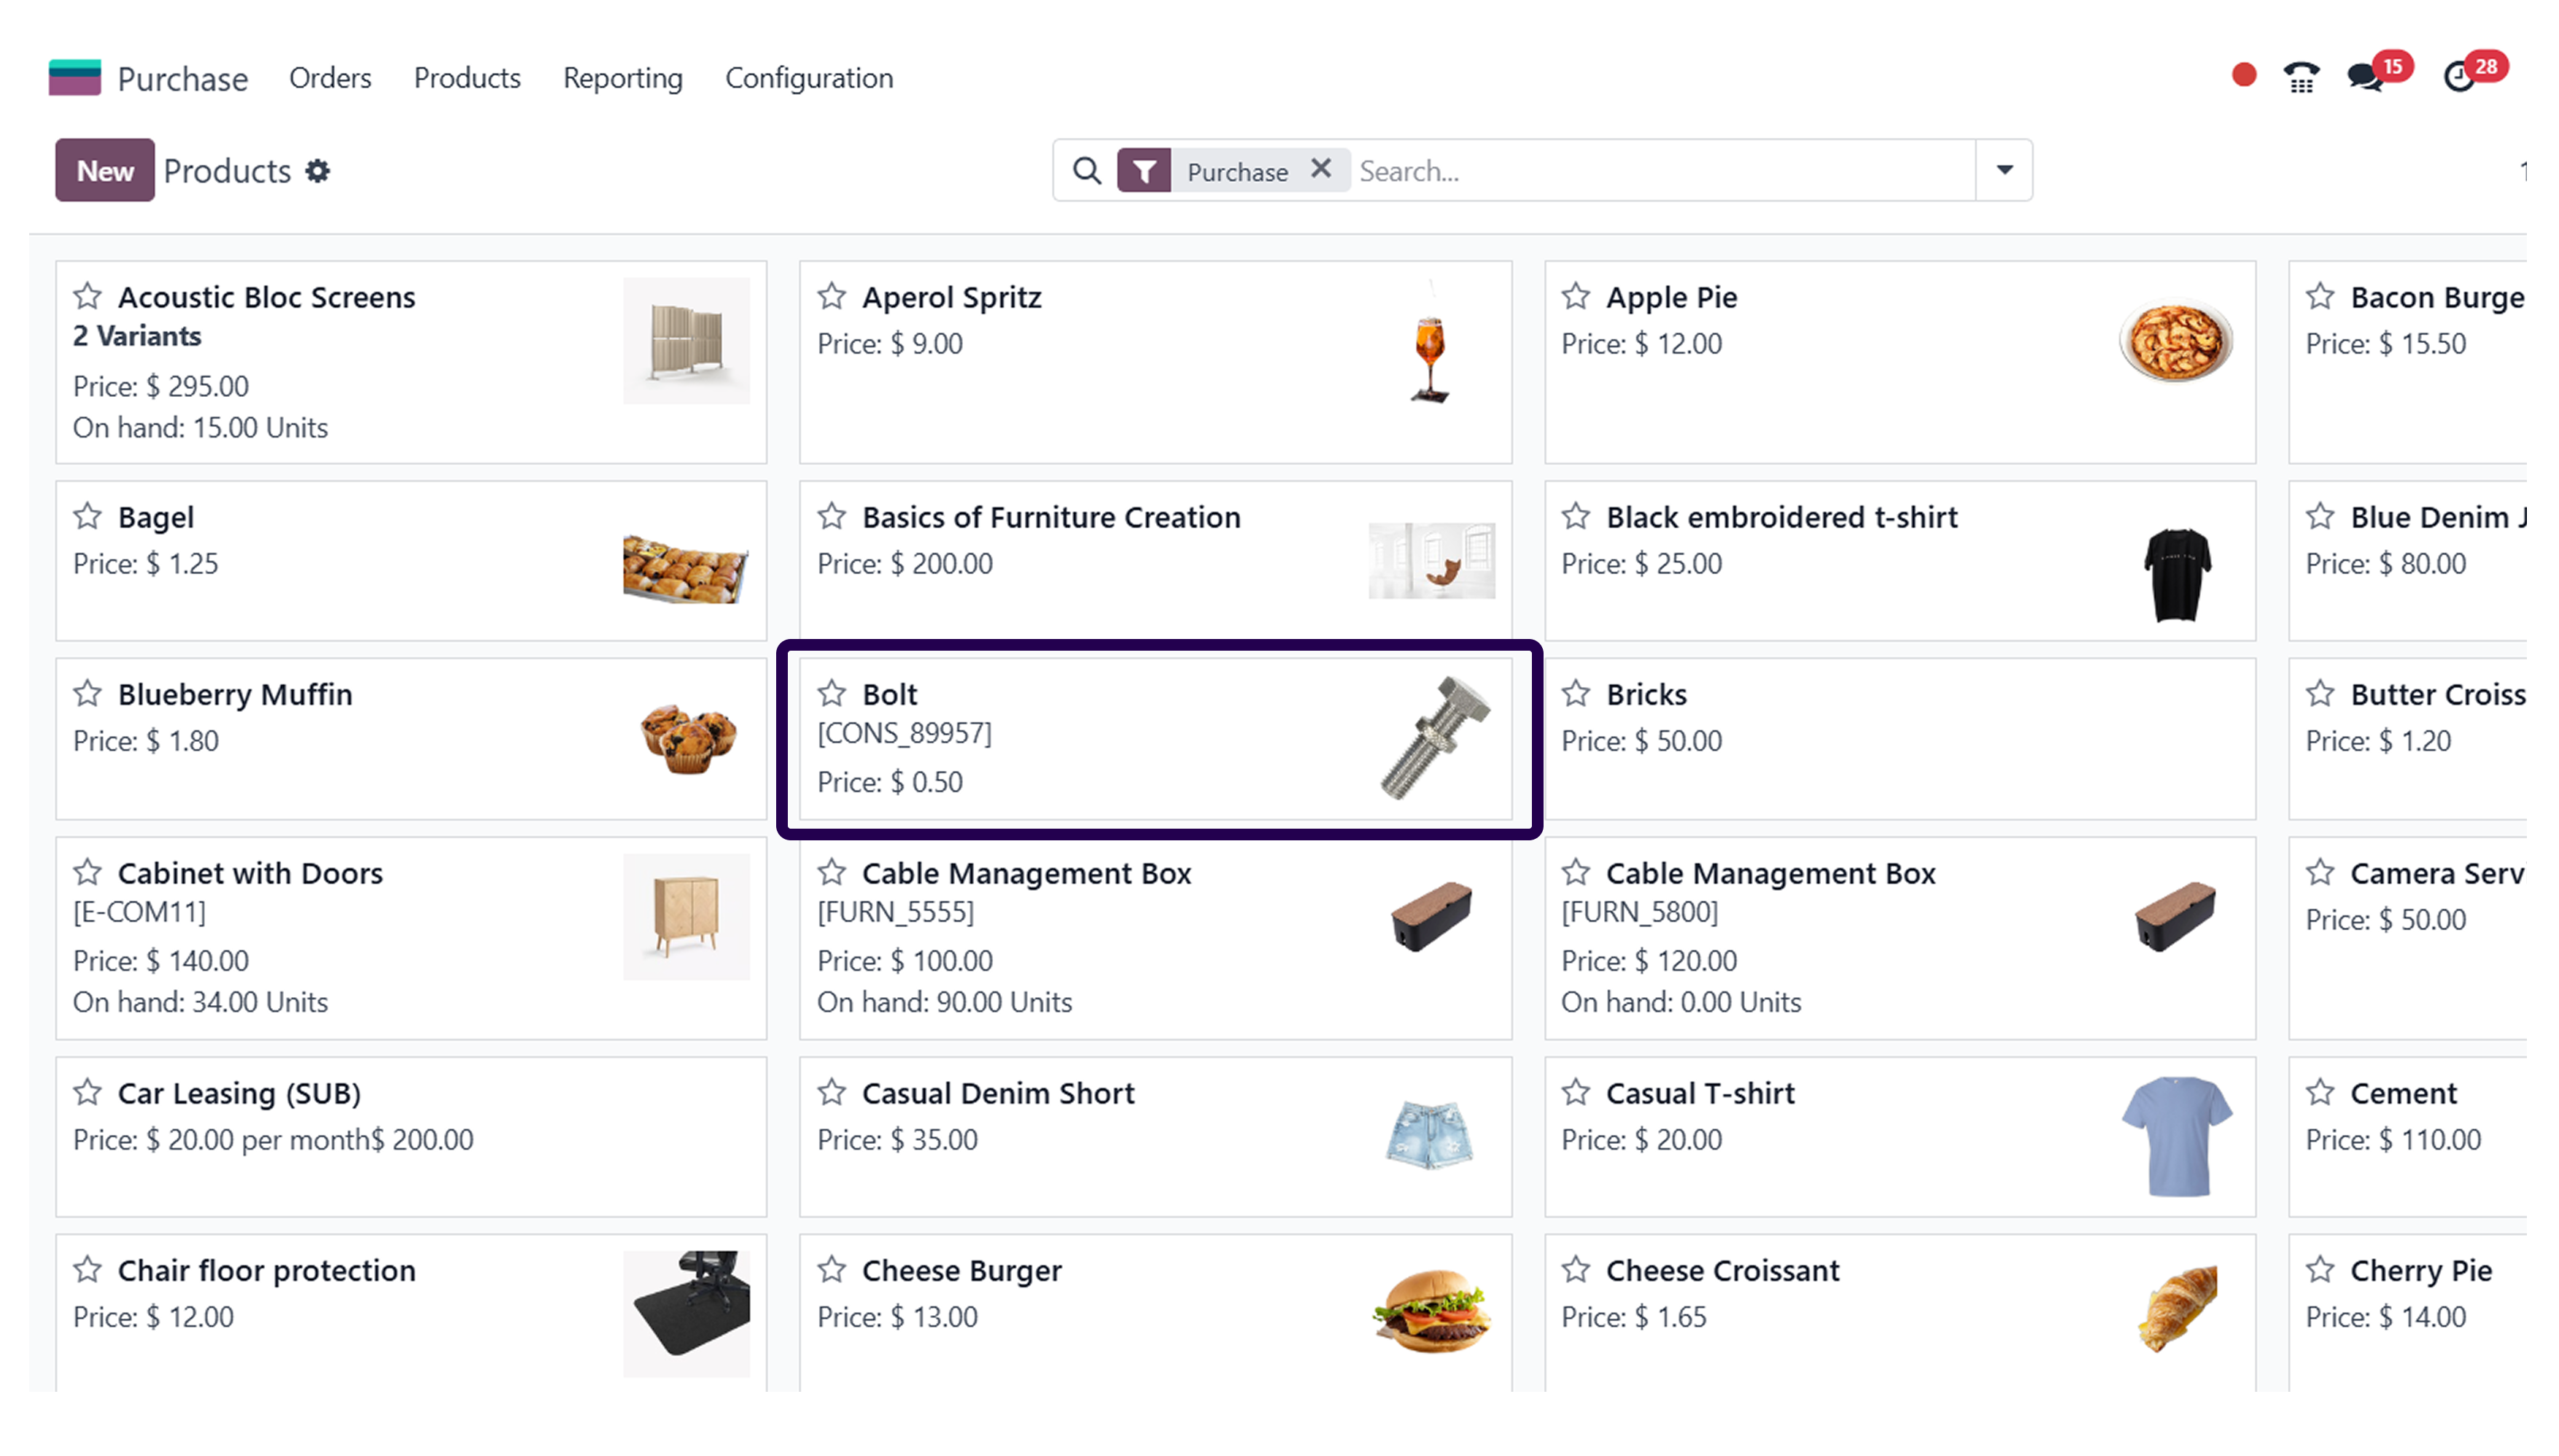
After clicking on the products, it is time to select a specific product and apply drop-shipping to the same product.
Step 7: Click on the ‘Edit’ button and go to the ‘Inventory’.
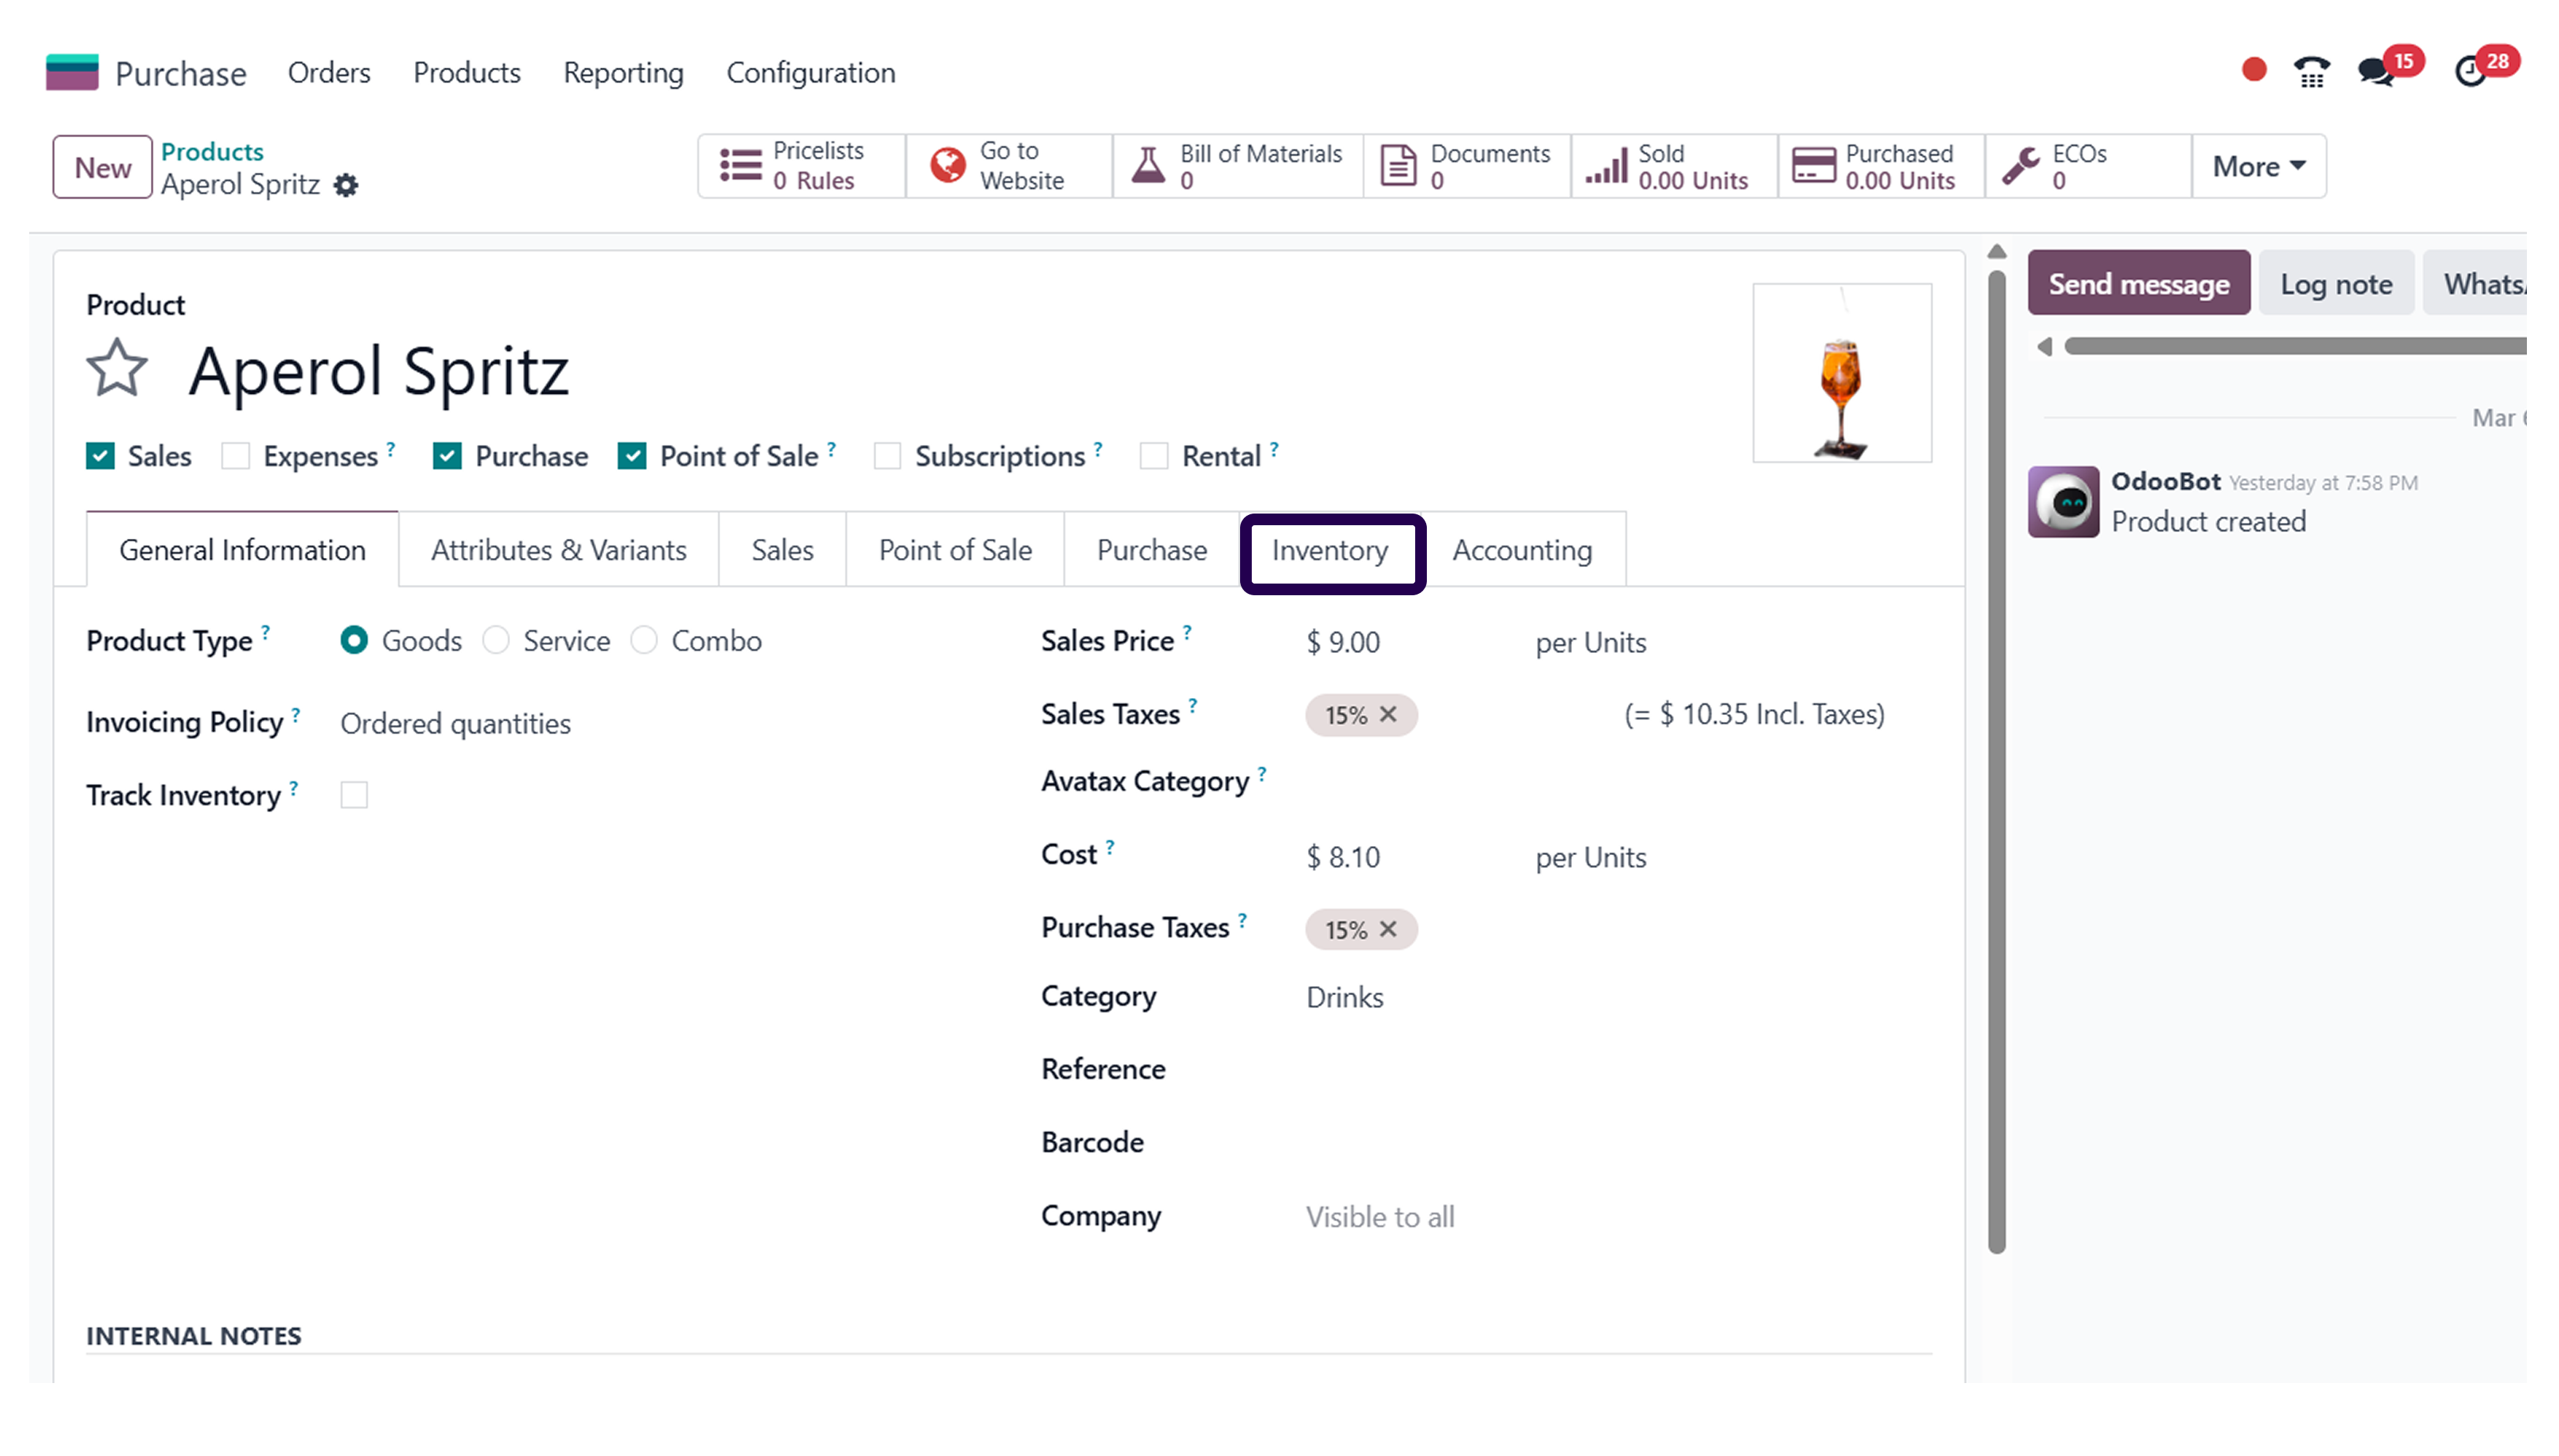
Here, we have picked desk organizer as a product. So, let's click on edit and go to the inventory section.
Step 8: Go to the ‘Operation’ section and Activate the ‘Drop-shipping’.
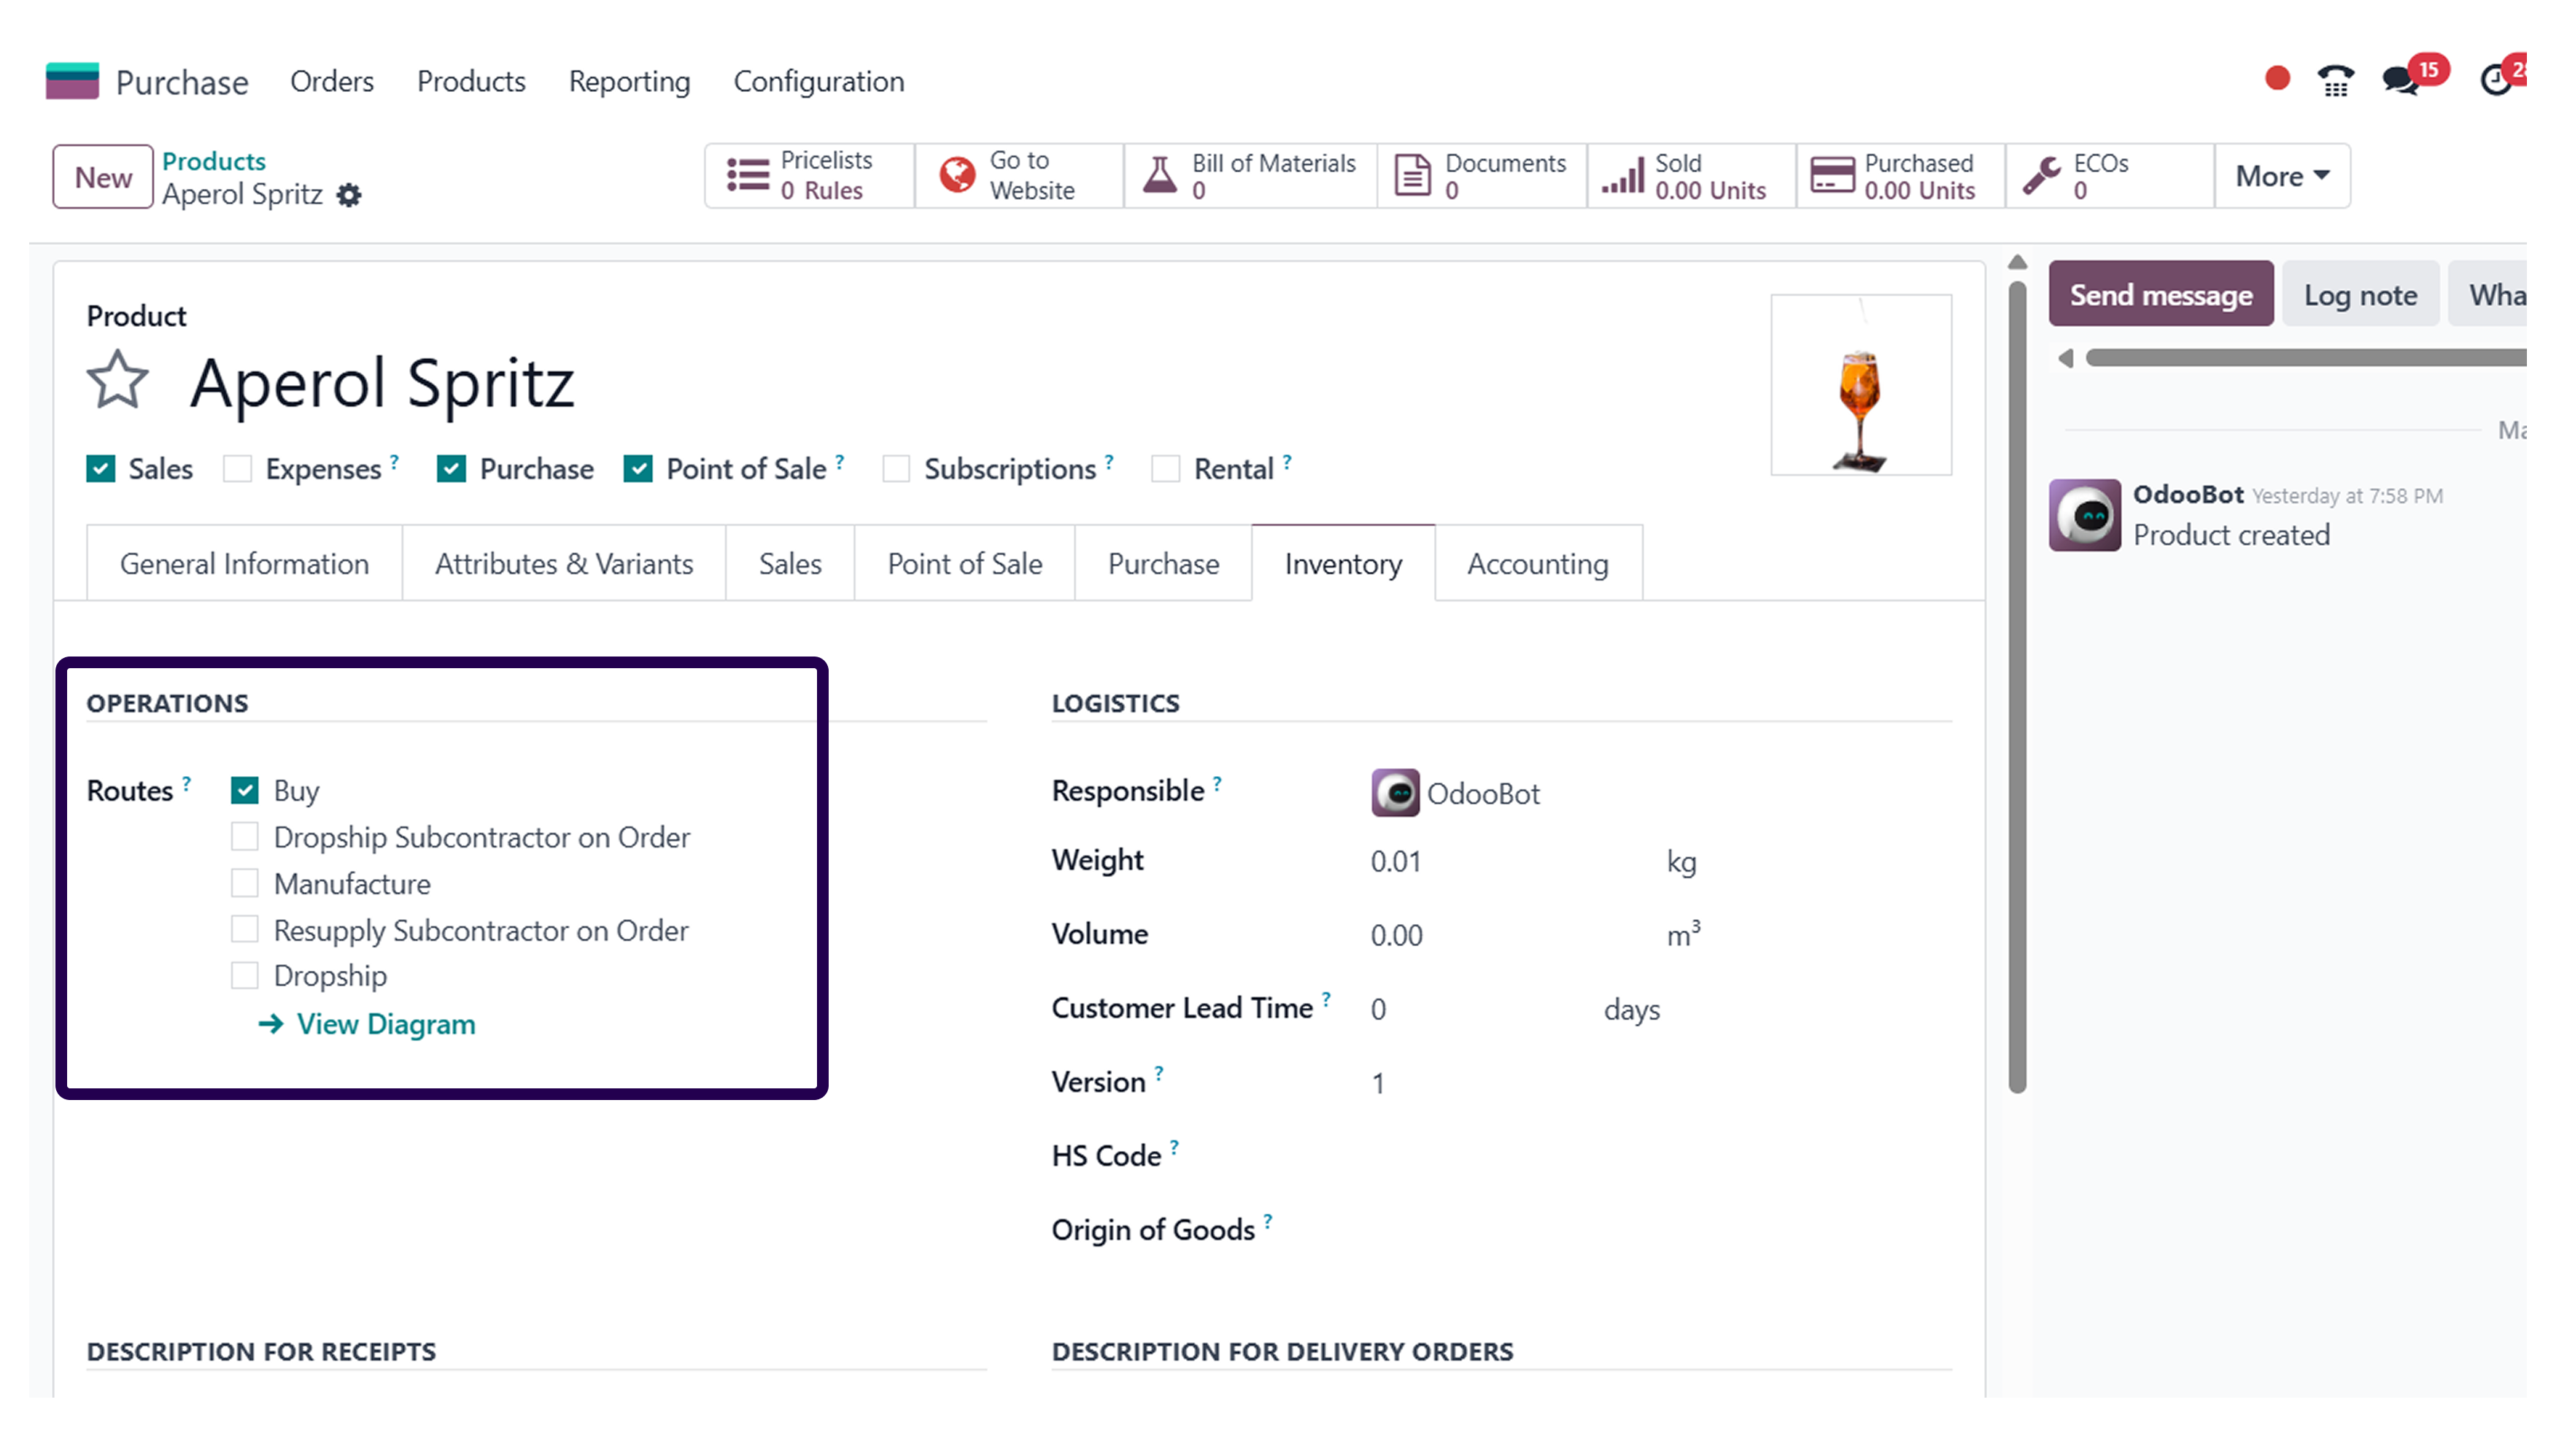
Once you are in the inventory section, go to operations, and activate the drop-ship option. Once you have done that, apply the vendor who is shipping the product to the customers.
Step 9: Go to the ‘Purchase’ tab and Click on the ‘Add a line’ button.
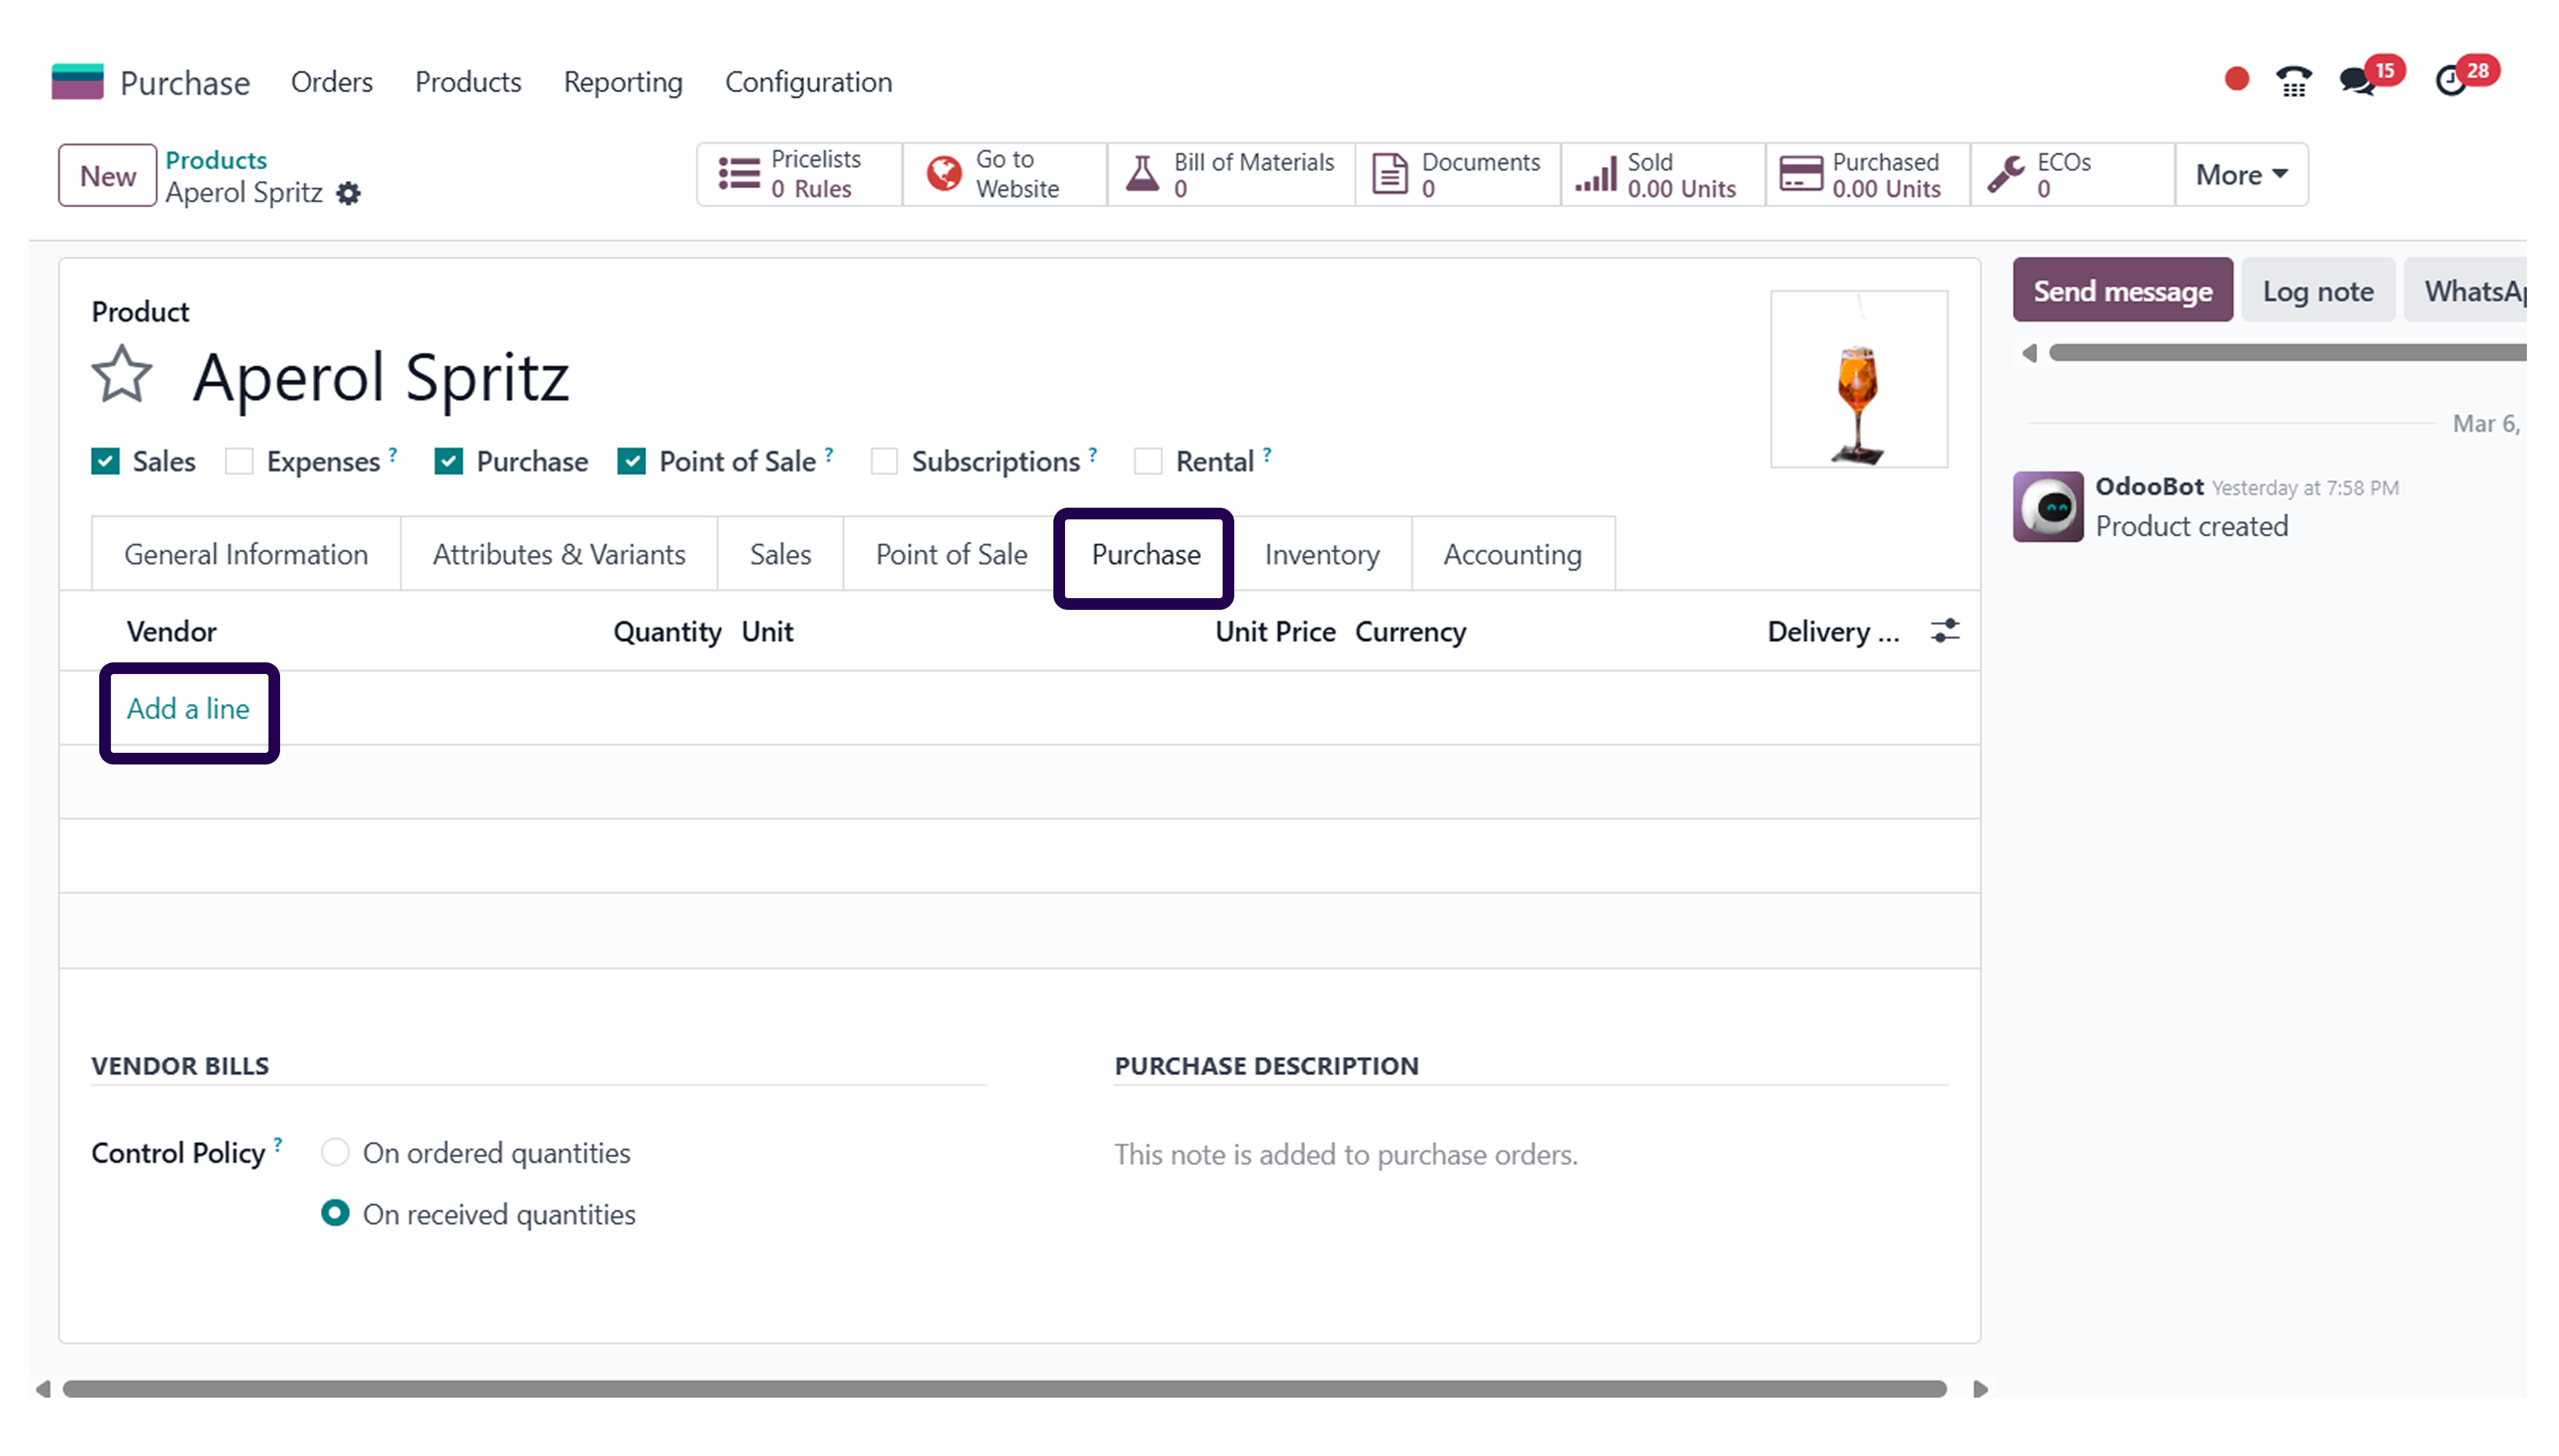
Now, it is time to click on the purchase section, and add a line.
Step 10: Add a vendor who is going to supply the product to the customers.
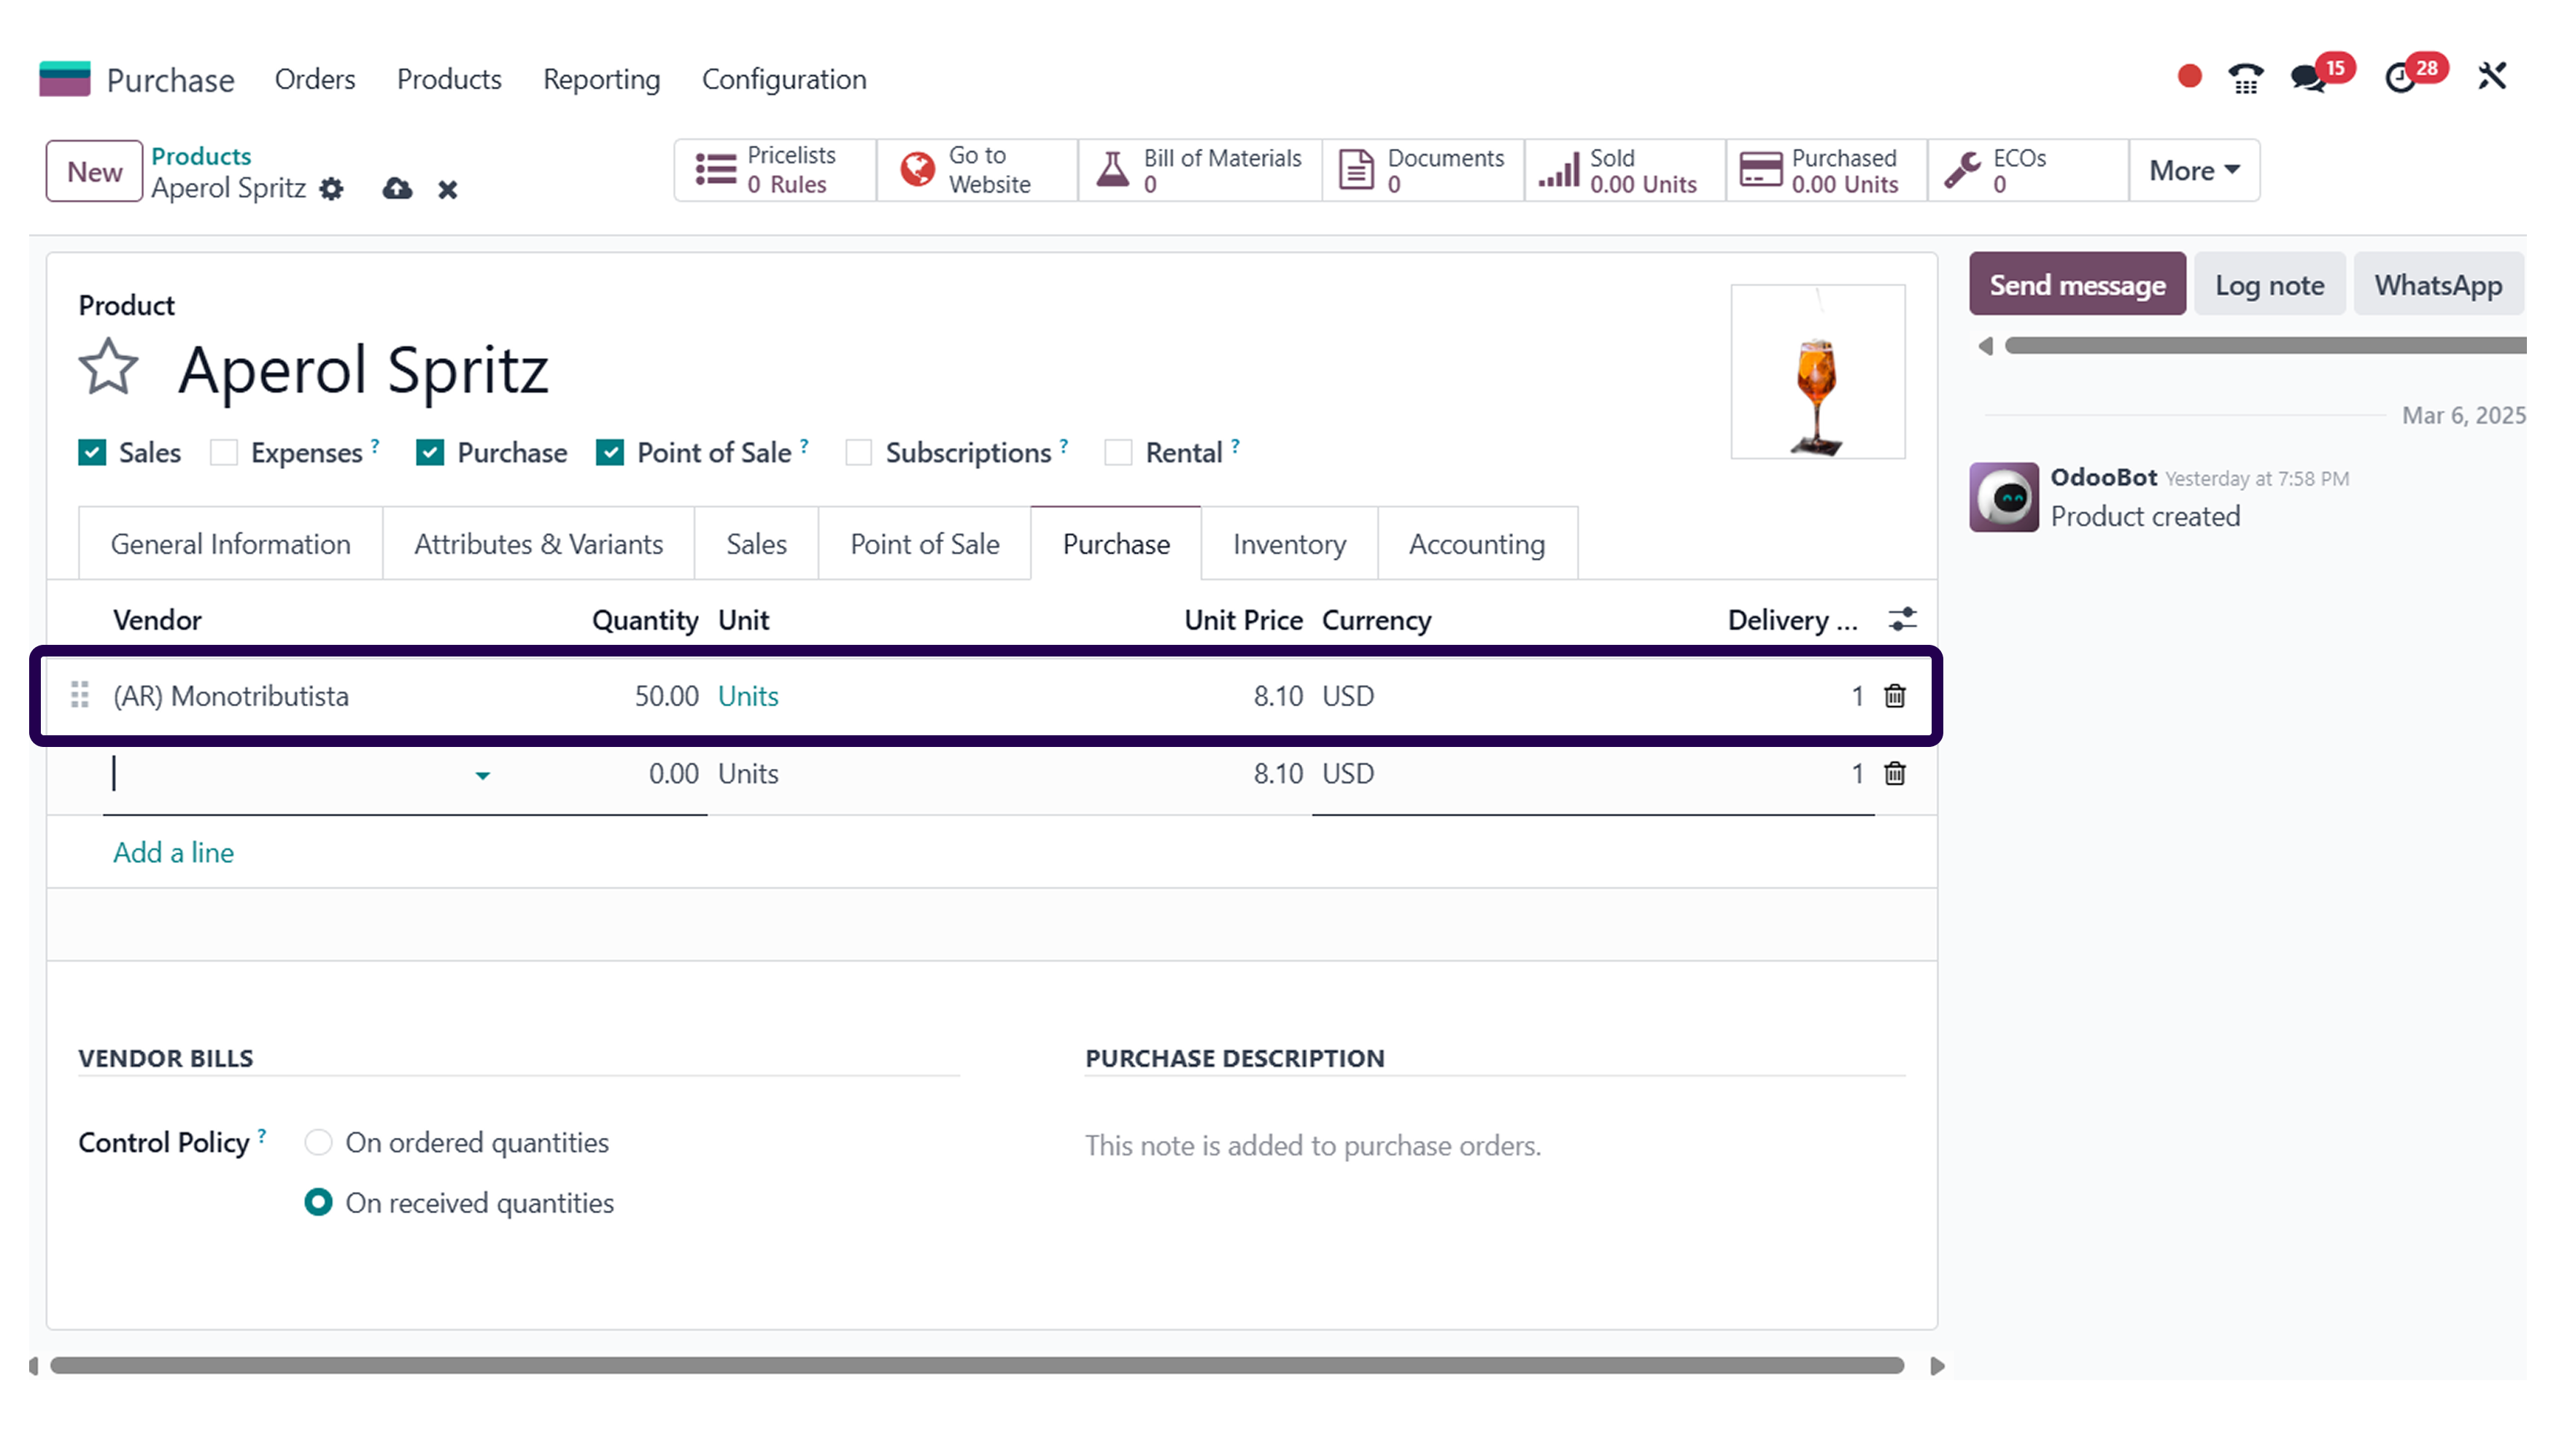
After adding a line, pick a vendor that is going to supply products directly to the customers.
Step 11: Click on the ‘Save’ button.
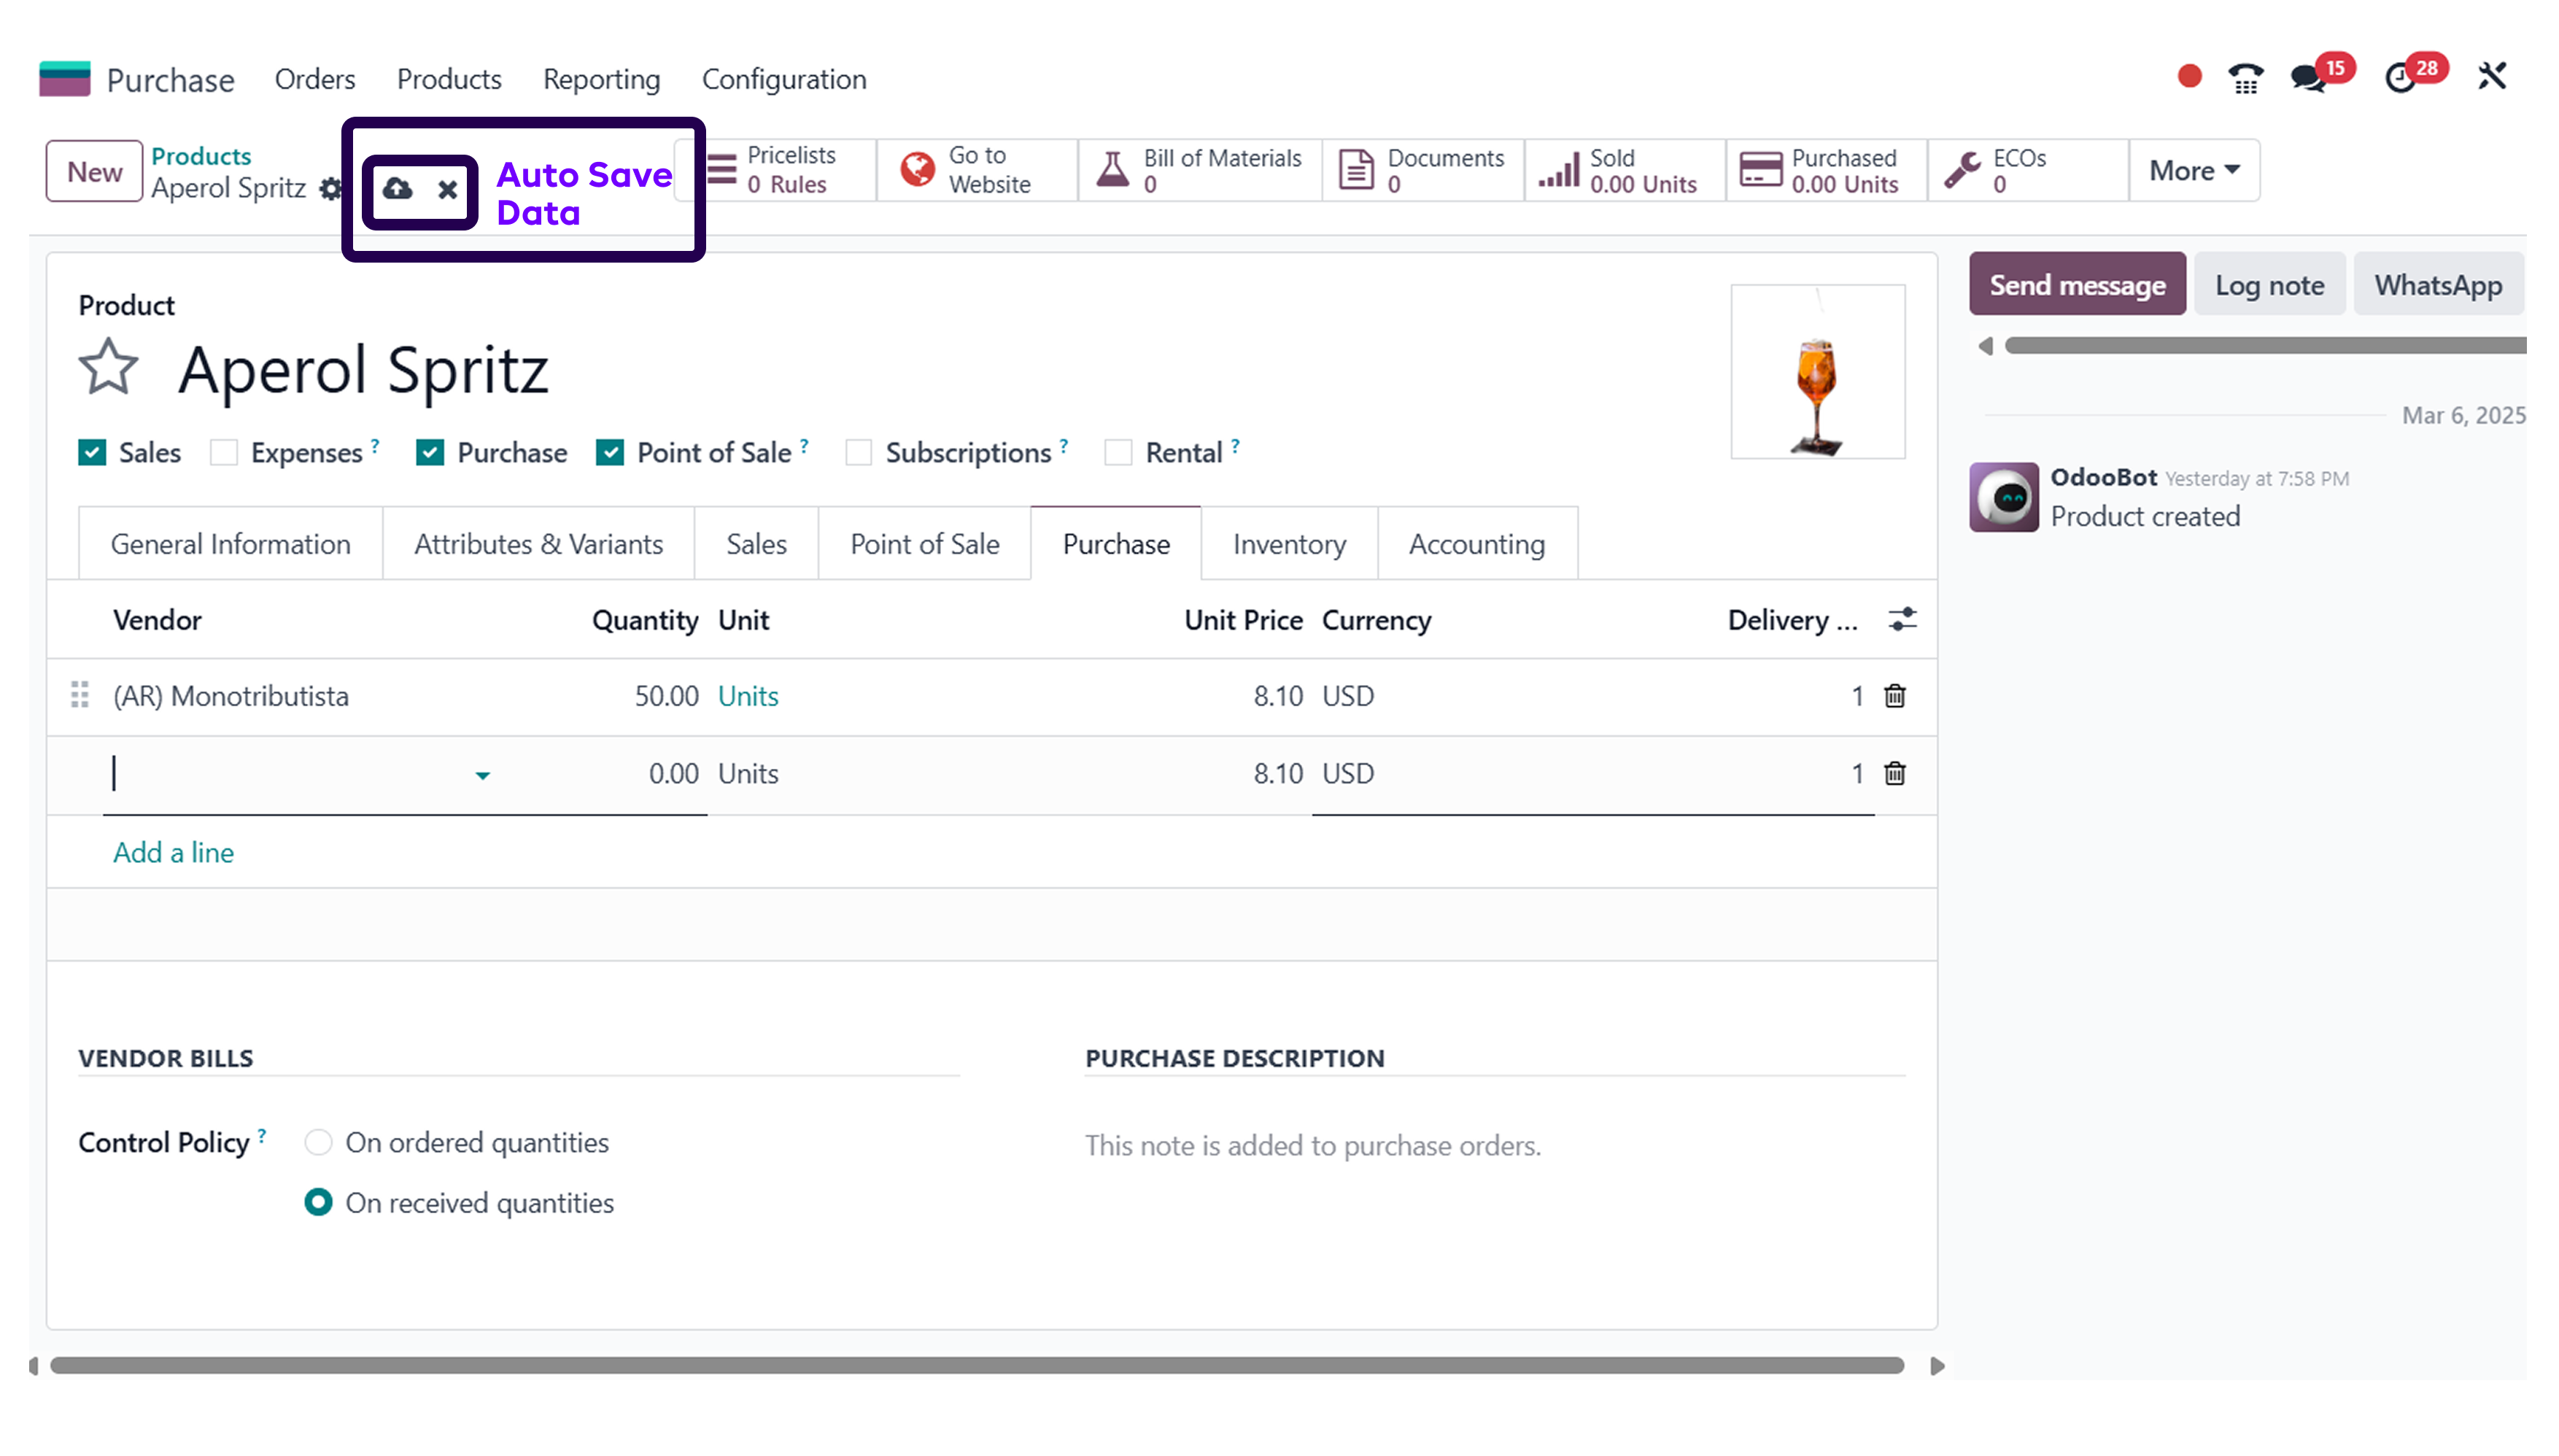
After adding the vendor, make sure to click on the save button.
Now, Go to the ‘sales’ module.
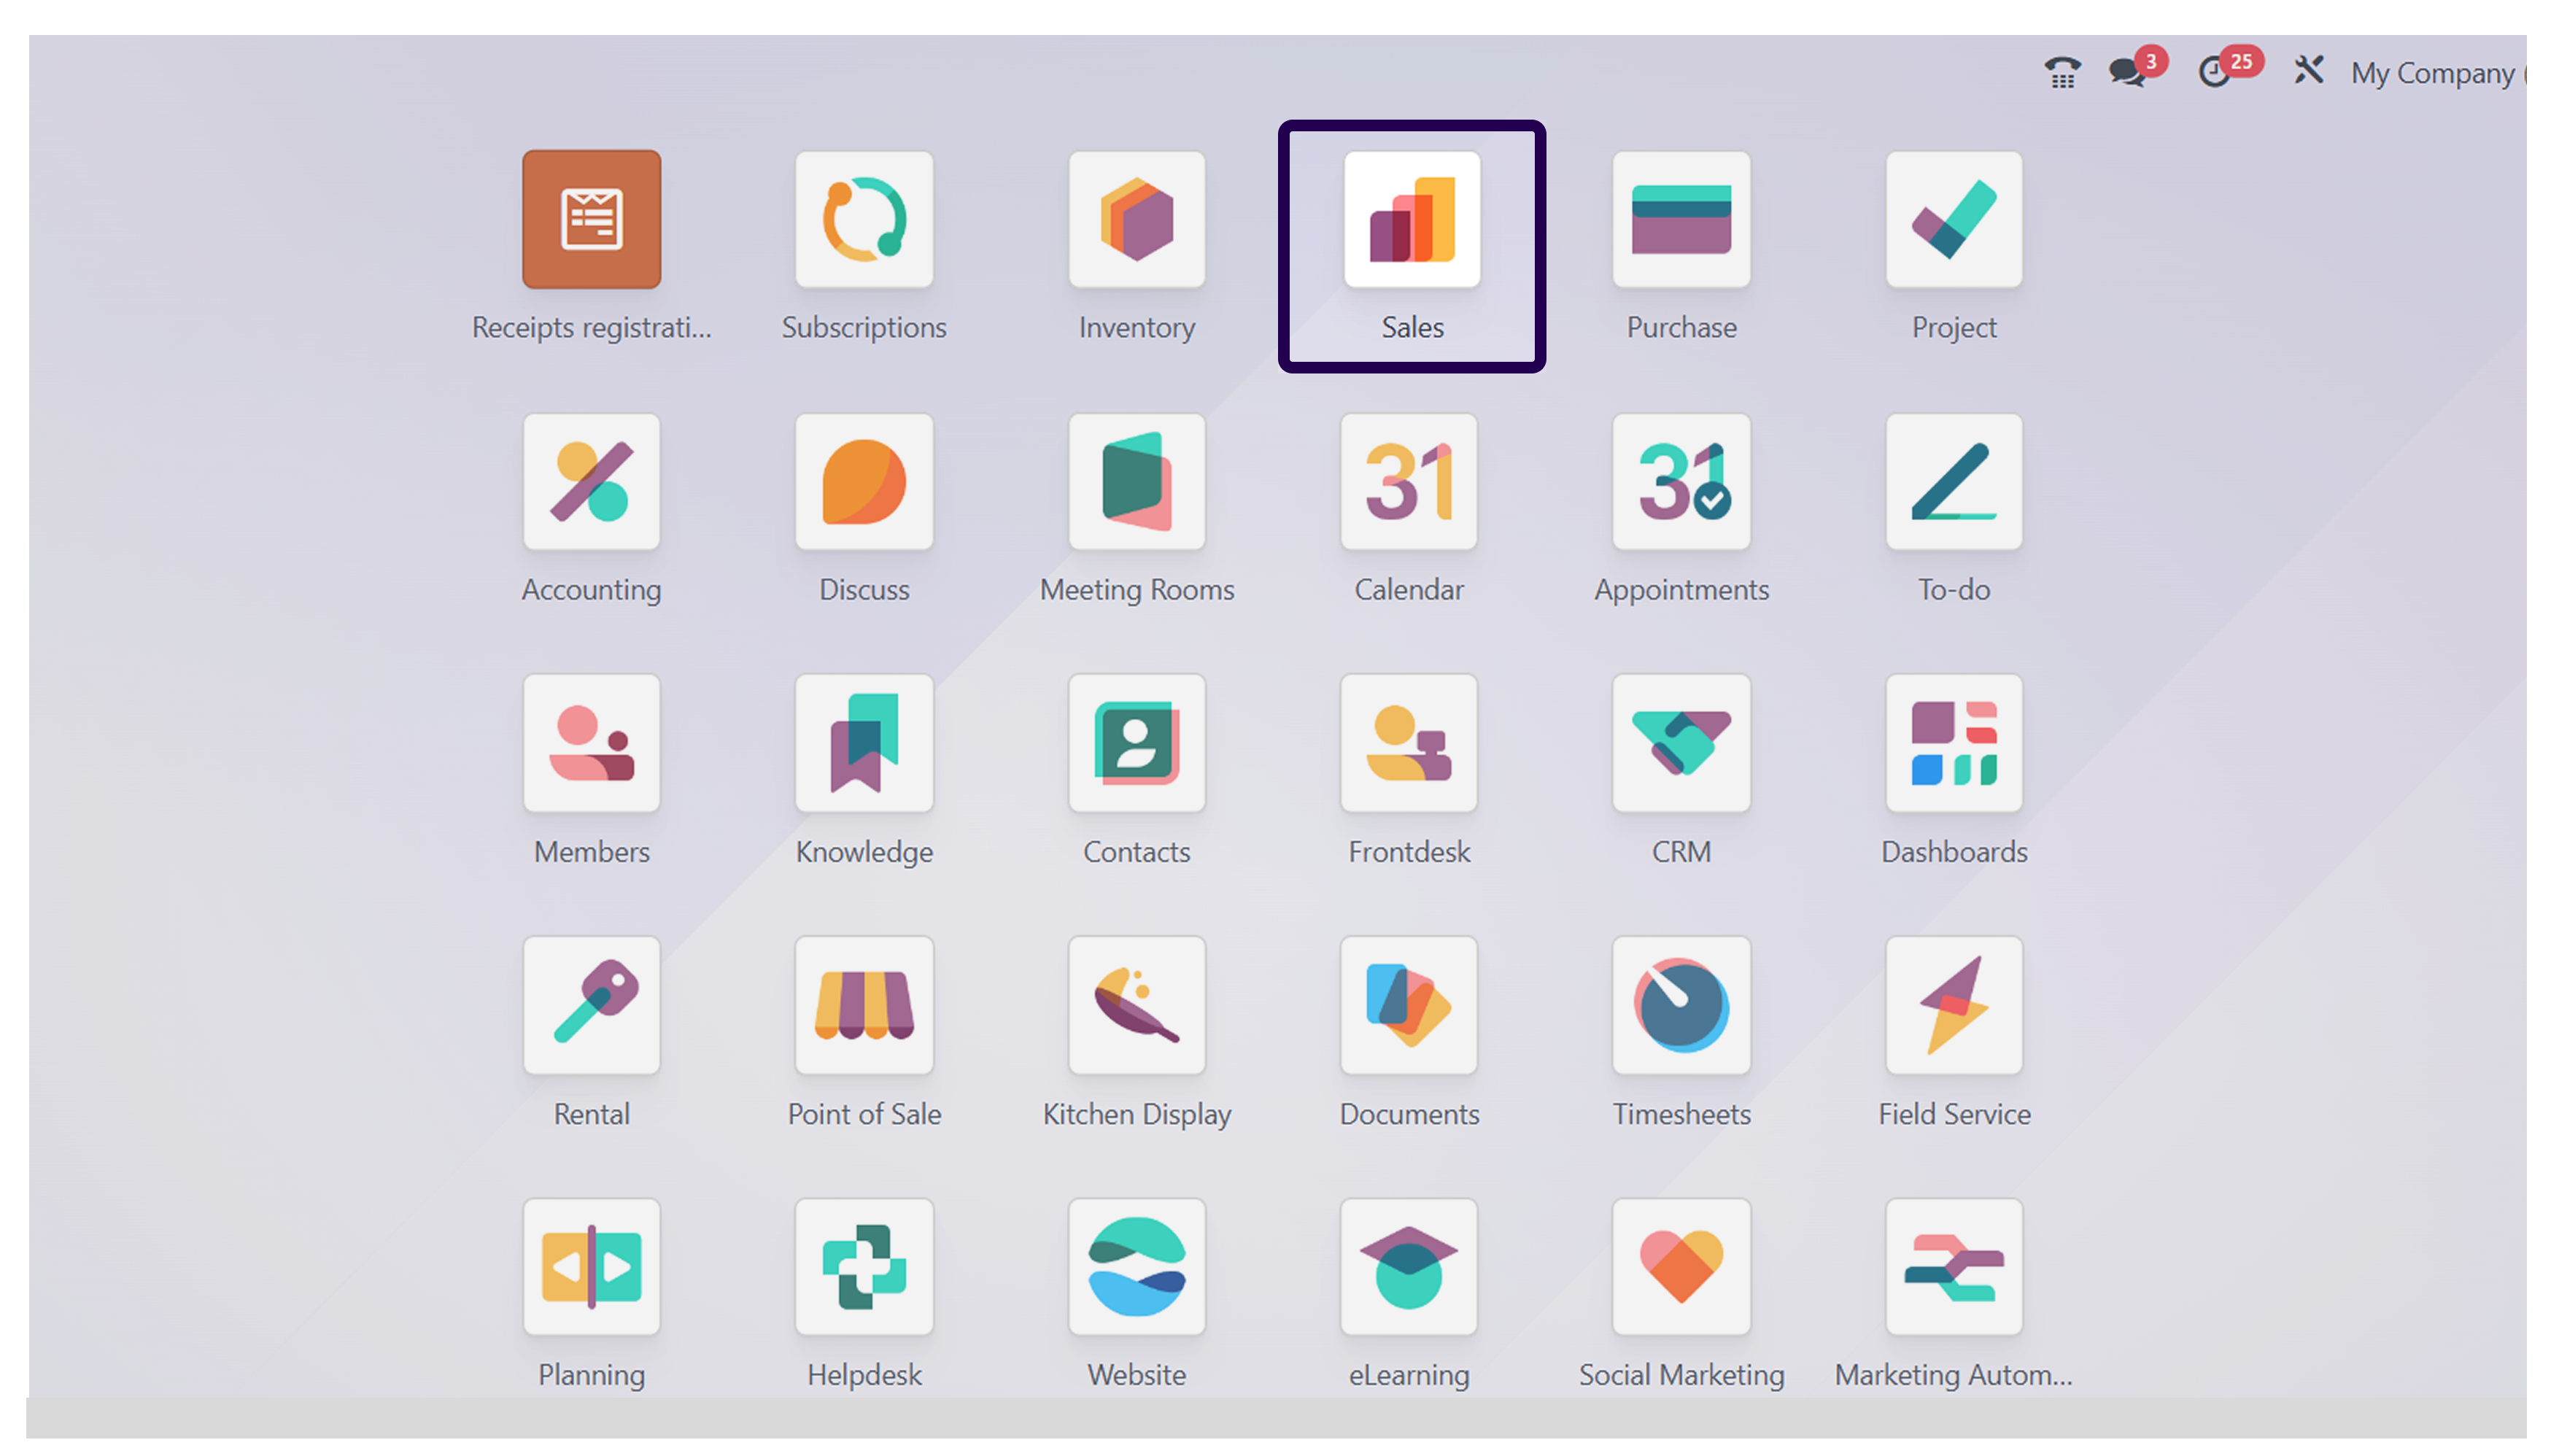
Now, it is time to go to the sales module, so let’s click on the same.
Step 12: Click on the ‘Create’ button for creating the sales order.
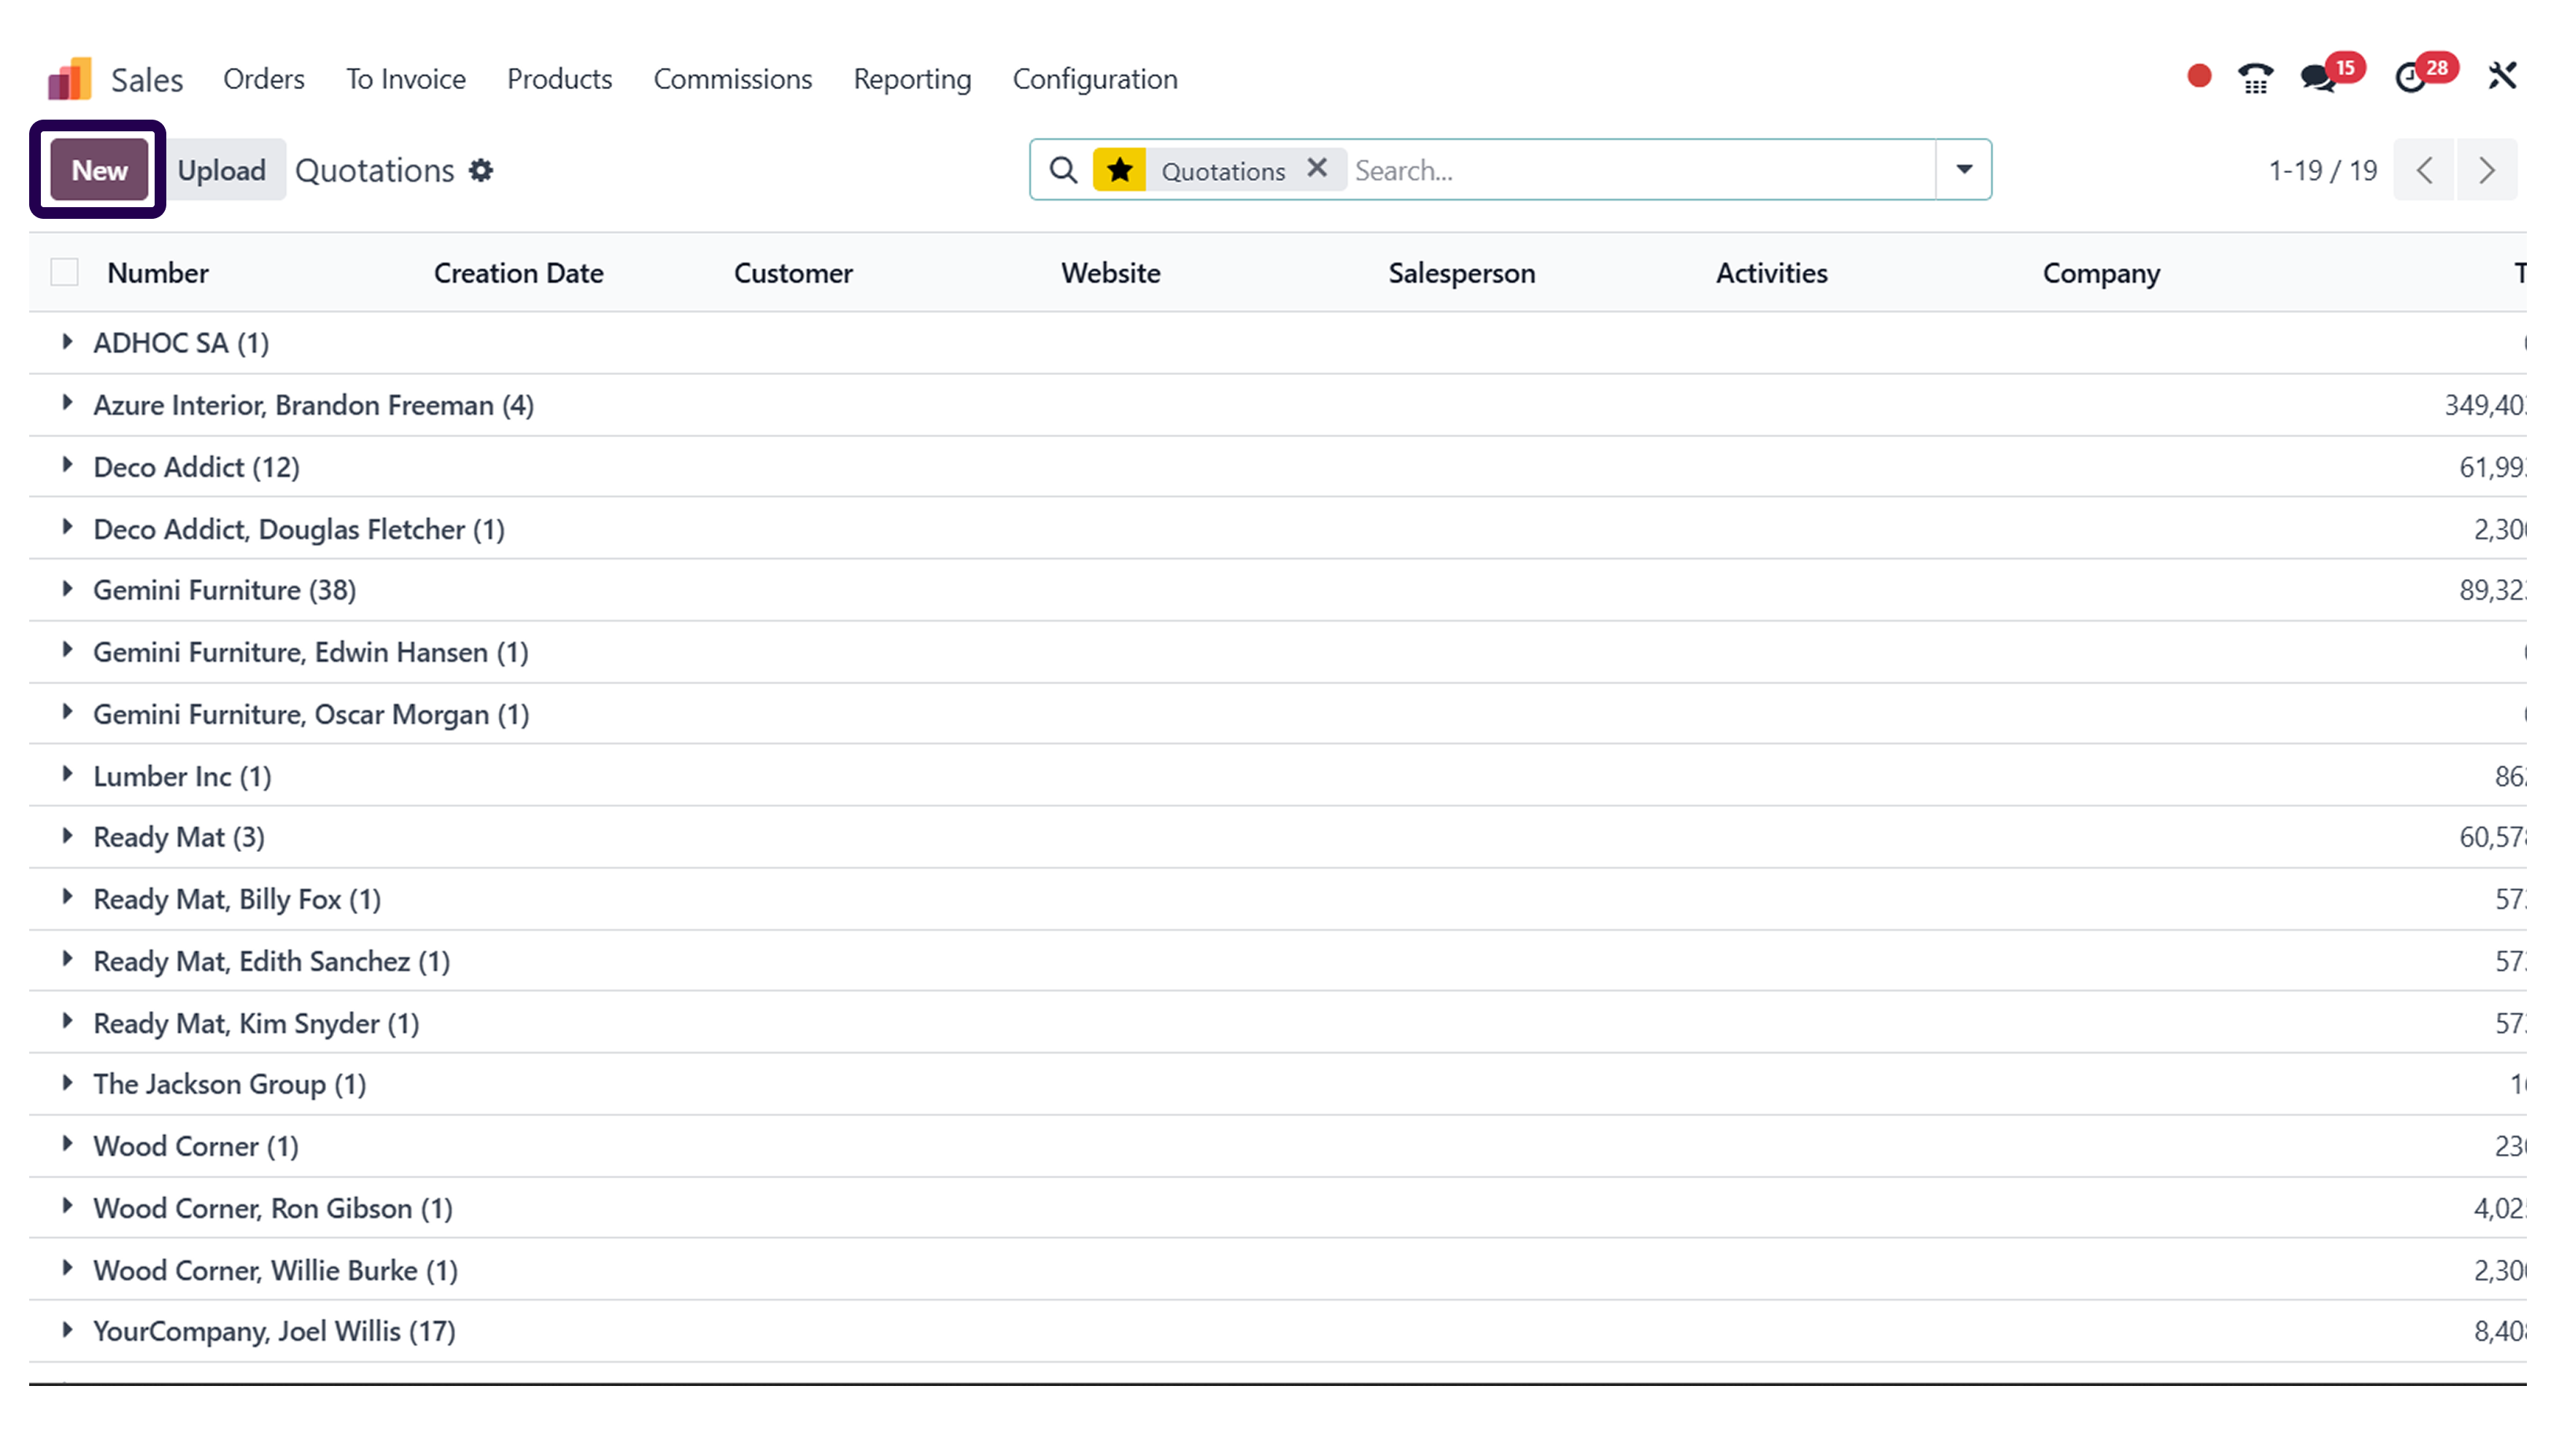
After clicking on sales, it is time to create a new order by clicking on the create button.
Step 13: Select the ‘Customer’ and go to the ‘order line’ section and click on ‘Add a Line’.
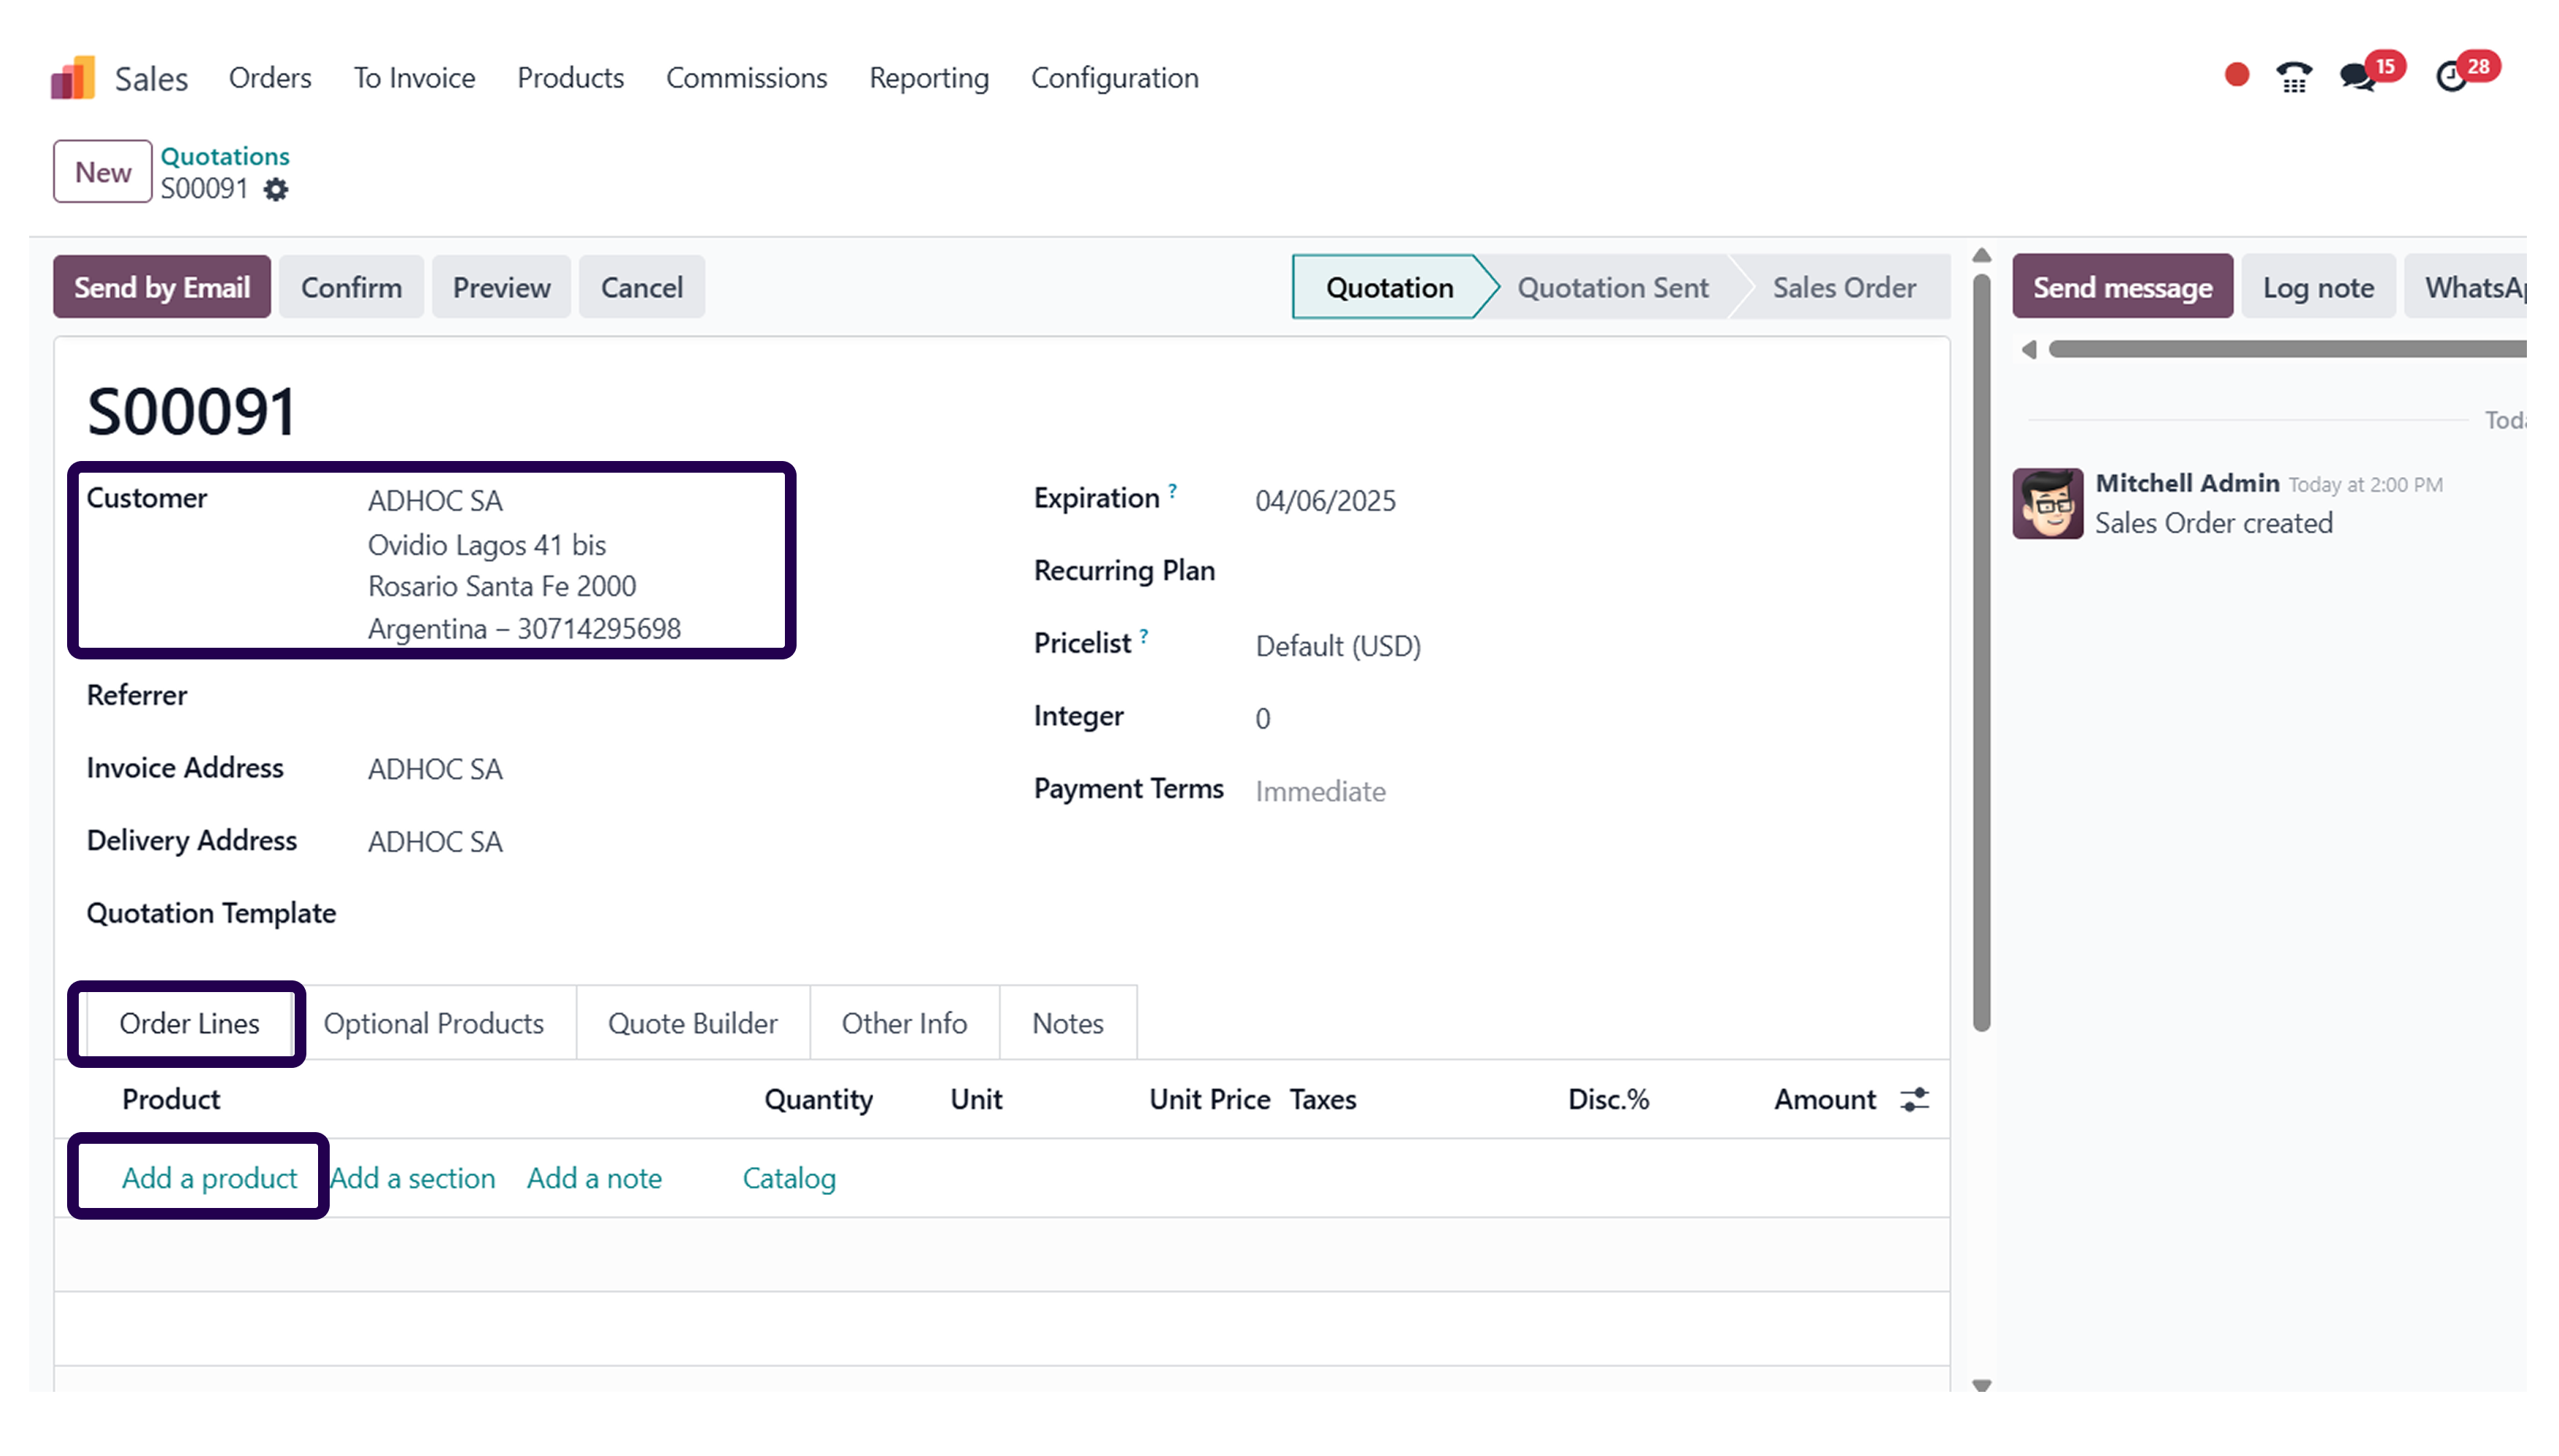
First of all, pick a customer and select the order line section. Once you have done that, click on Add a line option.
Step 14: Add a product.
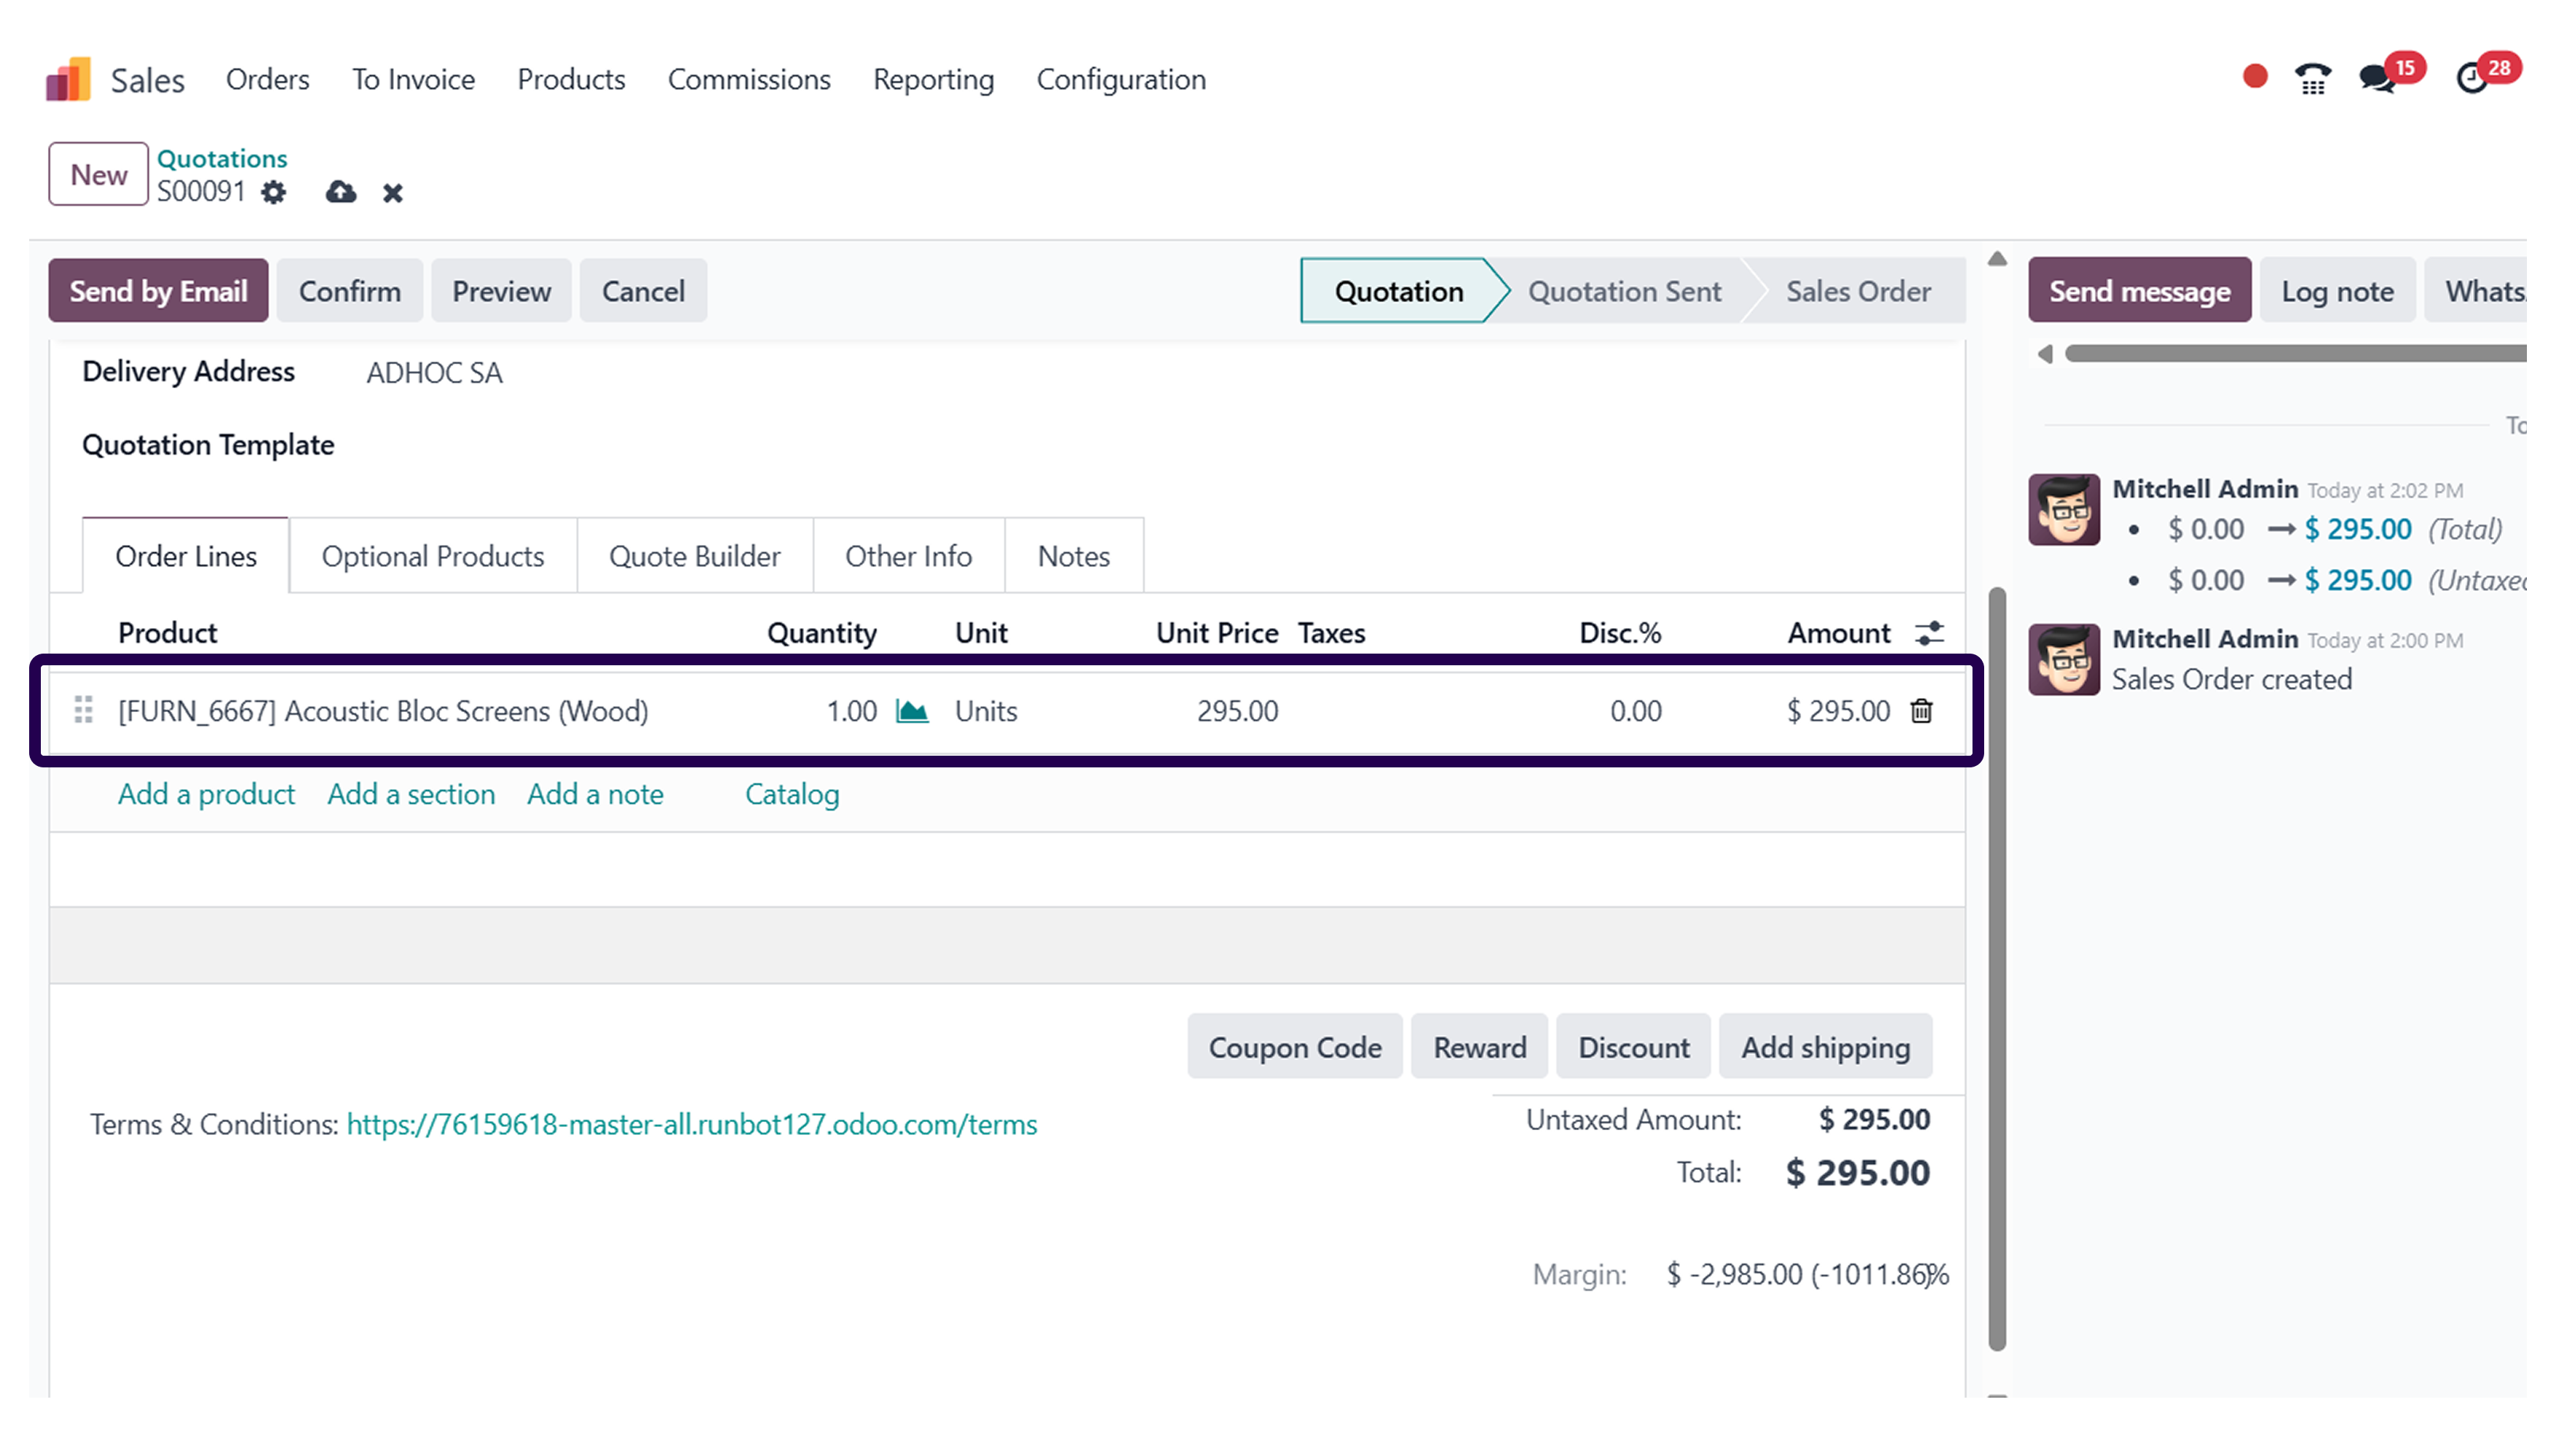
Once you have added a line, it is now time to add a product in the same section.
Step 15: Click on the ‘Save’ button.
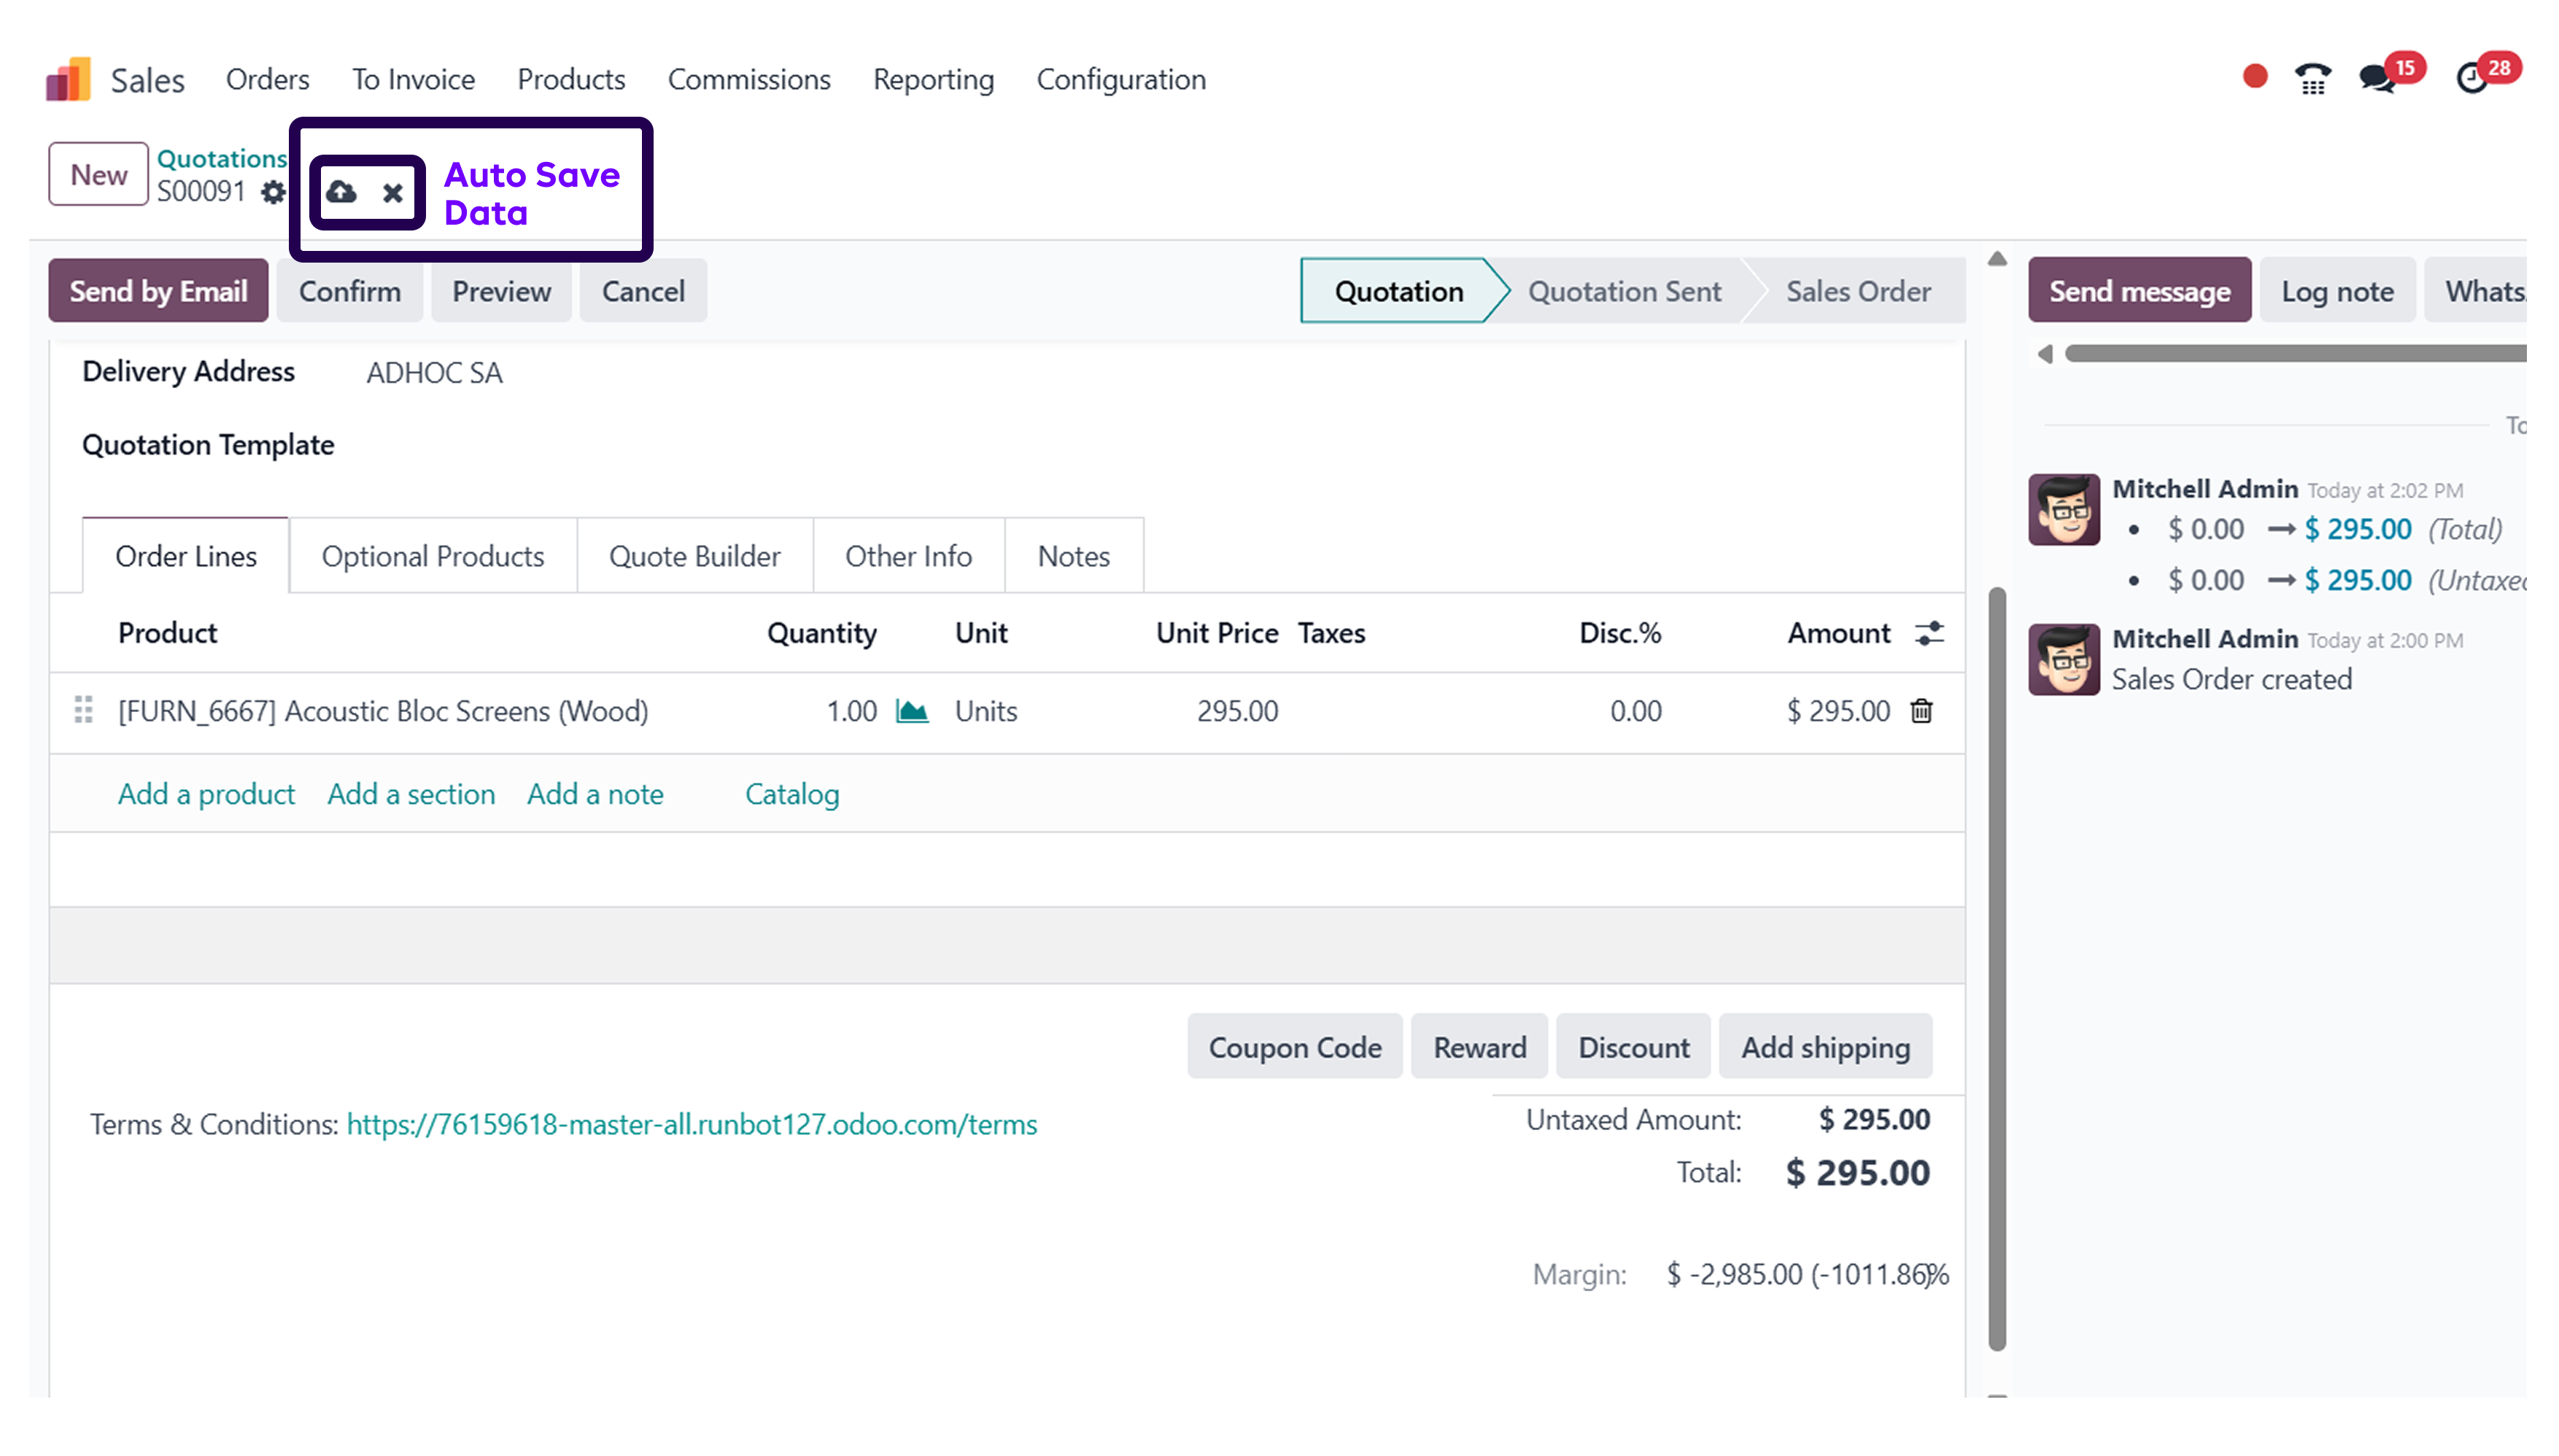
After adding a product, ensure to click on the save button. If not saved, it might create a problem afterwards.
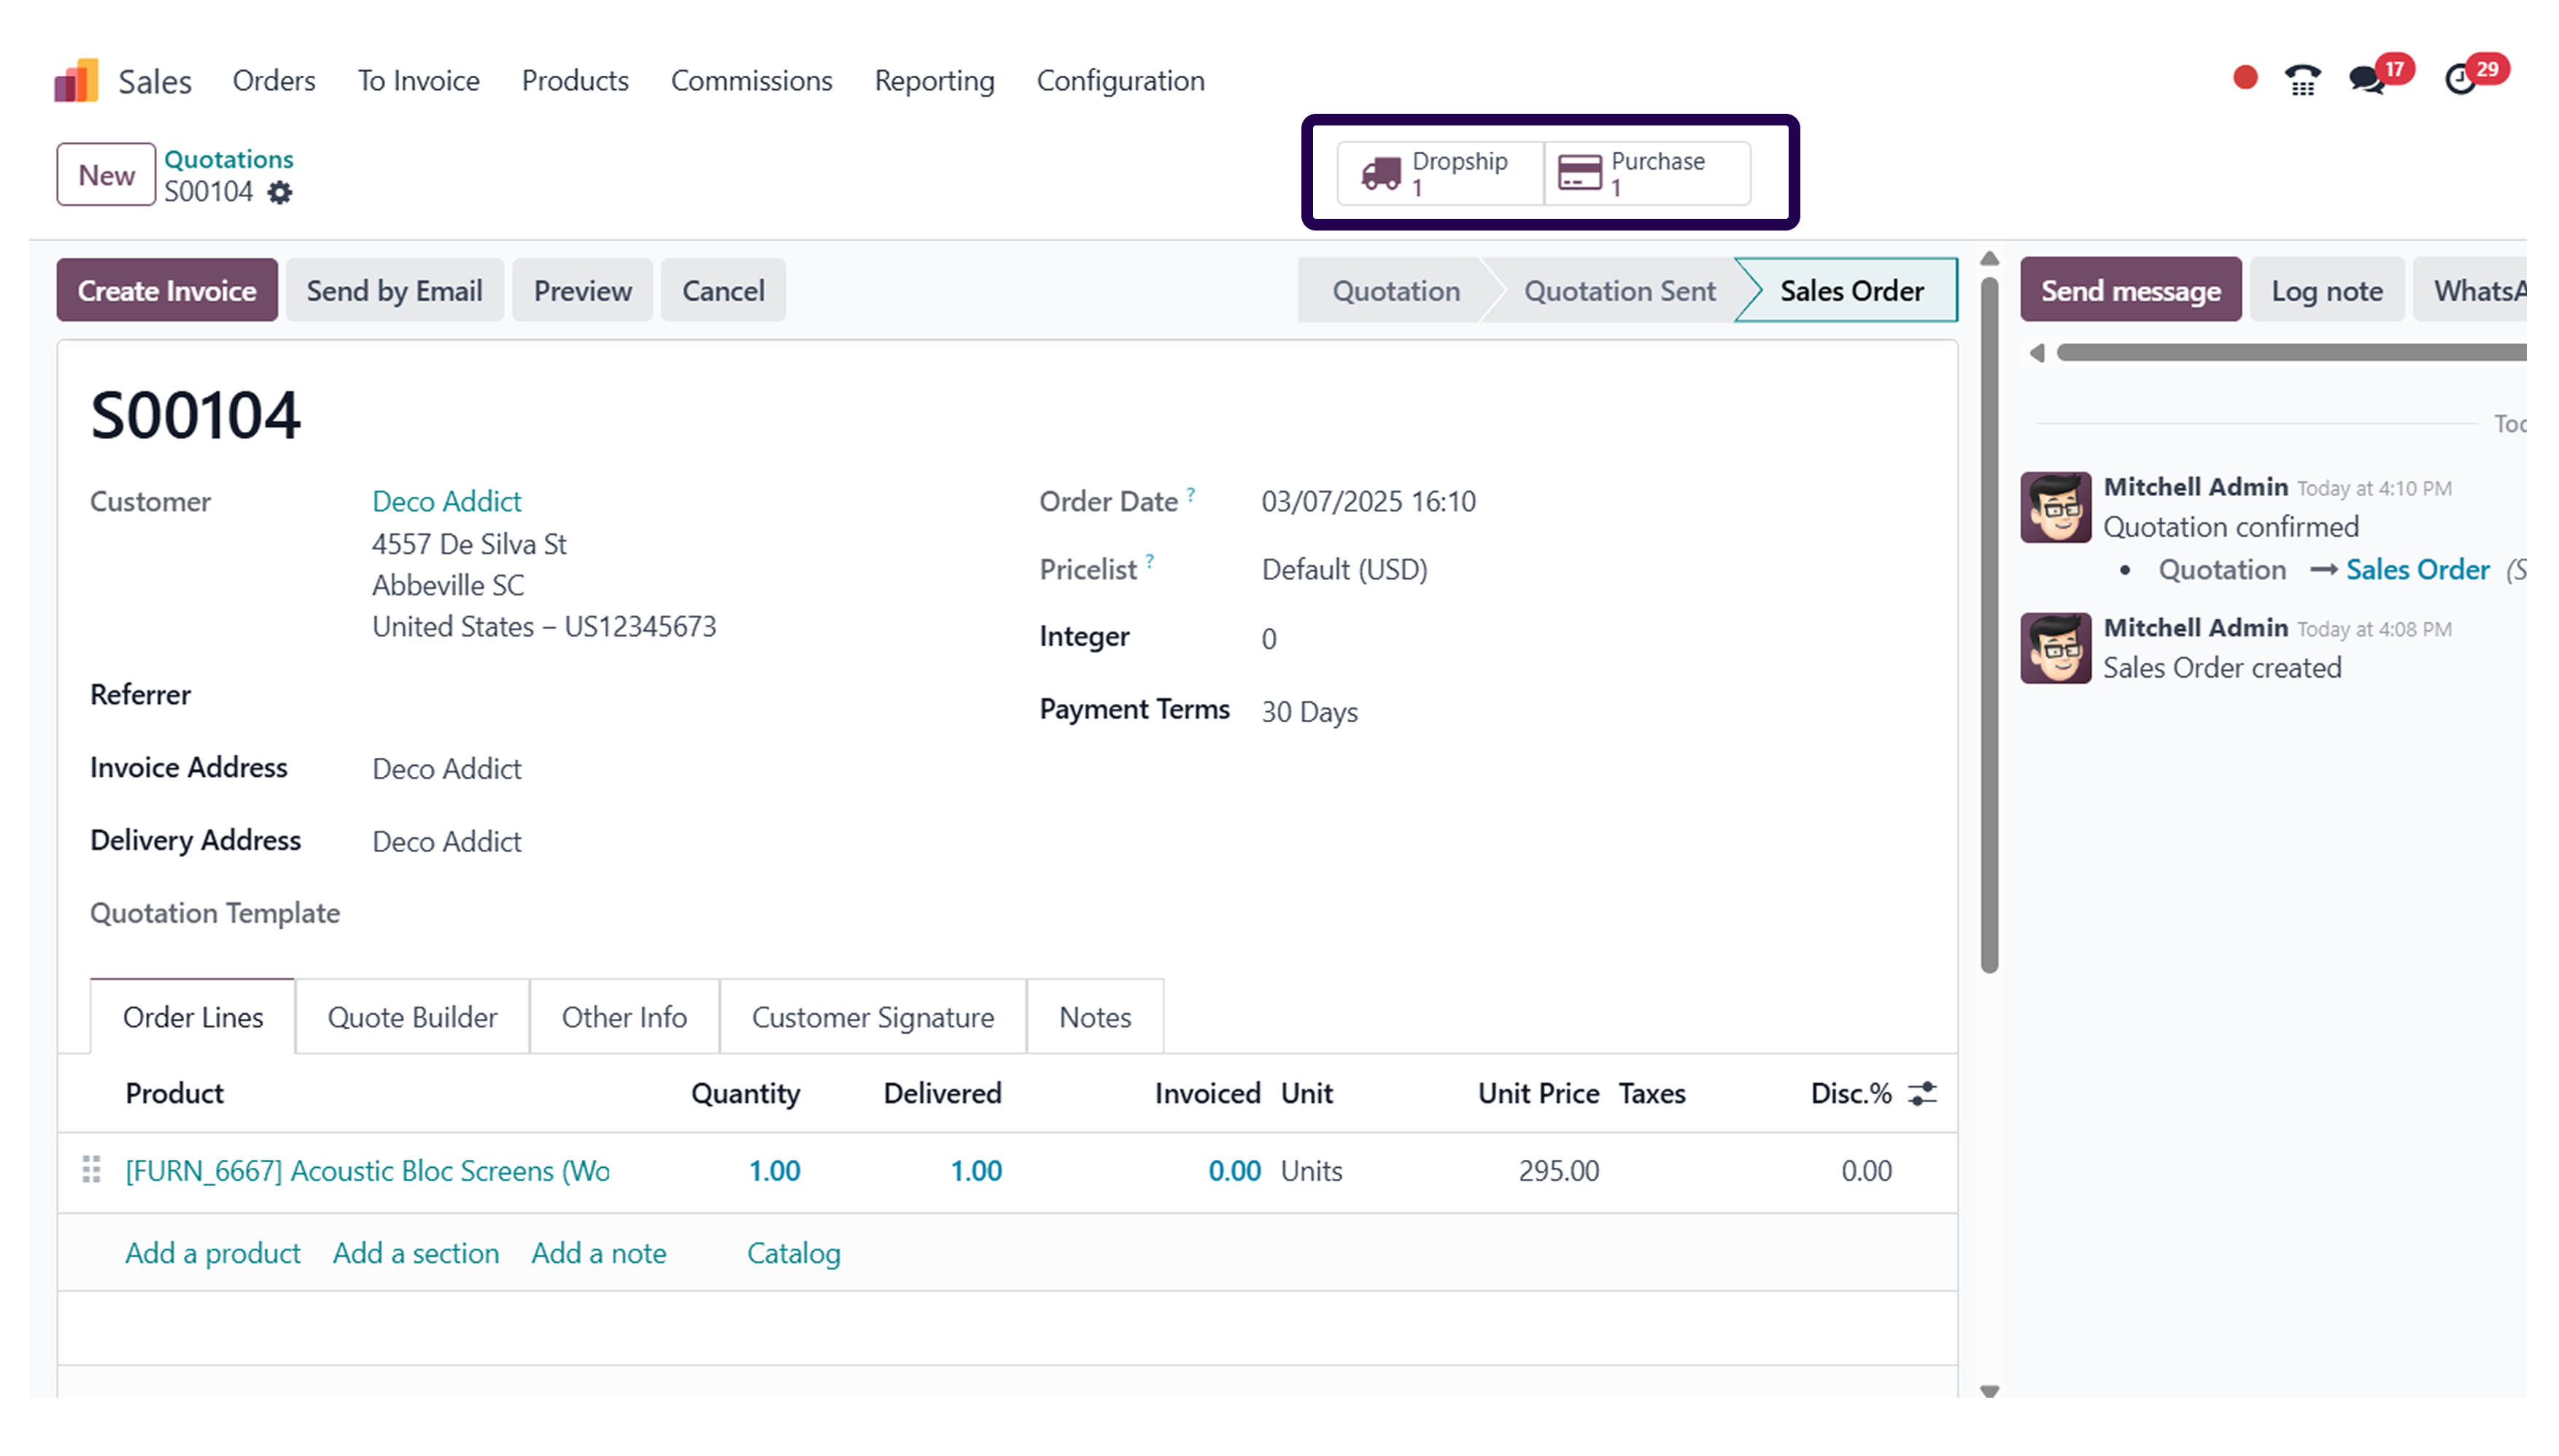
Step 16: Click on the ‘Confirm’ button to confirm the sales order.
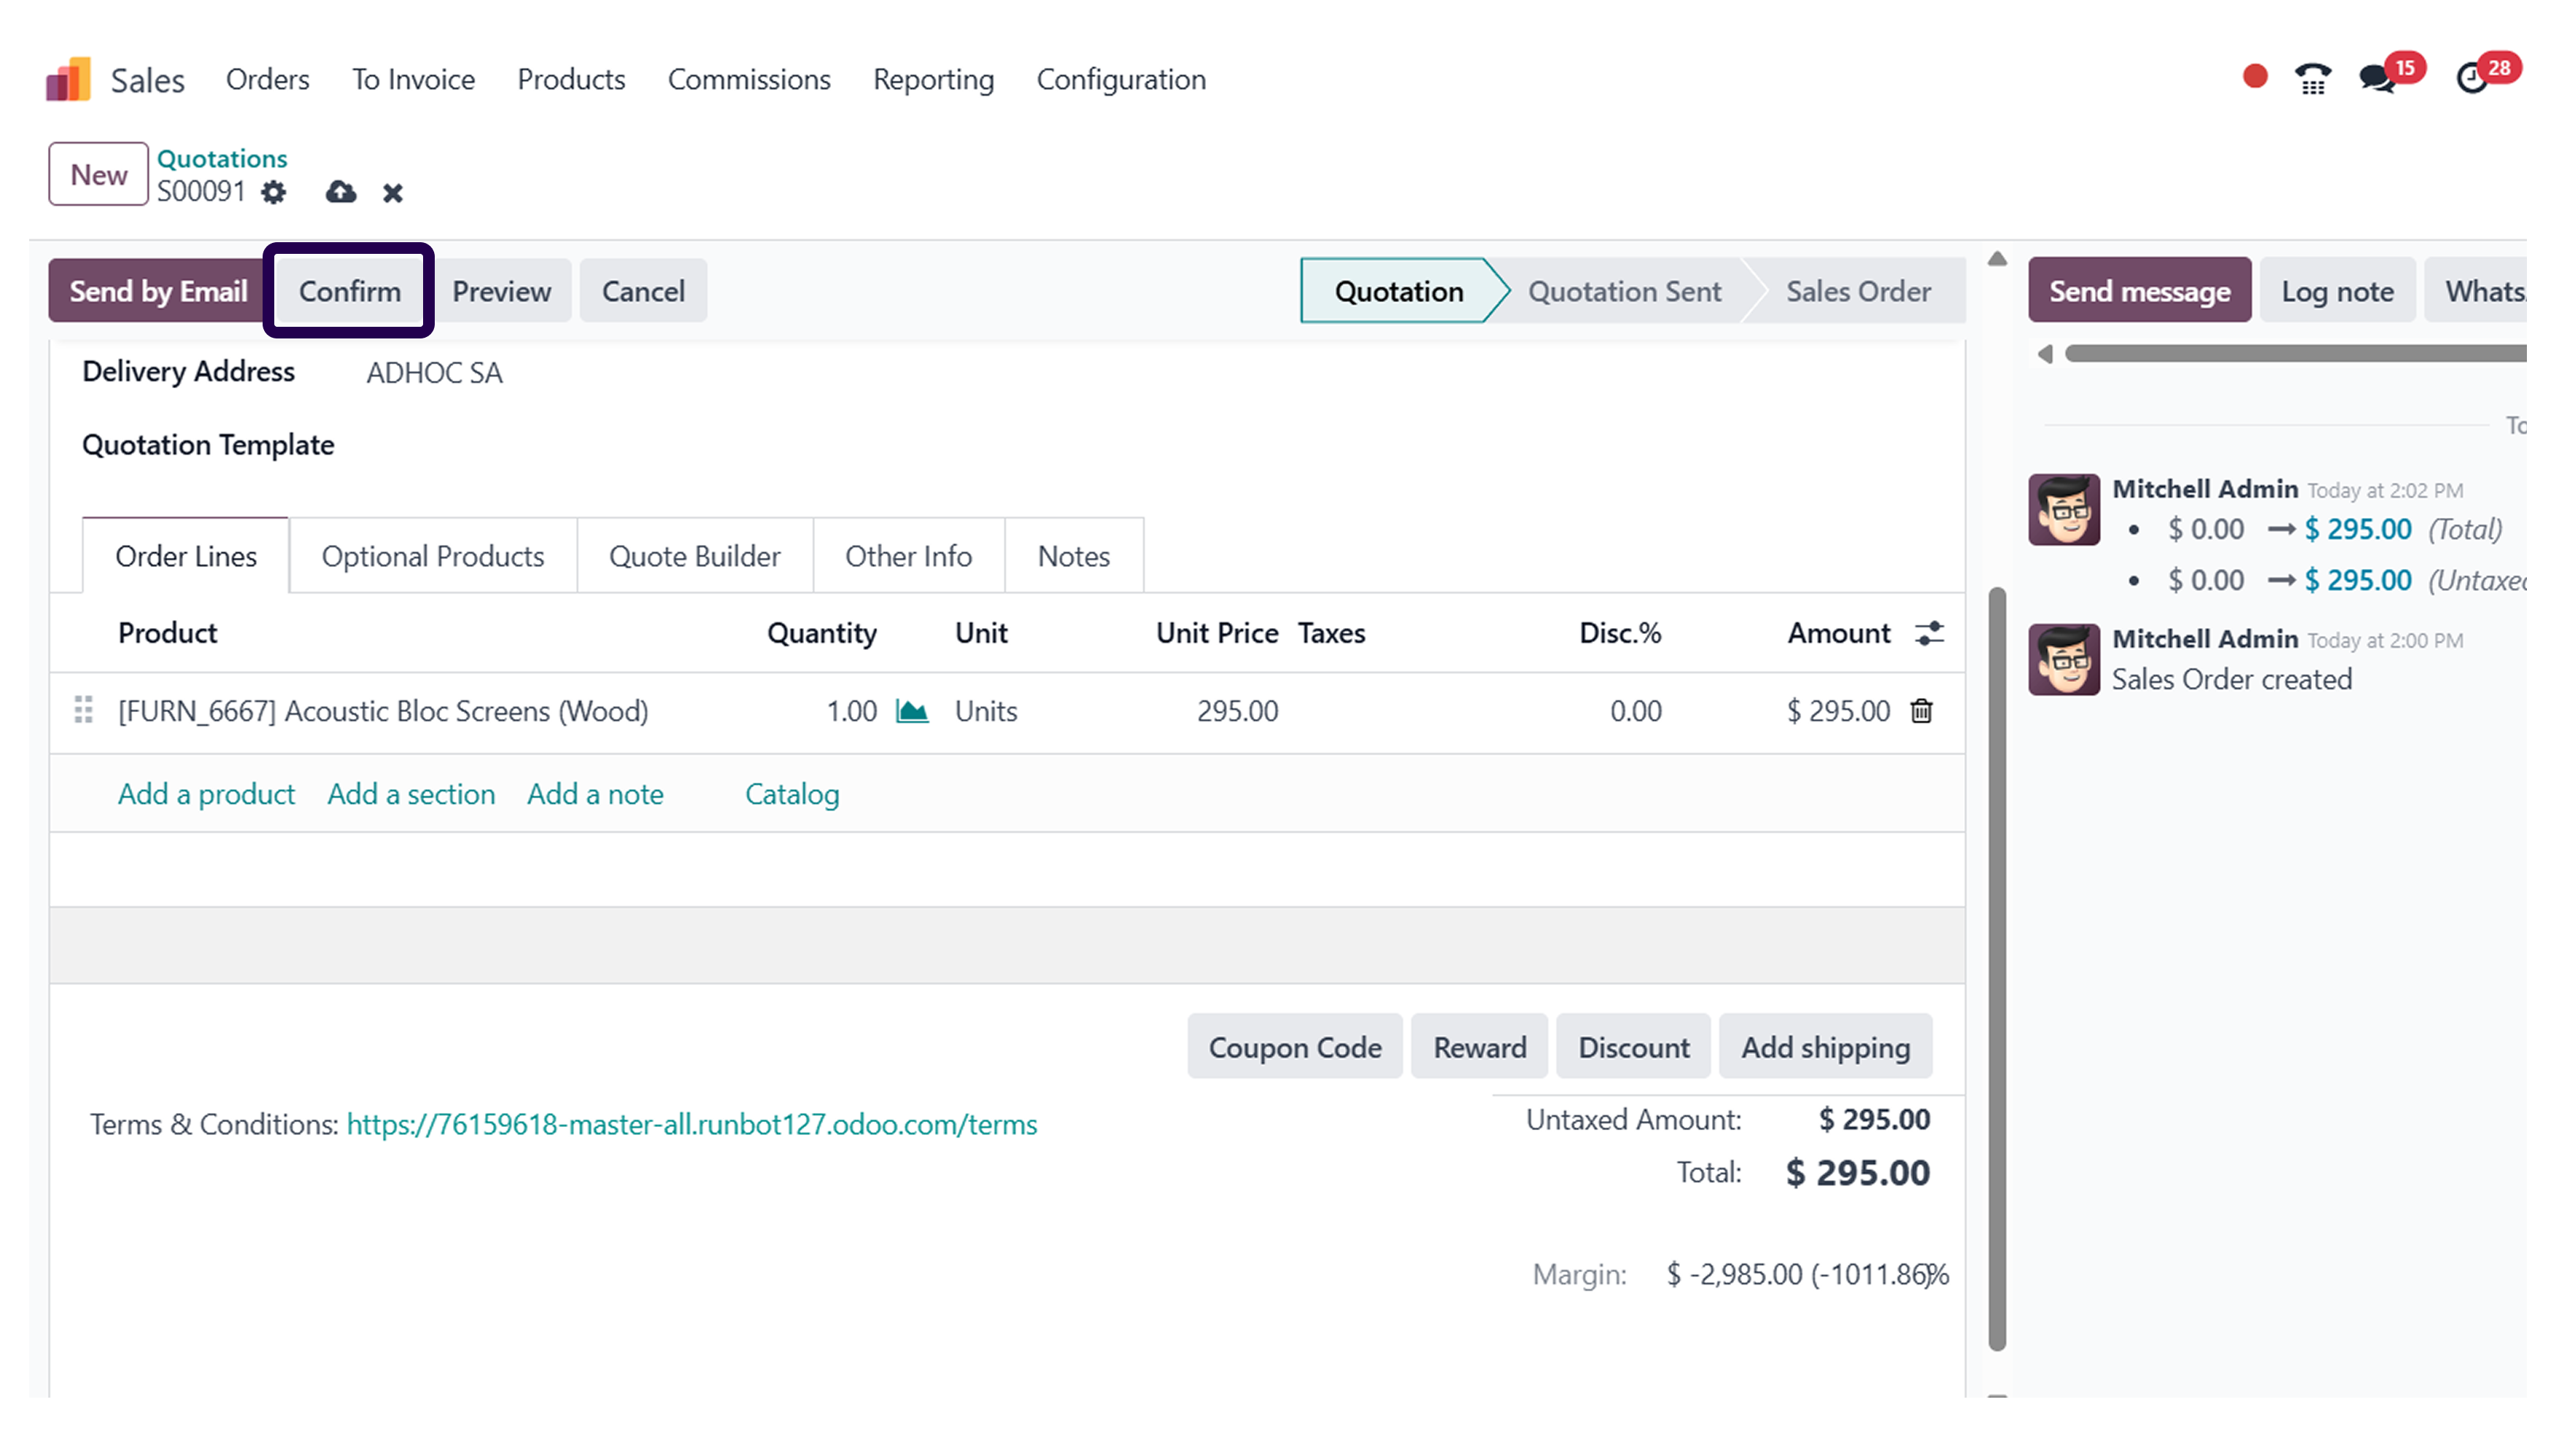
After adding all the essential details, click on the confirm button to secure the confirmation of sales orders.
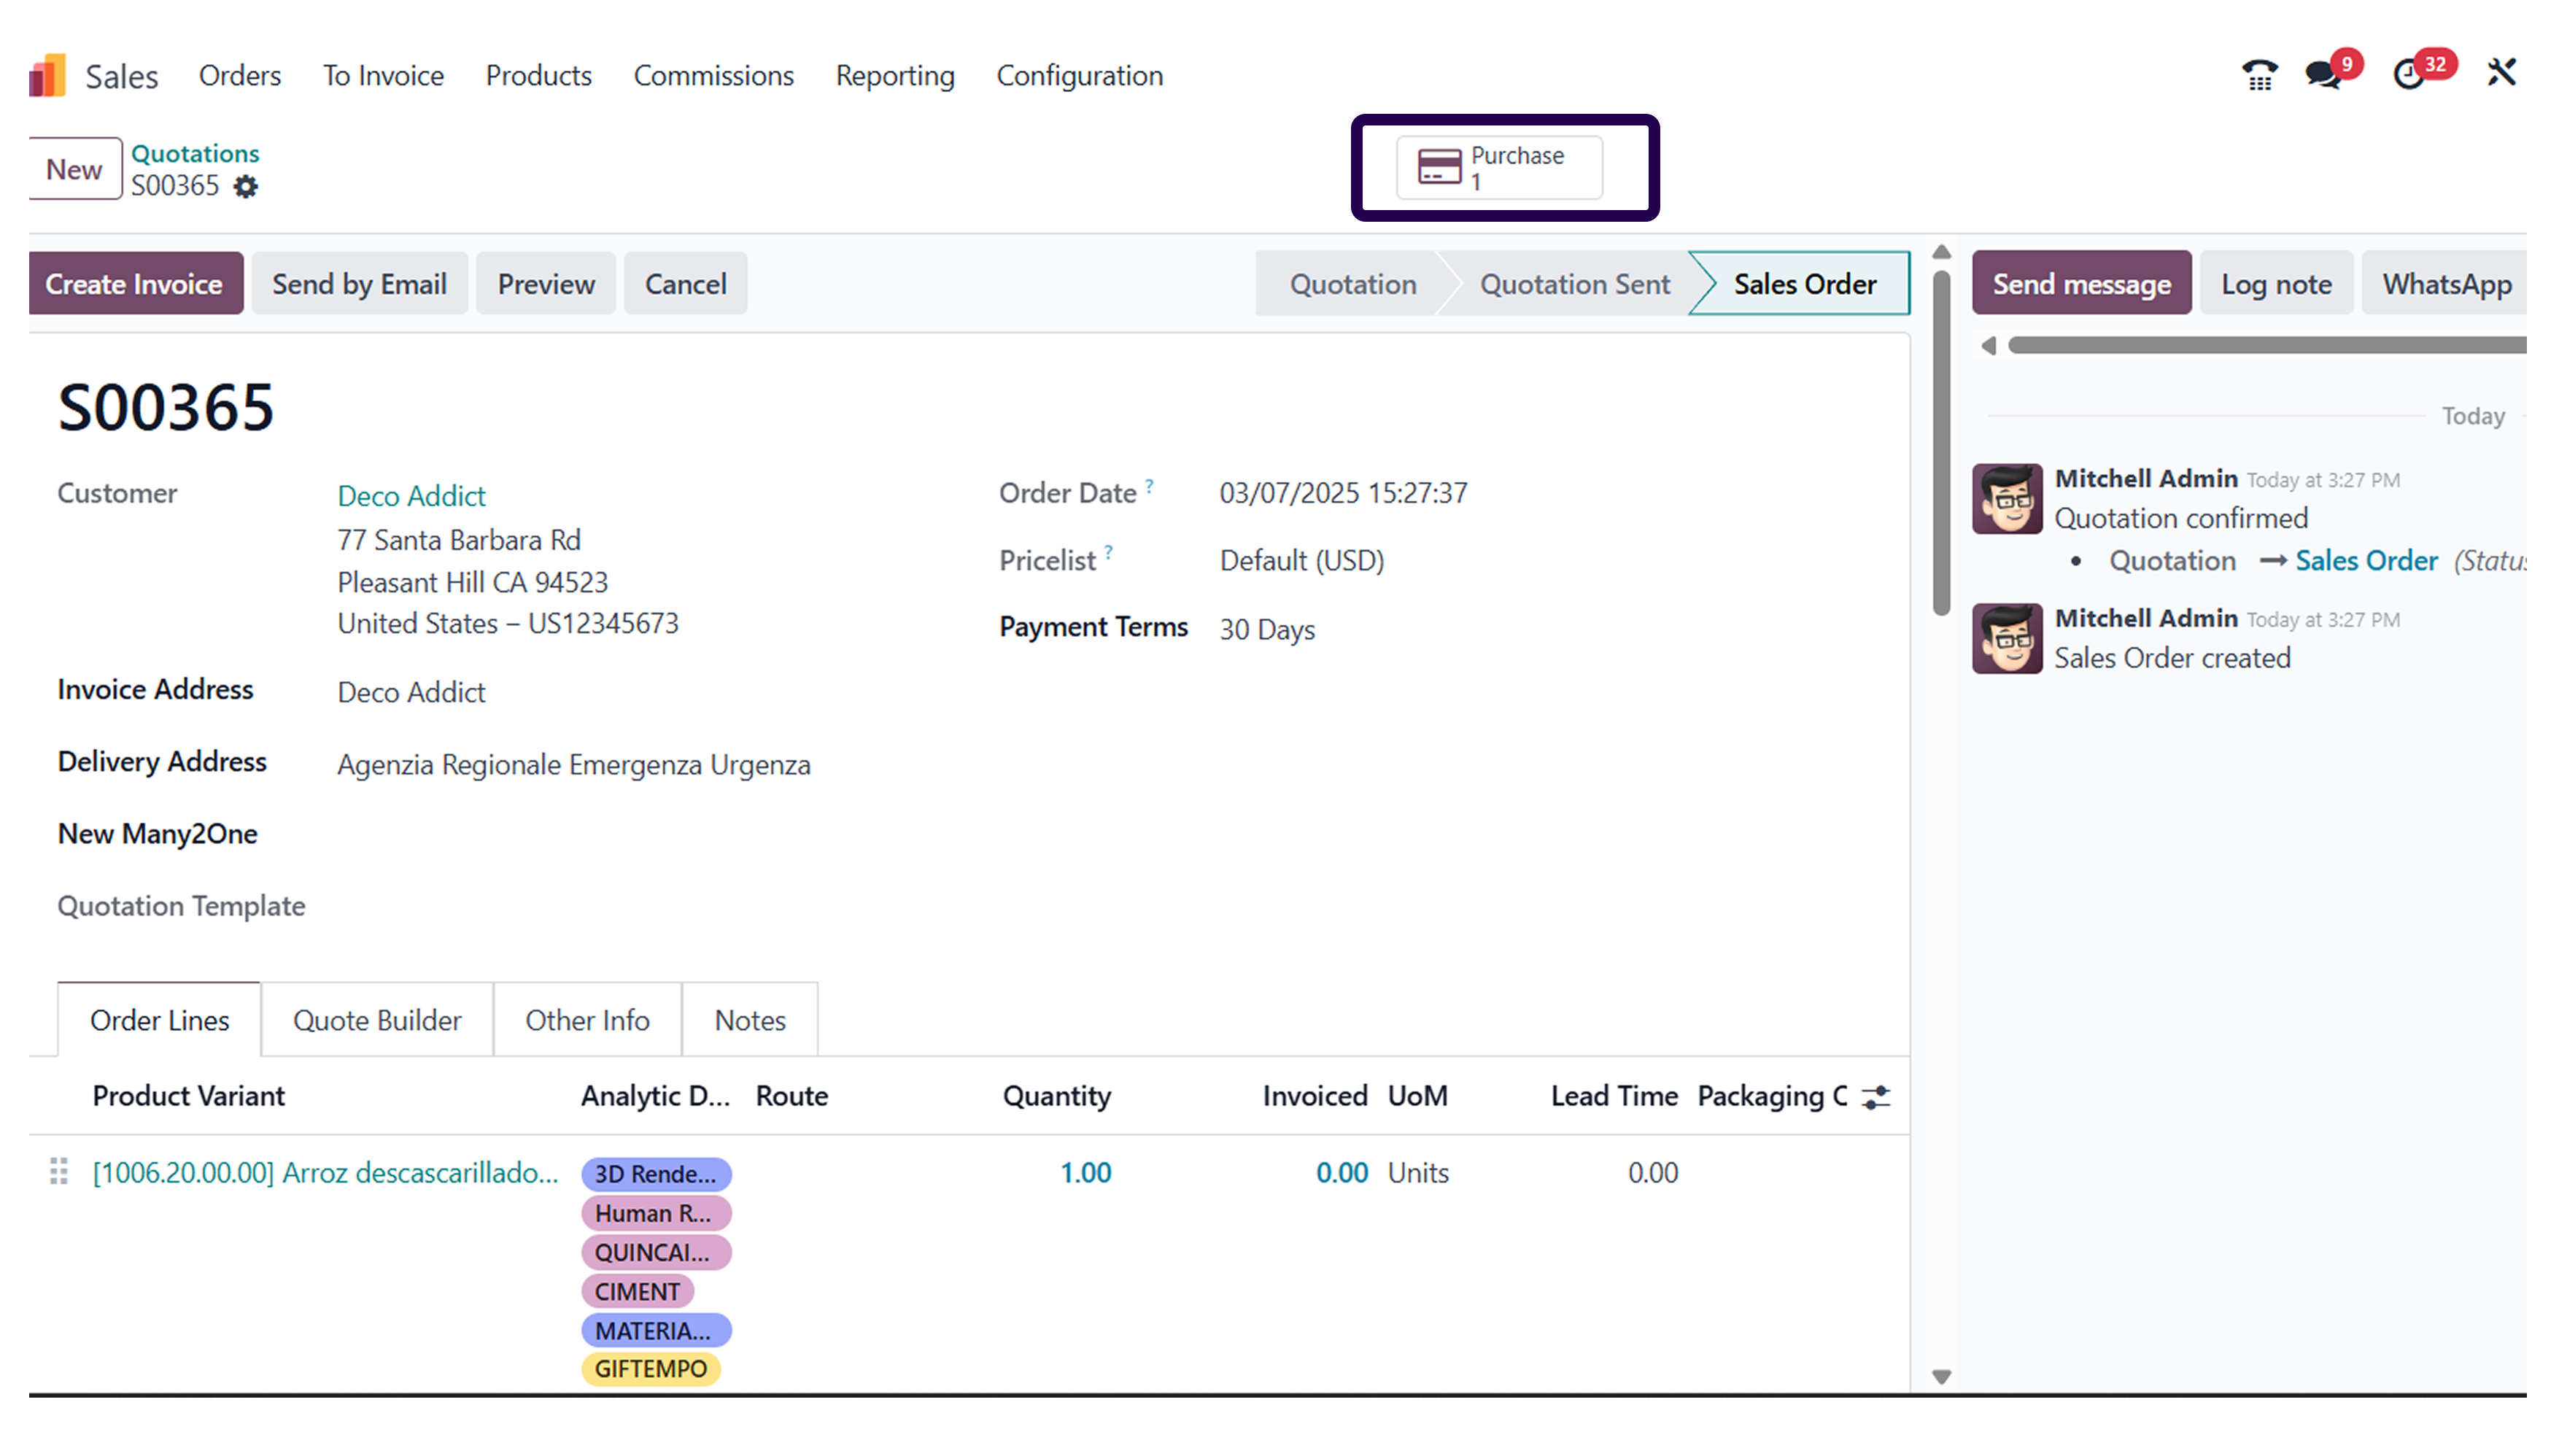
⇒ Now, Here you will notice that the Delivery order is not generated. Instead, a purchase order is generated automatically.
Step 17: Now, Go to the ‘Purchase’ module. And see their generated purchase order.
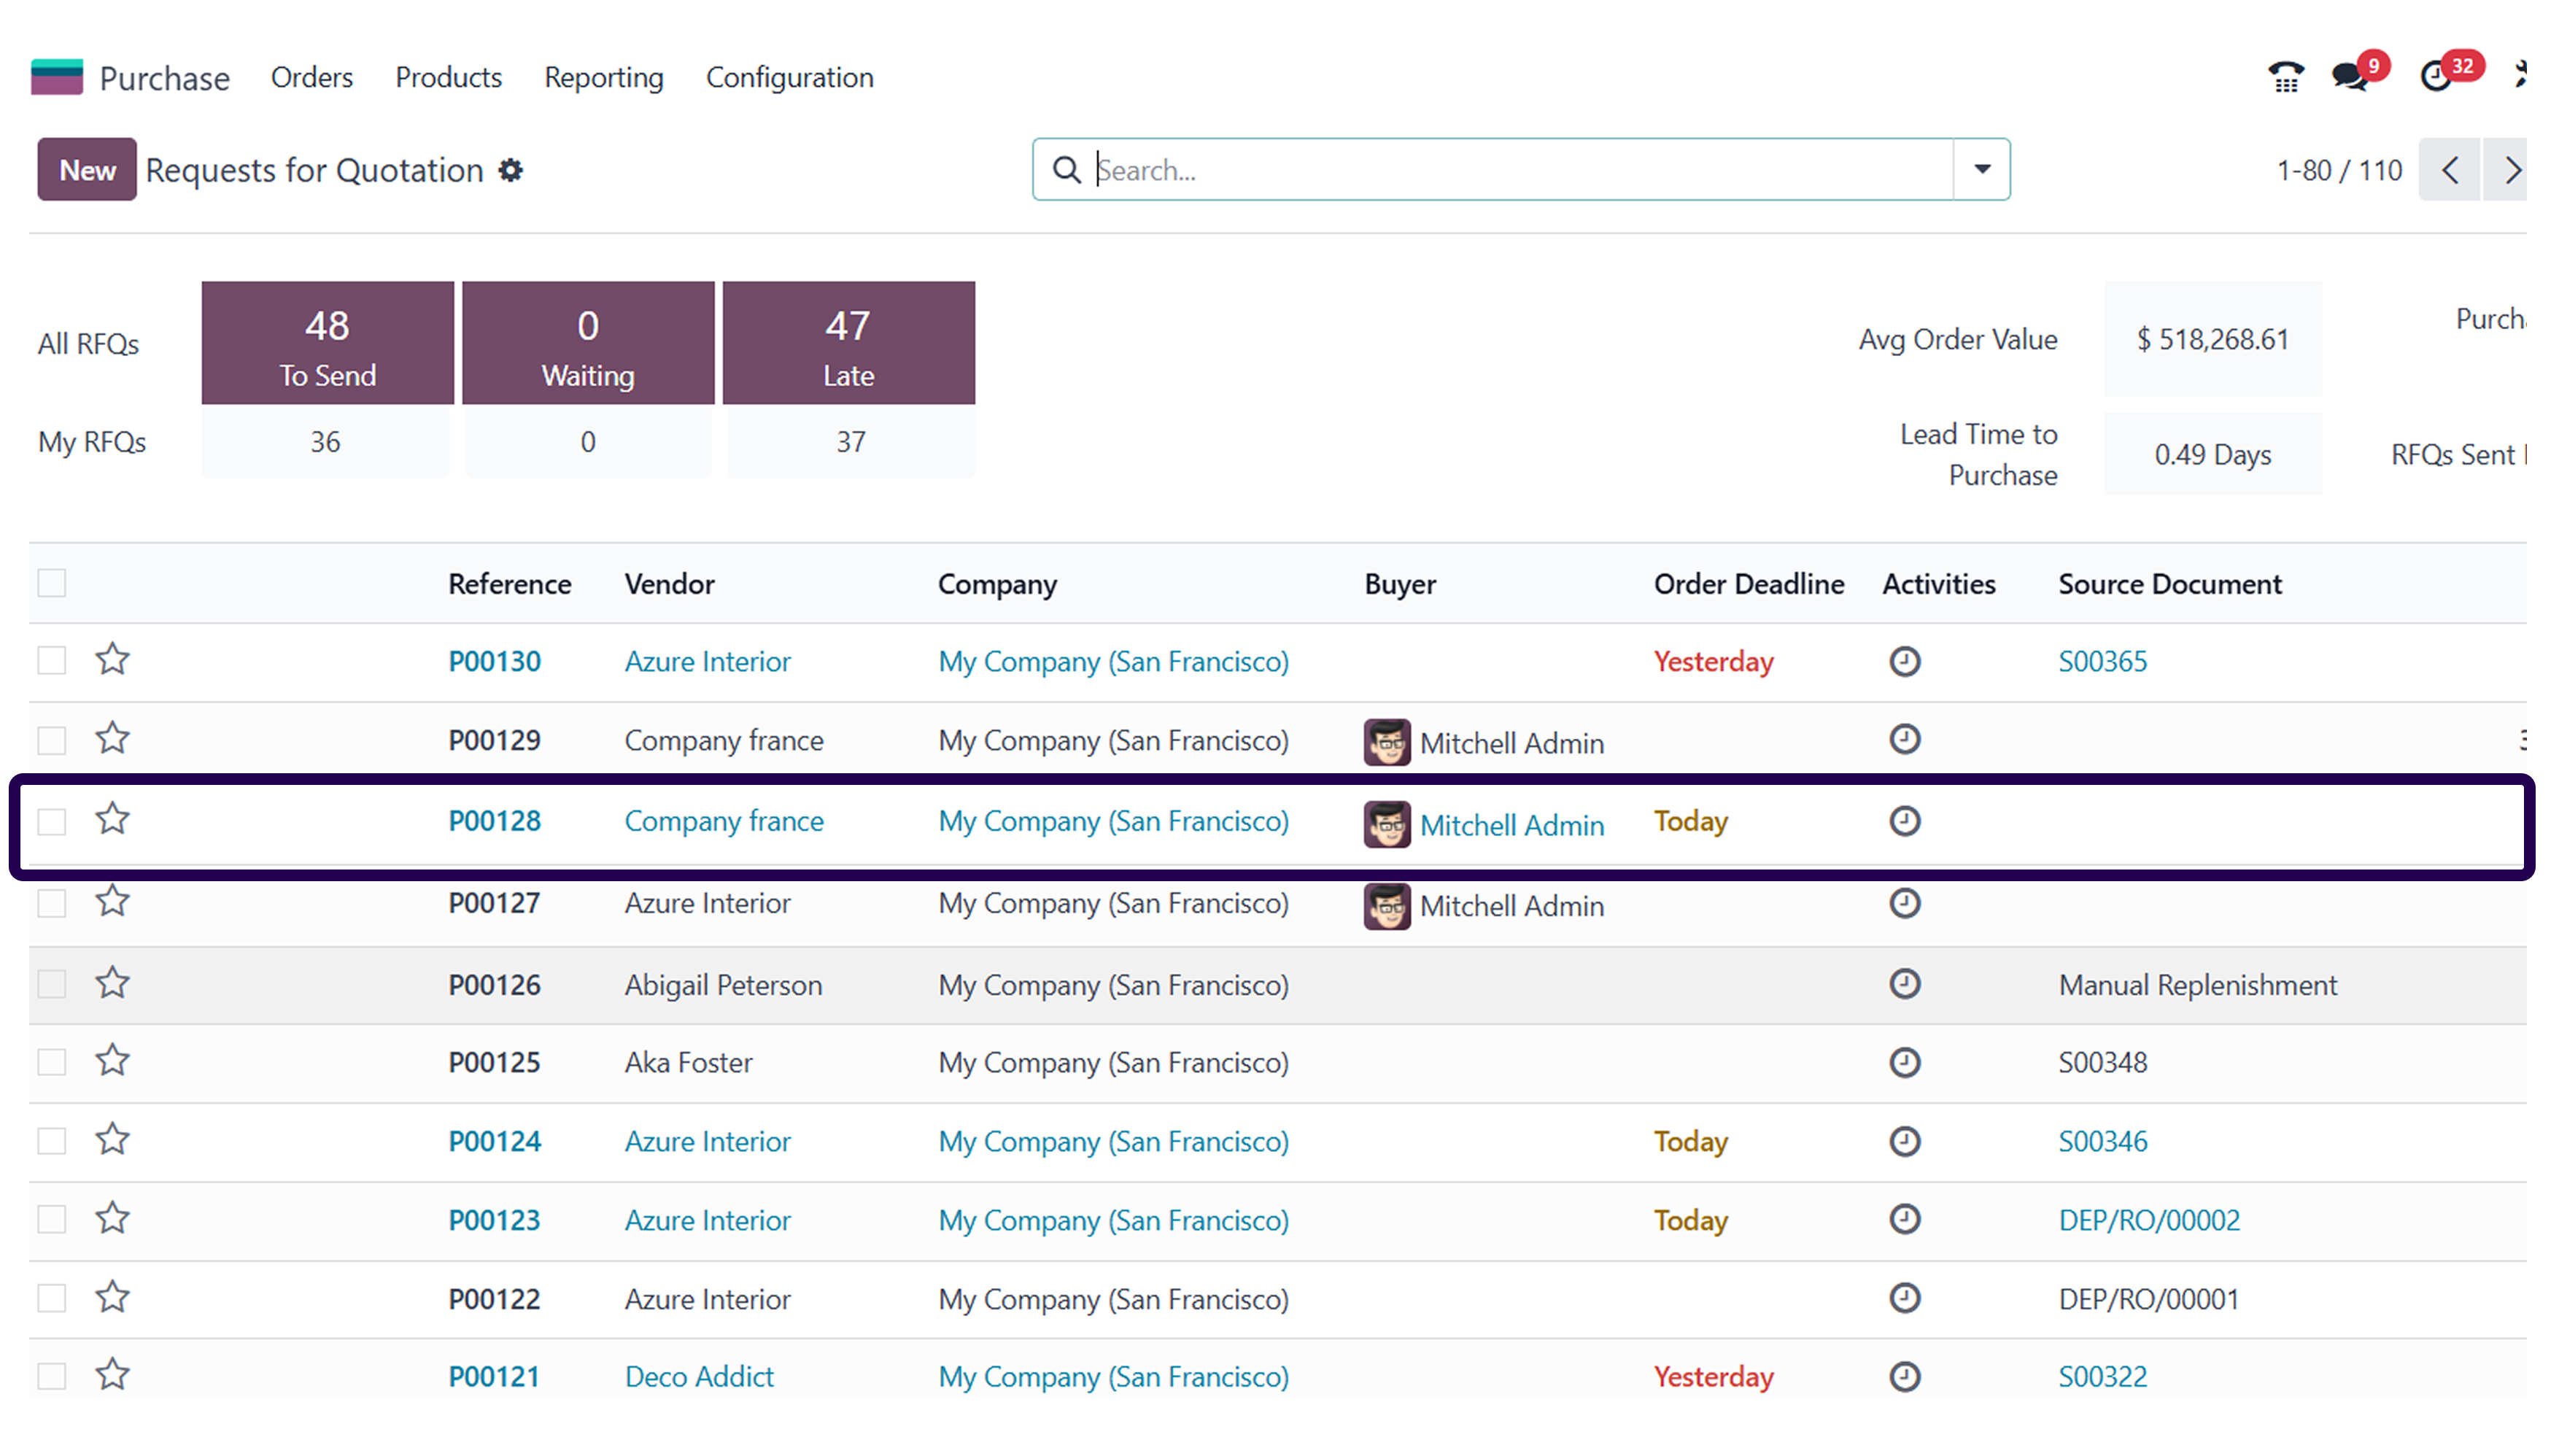
Again come back to the purchase module, and you will find a purchase order has been generated automatically.
Step 18: Open the order and click on the ‘Confirm order’ button to confirm the purchase order.
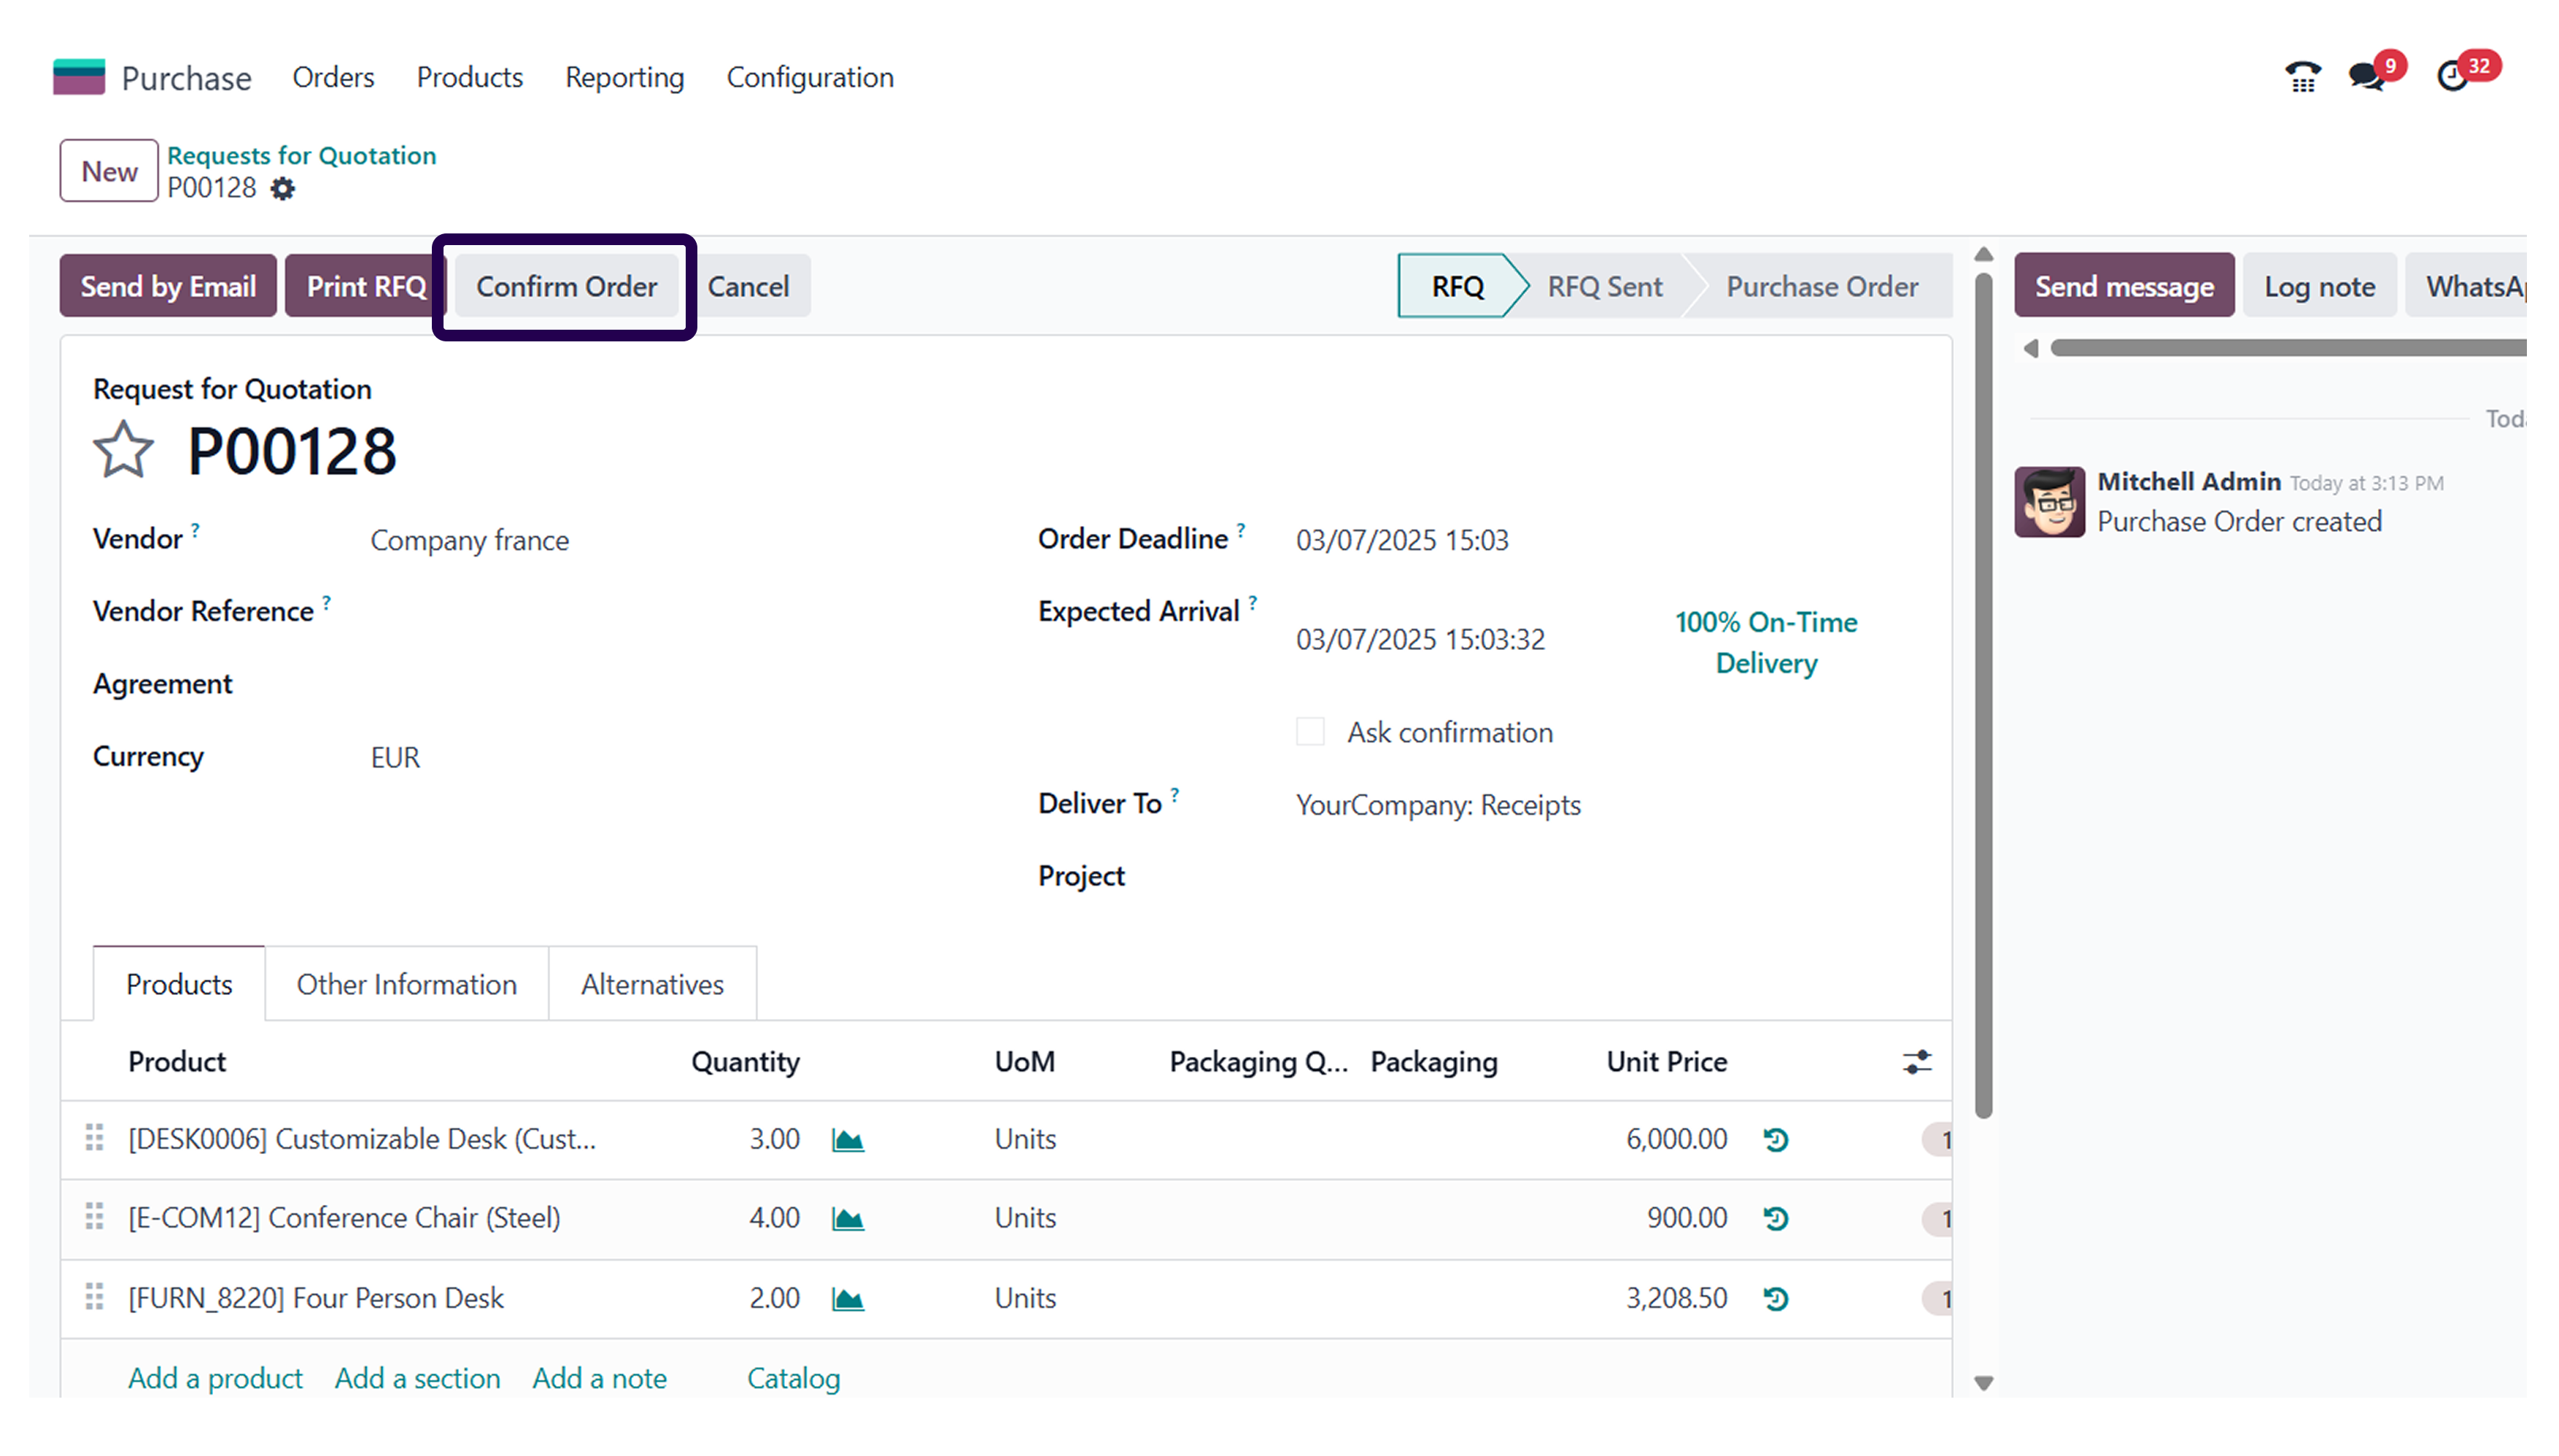
Once you click on the order, it is now time to confirm the purchase order by clicking on the confirm button.
Step 19:Click on the ‘Receive Product’ button.
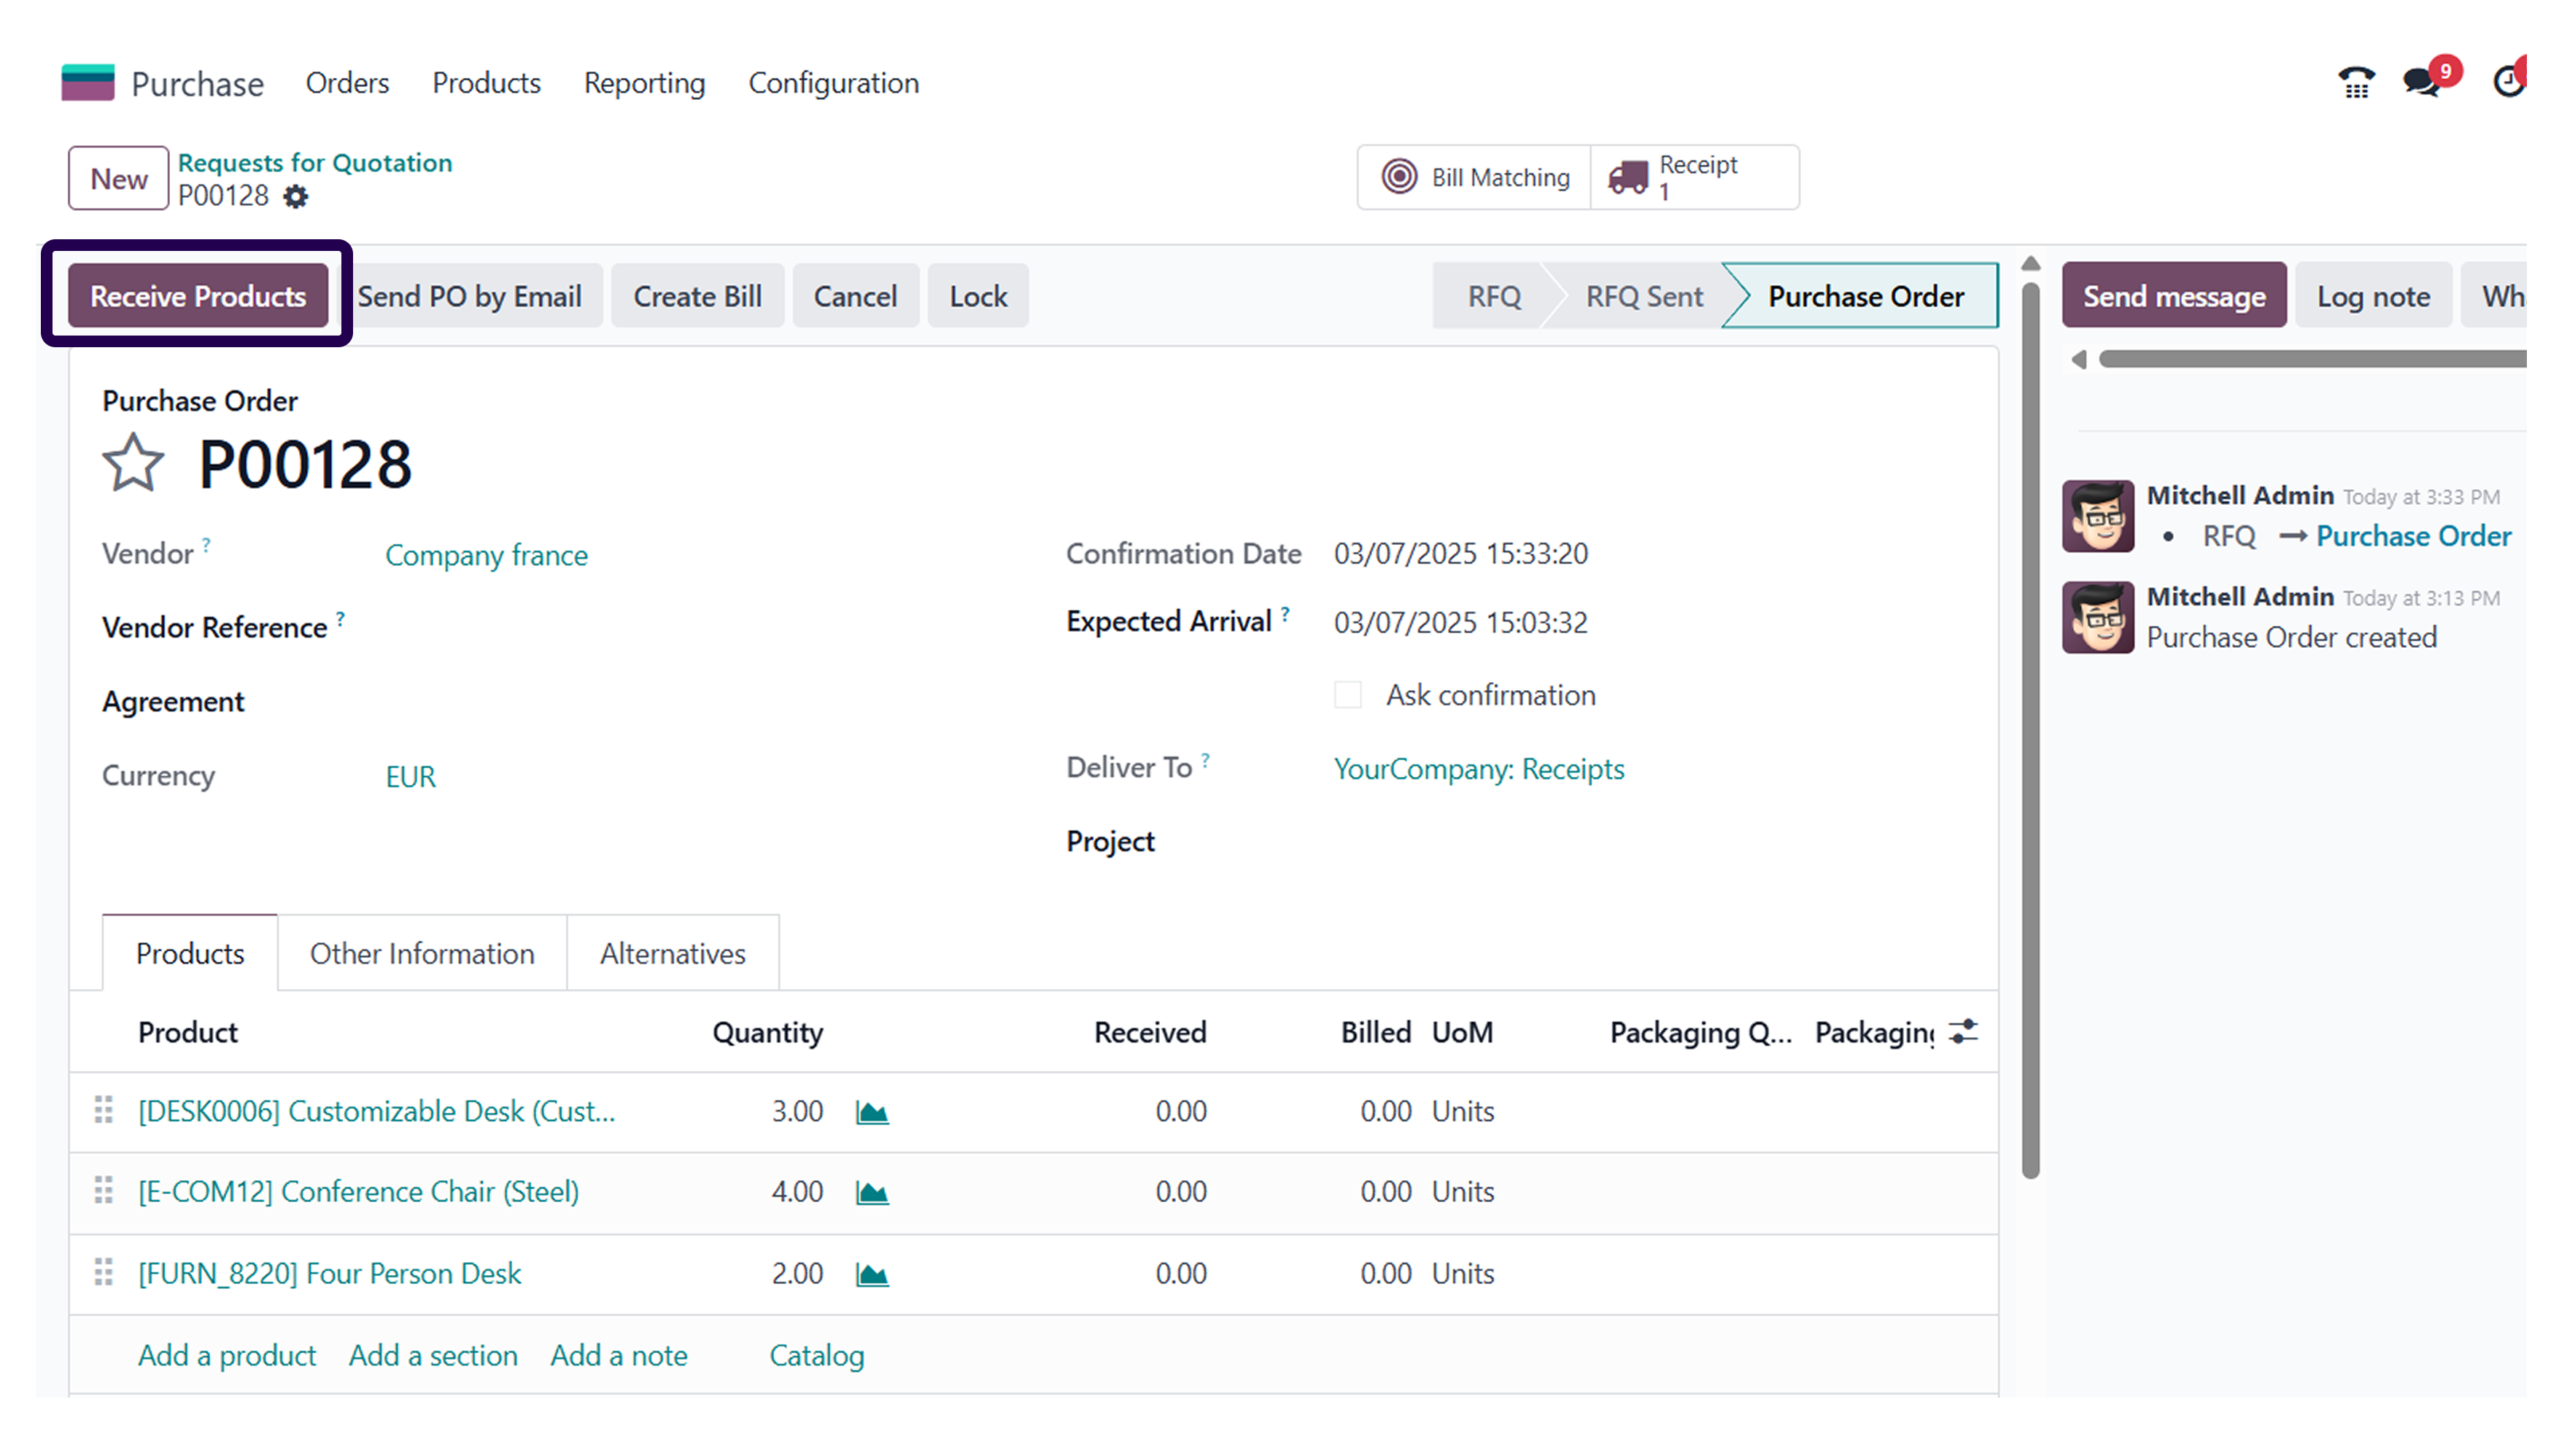
After conforming the purchase order, click on the receive product button.
Step 20: Click on the ‘Validate’ button for the product to be received.
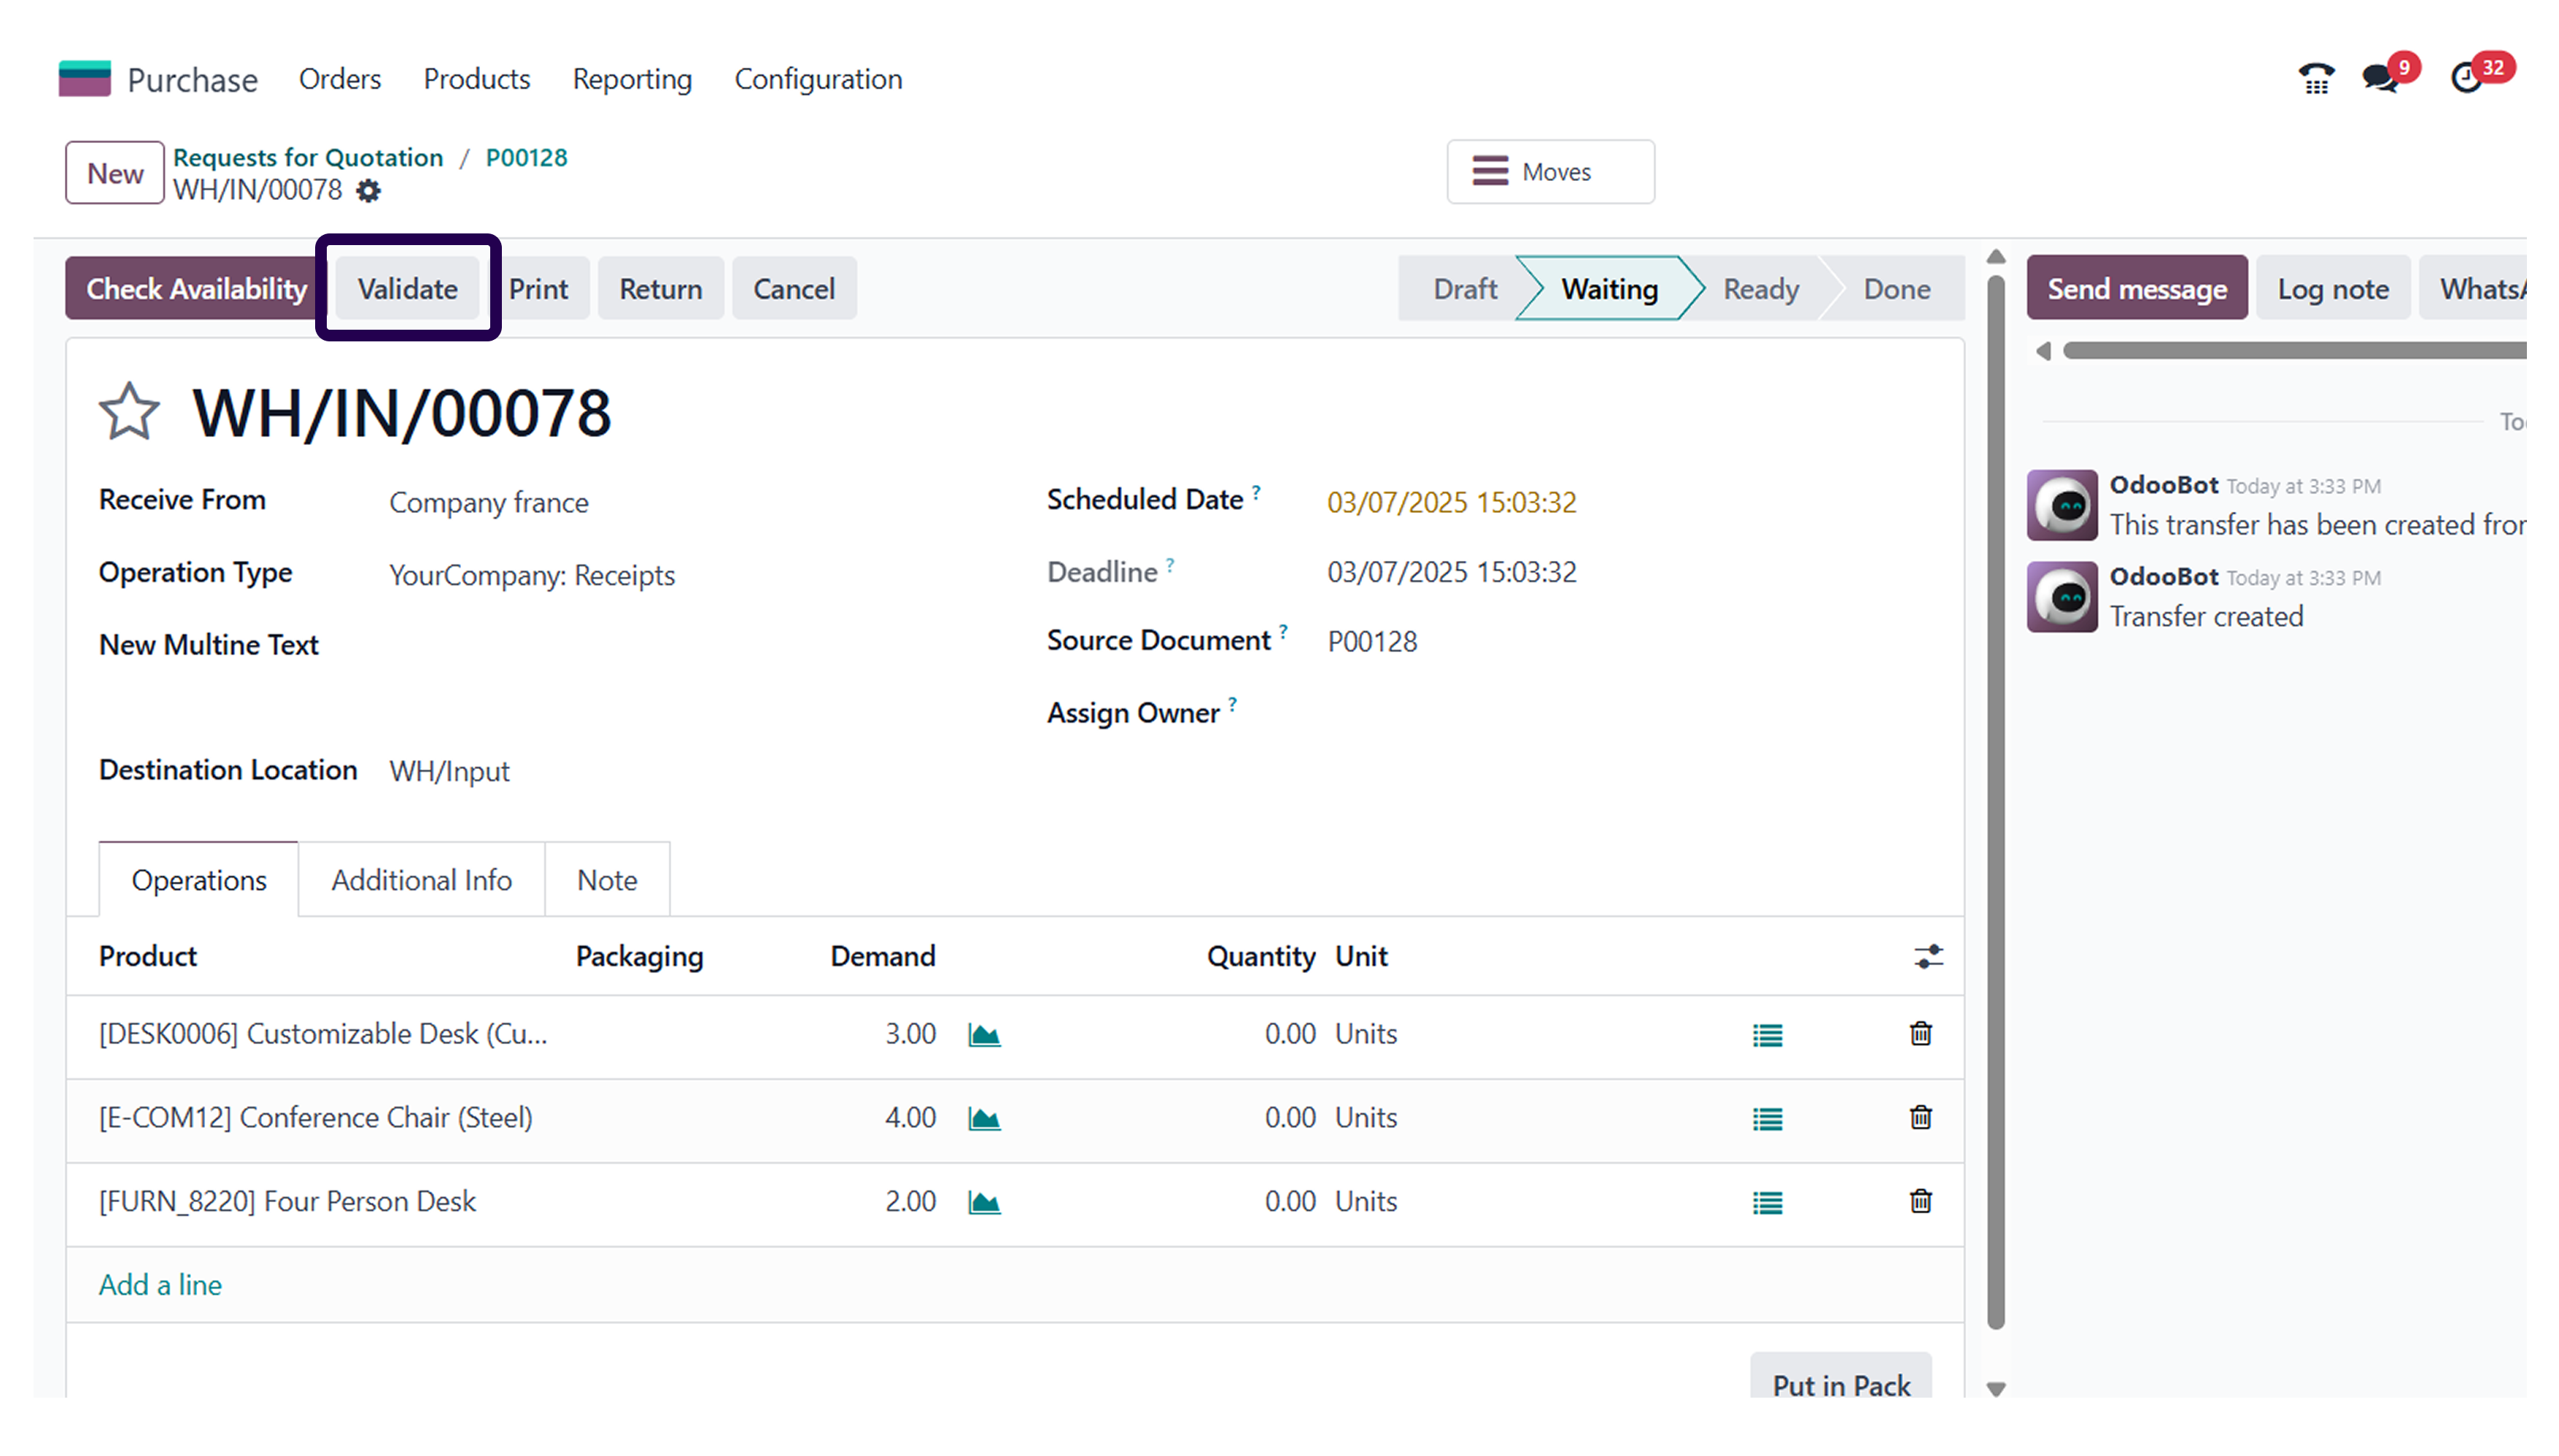
If you wish the product to be received by the customer, then ensure to validate the order.
Once you have added the quantities manually, you should ensure to validate the order.
Note: A pop-up will appear on your screen – ‘You have not recorded done quantities yet, by clicking on apply Odoo will process all the quantities’.
Step 22: Click on the ‘Apply’ button.
After reading the entire pop up content, click on the apply button.
Step 23: Come back to the purchase order and go to the ‘Other Information tab.
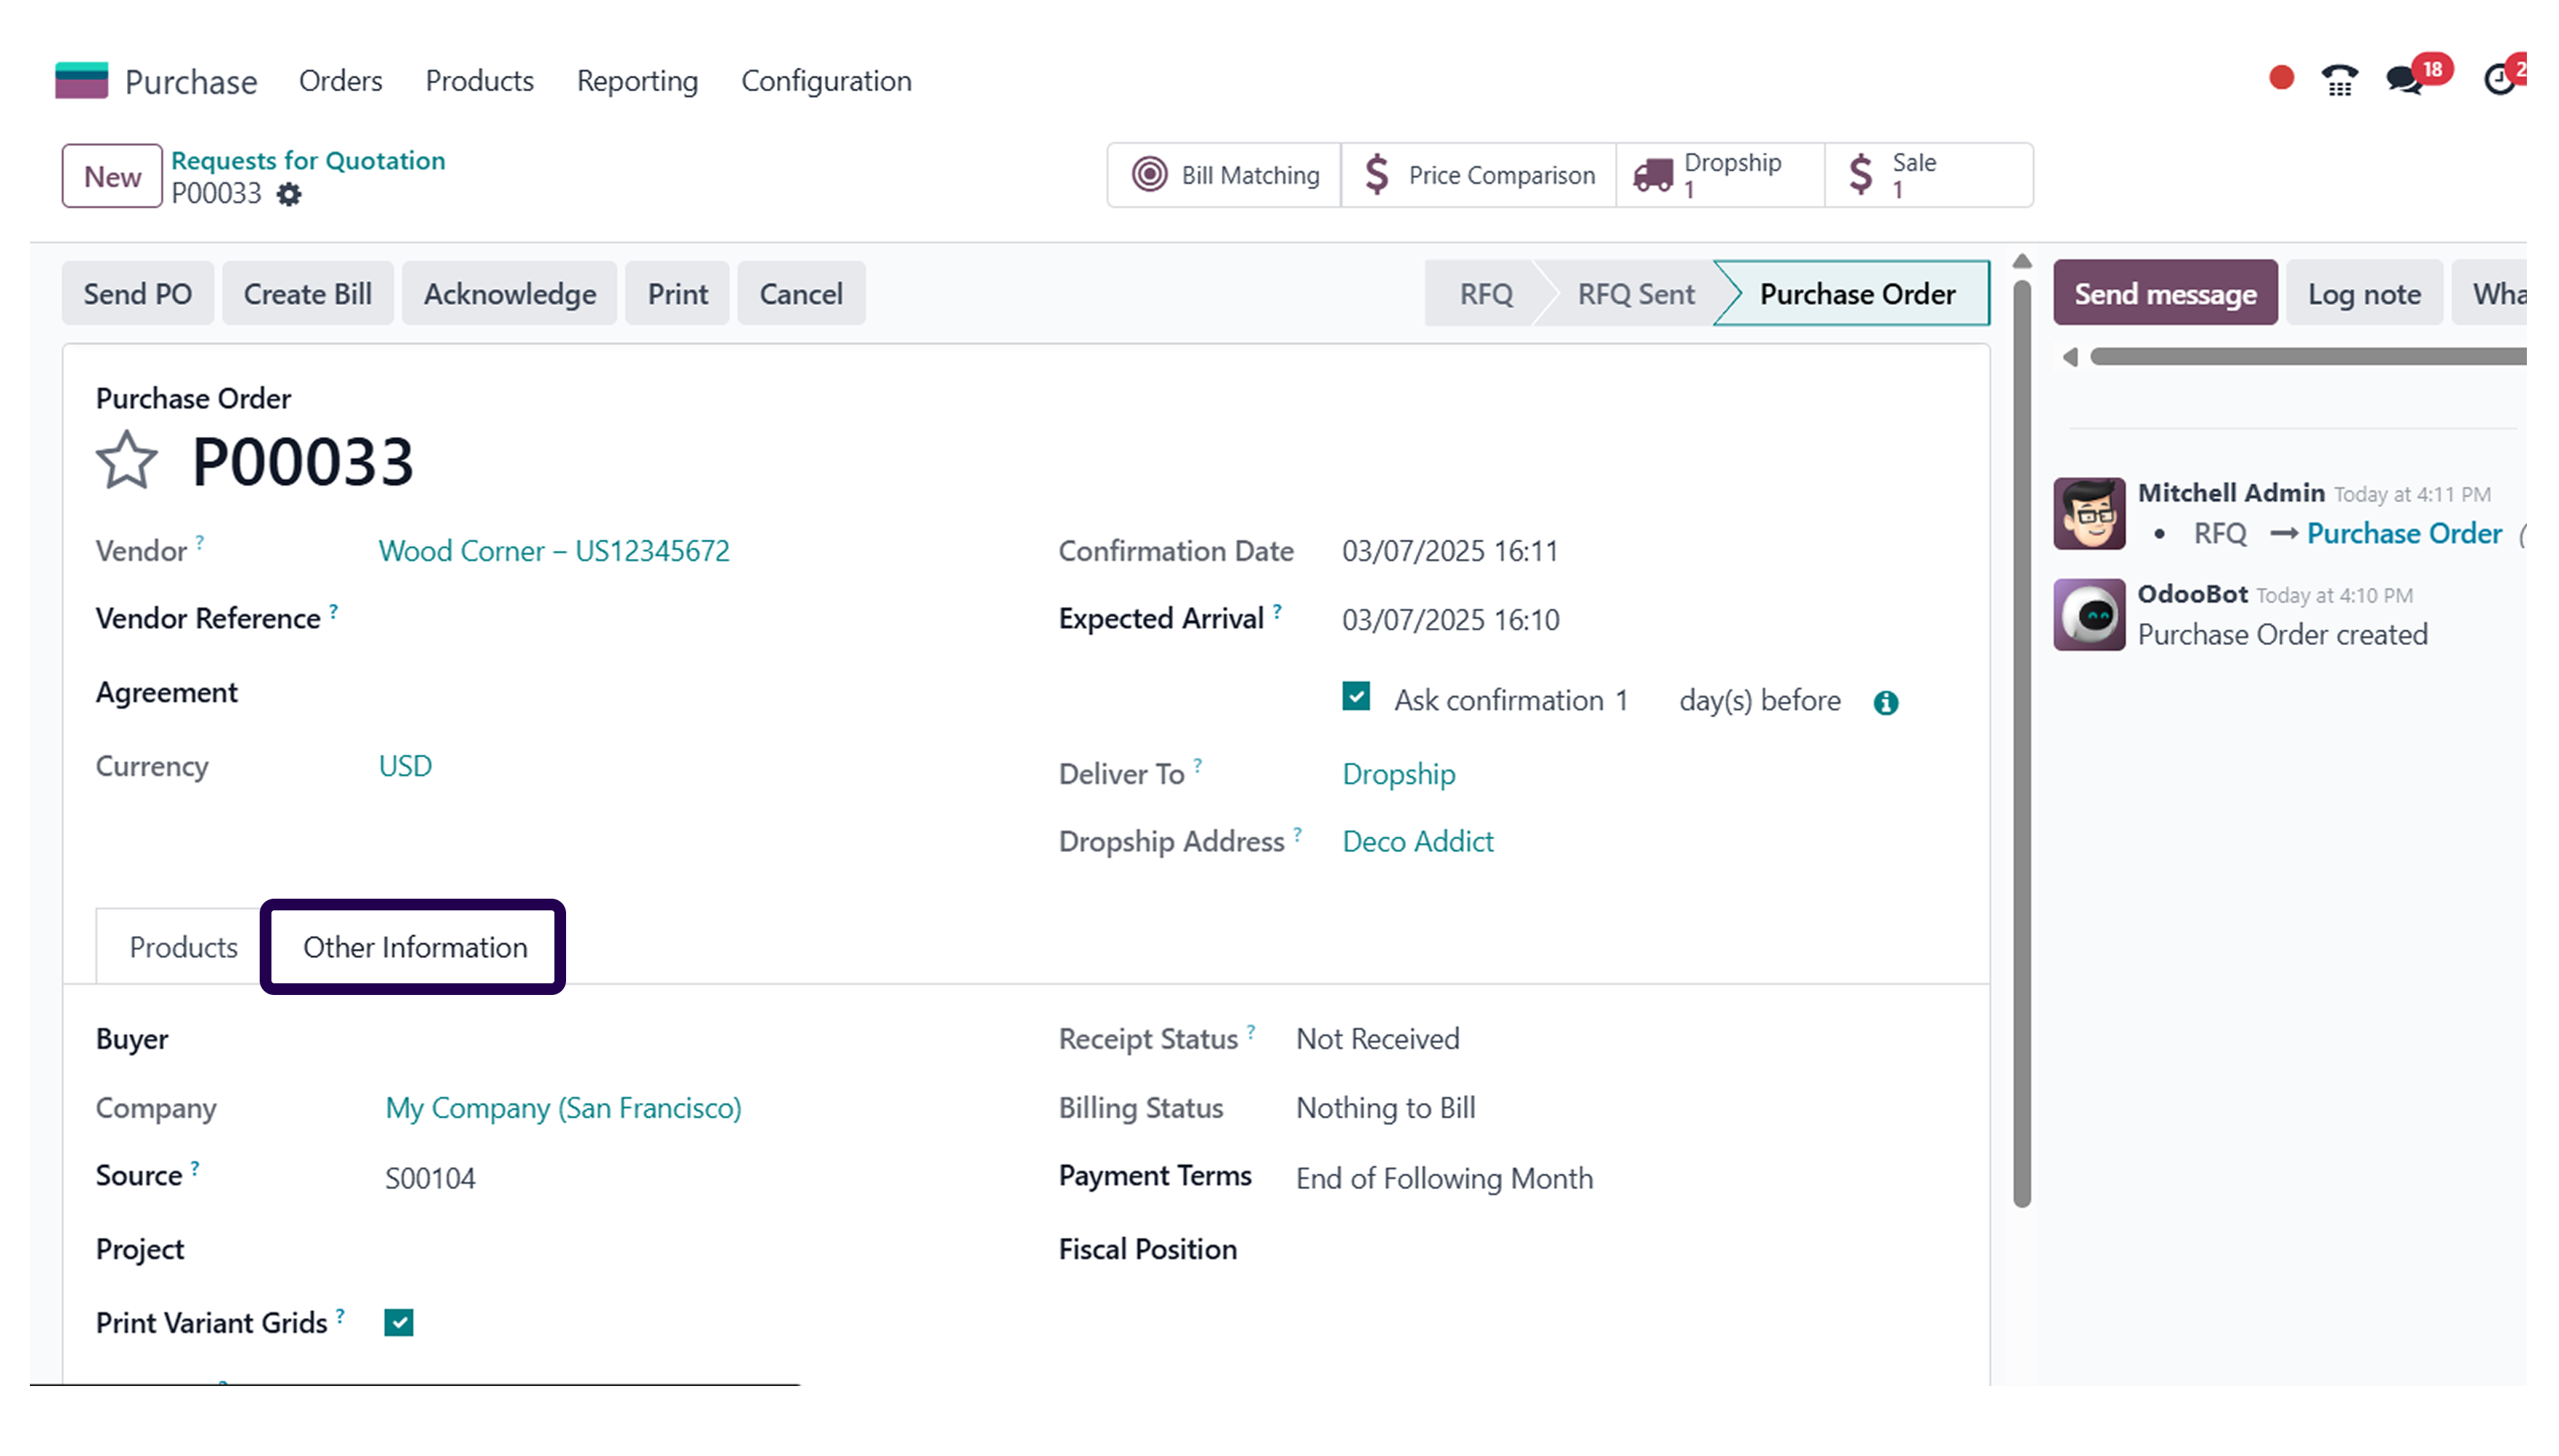
Move to purchase order, and click on the other information tab.
⇒ Here, you will see that the delivery method is the Drop-shipping’ method.
⇒ Now, Go to the ‘Sales’ module, and you will see that a delivery order is generated.
Step 24: Click on the ‘Delivery order’ and see the location shown in the Partner Locations to Customers Locations that delivered the product.
Last but not least, click on the deliver order where you will be able to see the delivery location and its sender’s name too.

About Author
Kalpesh Gajera is the Chief Technology Officer at UNCANNY Consulting Services, specializing in Odoo, ERP, and eCommerce technologies. He focuses on building scalable enterprise solutions that help organizations streamline operations, improve efficiency, and accelerate digital transformation initiatives.
Kalpesh Gajera is the Chief Technology Officer at UNCANNY Consulting Services, specializing in Odoo, ERP, and eCommerce technologies. He focuses on building scalable enterprise solutions that help organizations streamline operations, improve efficiency, and accelerate digital transformation initiatives.