How Does the Delivery Lead Time Feature works in Odoo Sales Module?
Published on May 11th 2023

Want to start a project with us?
Empowering businesses to achieve greatness through strategic guidance and innovative solutions.
Book A Demo
Delivery Lead Time working in Odoo Sales Module
➡️ Step 1: Go to the ‘Sales’ module.
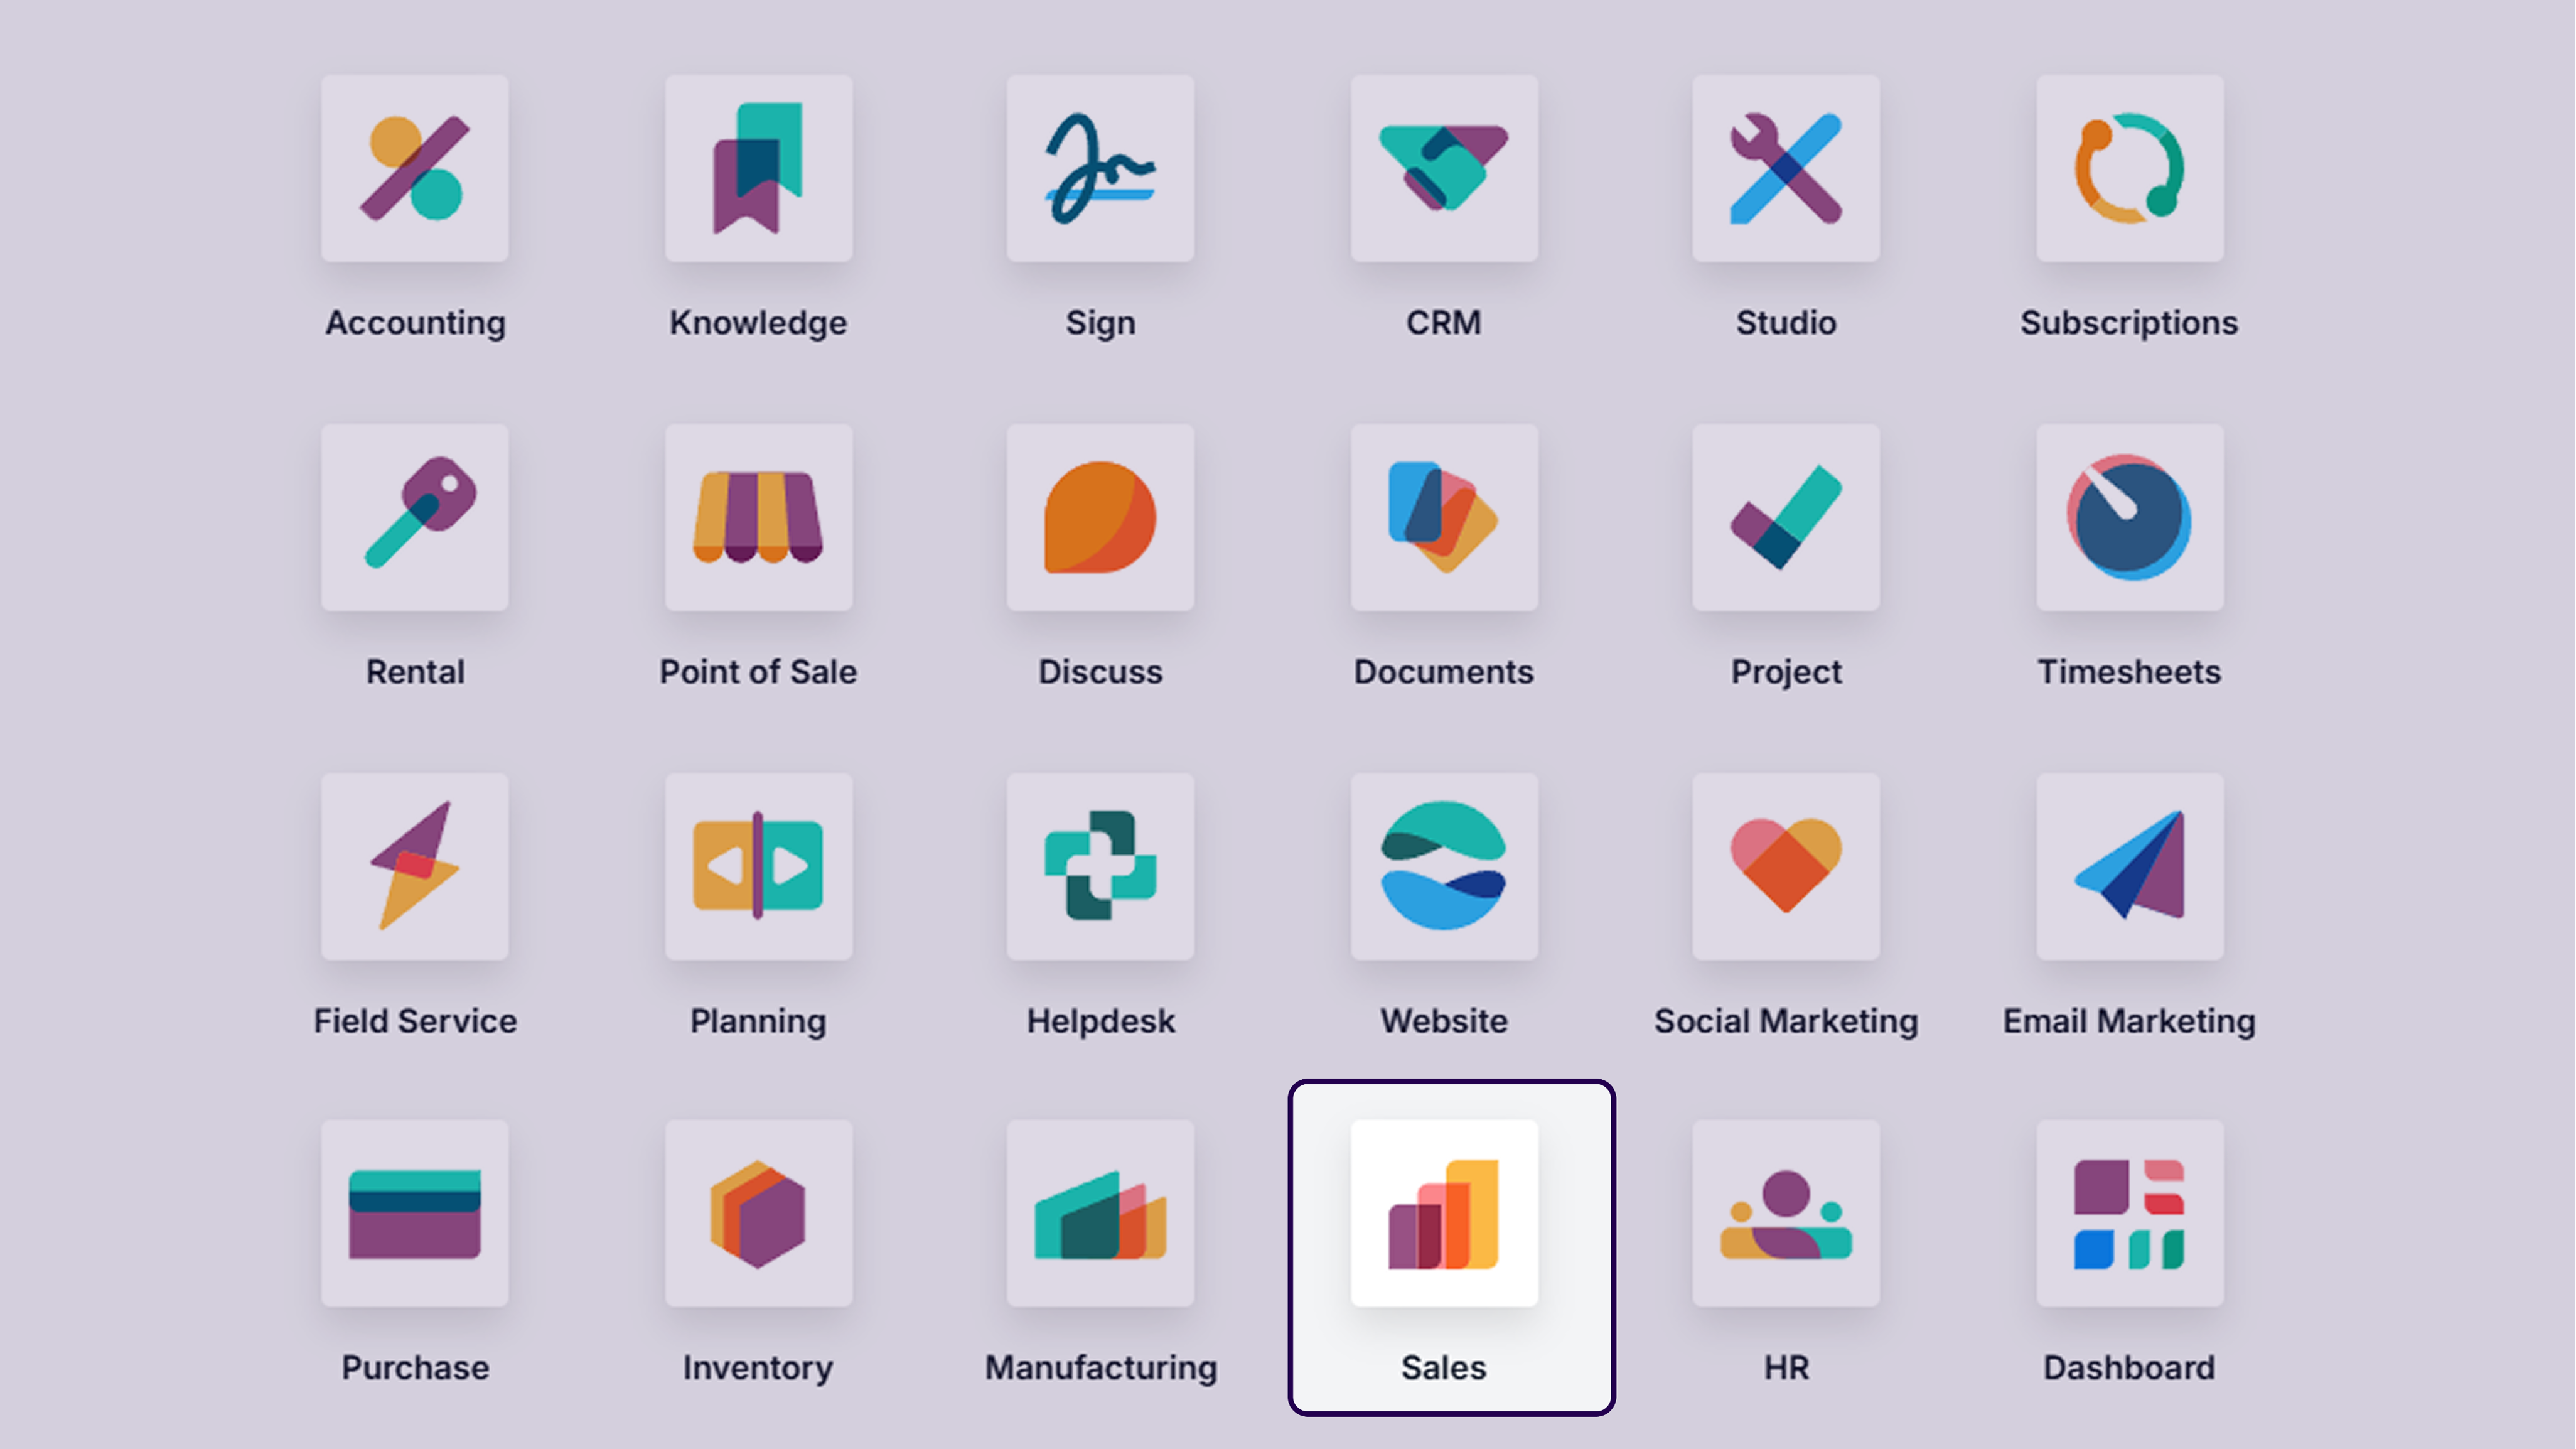
First of all, we will go to the Sales module, and click on the same.
➡️ Step 2: Navigate to the ‘Product’ and click on ‘Product’.
Once you have clicked on the sales module, you will be redirected to the next page. Here you will have to click on the product template and then click on the product option.
➡️Step 3:Select the ‘Product’.
After clicking on the products, it is time to select a specific product and apply delivery lead time to the same product.
➡️ Step 4: Click on the ‘Edit’ and jump to the ‘Inventory’ section.
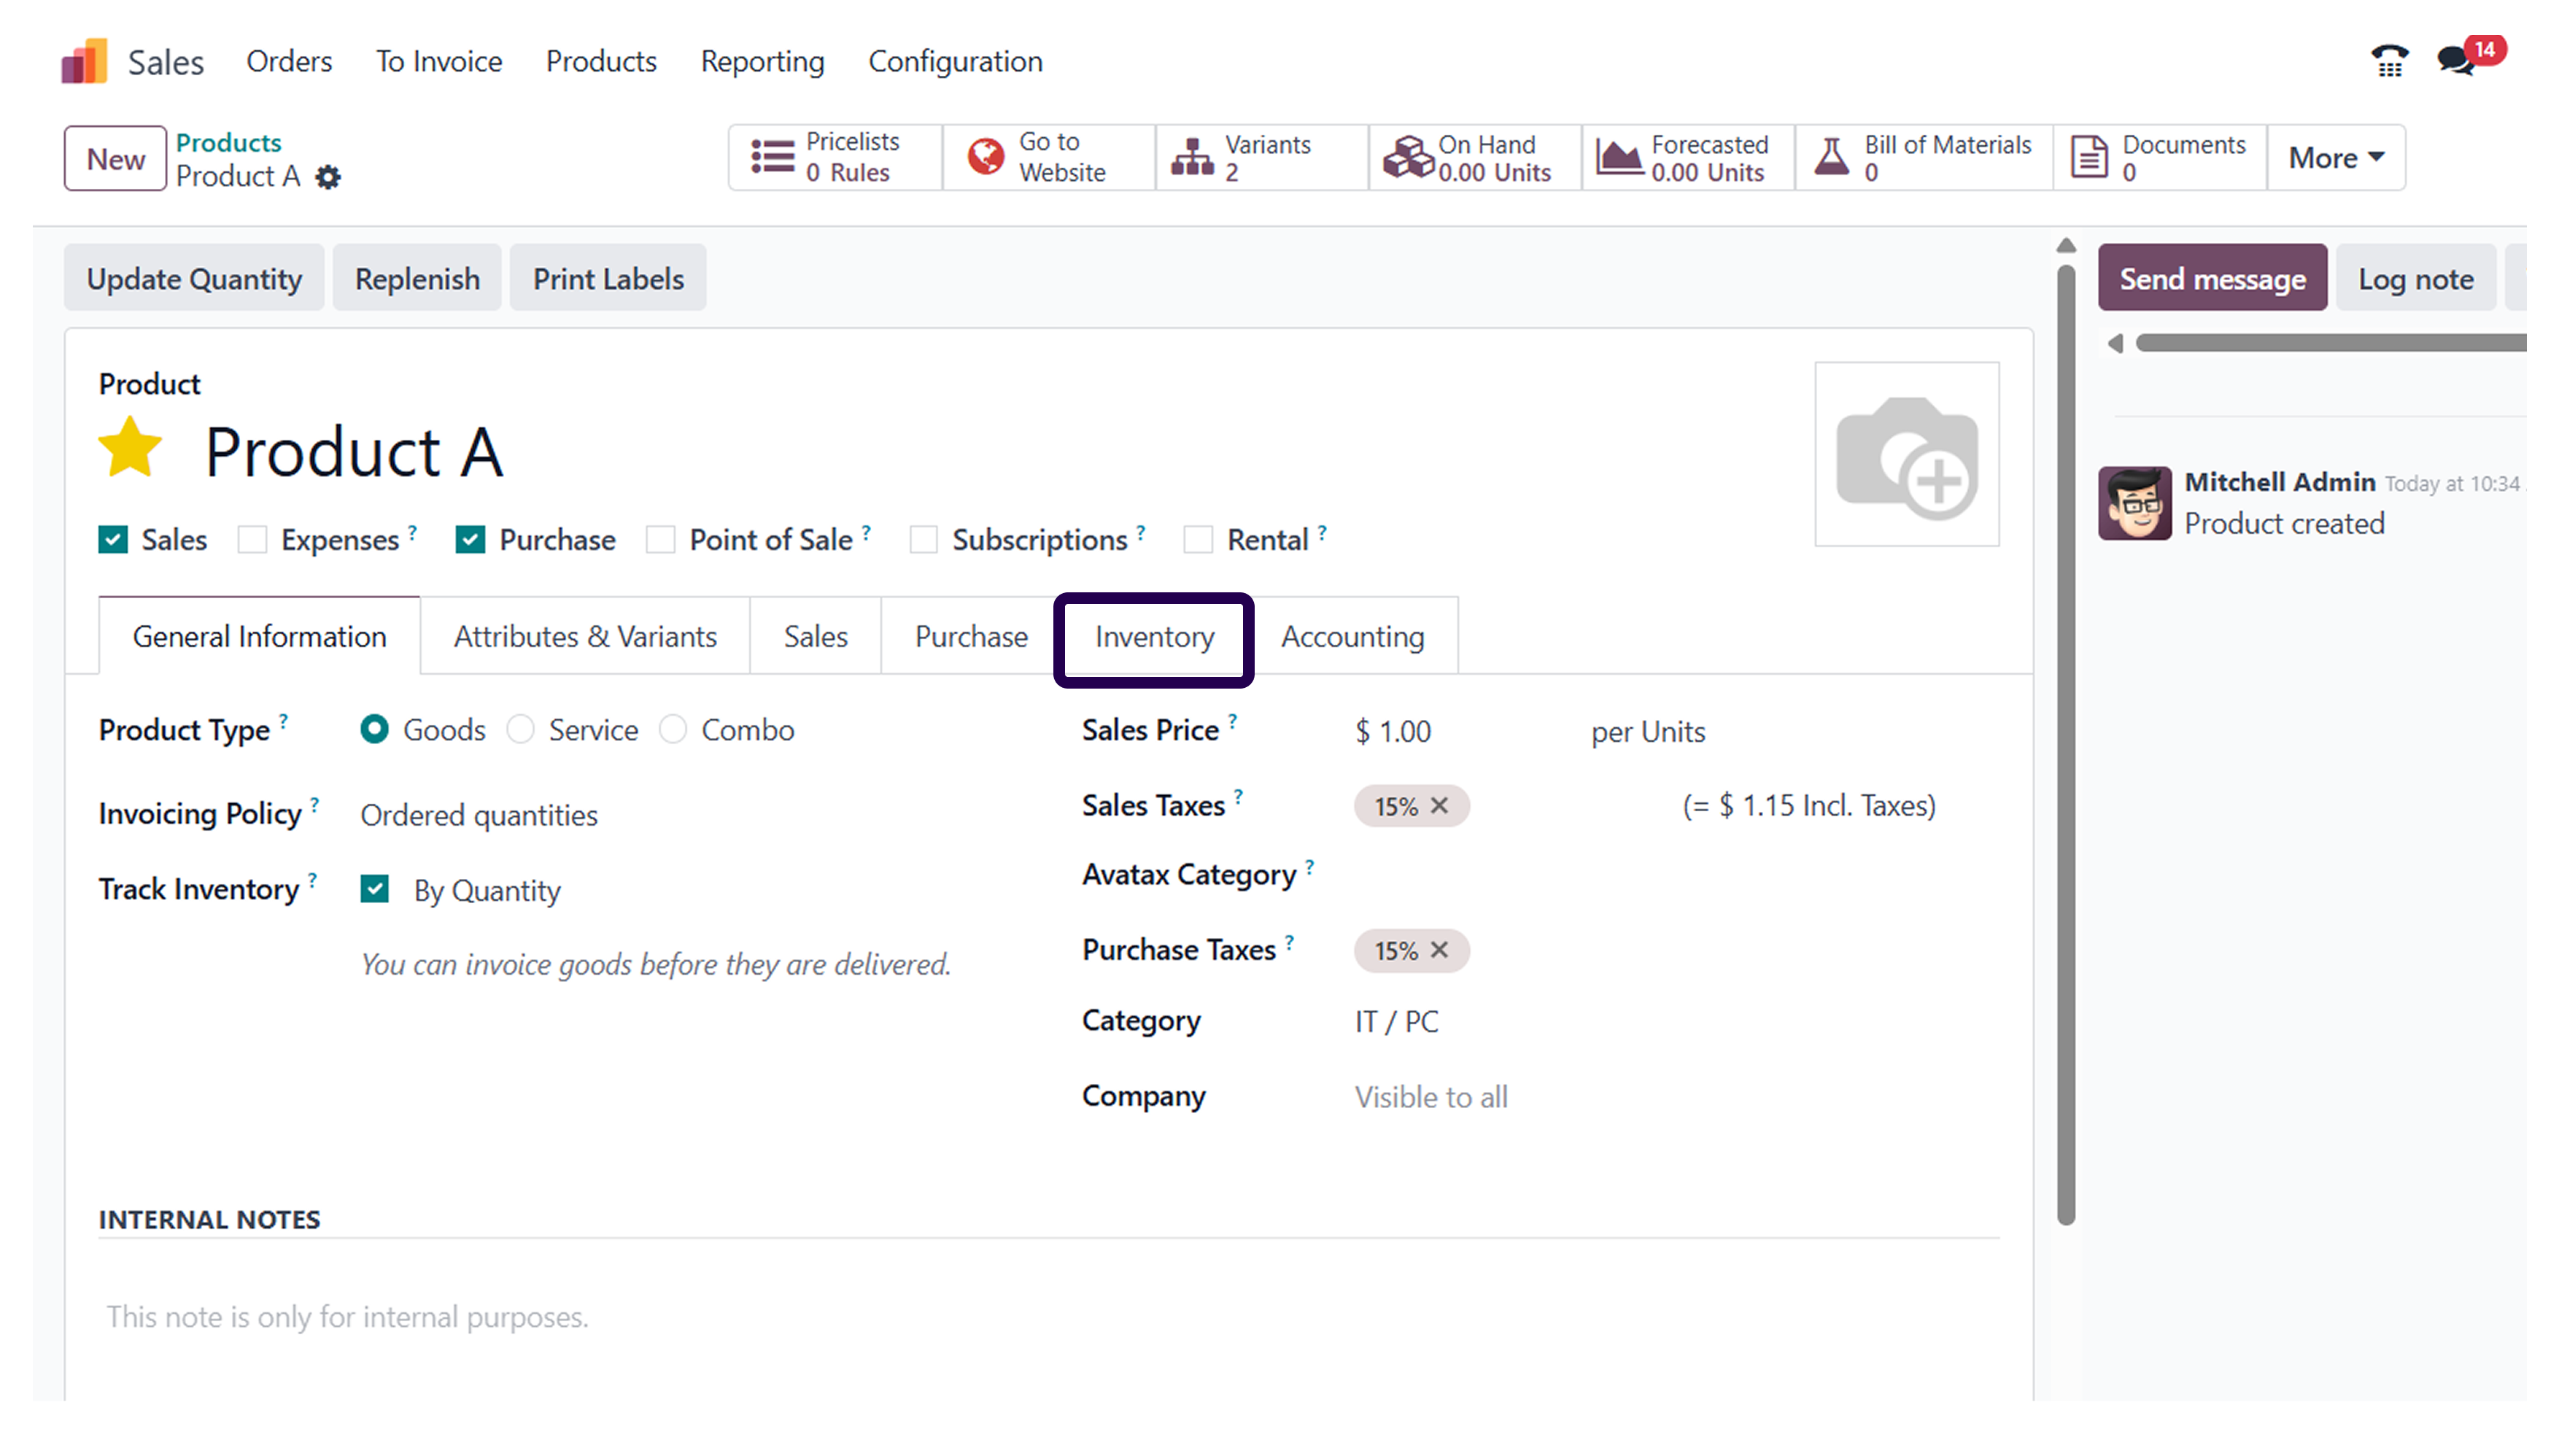
Here, we have picked cabinet with doors as a product. So, let's click on edit and go to the inventory section.
➡️ Step 5: Go on the ‘Delivery Lead time’.
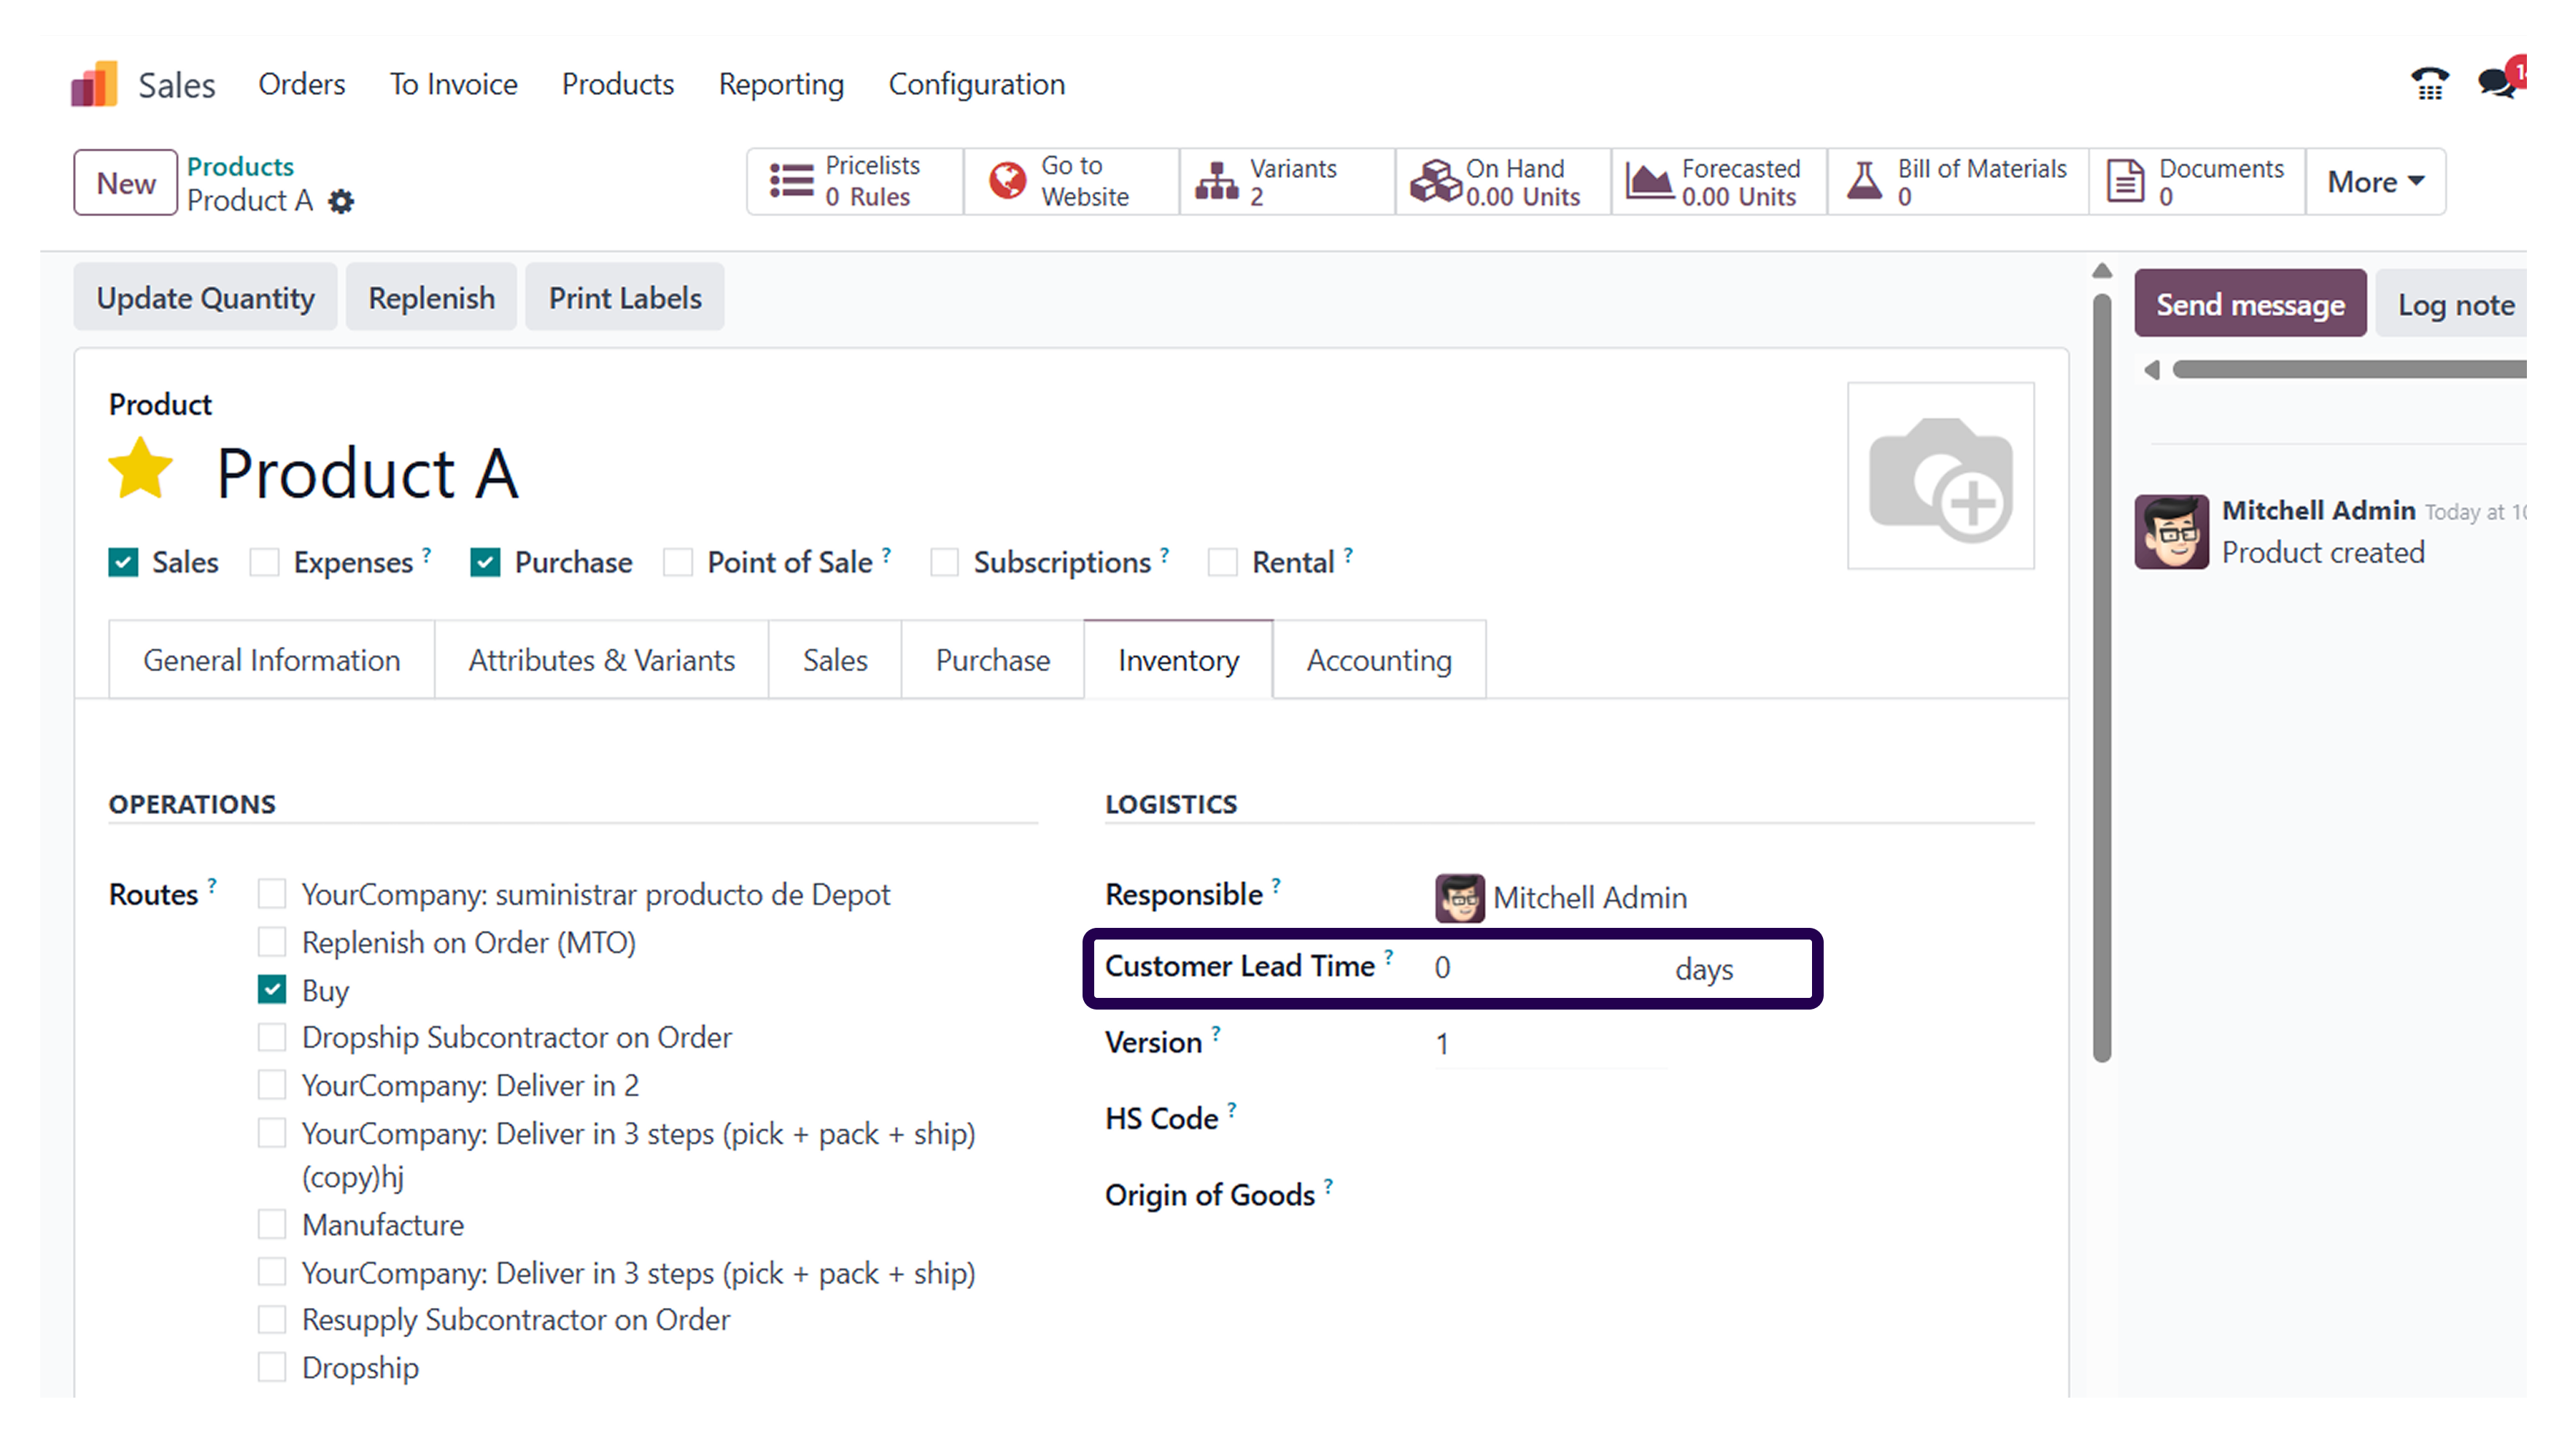
Once you are in the inventory section, make sure to set a specific customer lead time.
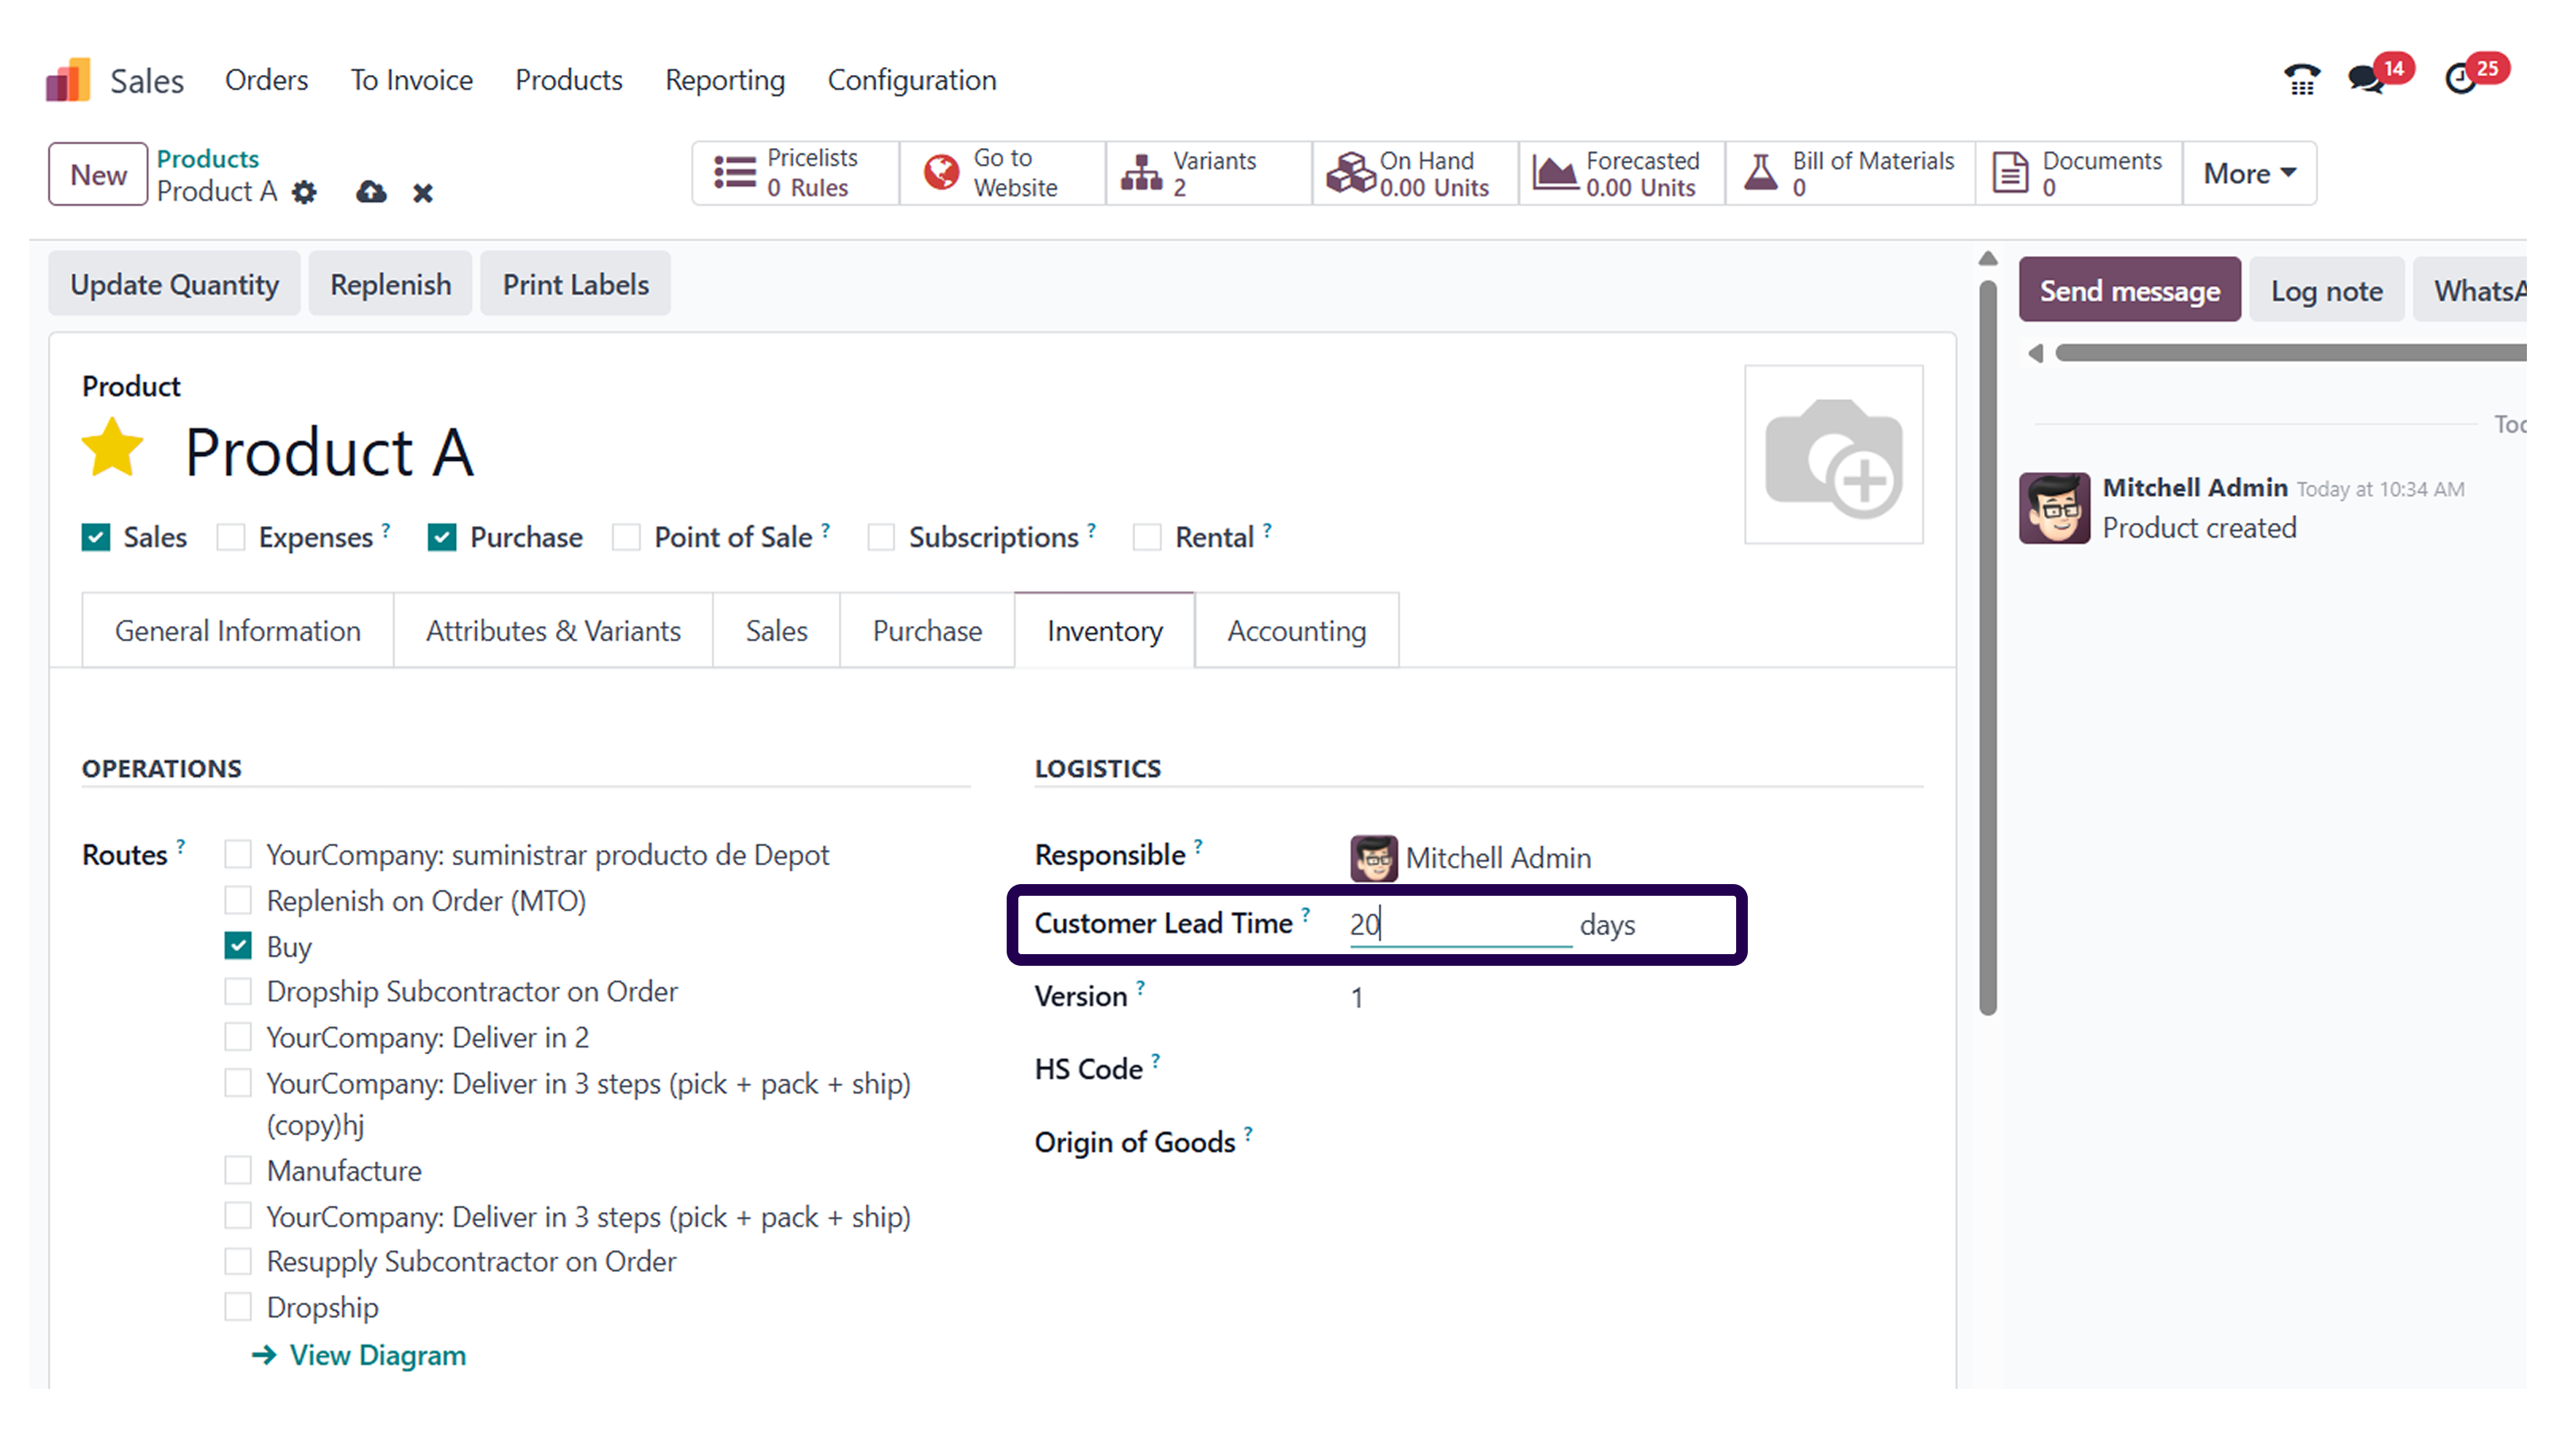
As you can see, here we have set the delivery lead time for 10 days. It means that the deliver of this product will take 10 days.
➡️ Step 6: Click on the ‘Save’ button.
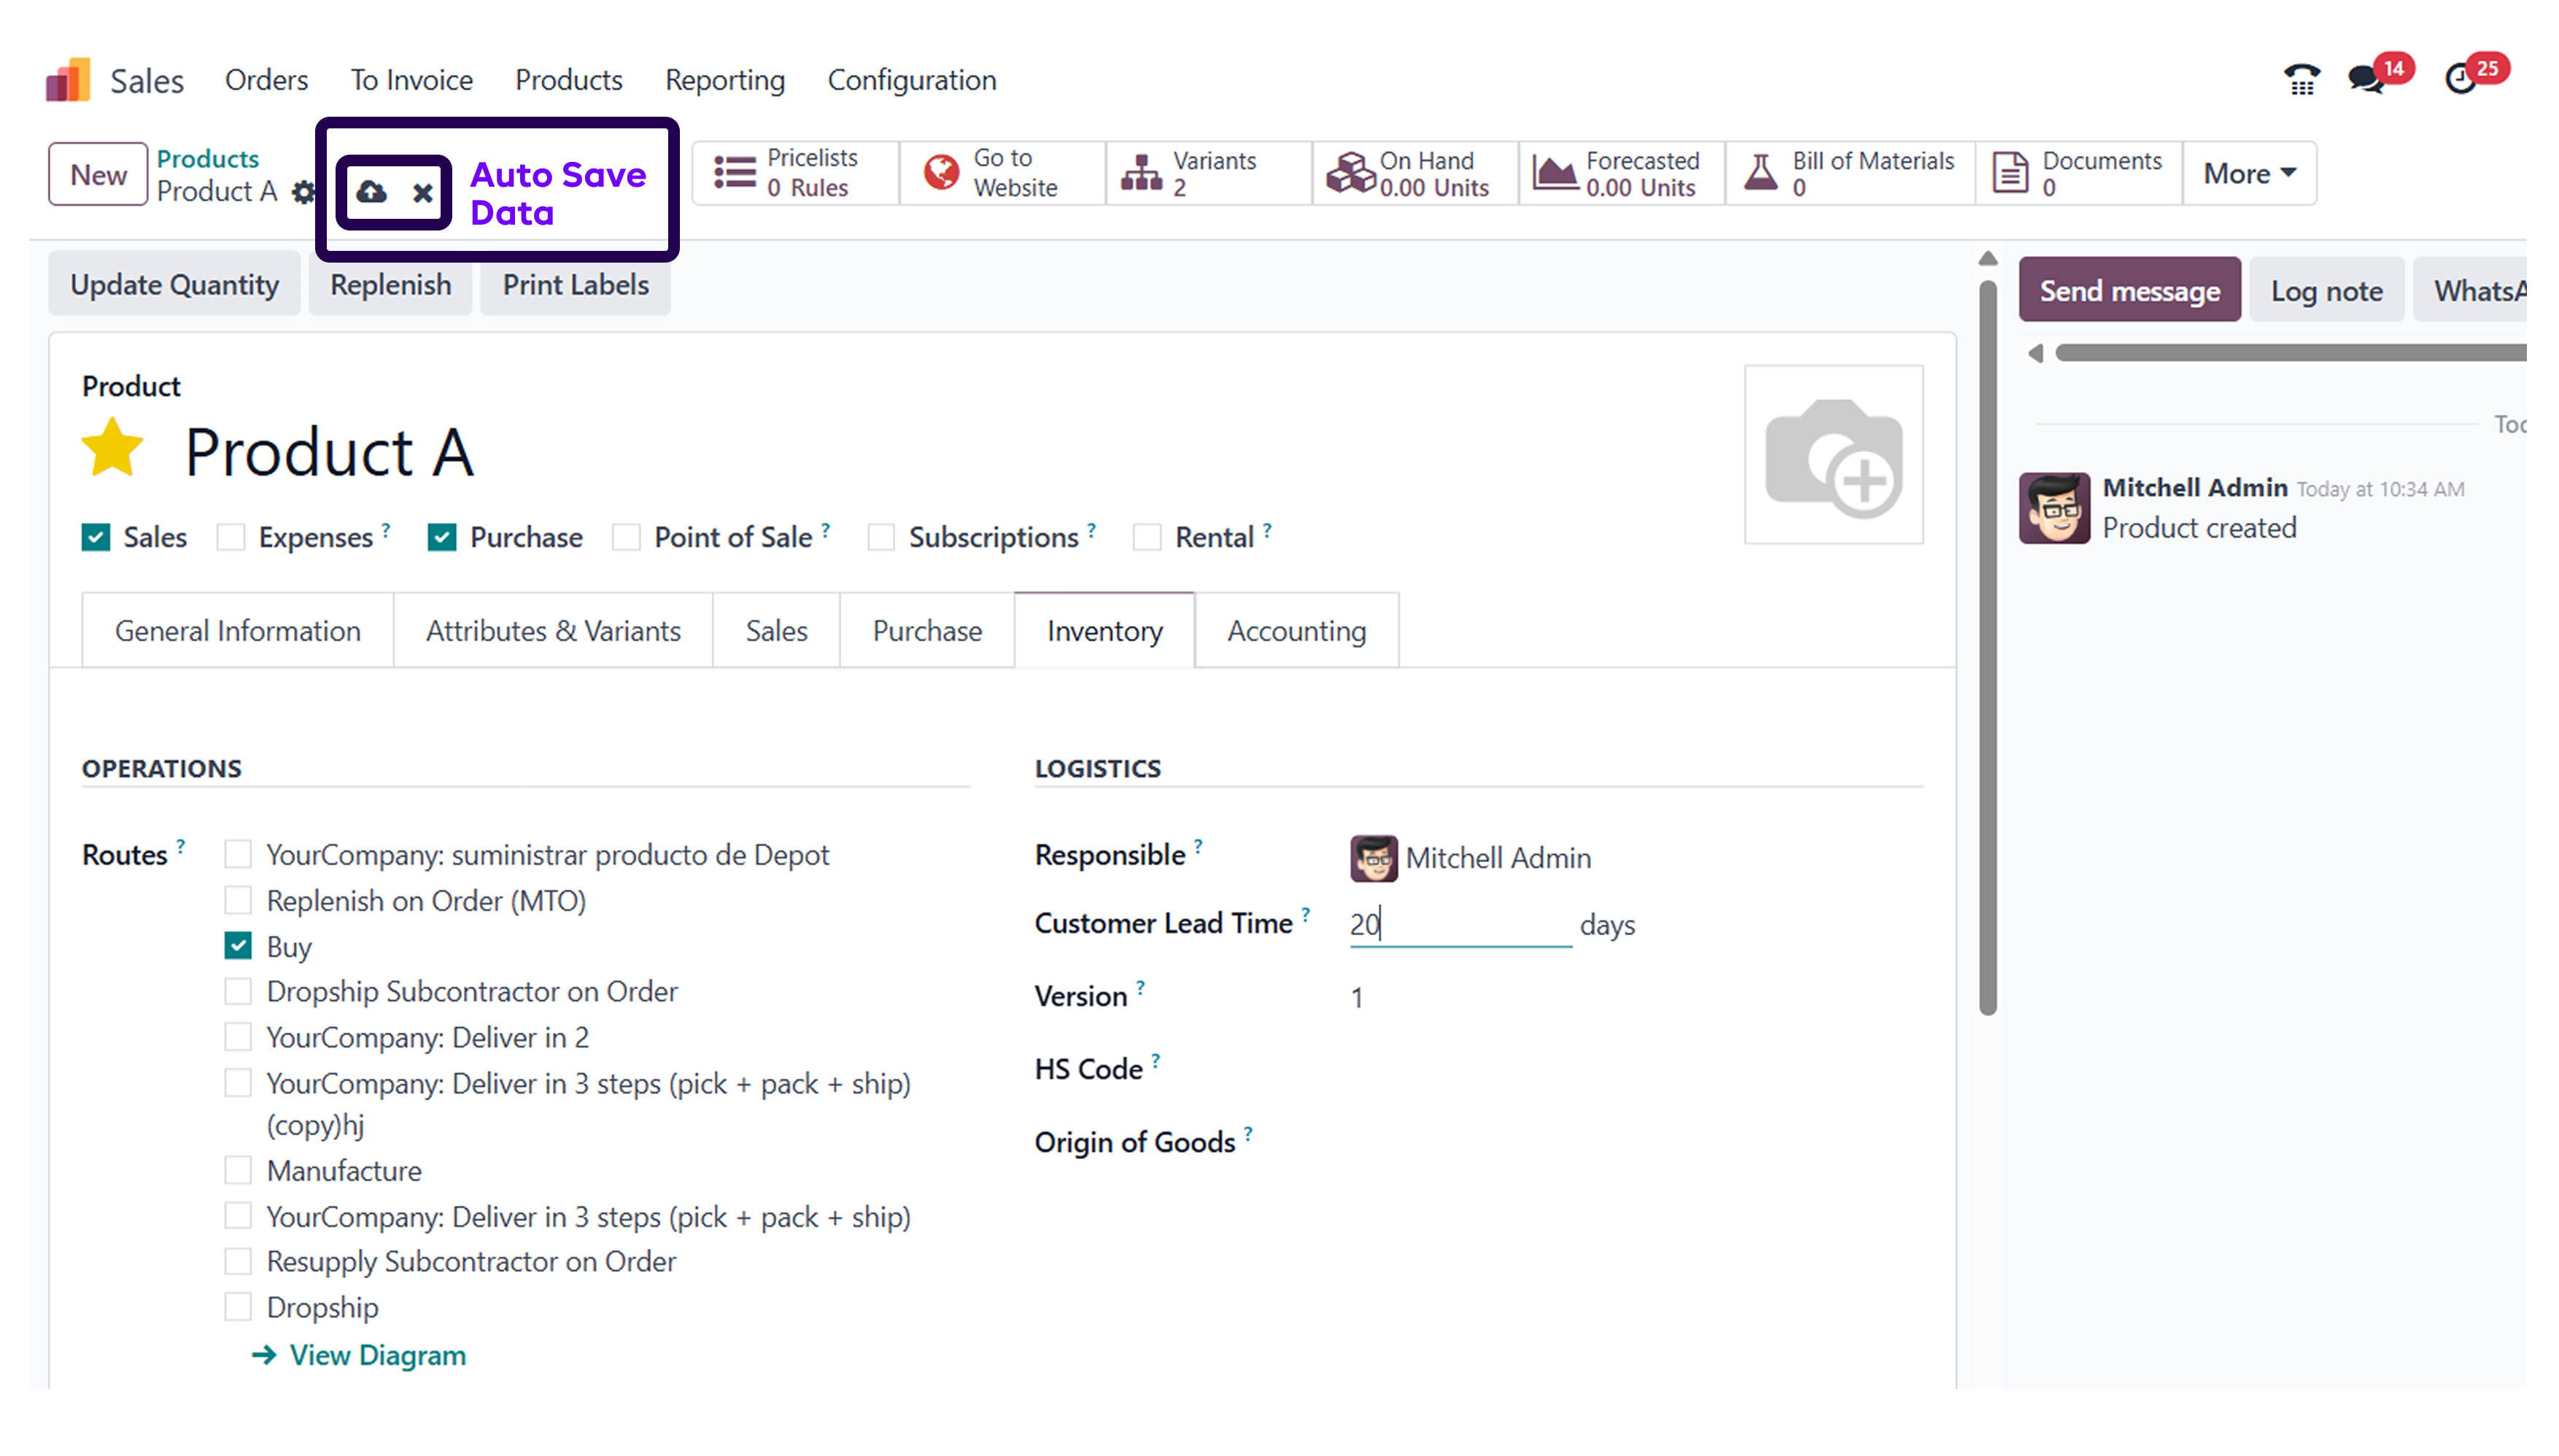
Once you have set a specific delivery lead time, make sure to click on the save button.
➡️ Step 7: Go to orders and click on the orders for creating new sales orders.
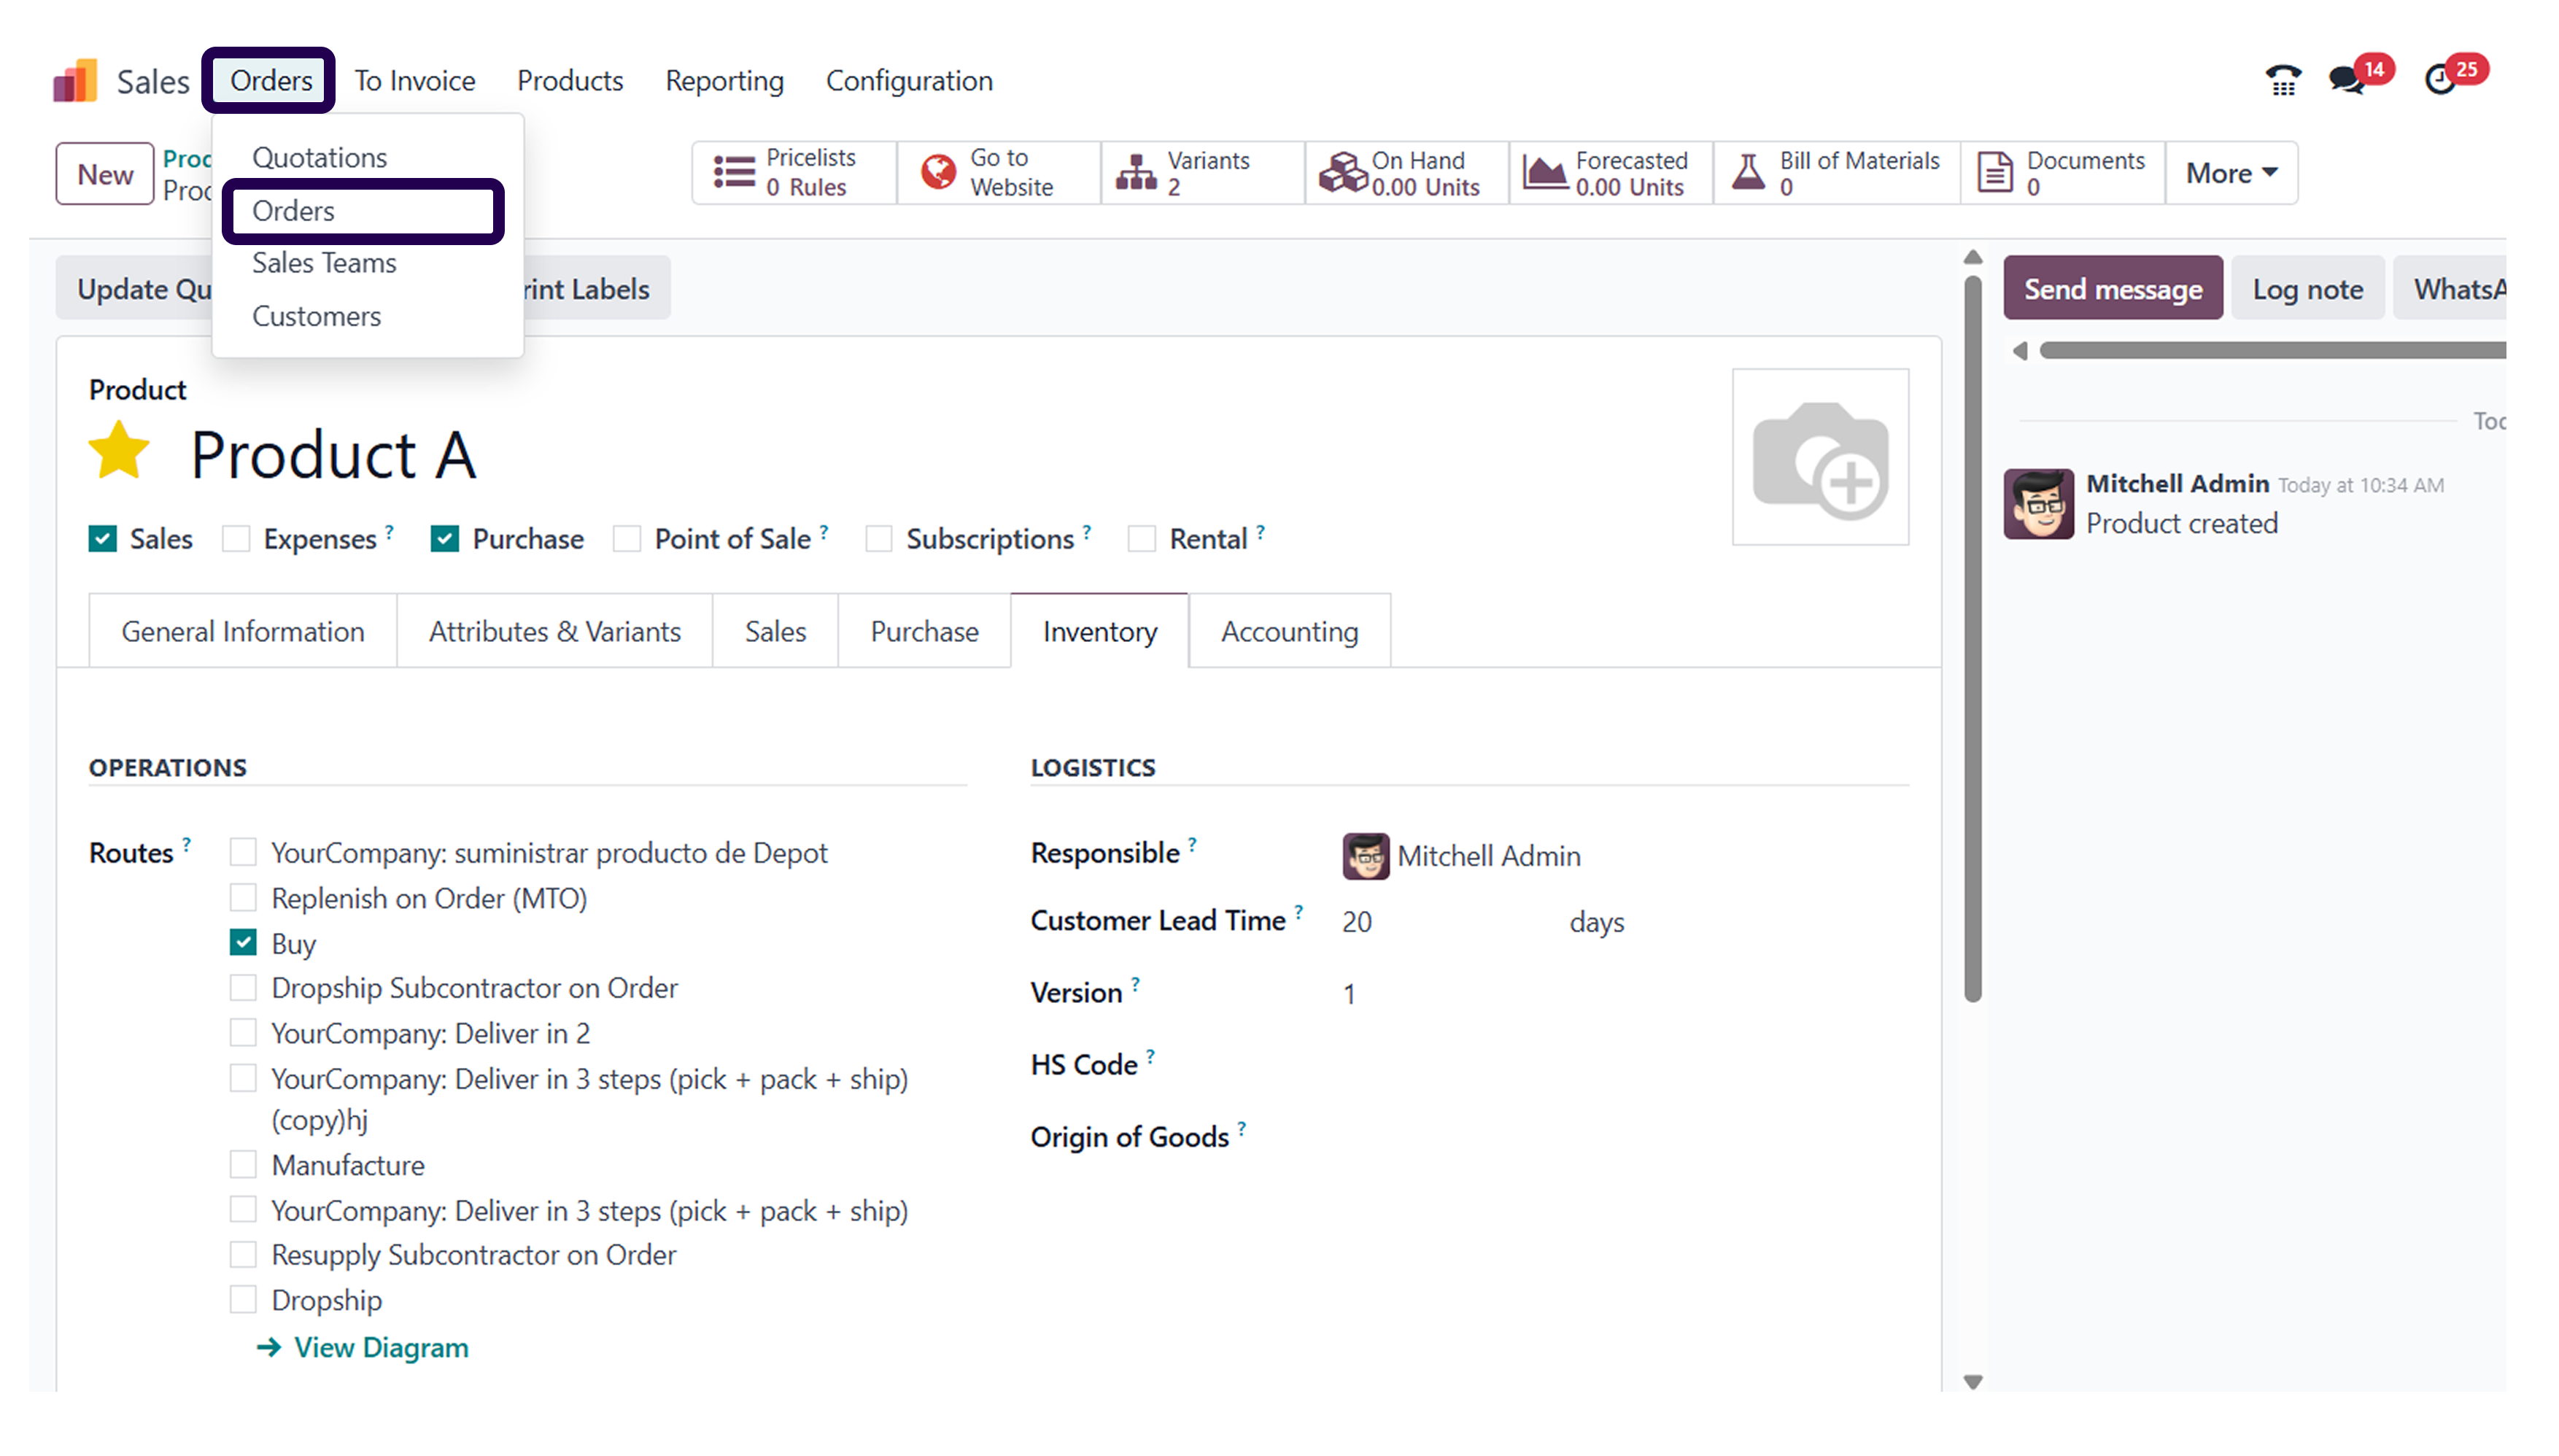
Now, go to orders tab and click on the same. Click on orders option for creating a brand new sales order.
➡️ Step 8: Click on the ‘Create’ button.
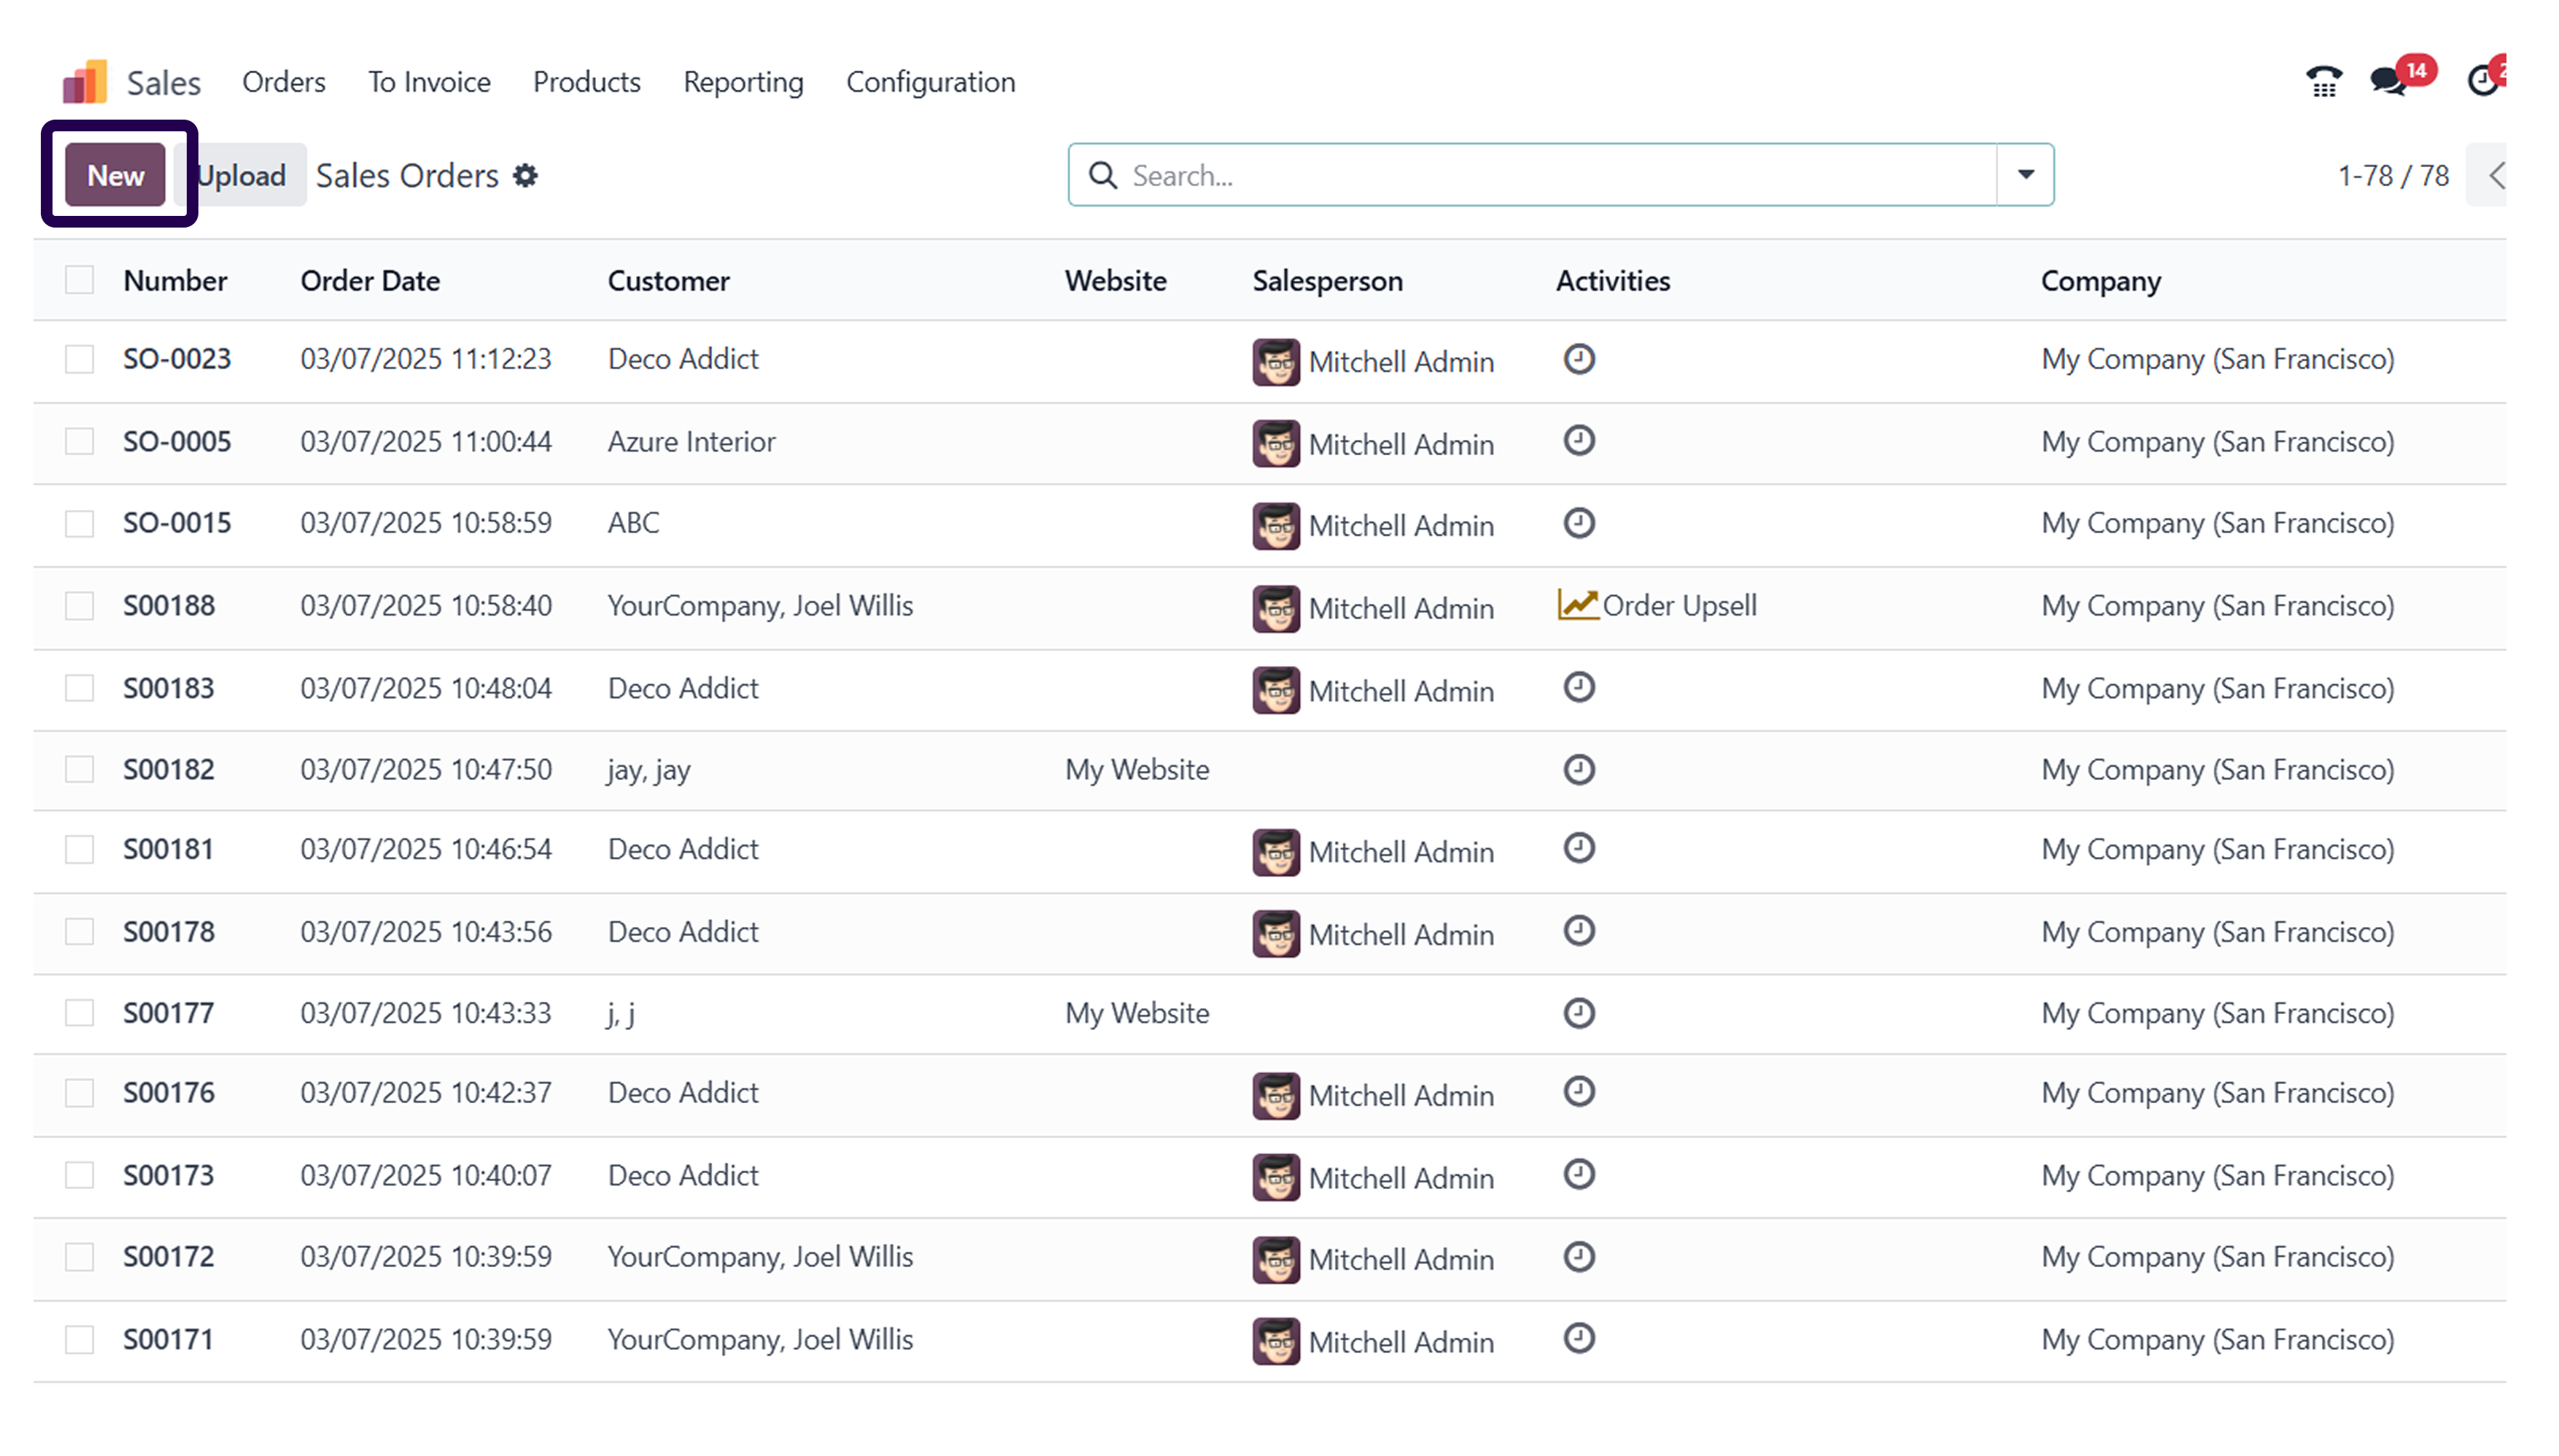
Here, click on the create button for creating a new sales order.
➡️ Step 9: Select the customer and go to the ‘Orders lines’ and click on ‘Add a product’.

First of all, pick a customer and select the order line section. Once you have done that, click on add a product option.
➡️ Step 10: Add a product that configures the delivery lead time.
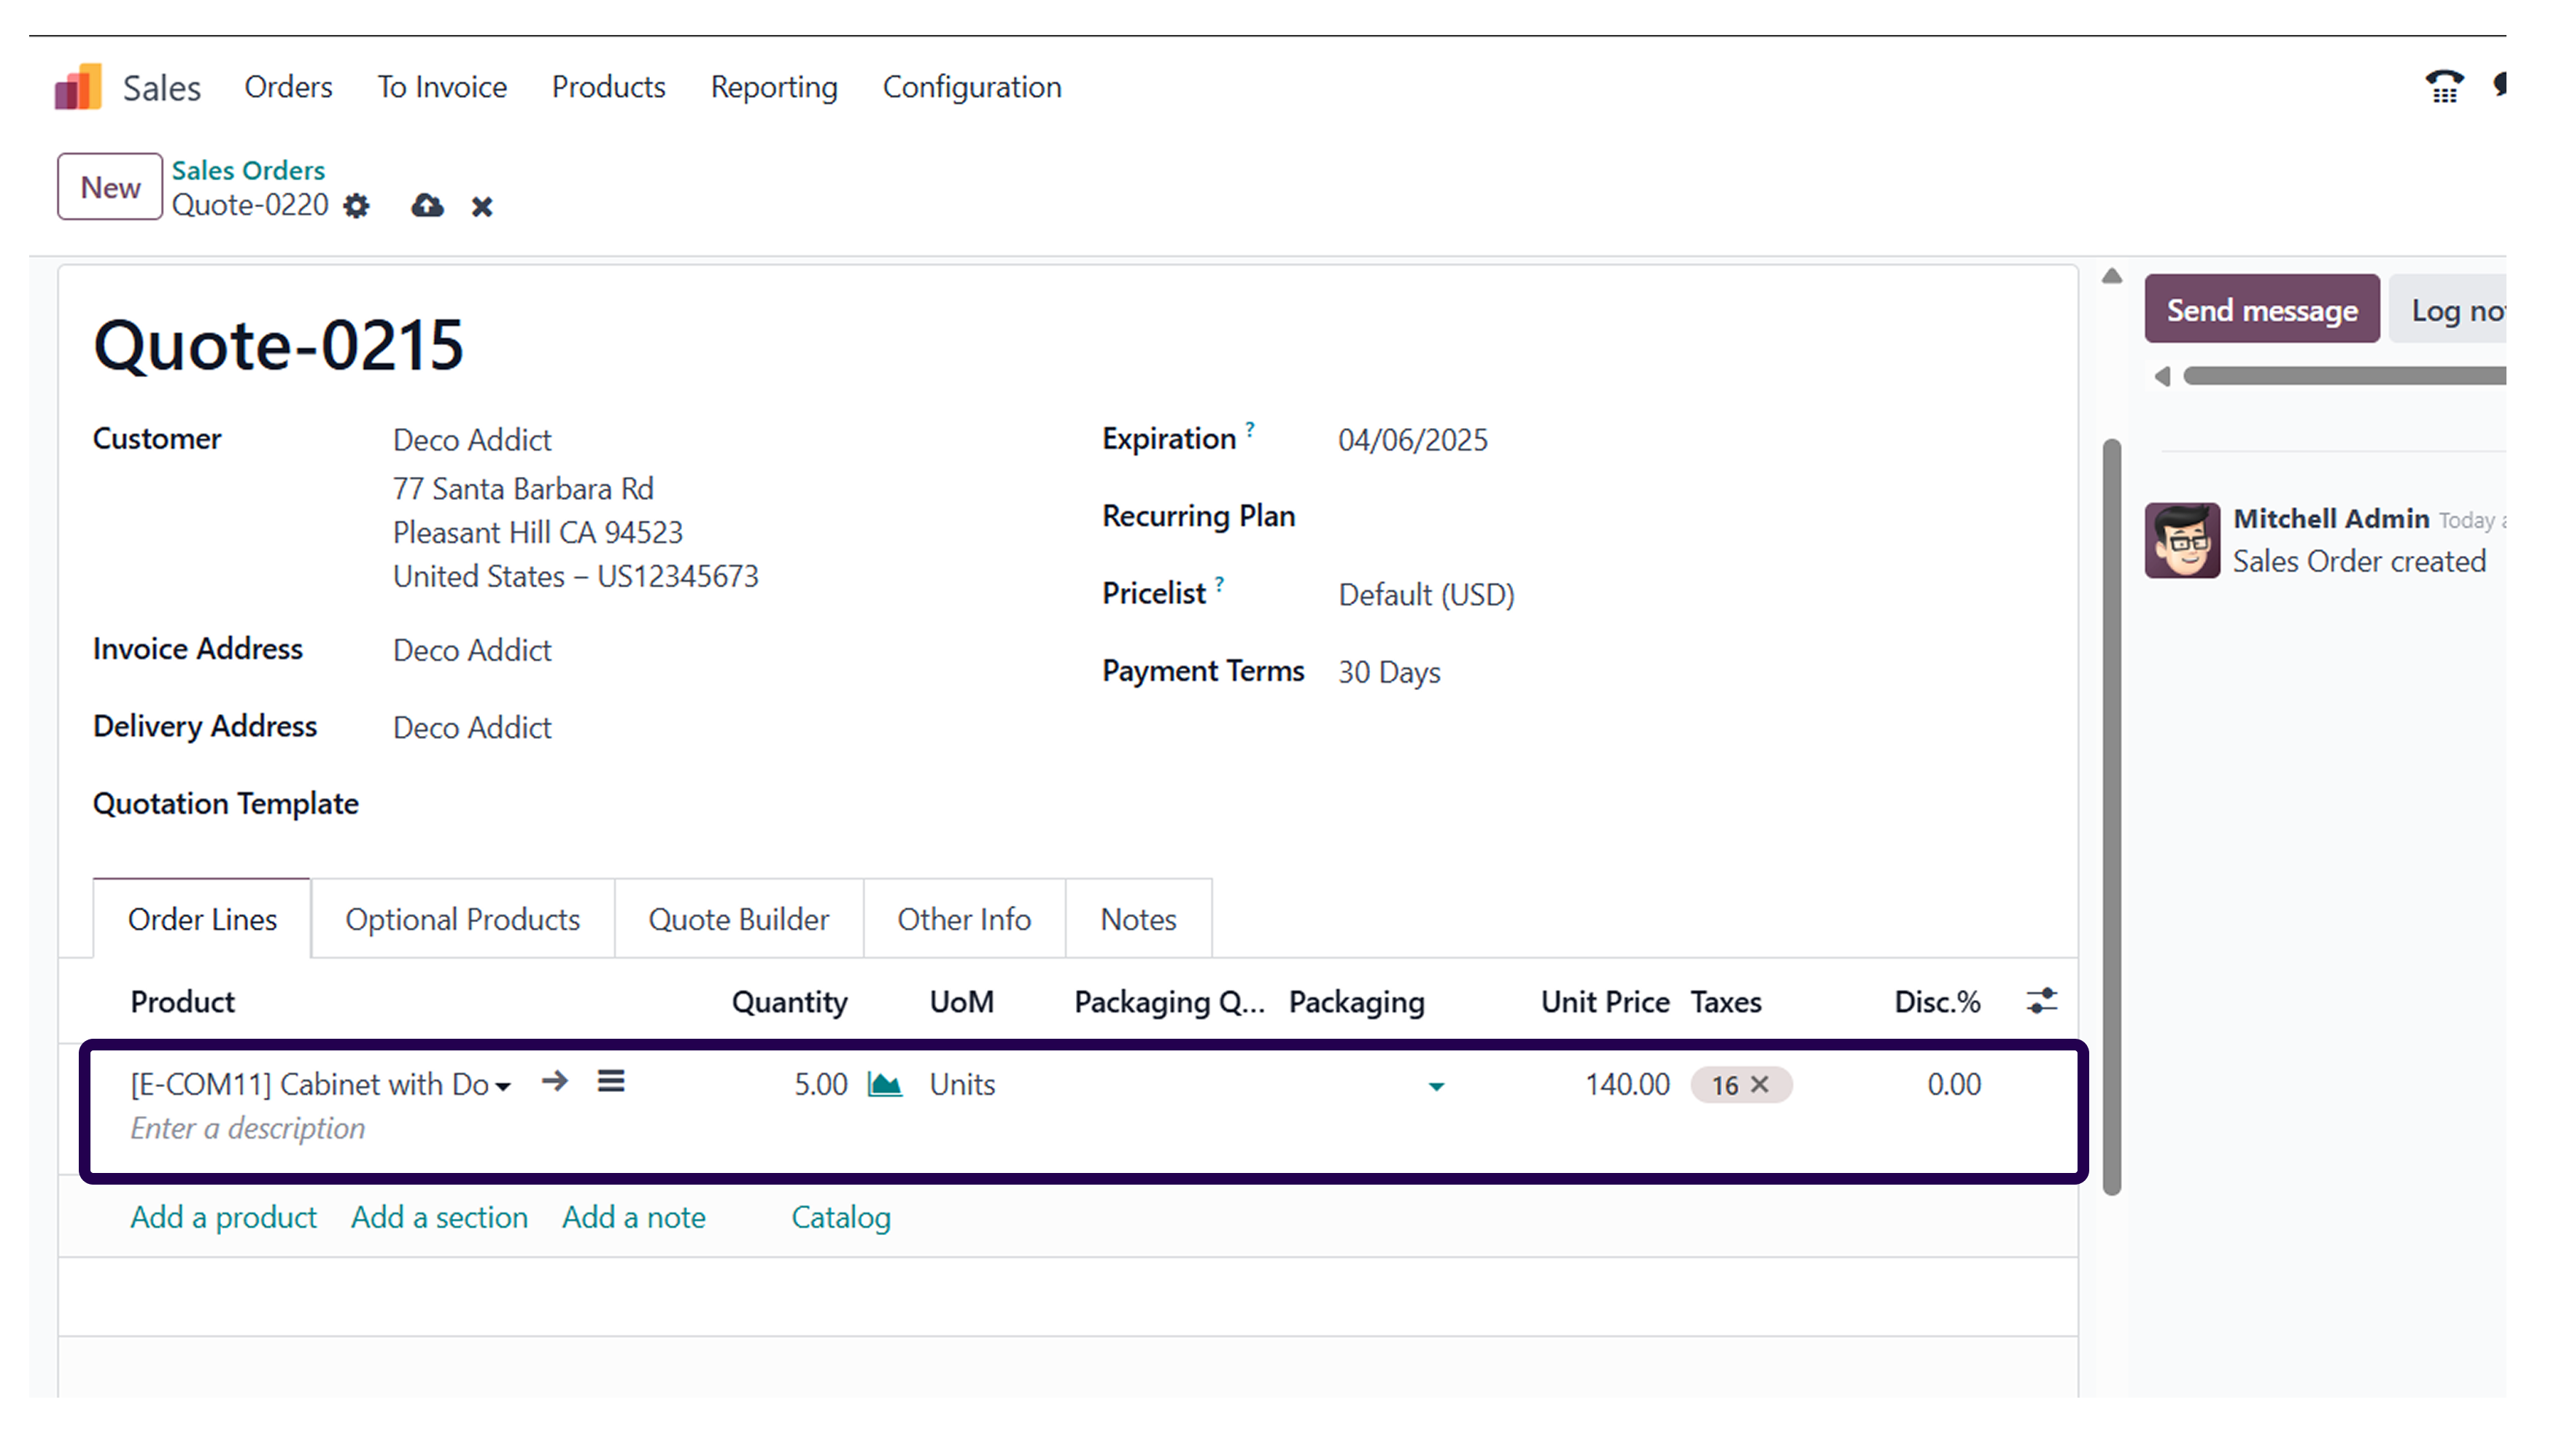
Adding a product will help you configure the delivery lead time for the same.
➡️ Step 11: Here we can click to open the direct product template and then see the details of the products.
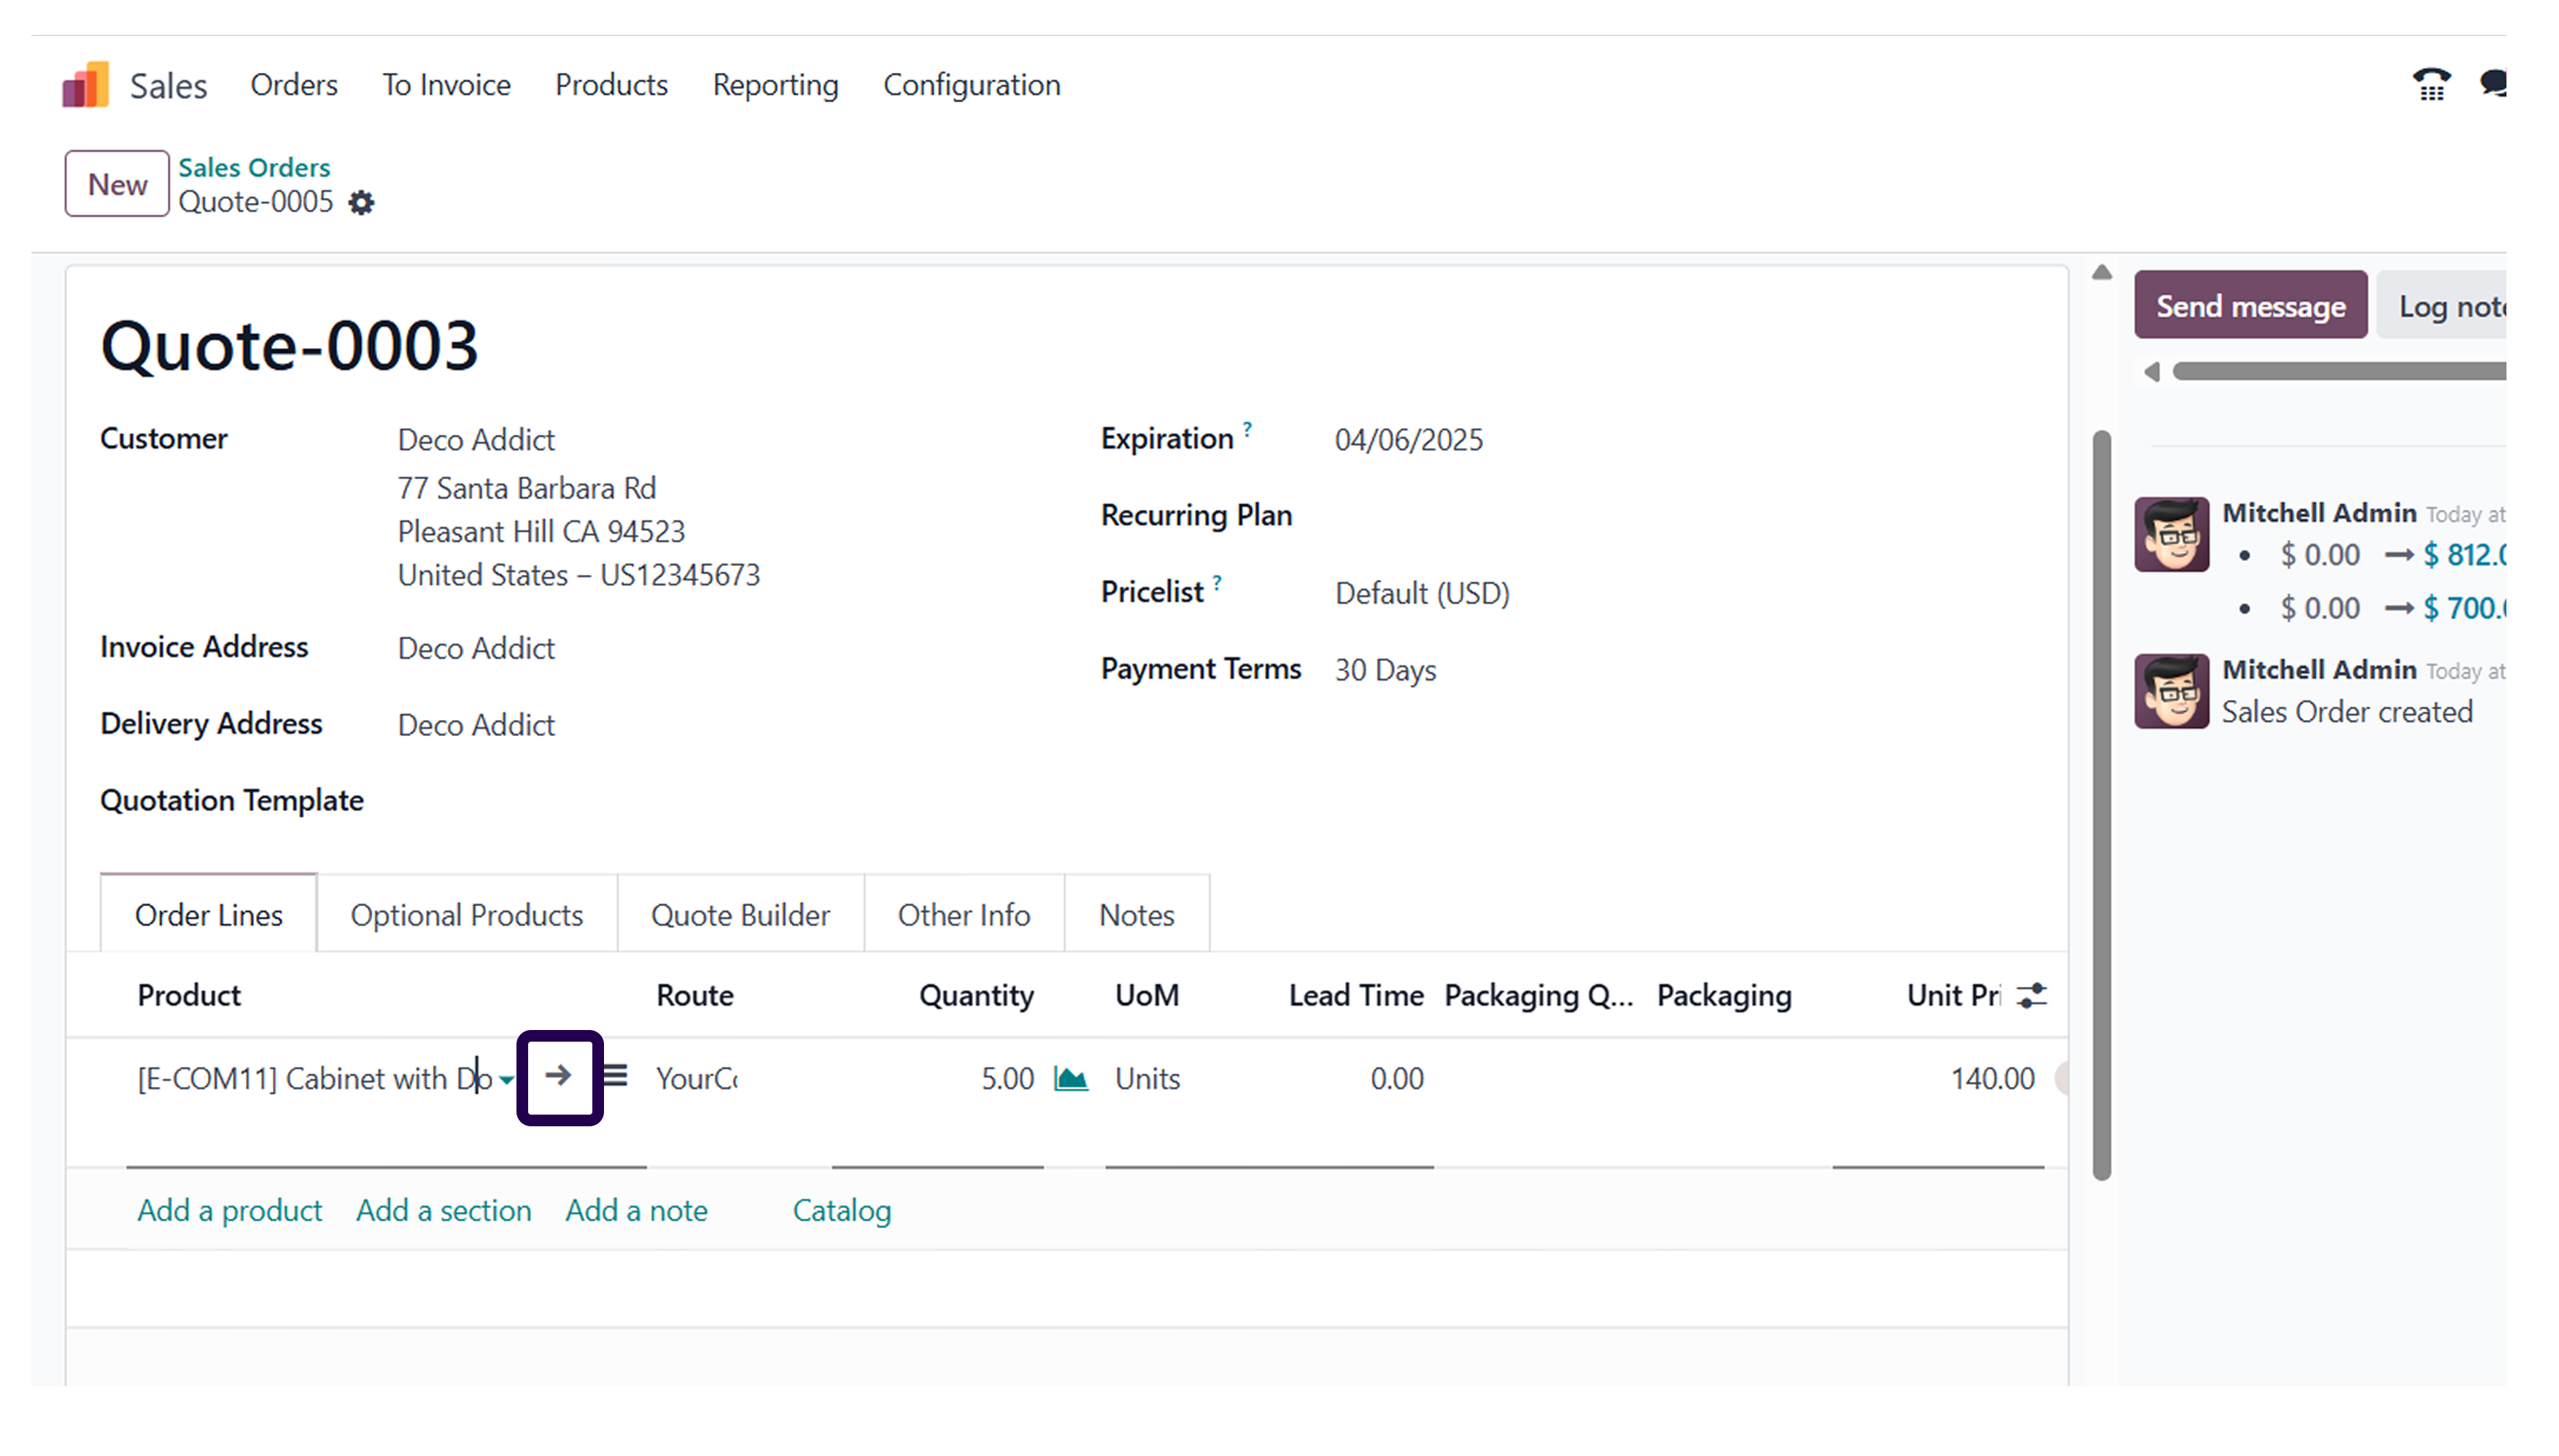
If you want to ensure that you have set the correct delivery lead time, you can do so by clicking on the arrow. It will then showcase a product template where you can see all the product details.
➡️ Step 12: Click on the ‘Save’ button.
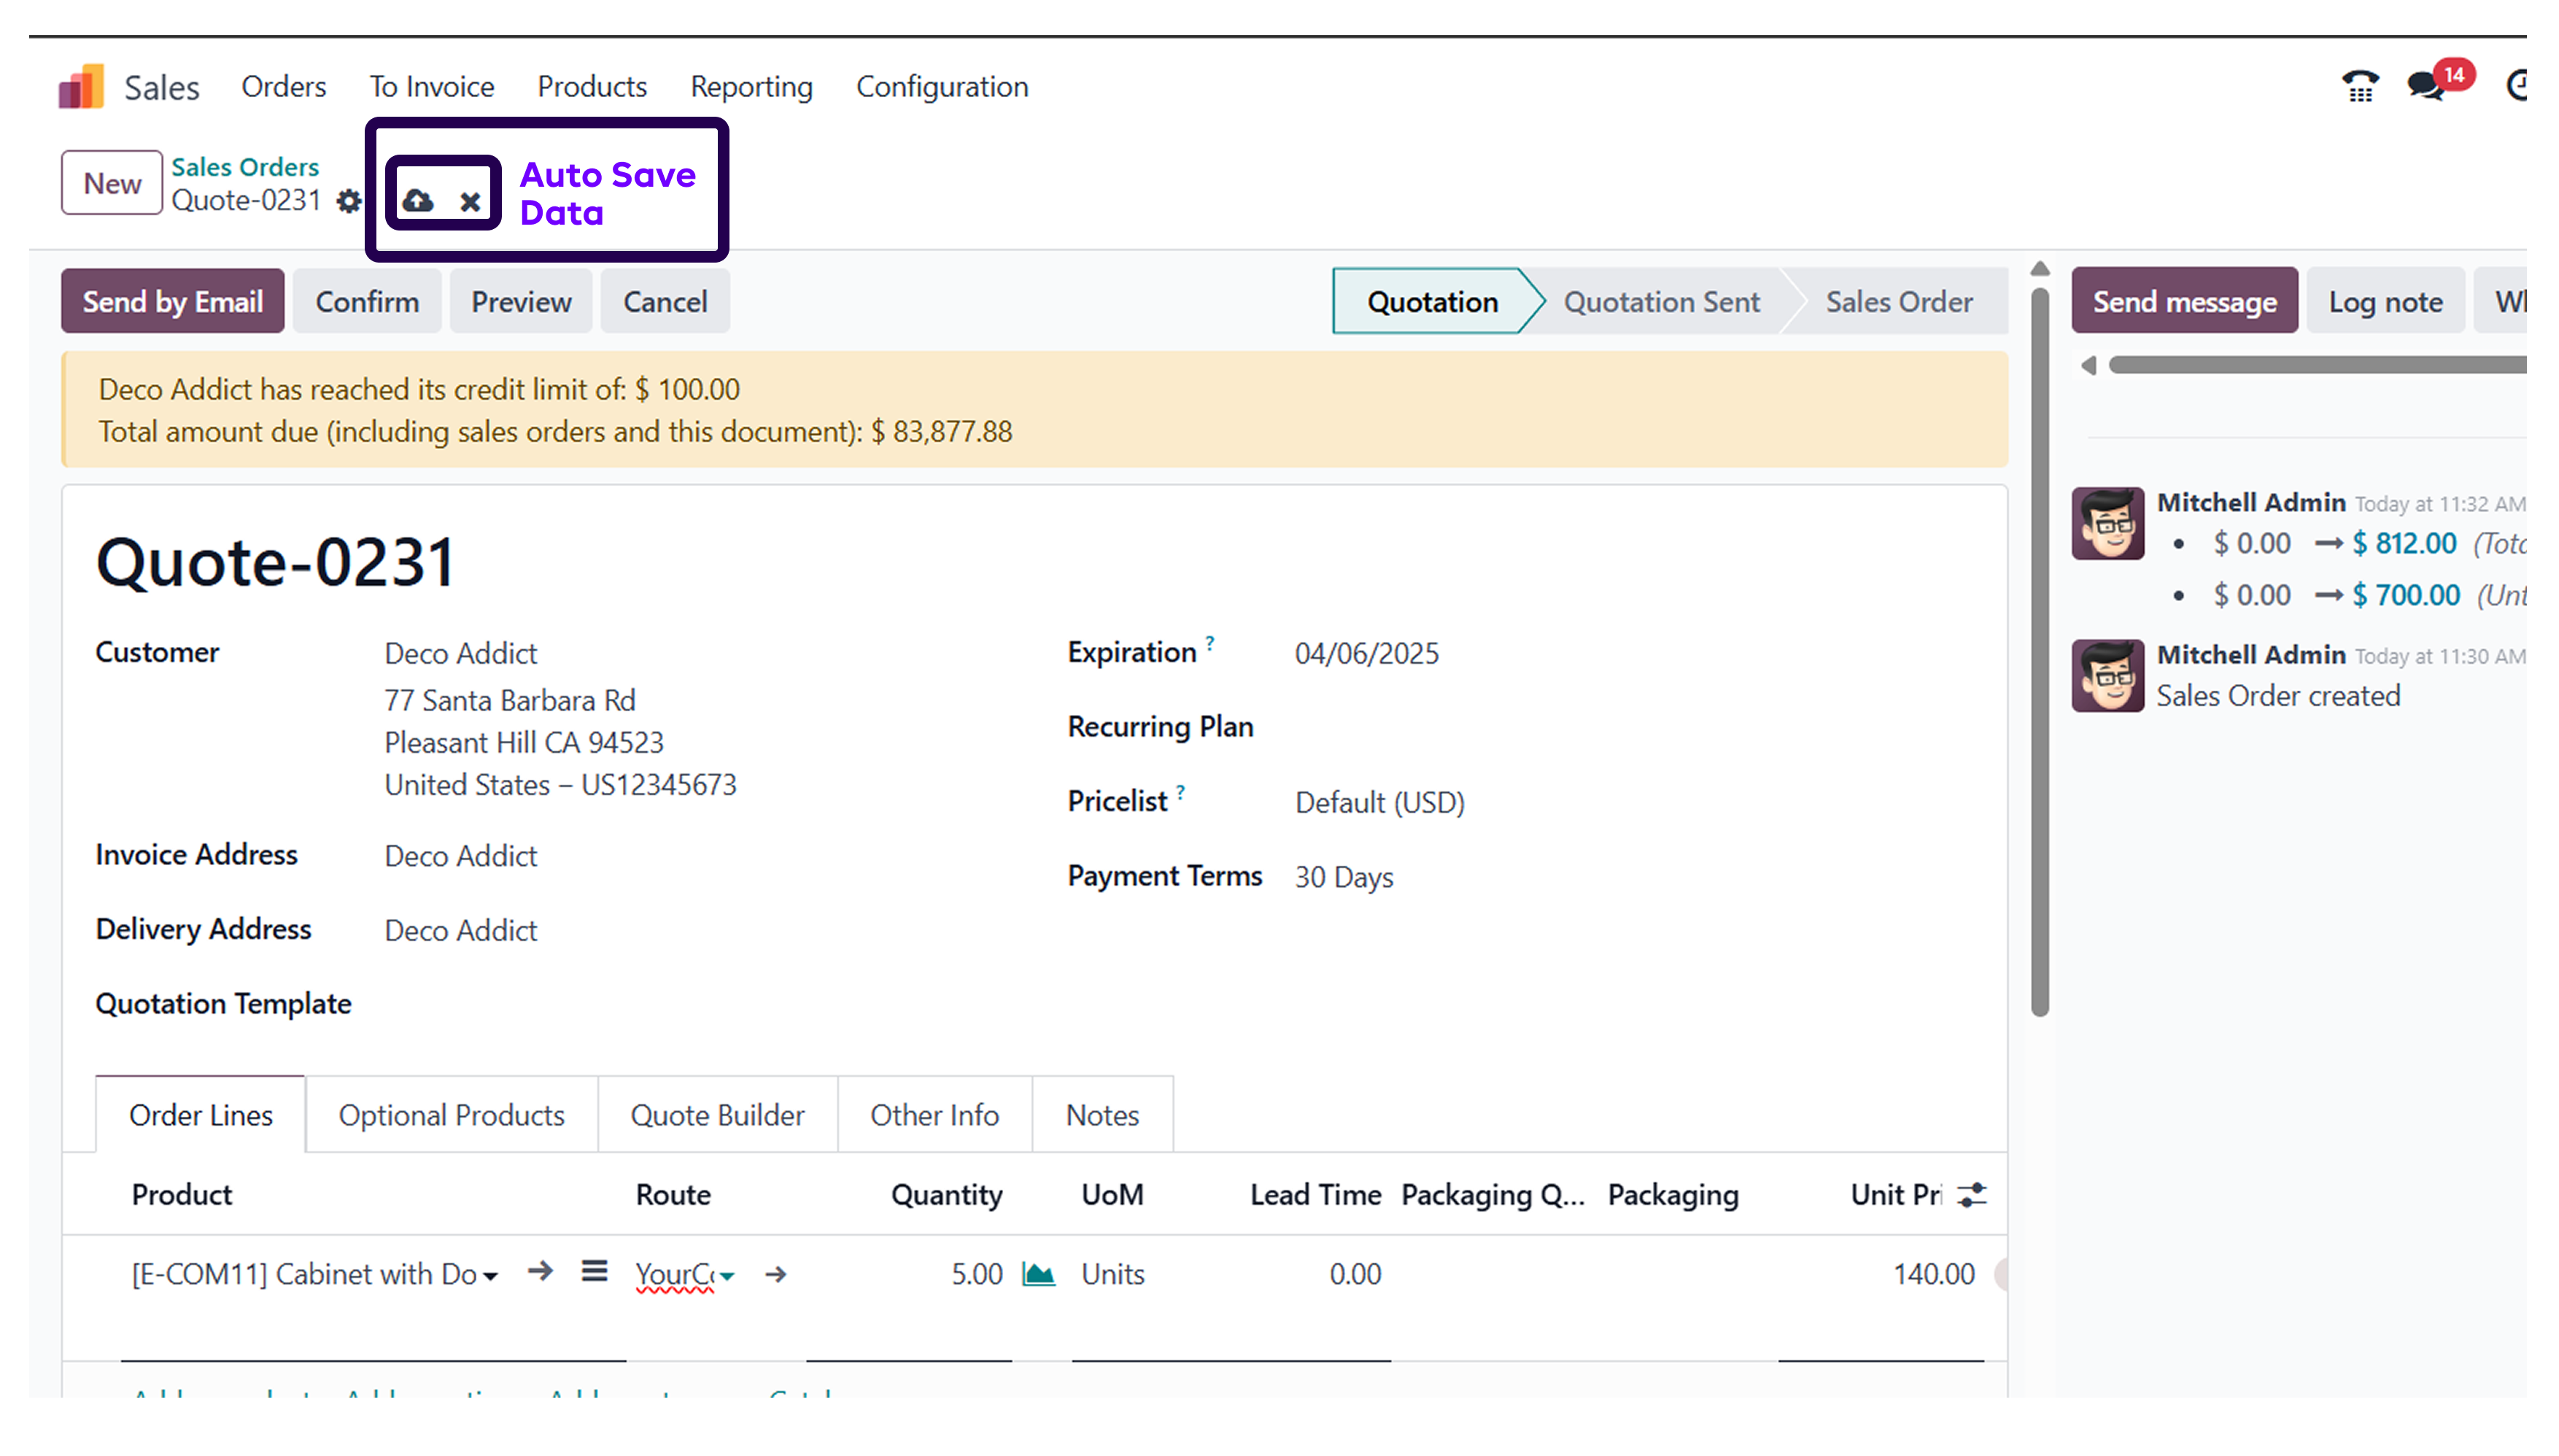
After you have scanned the delivery lead time details, ensure to click on the save button.
➡️ Step 13: Click on the ‘Confirm’ button for confirming the order.
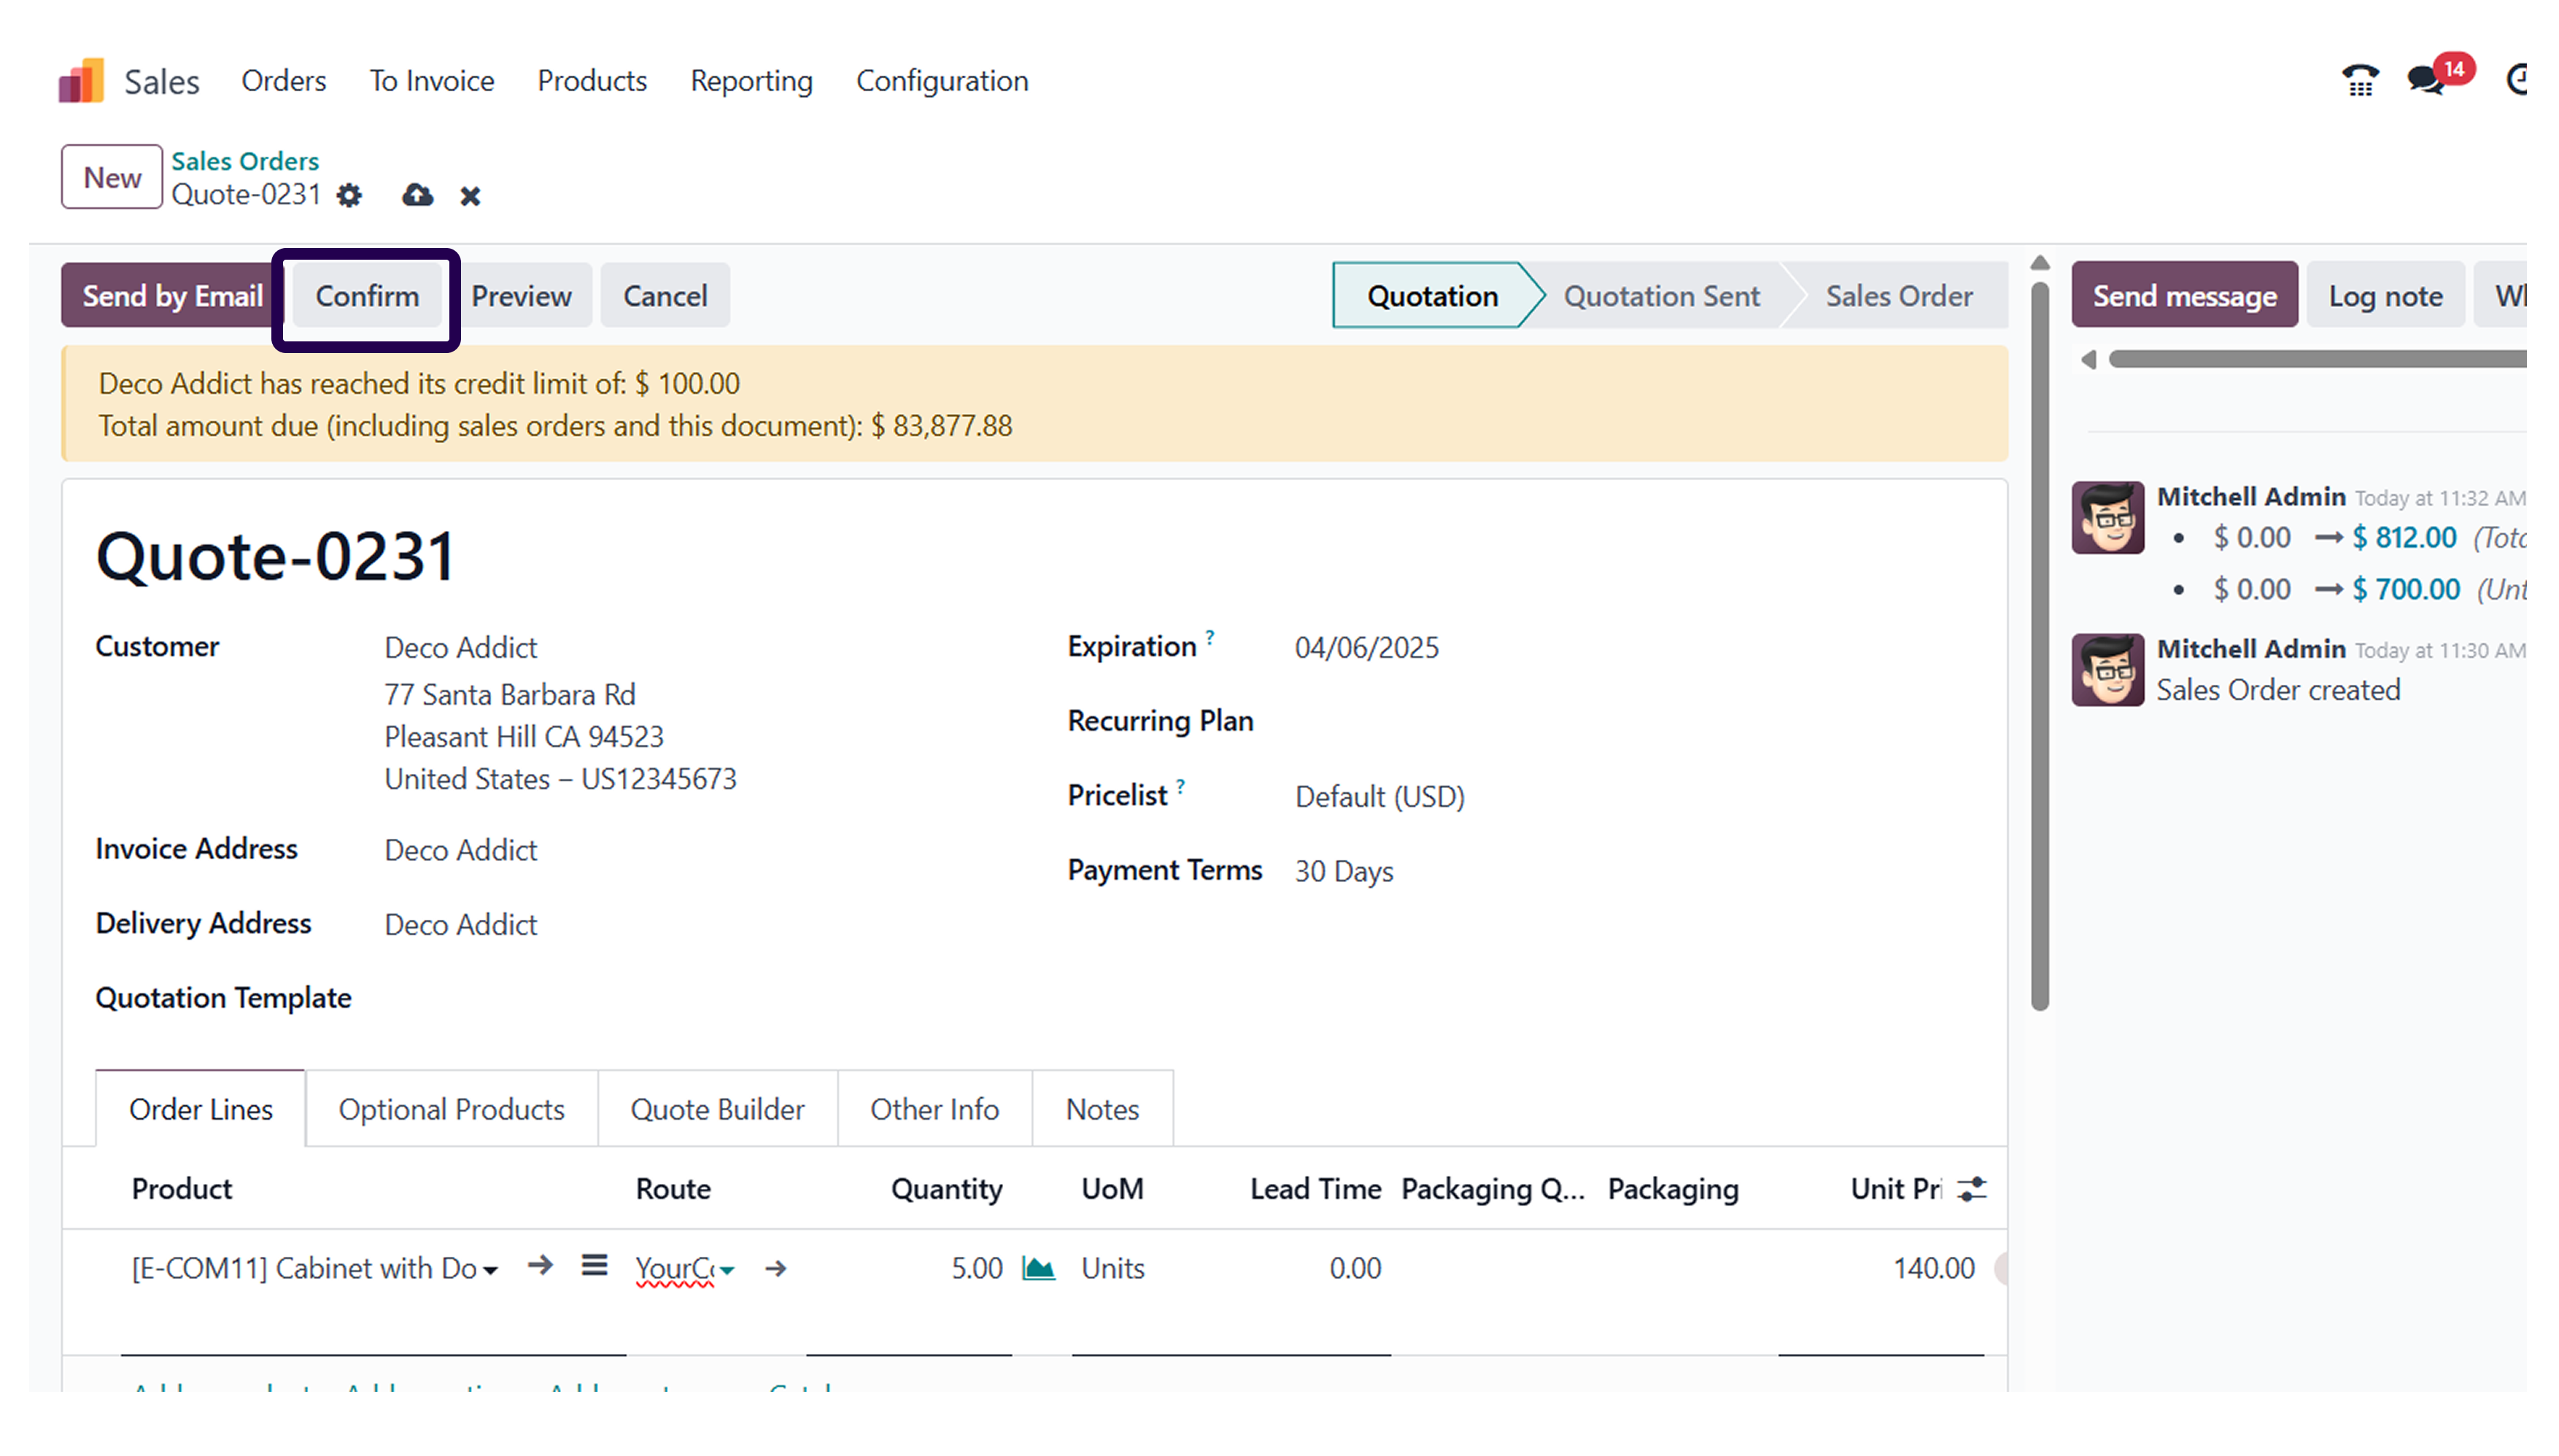
After saving it, you also need to click on the confirm button.
➡️ Step 14: Go to the ‘Other Information’ tab for seeing the delivery date.
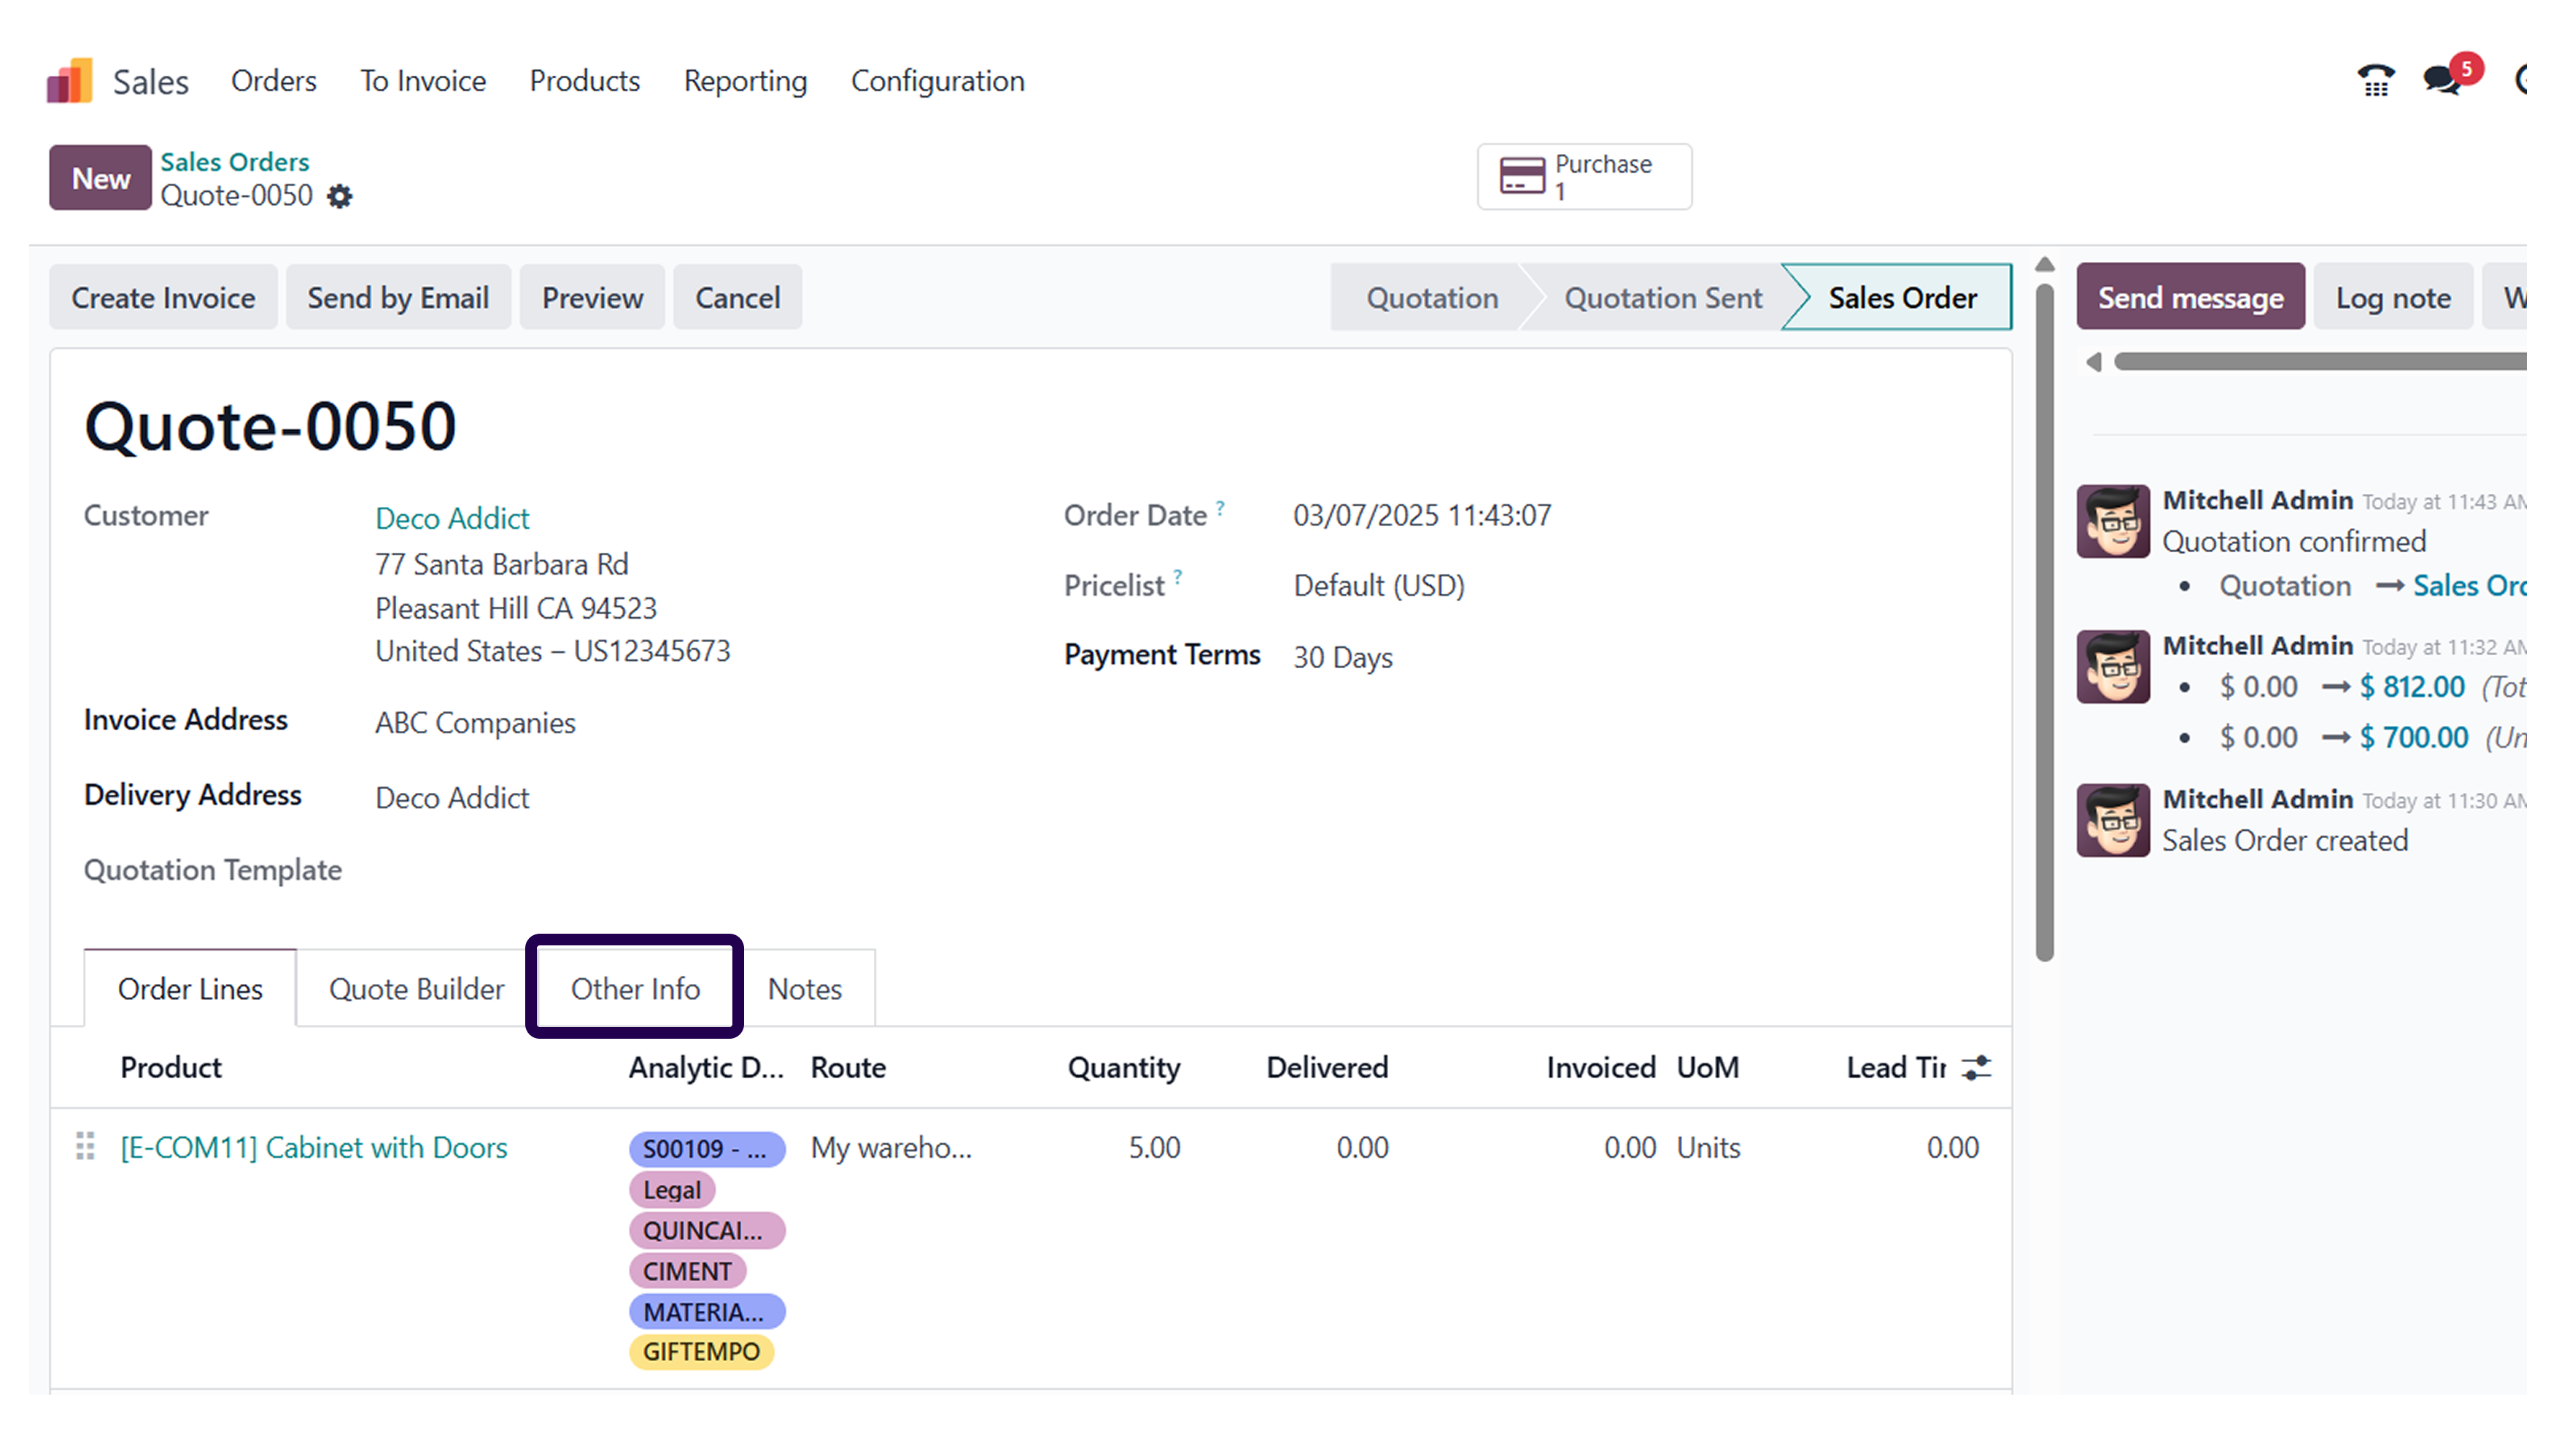
If you want to have a look at the confirmed delivery data, go to the other information tab.
➡️ Step 15: Scroll down and see the delivery date will show that after 10 days of giving orders.
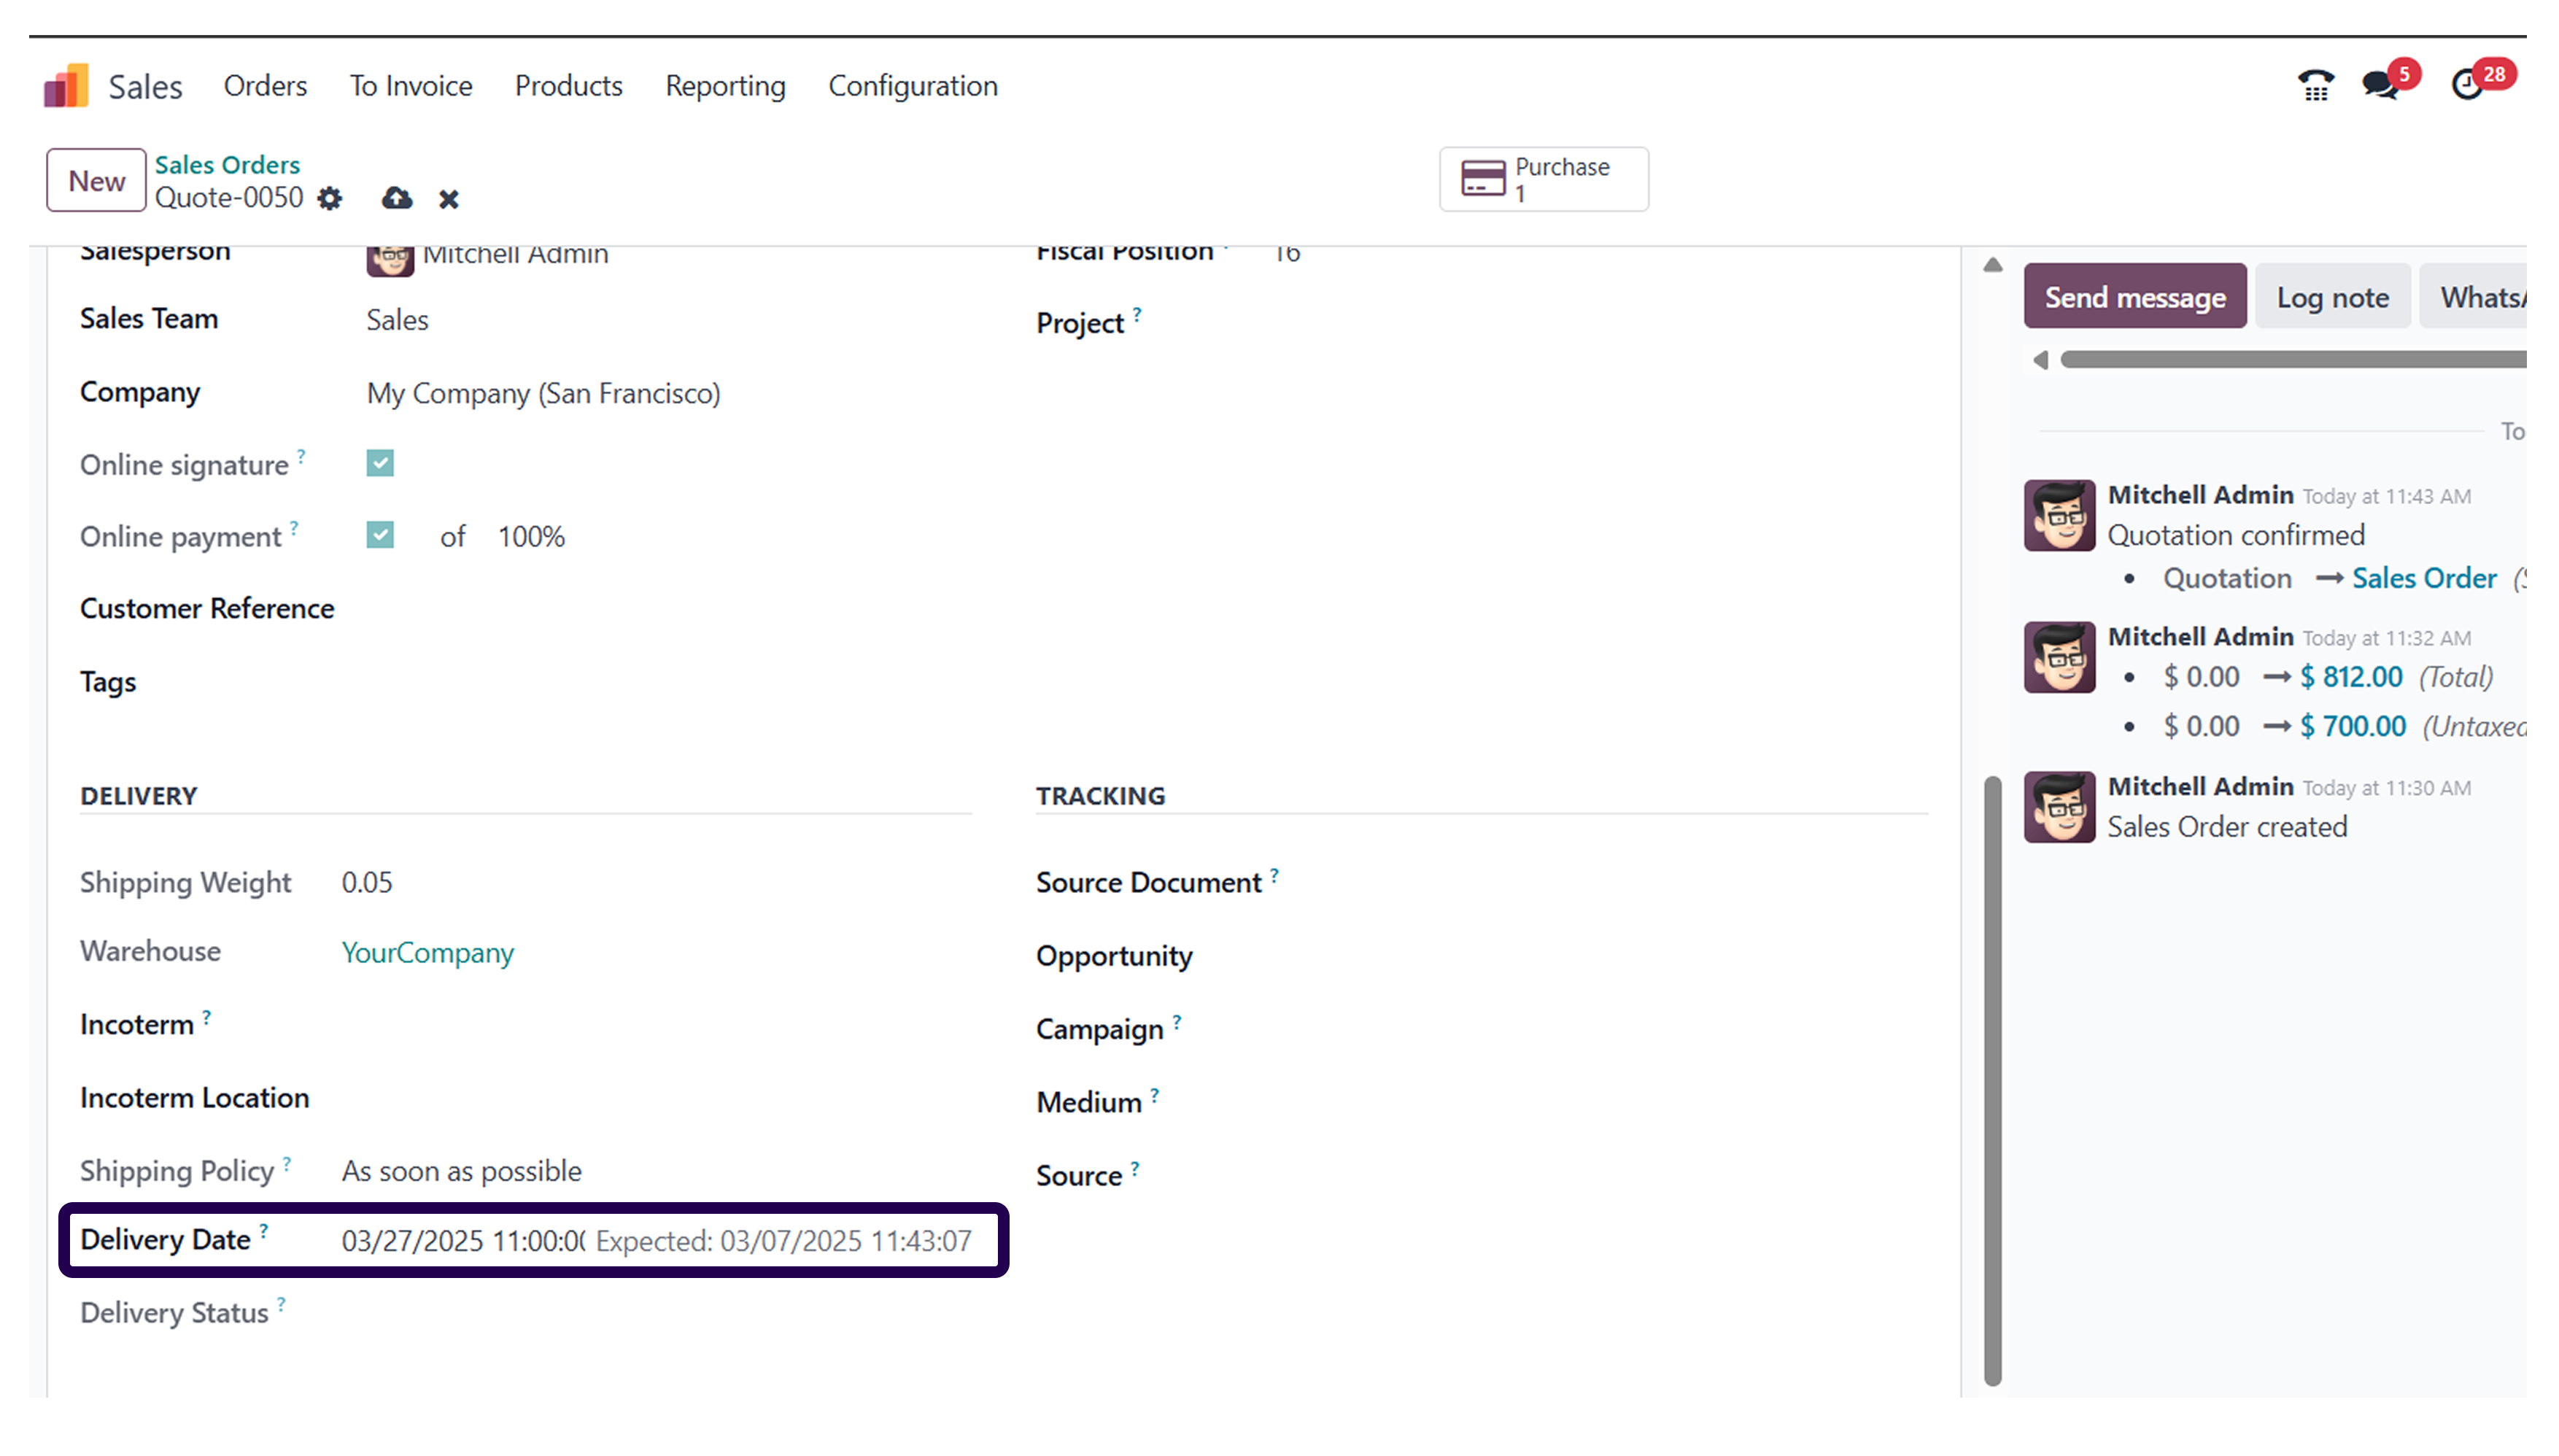
If you scroll down a bit on the other information tab, you will see that the delivery date is 10 days from the date of order confirmation.
➡️ Step 16: Click on the delivery tab to see the delivery details.
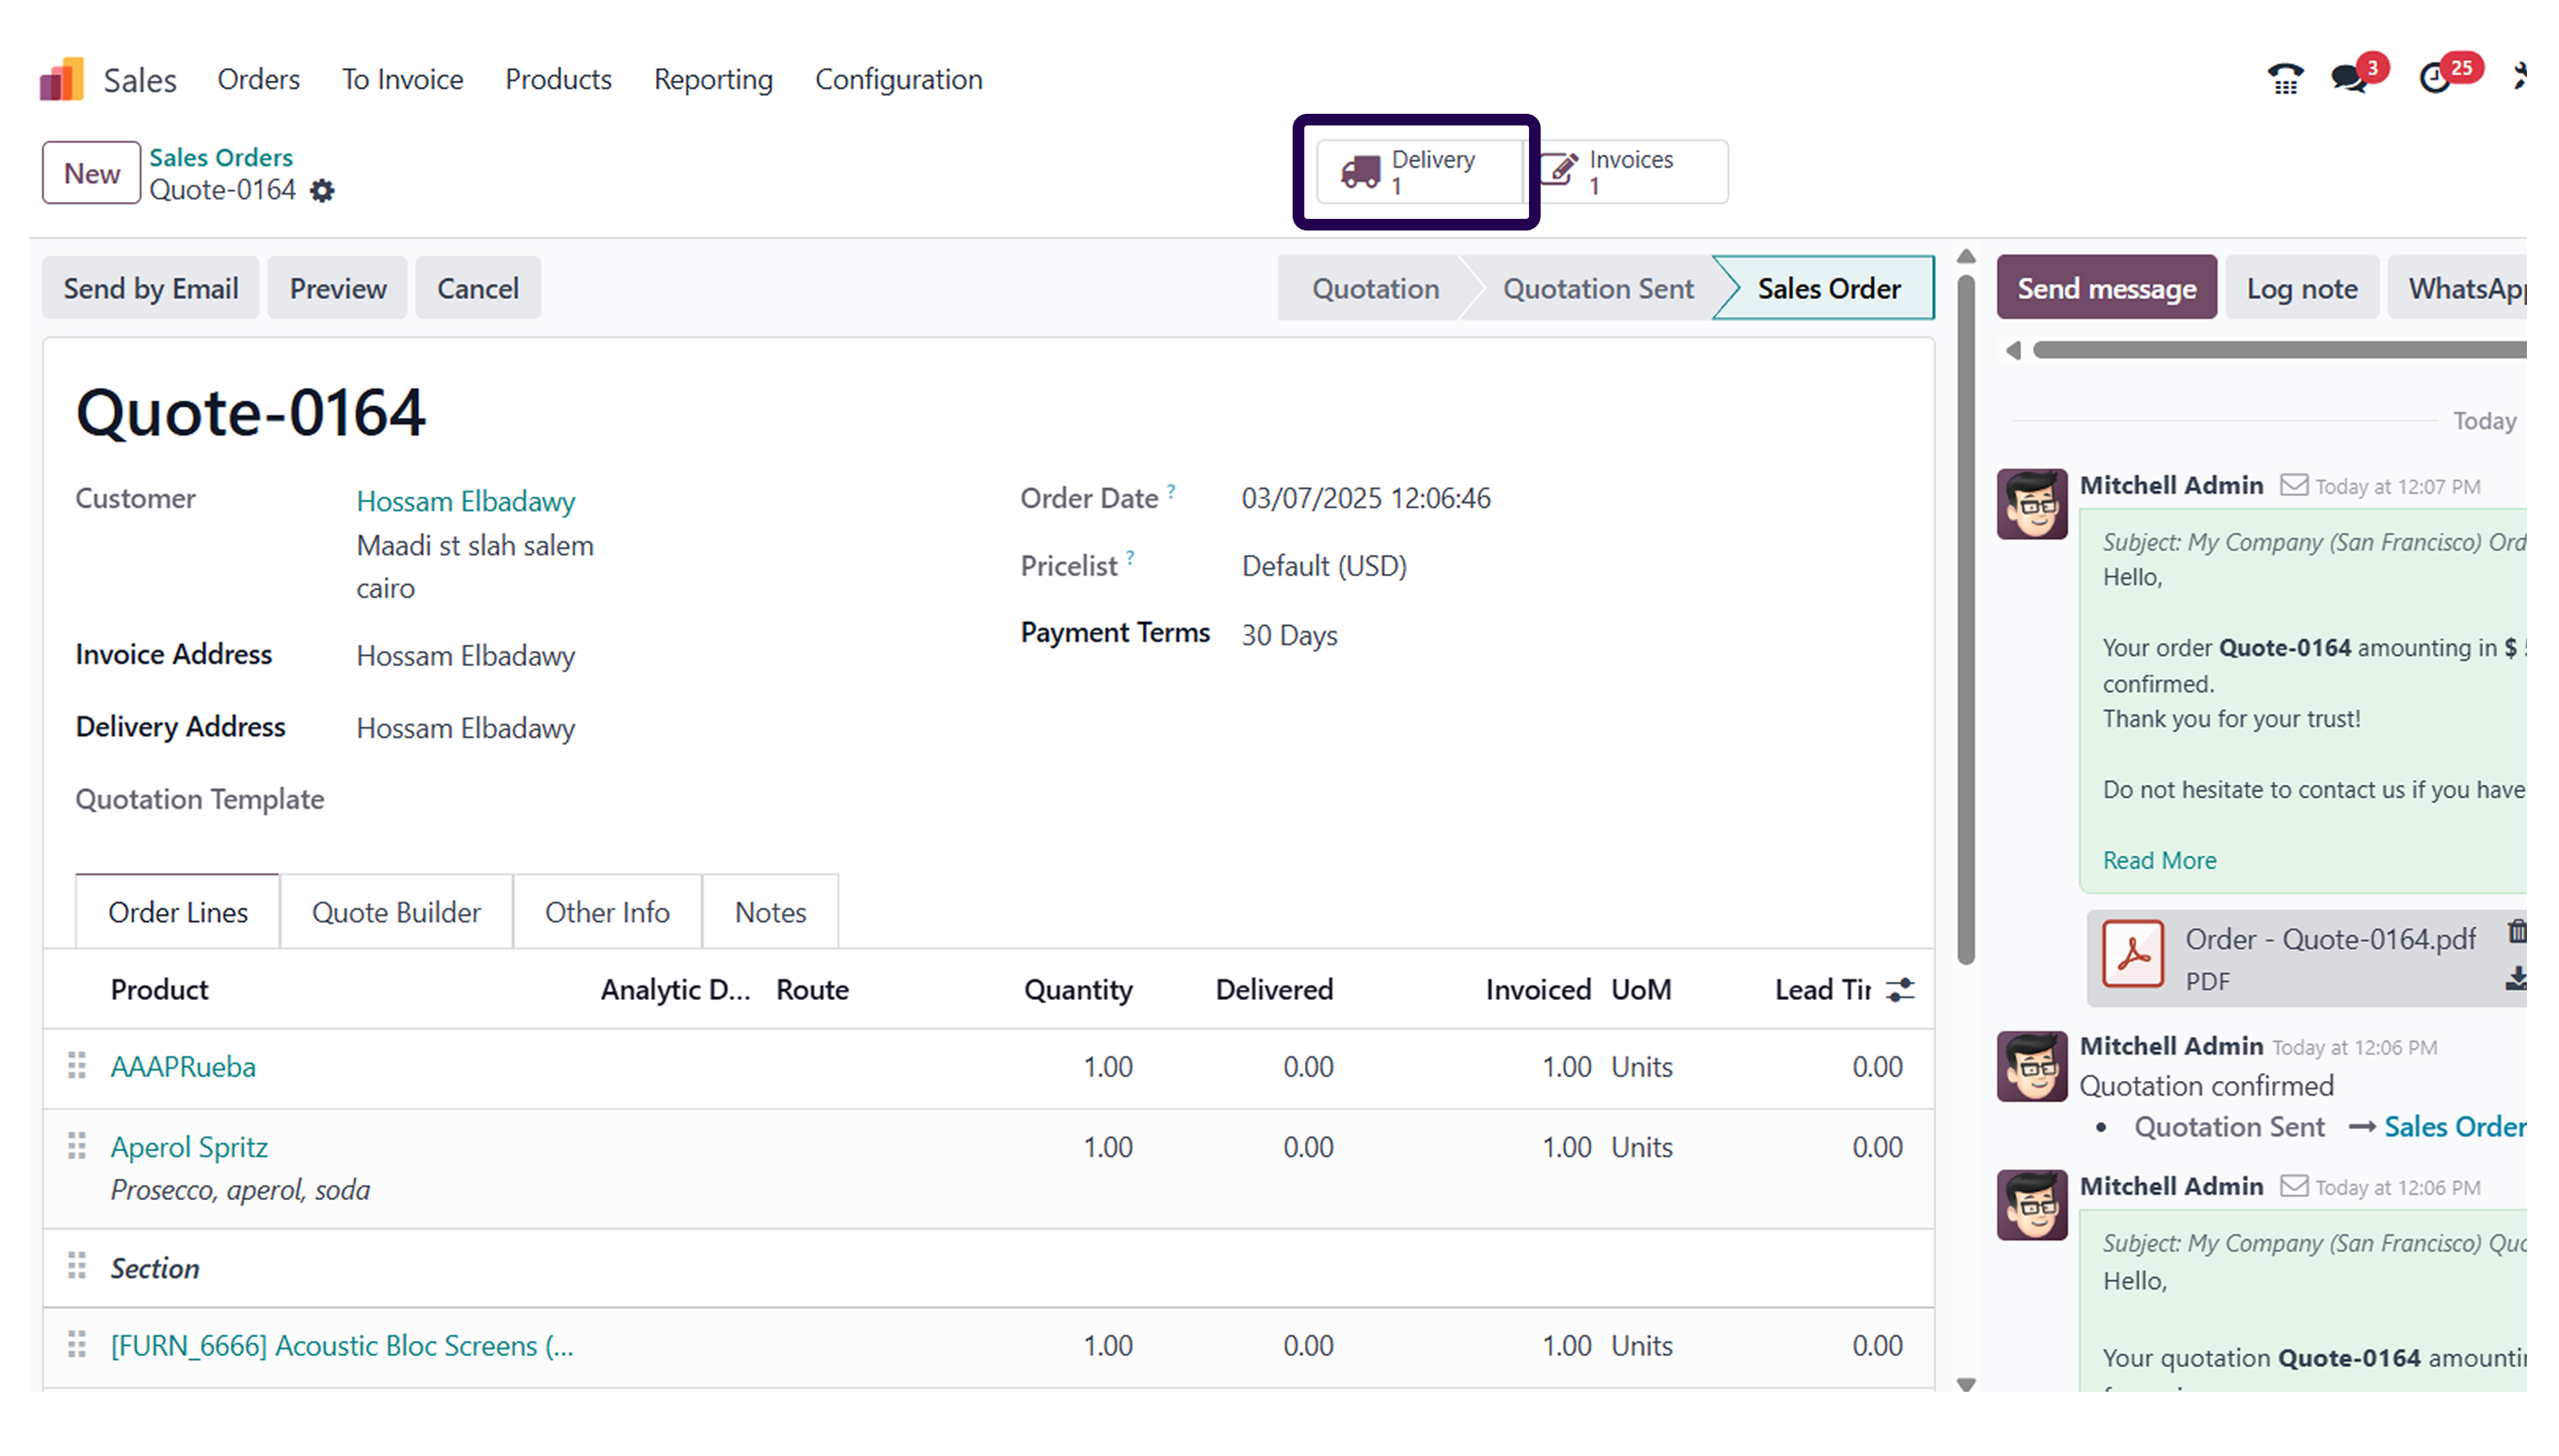
To have a look at the delivery details, click on the delivery tab.
➡️ Step 17: Here, you can see the delivery schedule date. Will show that after 10 days of giving orders.
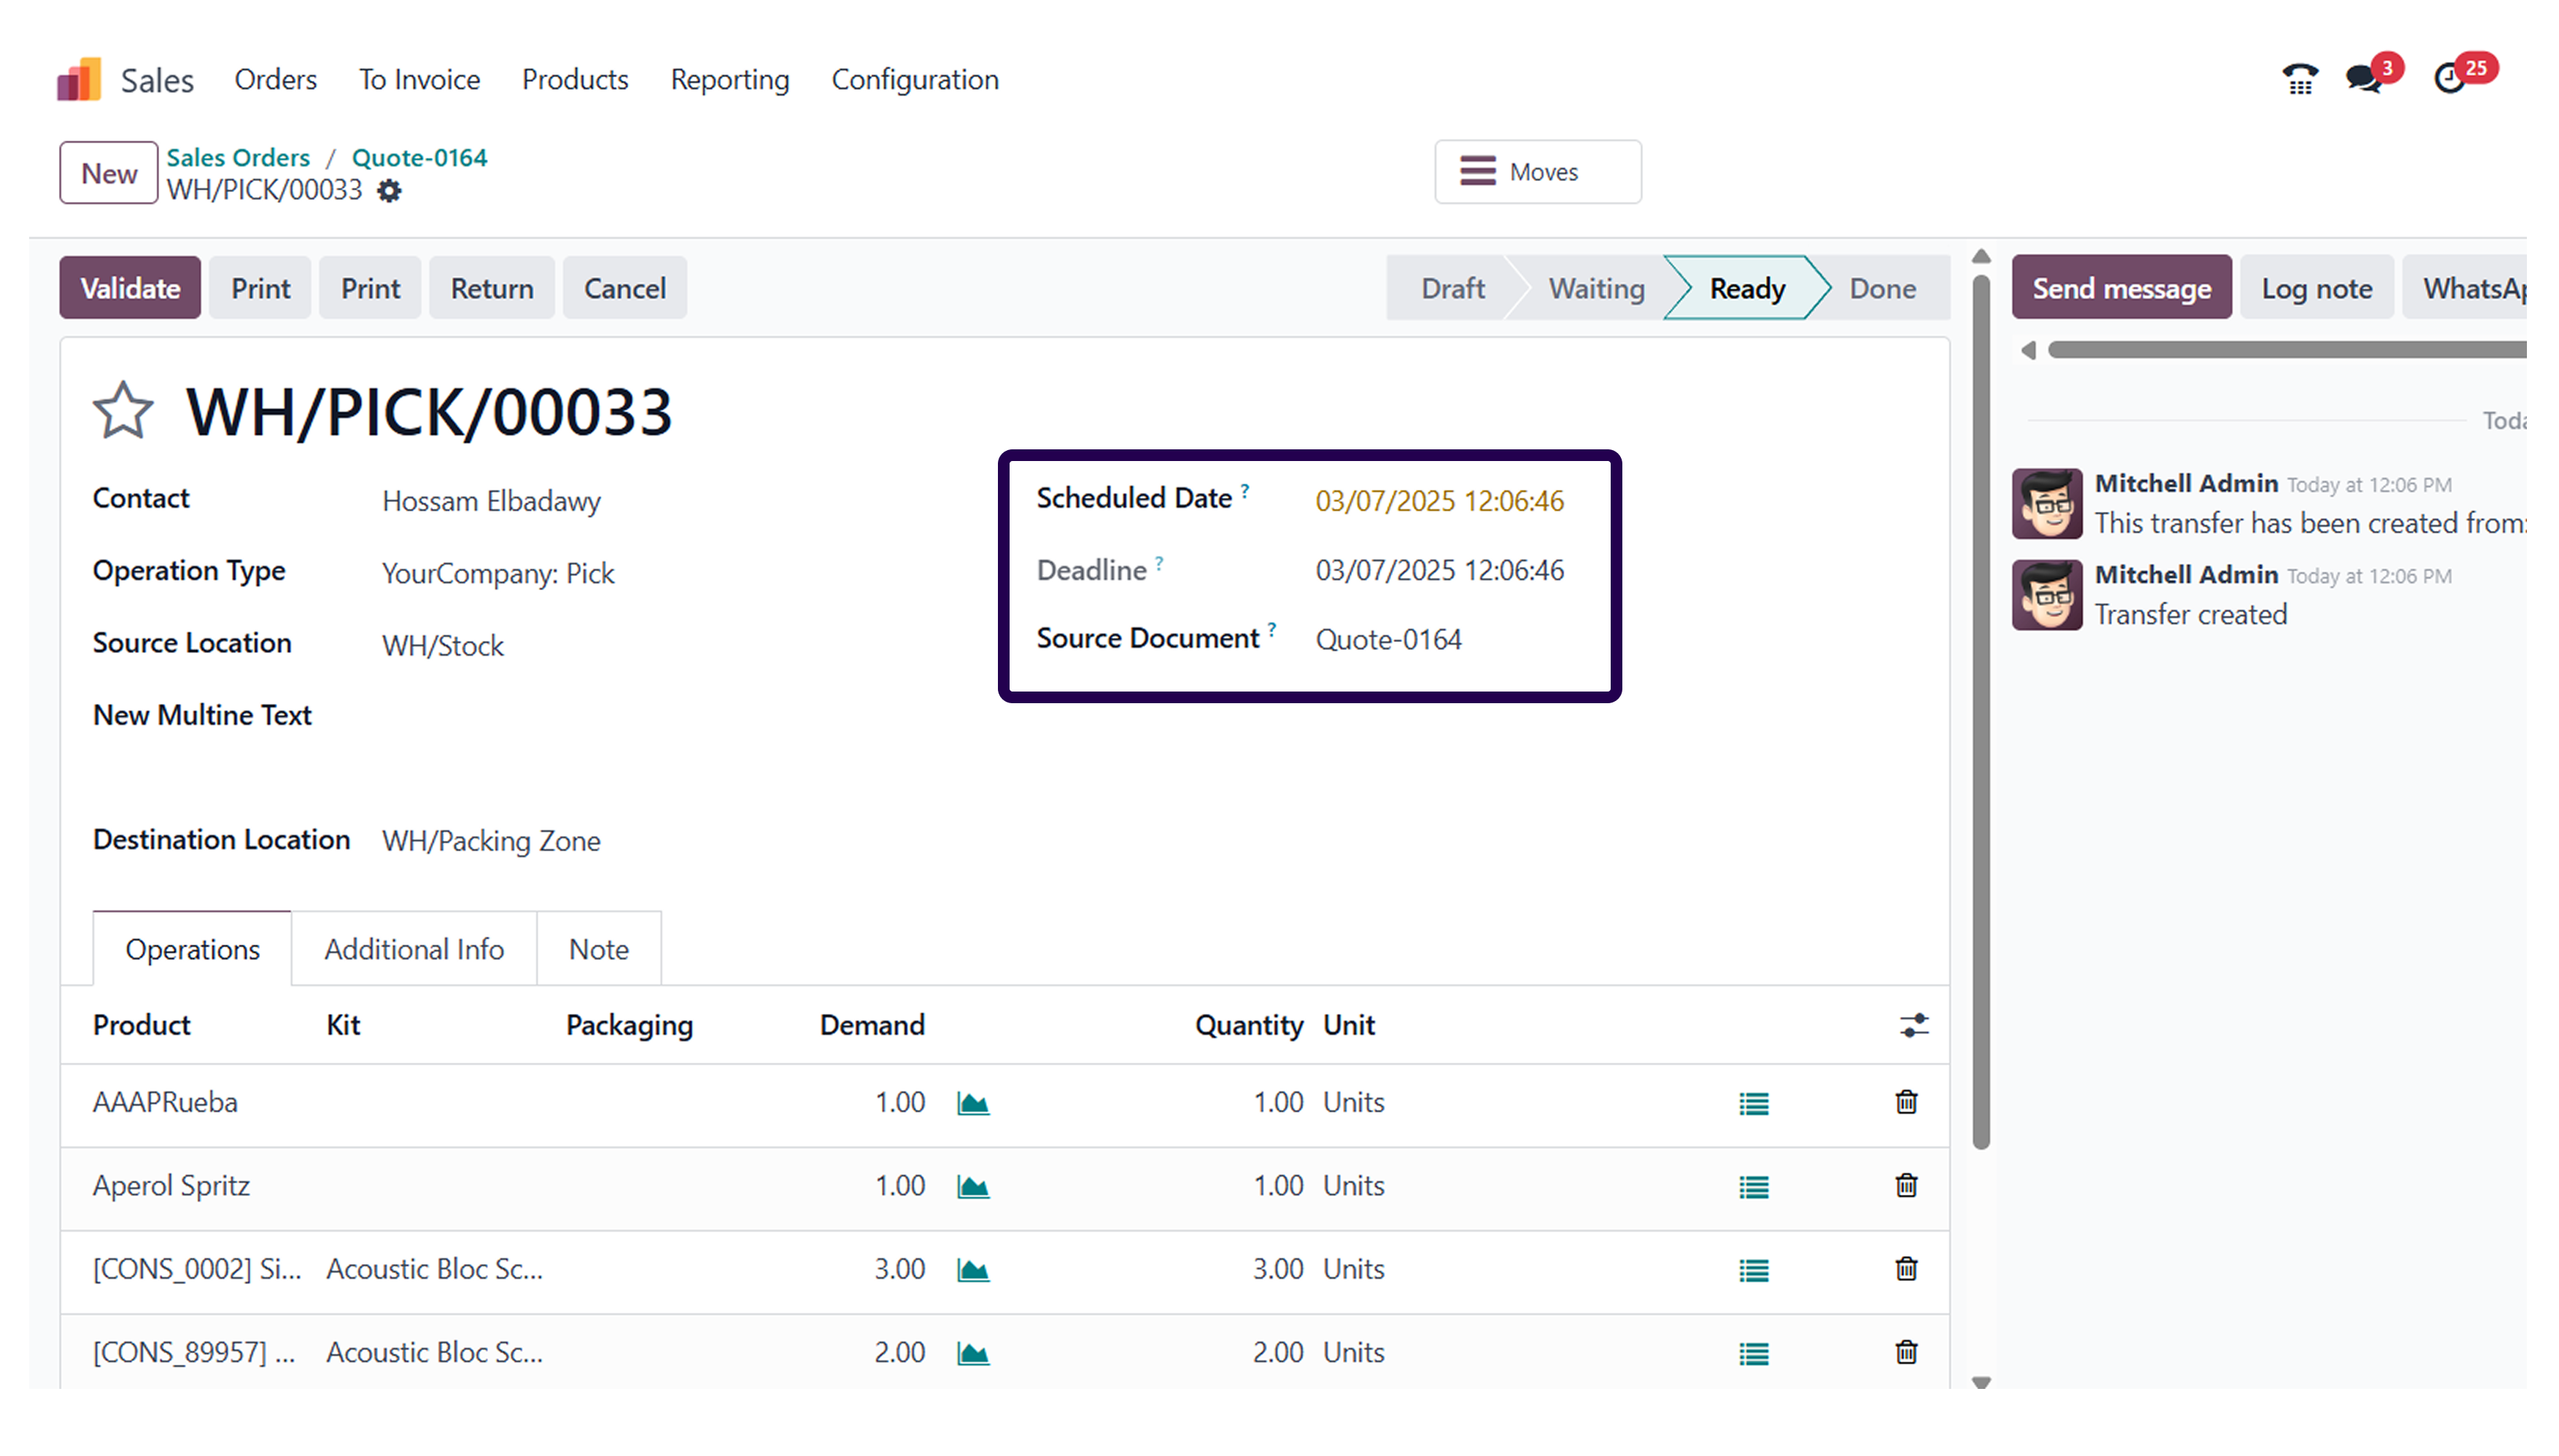
Over here, you can see the delivery date is 10 days from the date of order confirmation.
⇒ Here, you also have another feature available that is ‘Security delivery lead time’. This feature will remind the vendor days earlier about the delivery of the product.
➡️ Step 18: Go to the ‘Inventory’ module.
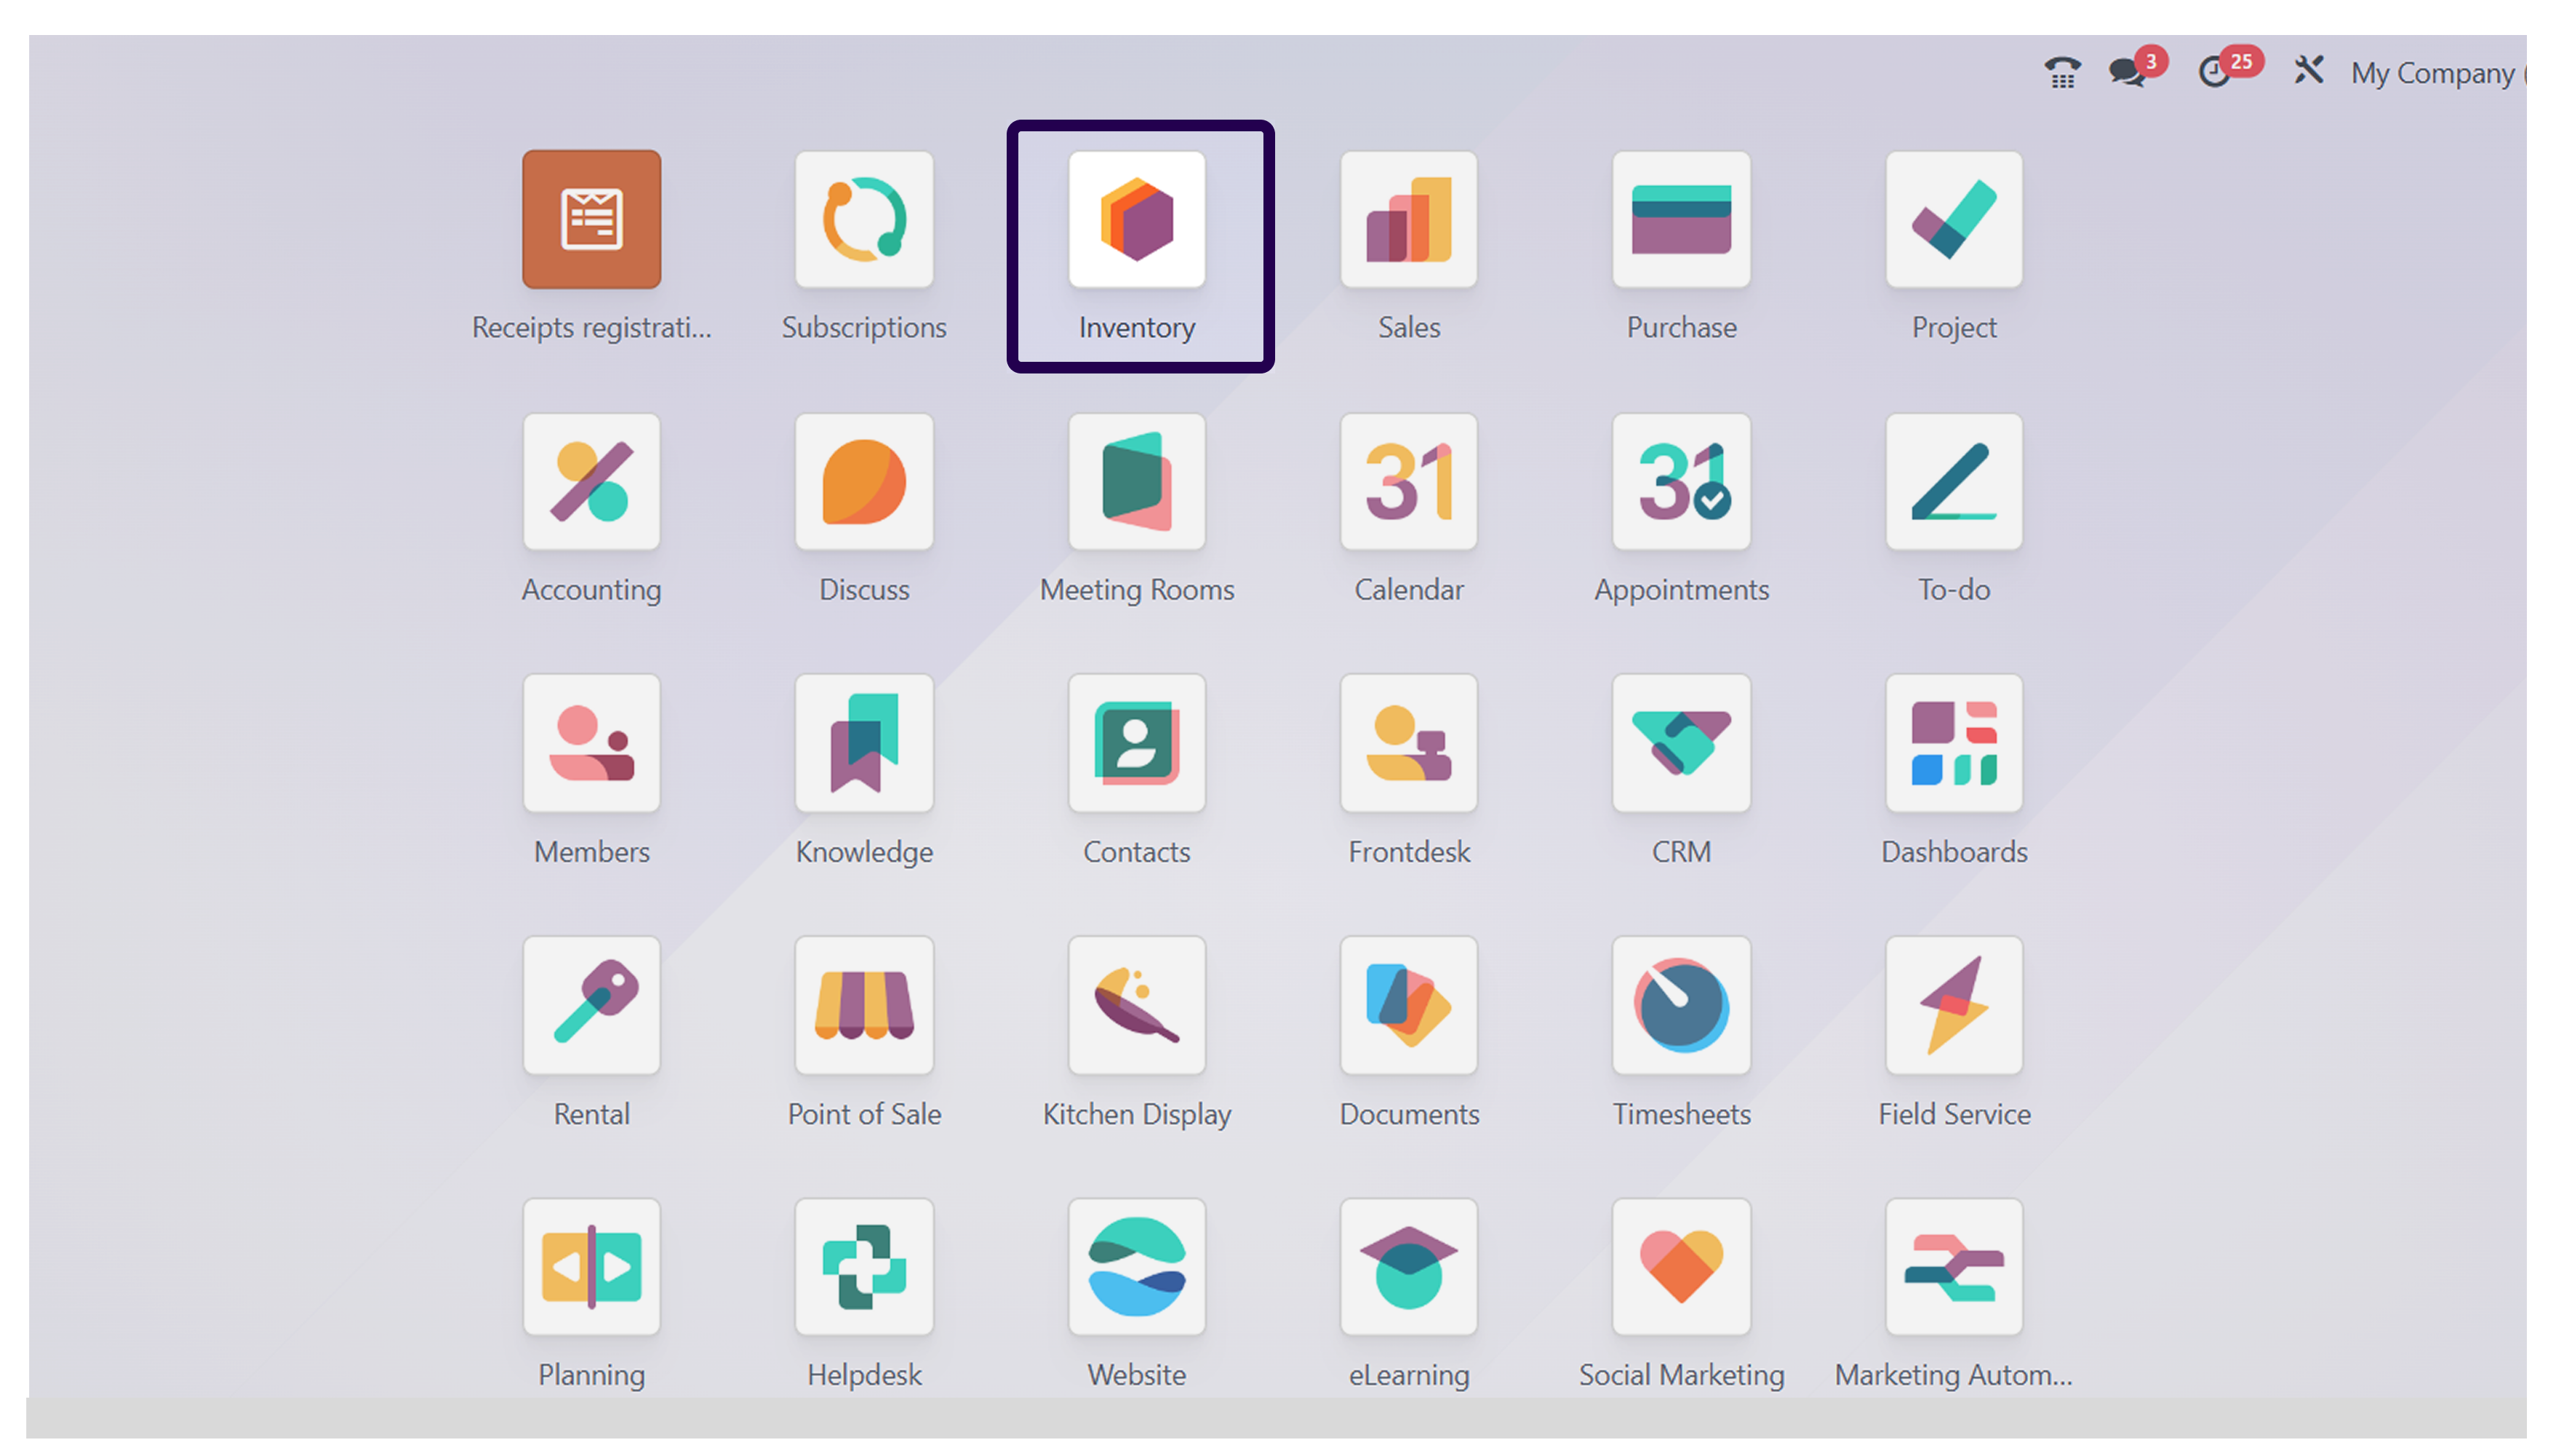
Now, go to the Inventory module, and click on the same.
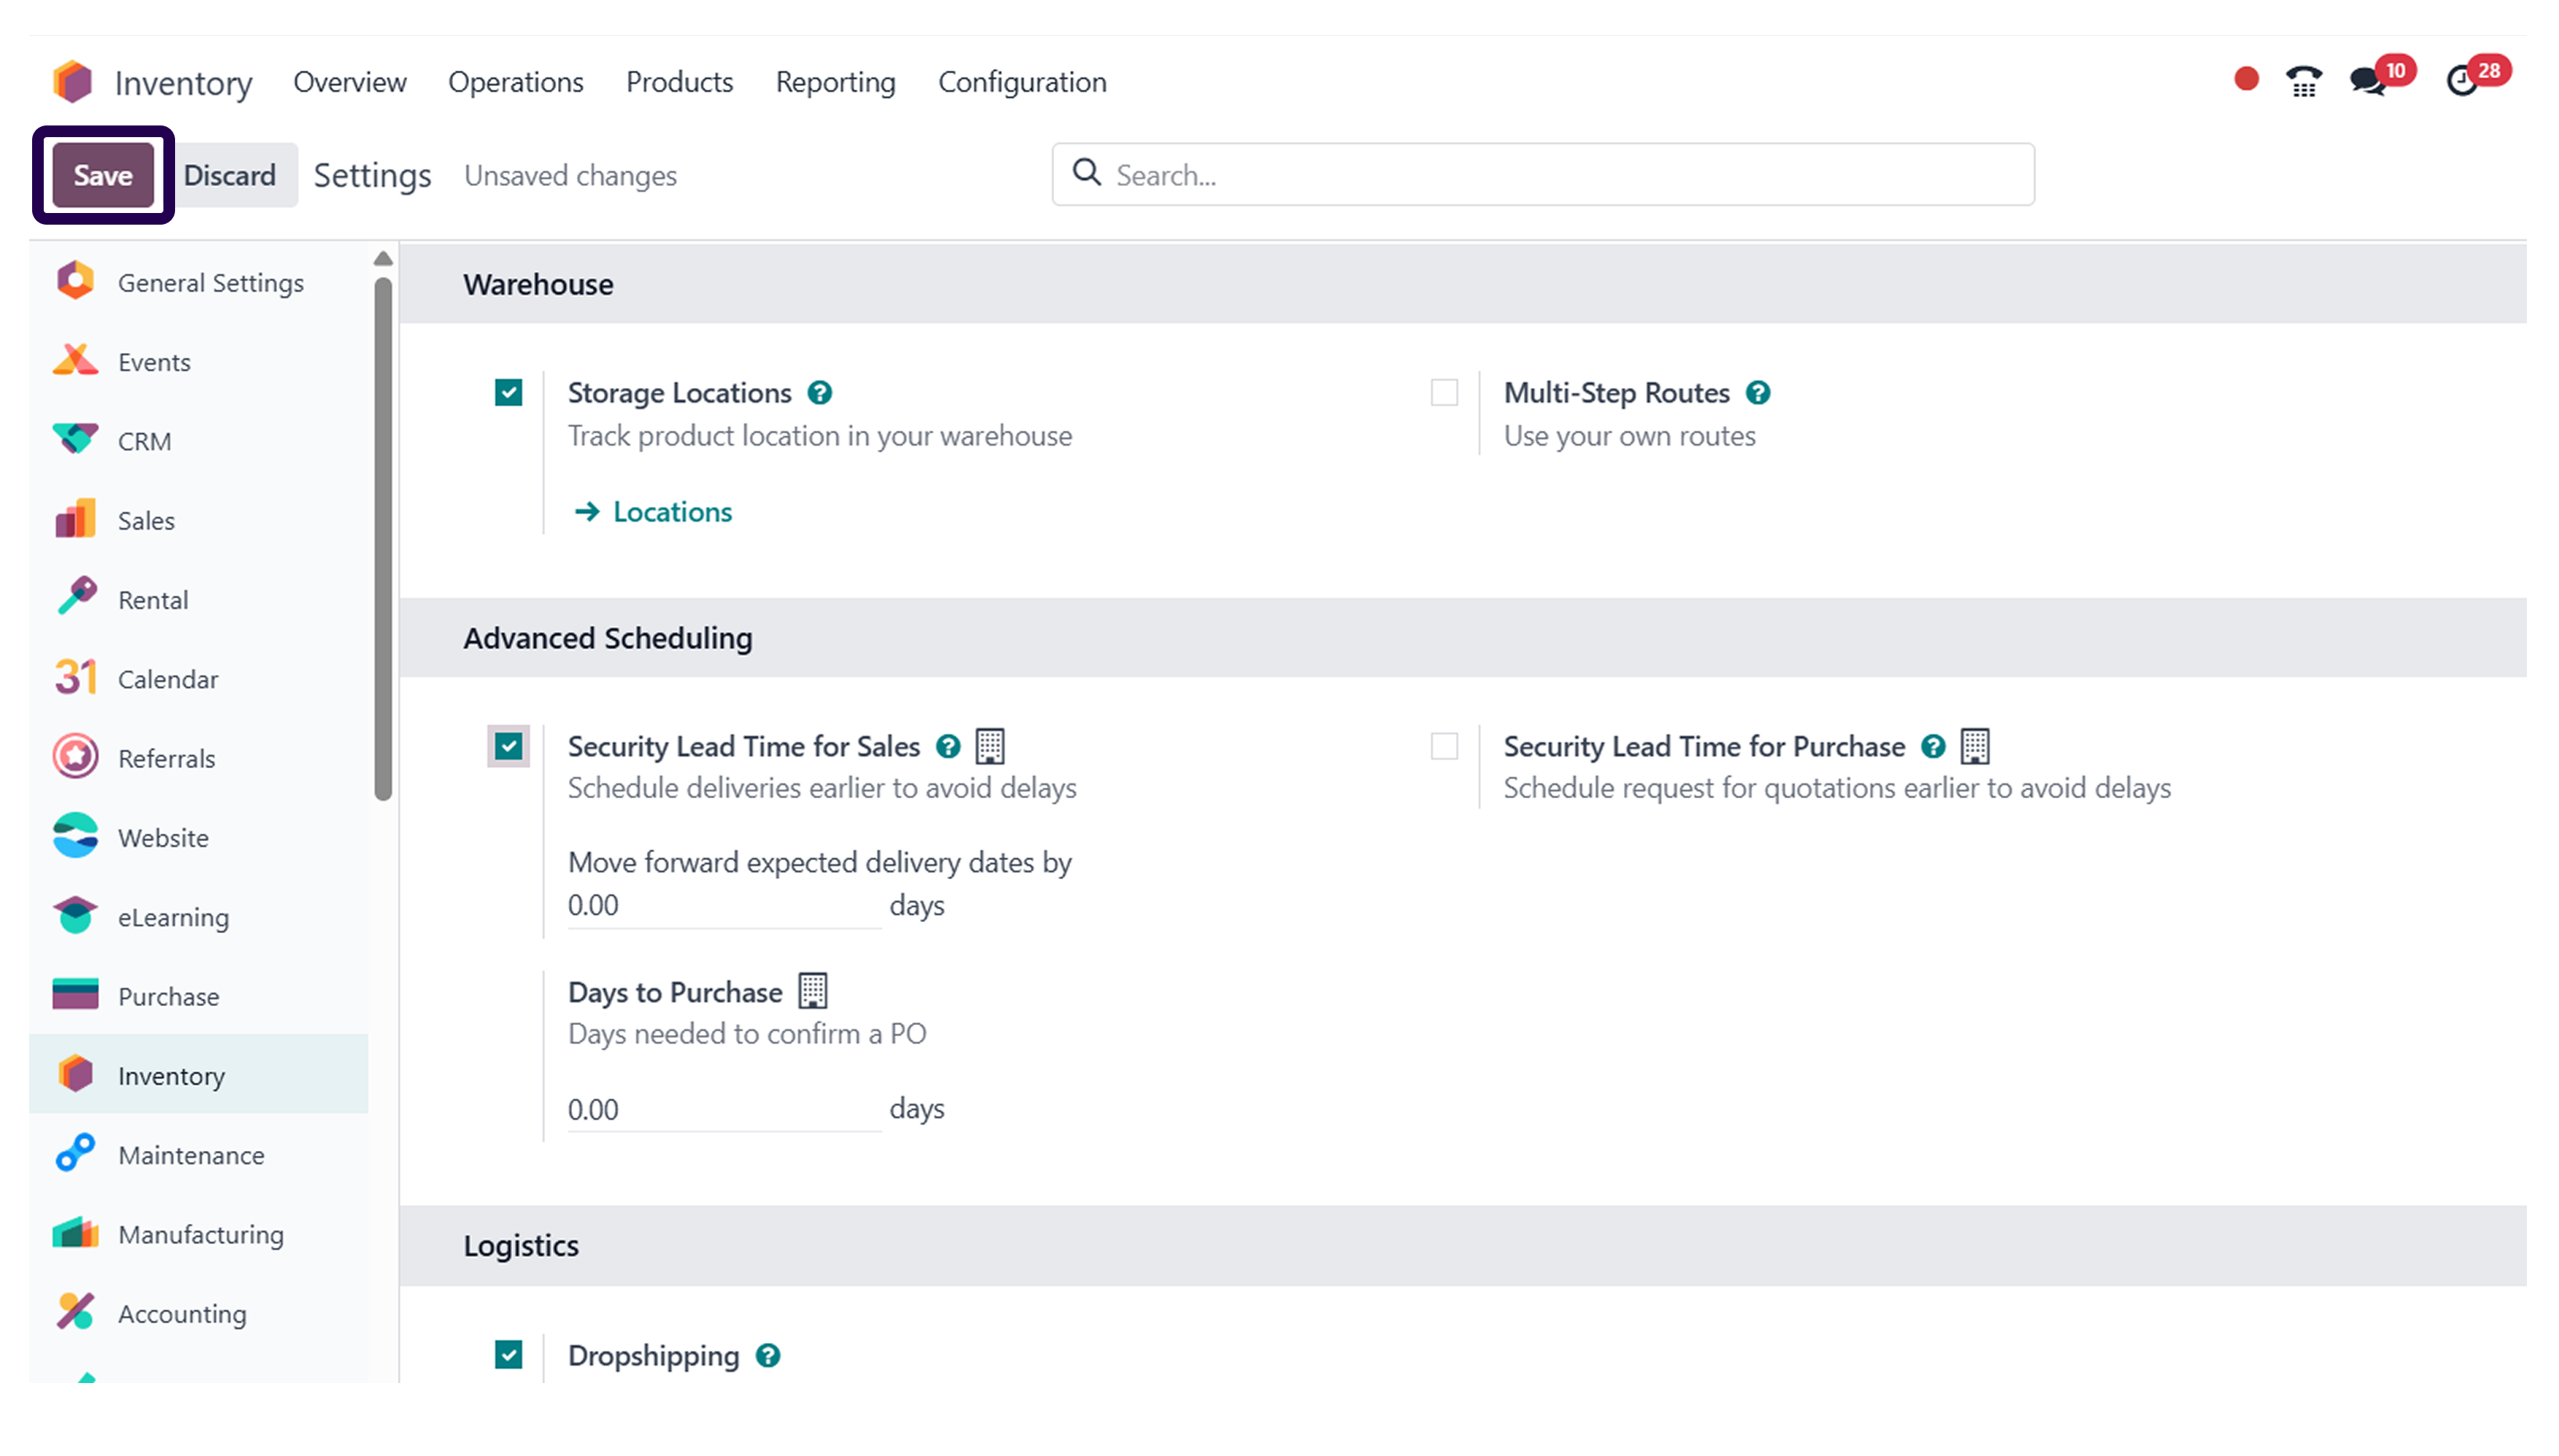
➡️ Step 19: Navigate to the ‘Configuration’ and click on the ‘Settings’ button.
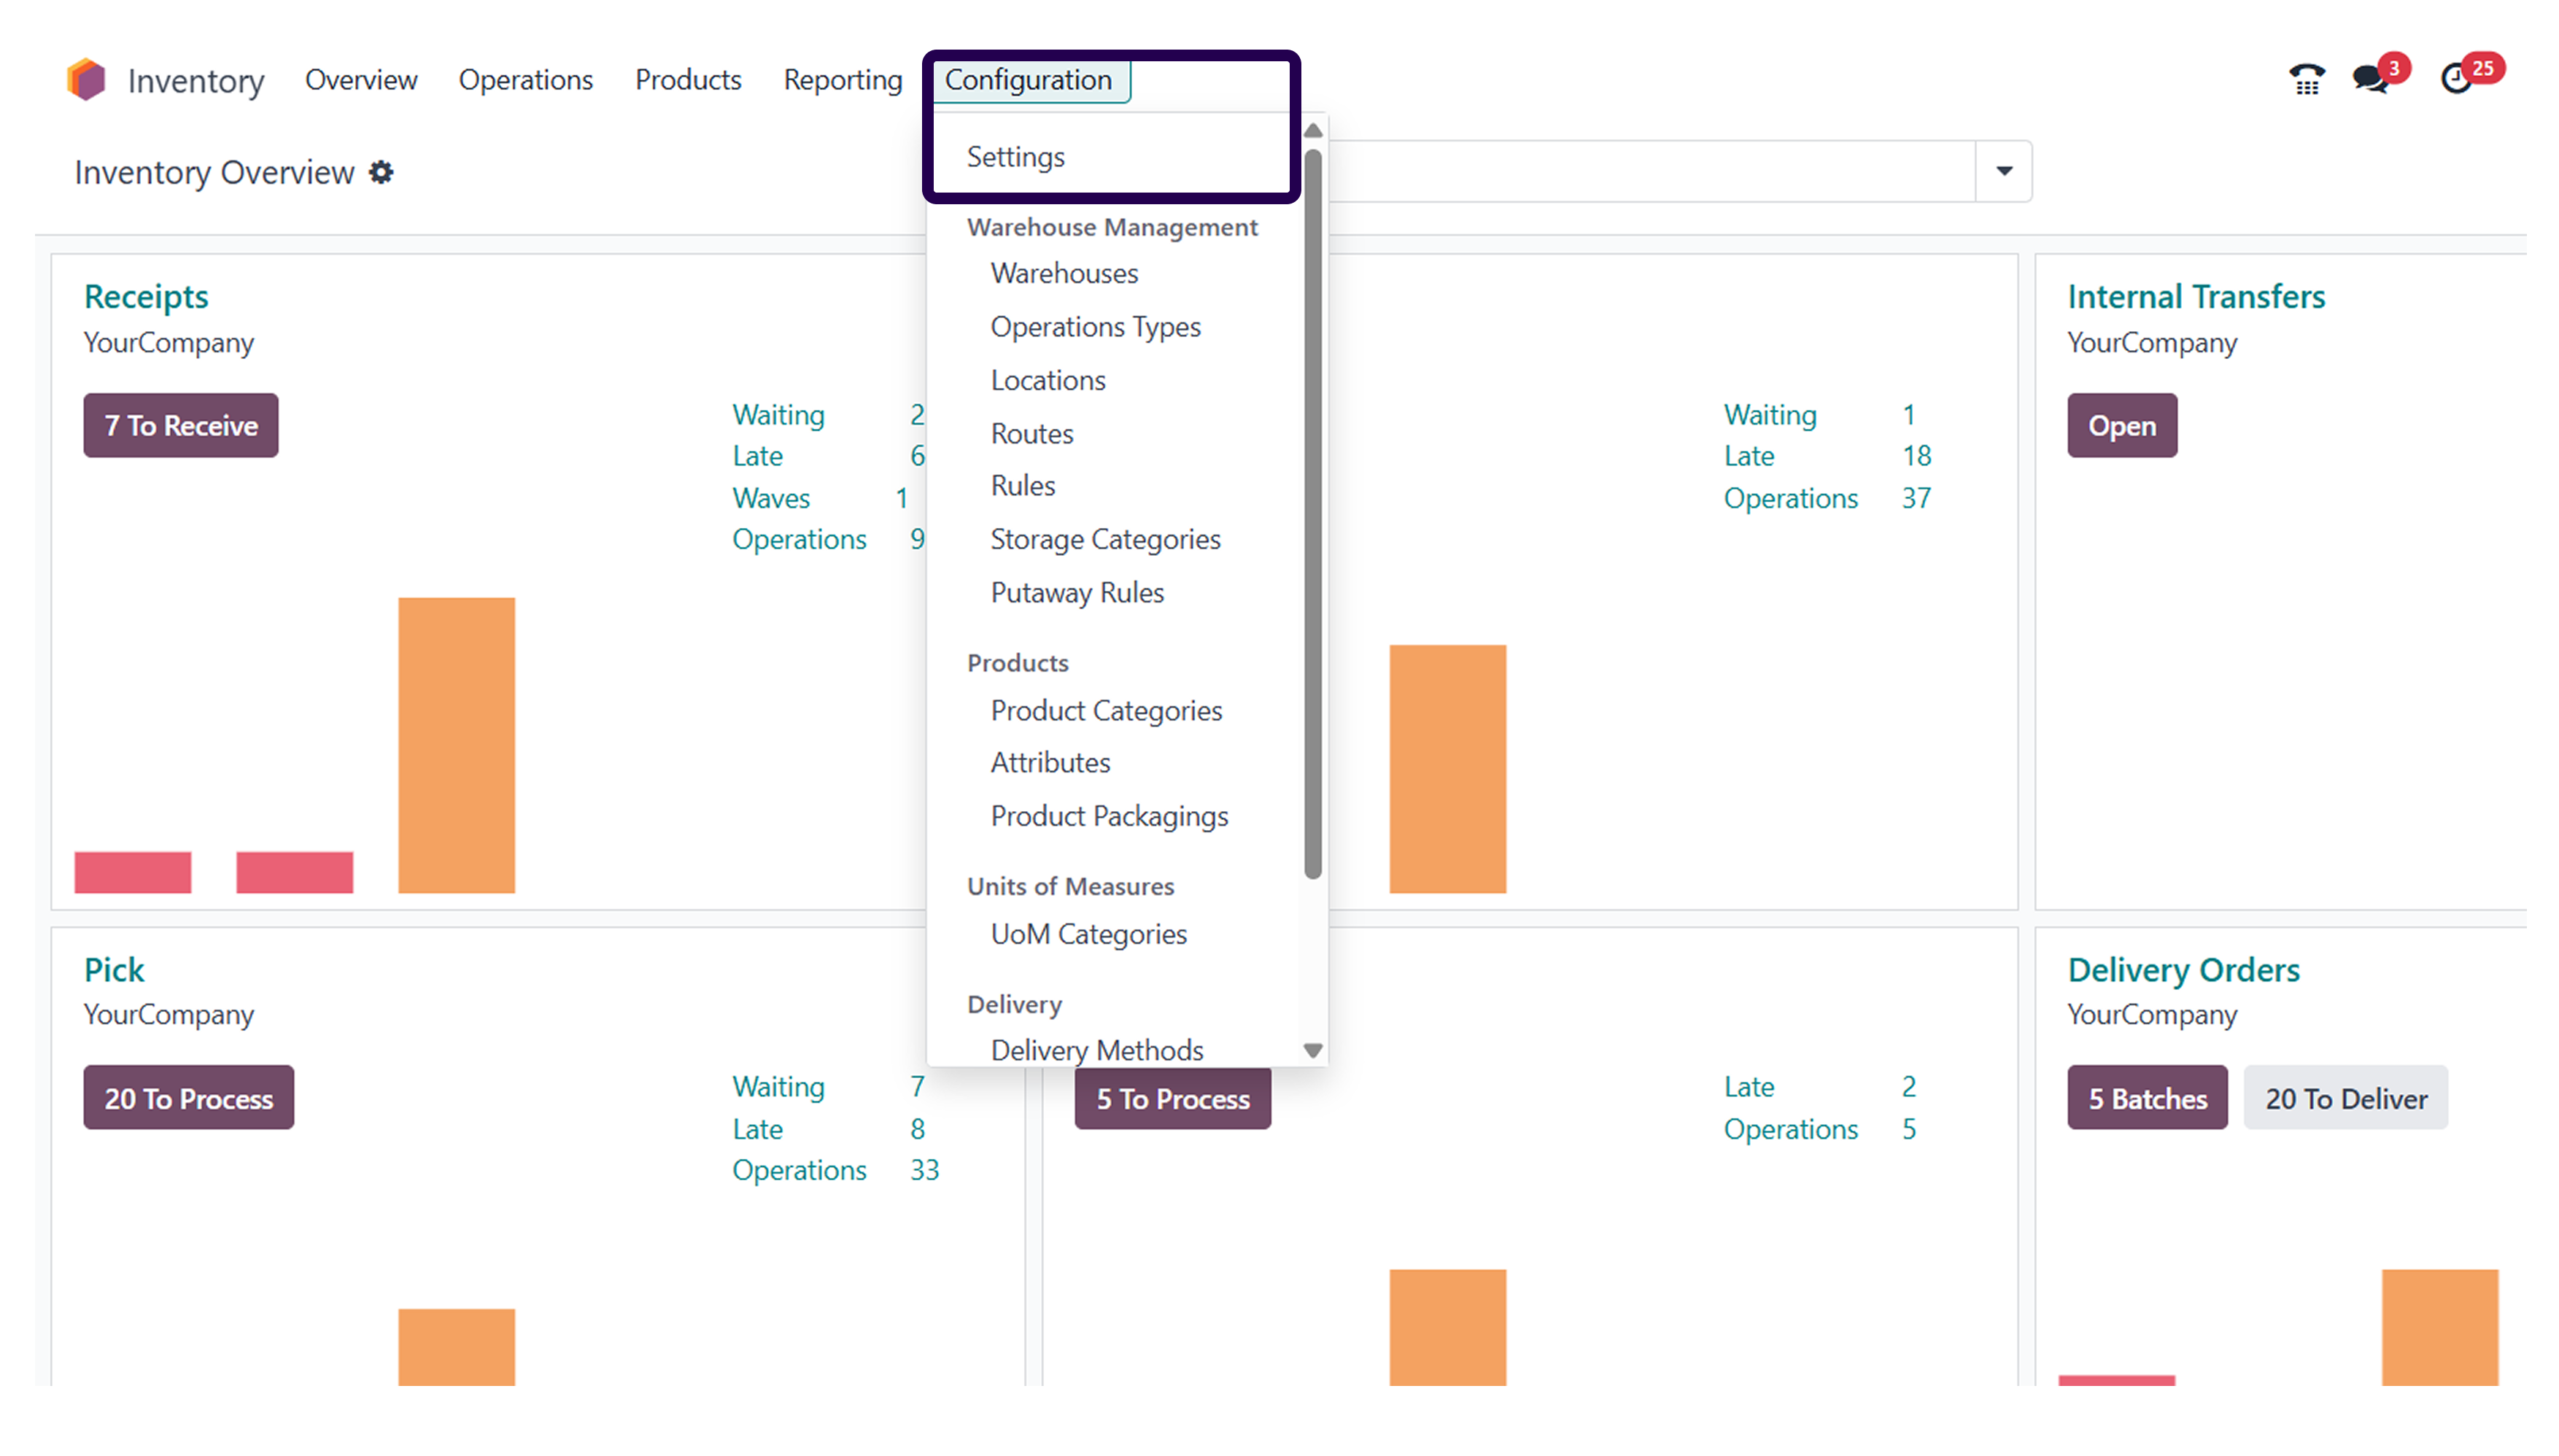
Once you have clicked on the inventory module, you will be redirected to the next page. Here you will have to click on the configuration option and then click on the settings button.
➡️ Step 20: Scroll down and Go to the ‘Advanced scheduling’ section and activate the ‘Security Lead Time for sales’.
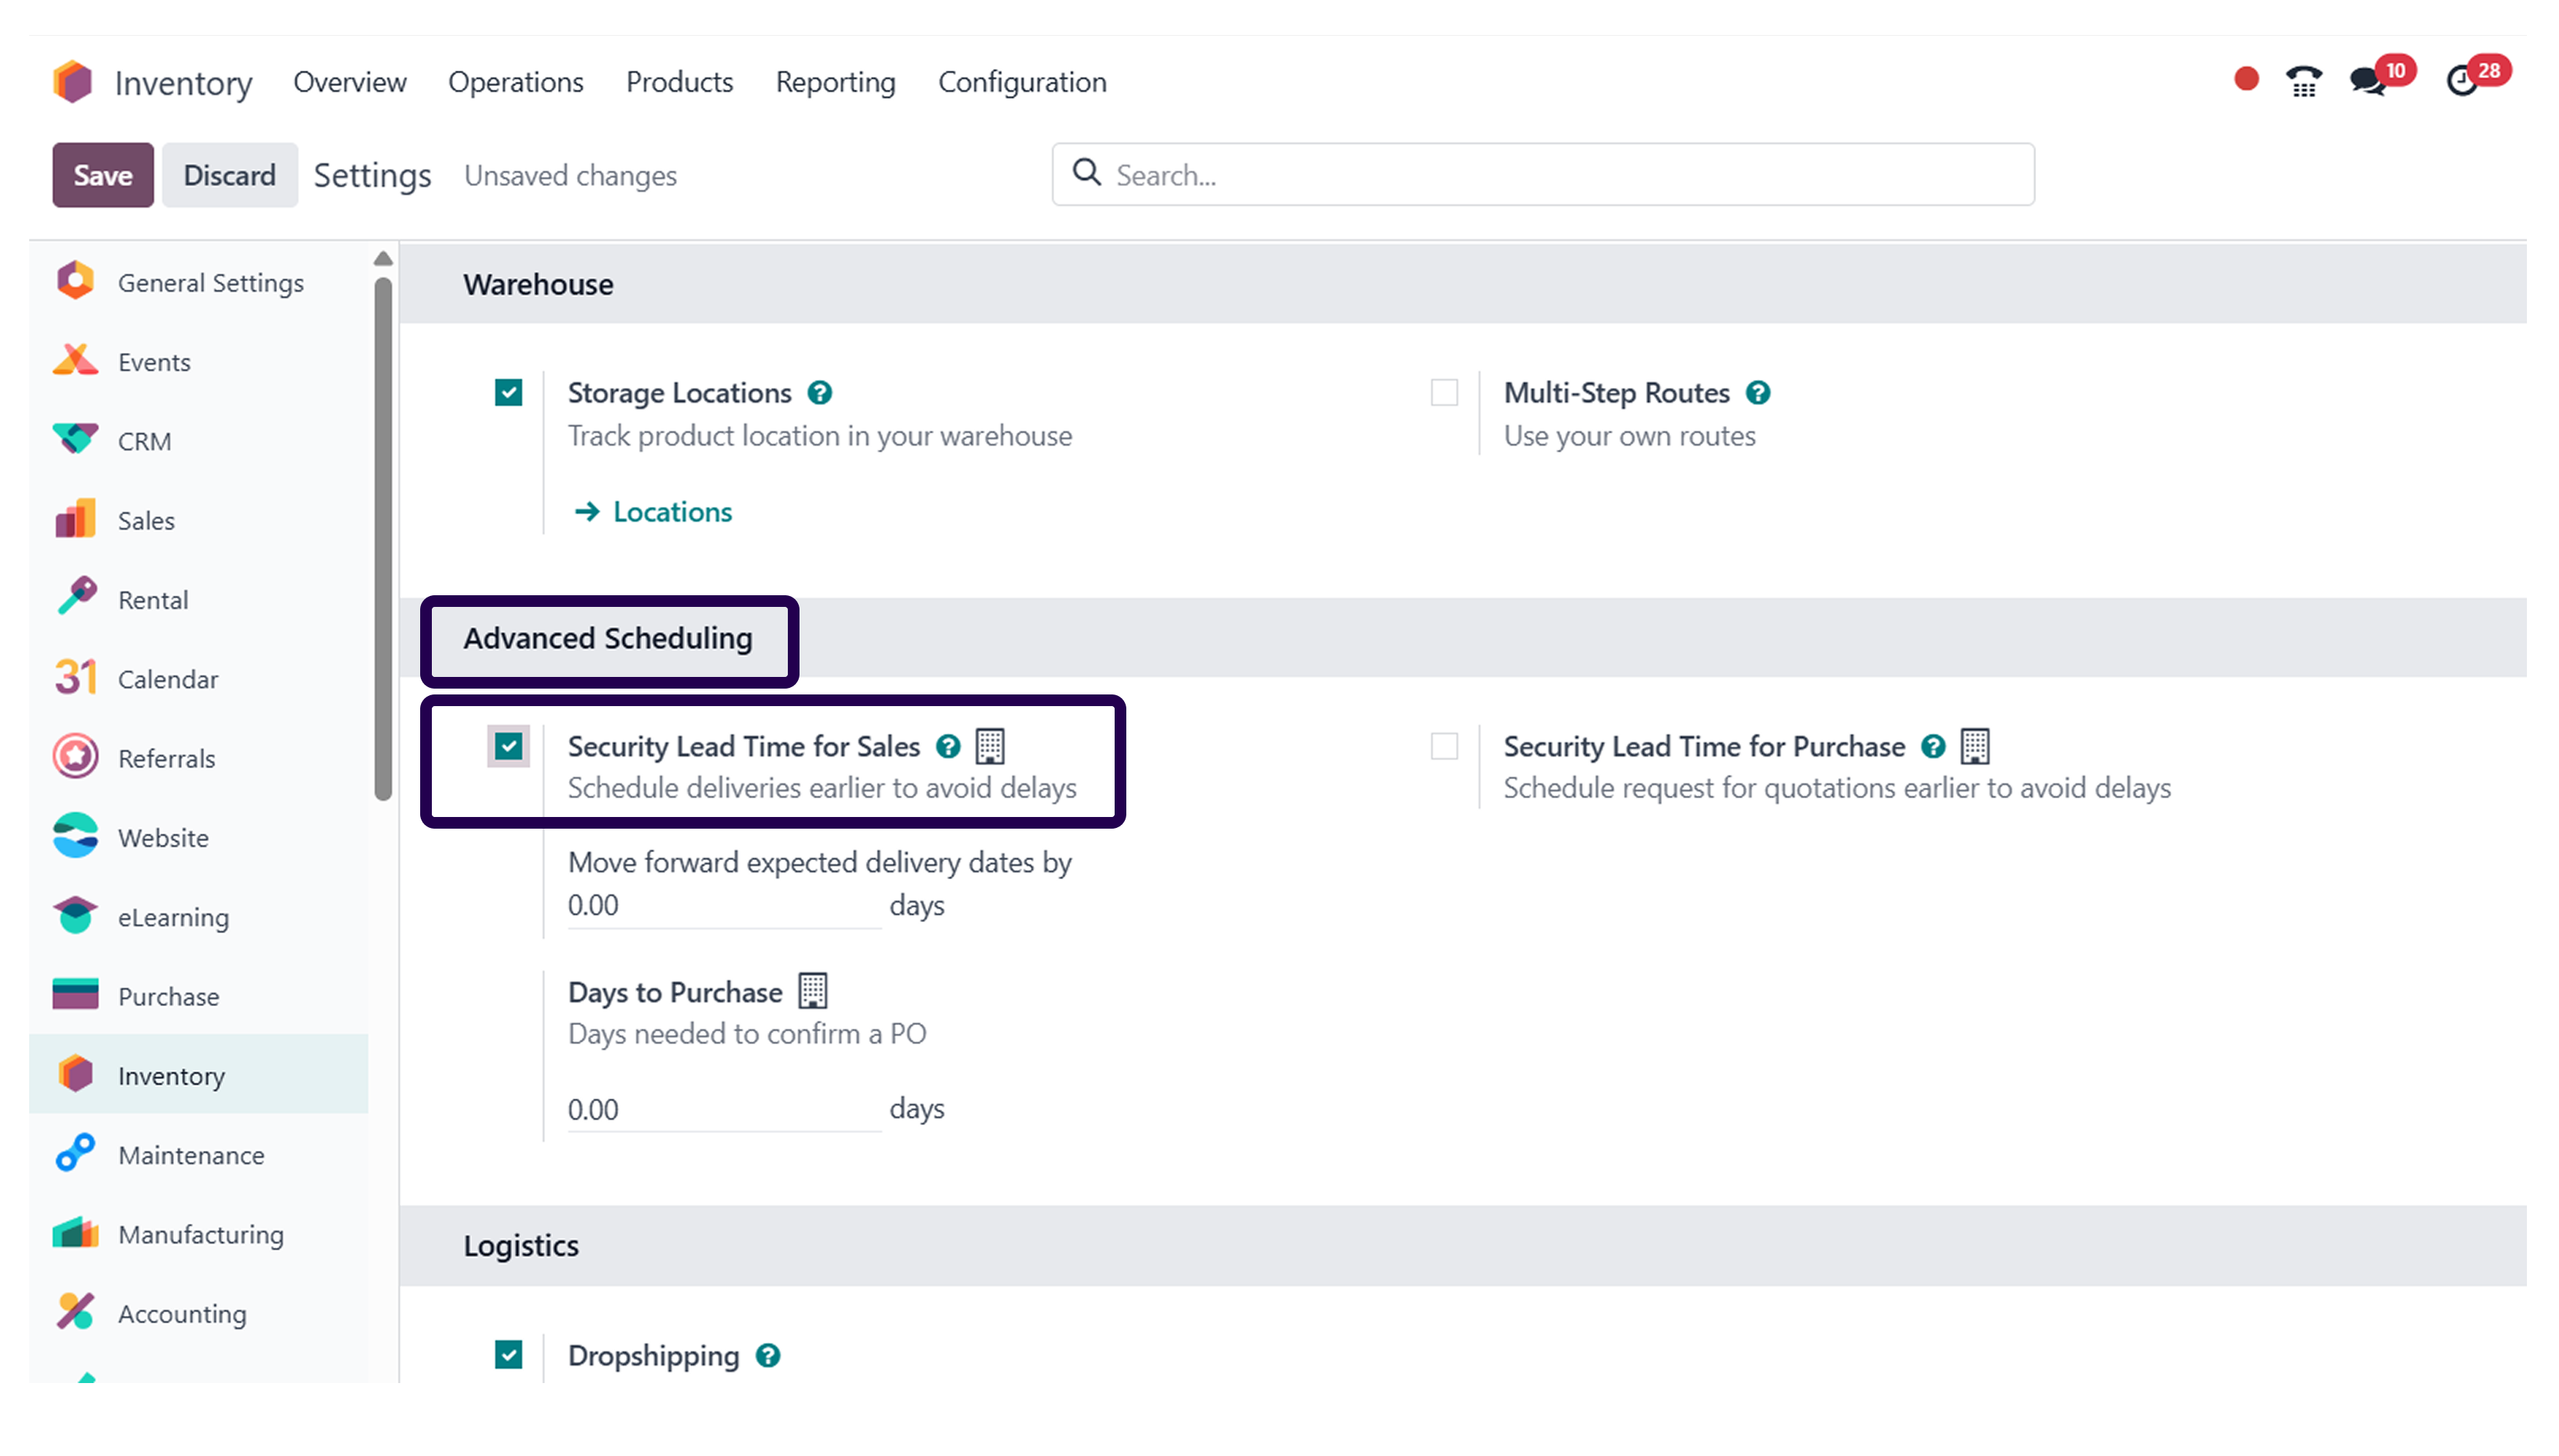
As you are redirected to the settings page, go to the ‘Advanced scheduling’ section and activate the ‘Security Lead Time for sales’
➡️ Step 21: Fill in the days for reminding for early delivery days.

Now, it is time to move forward the expected delivery date as per your choice.
➡️ Step 22: Click on the ‘Save’ button.
Once you have set the expected delivery date, click on the save button.

About Author
Kalpesh Gajera is the Chief Technology Officer at UNCANNY Consulting Services, specializing in Odoo, ERP, and eCommerce technologies. He focuses on building scalable enterprise solutions that help organizations streamline operations, improve efficiency, and accelerate digital transformation initiatives.
Kalpesh Gajera is the Chief Technology Officer at UNCANNY Consulting Services, specializing in Odoo, ERP, and eCommerce technologies. He focuses on building scalable enterprise solutions that help organizations streamline operations, improve efficiency, and accelerate digital transformation initiatives.