How to Create Computed Price List in Odoo Sales Module?
Published on July 21st 2023
Steps to Create Computed Price List in Odoo Sales Module
Step 1: Go to the ‘Sales’ Module.
Firstly, we will go to the sales module, and click on the same.
Step 2: Navigate to the ‘Configuration’ and click on the ‘Settings’ button.
Once you have clicked on the sales module, you will be redirected to the next page. Here you will have to click on the configuration option and then click on the settings button.
Step 3: Go to the ‘Pricing’ section and activate the ‘Price List’ option. And there are 2 options available, Activate the ‘Advanced price rules (discounts, formulas)’ option.
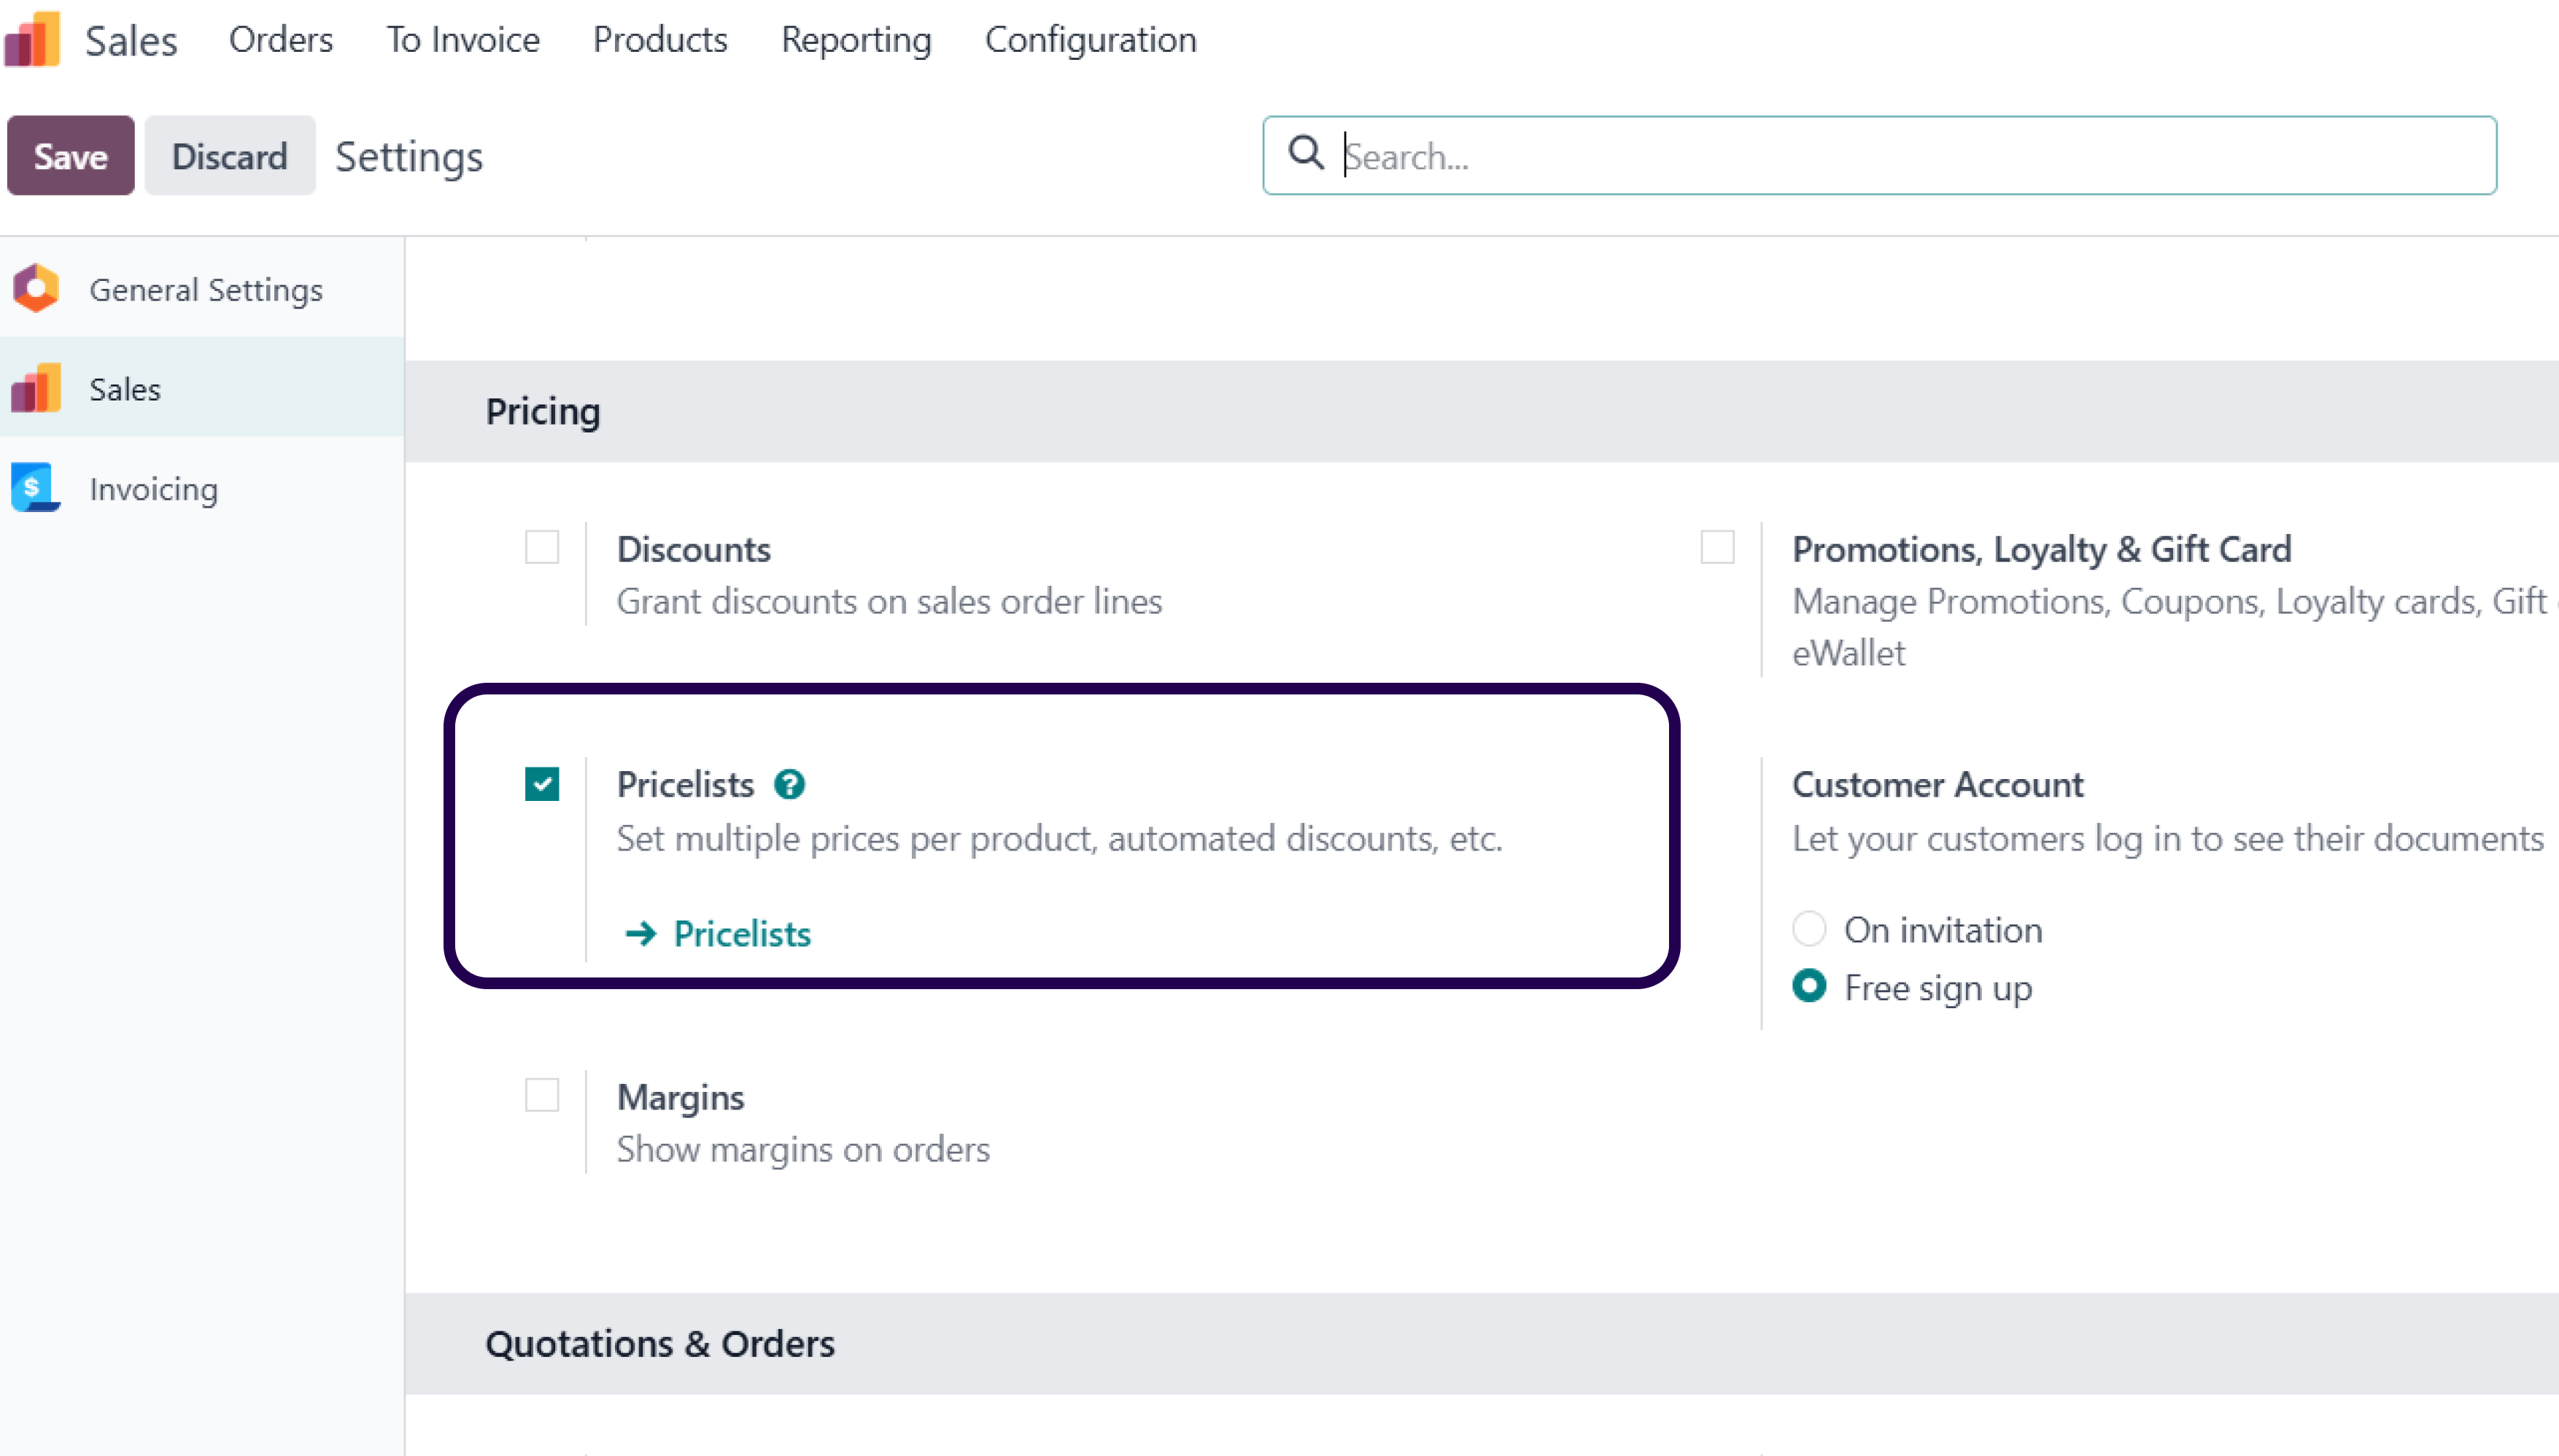
Once you have clicked on the settings button, you will have to ensure that the price lists (Advanced price rules) option is activated under pricing.
Once you have clicked on the settings button, you will have to ensure that the price lists (Advanced price rules) option is activated under pricing.
Step 4: Click on the ‘Save’ button.
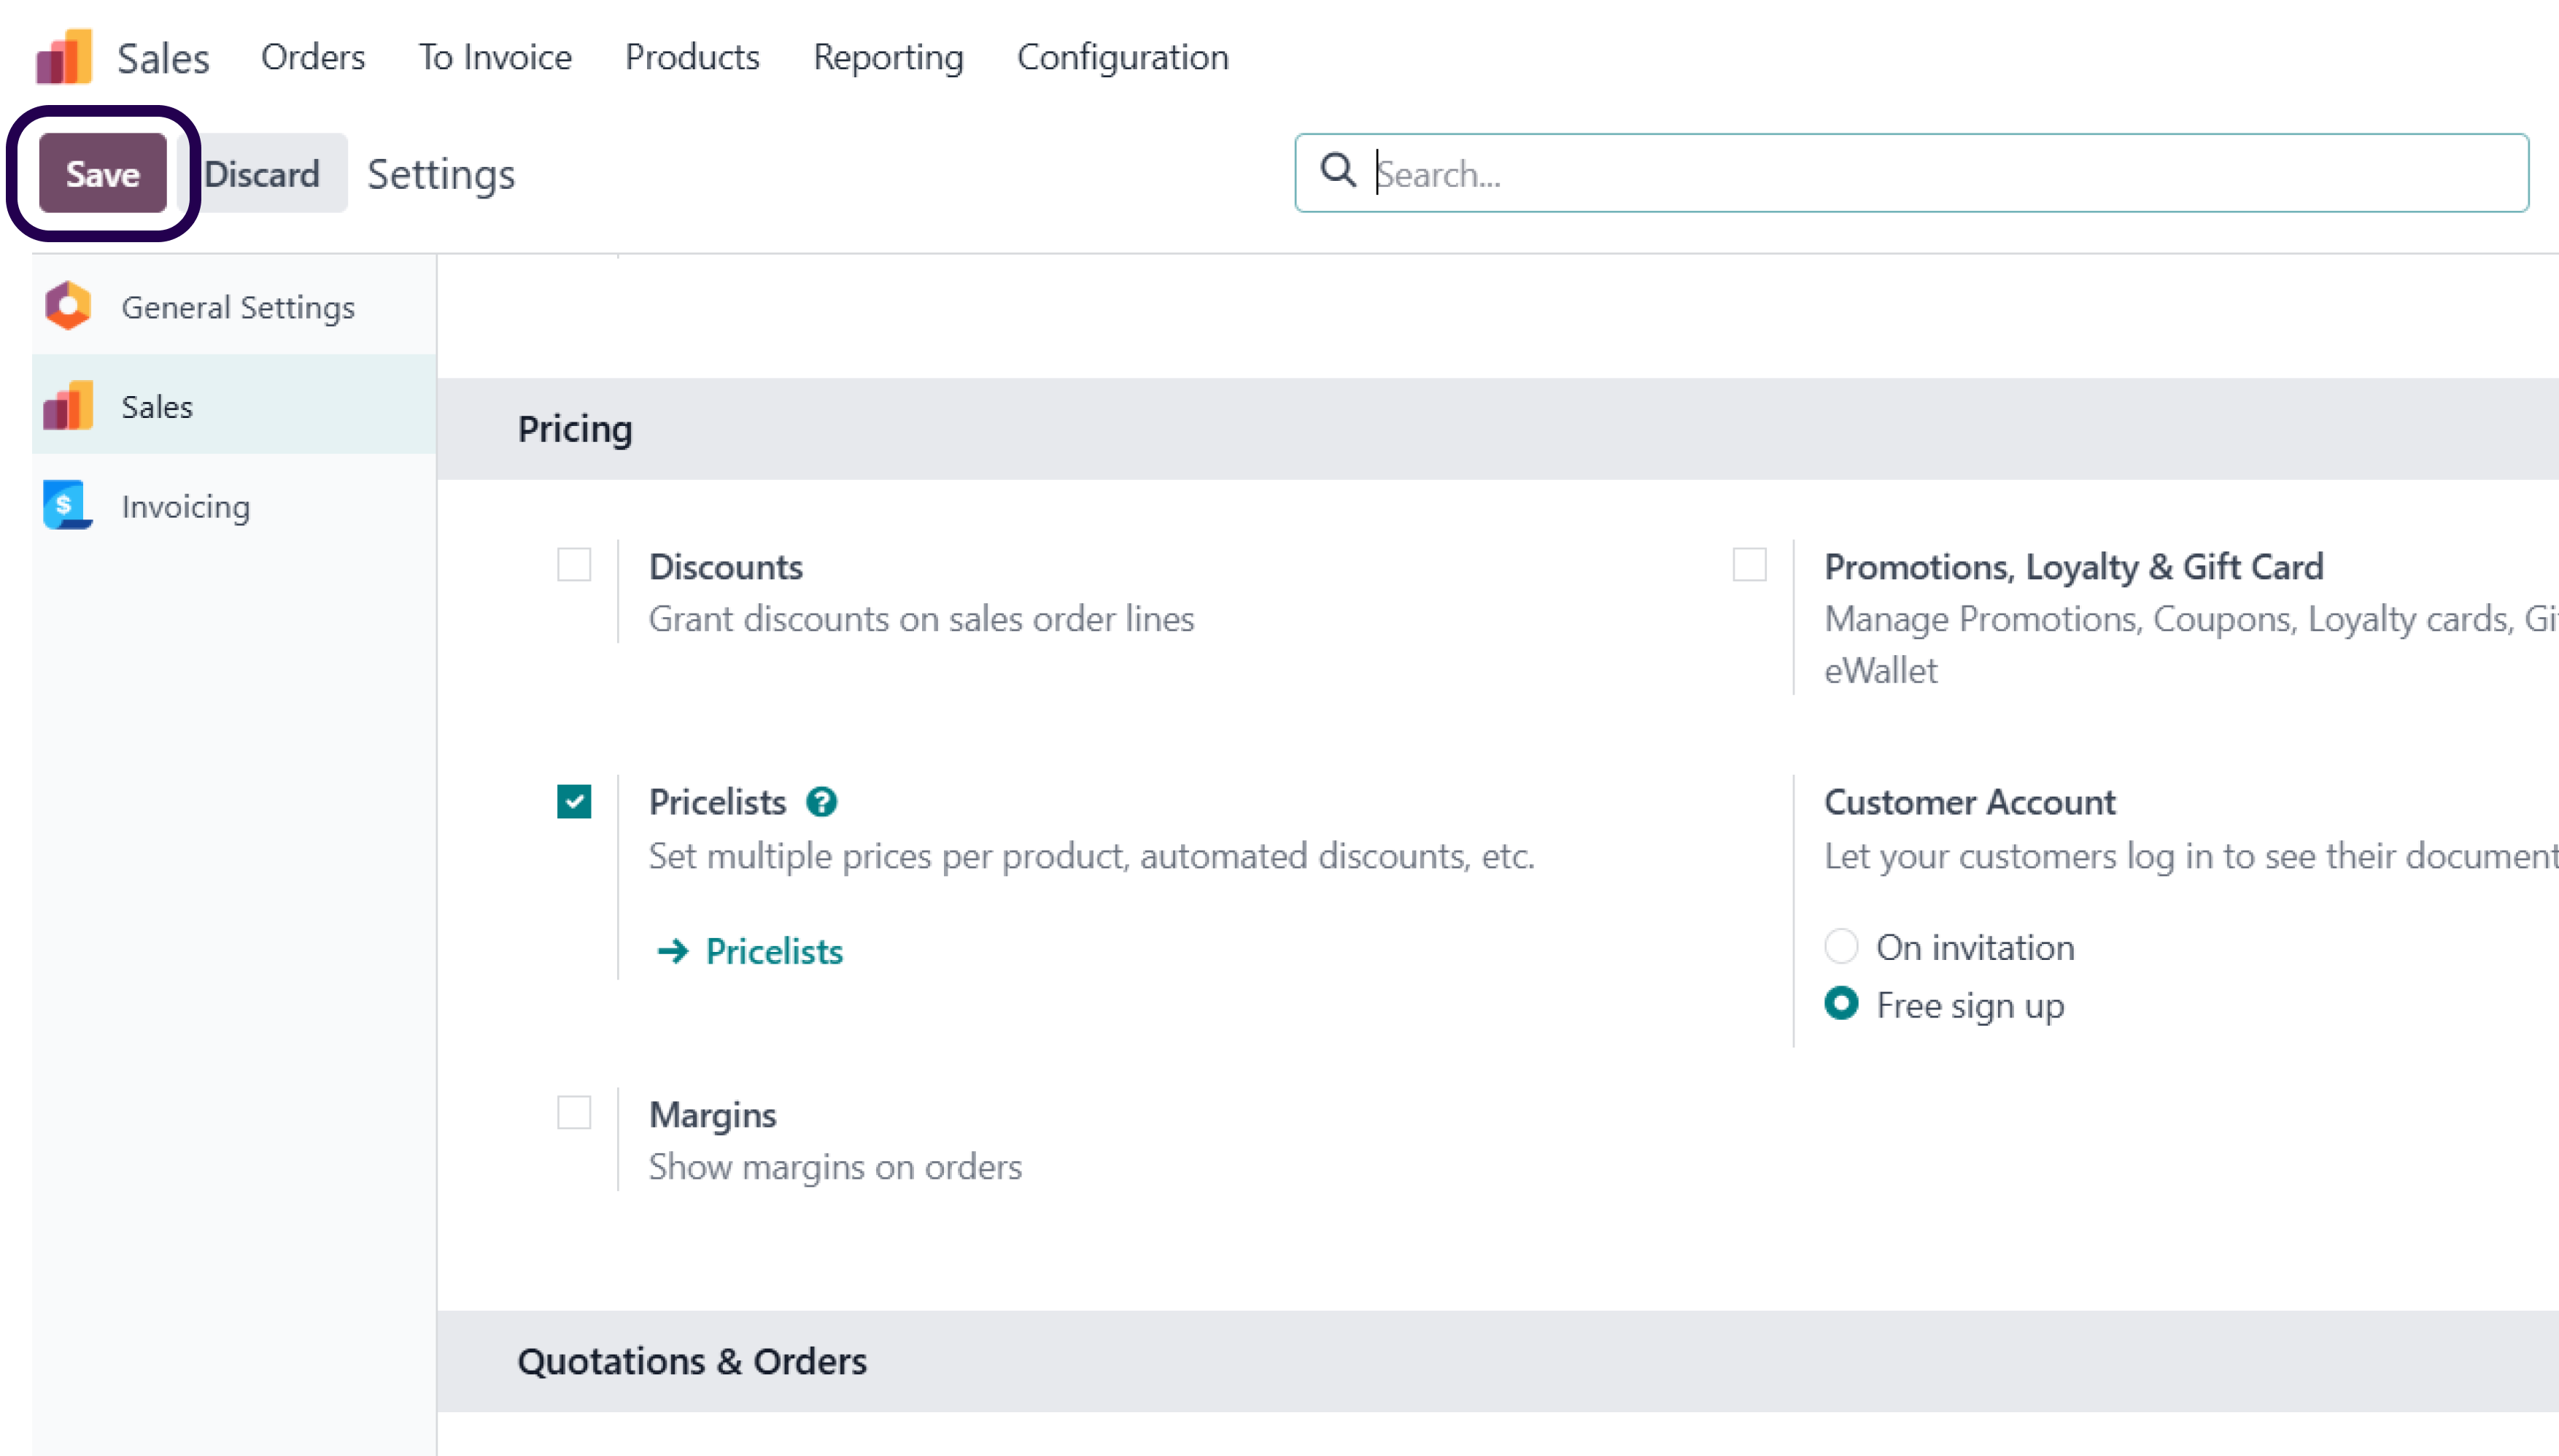
After activating the price lists option, ensure to click on the save button.
Step 5: Go to the ‘Products’ and click on the ‘Price lists’ button.
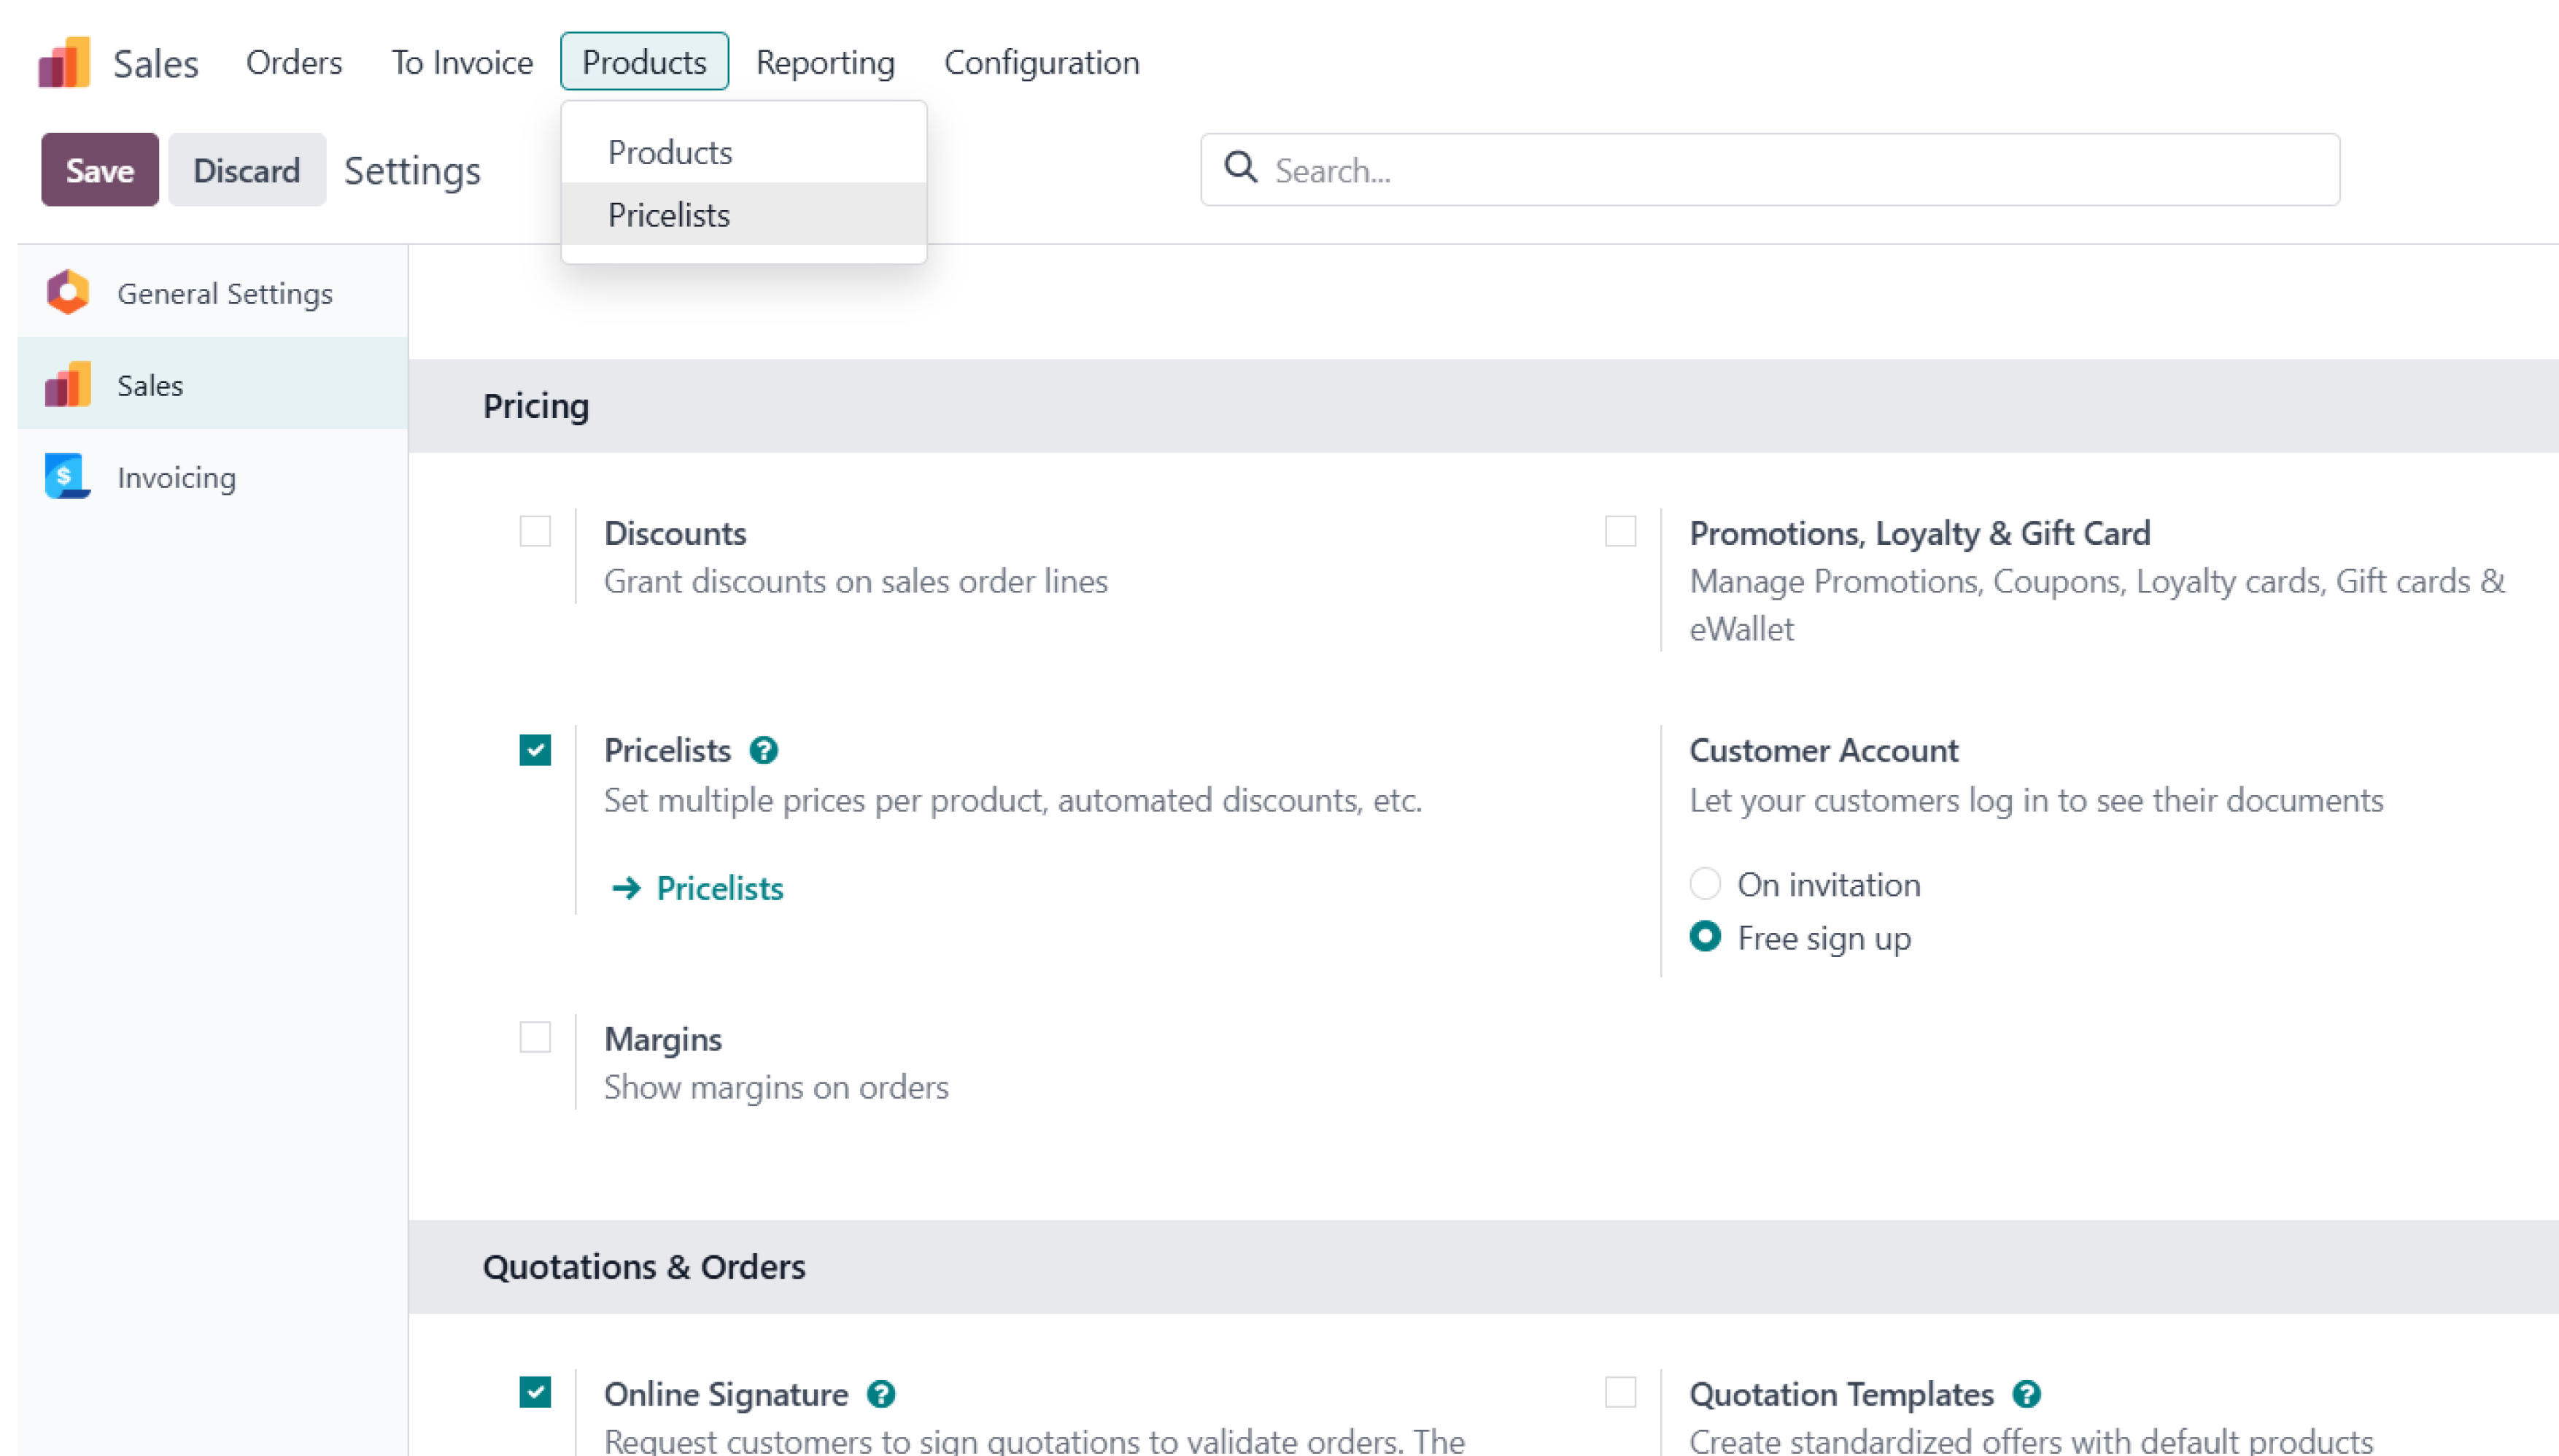
After saving the price lists option, go to products, and click on the price lists option.
Step 6: Click on the ‘Create’ button for creating a new price list.
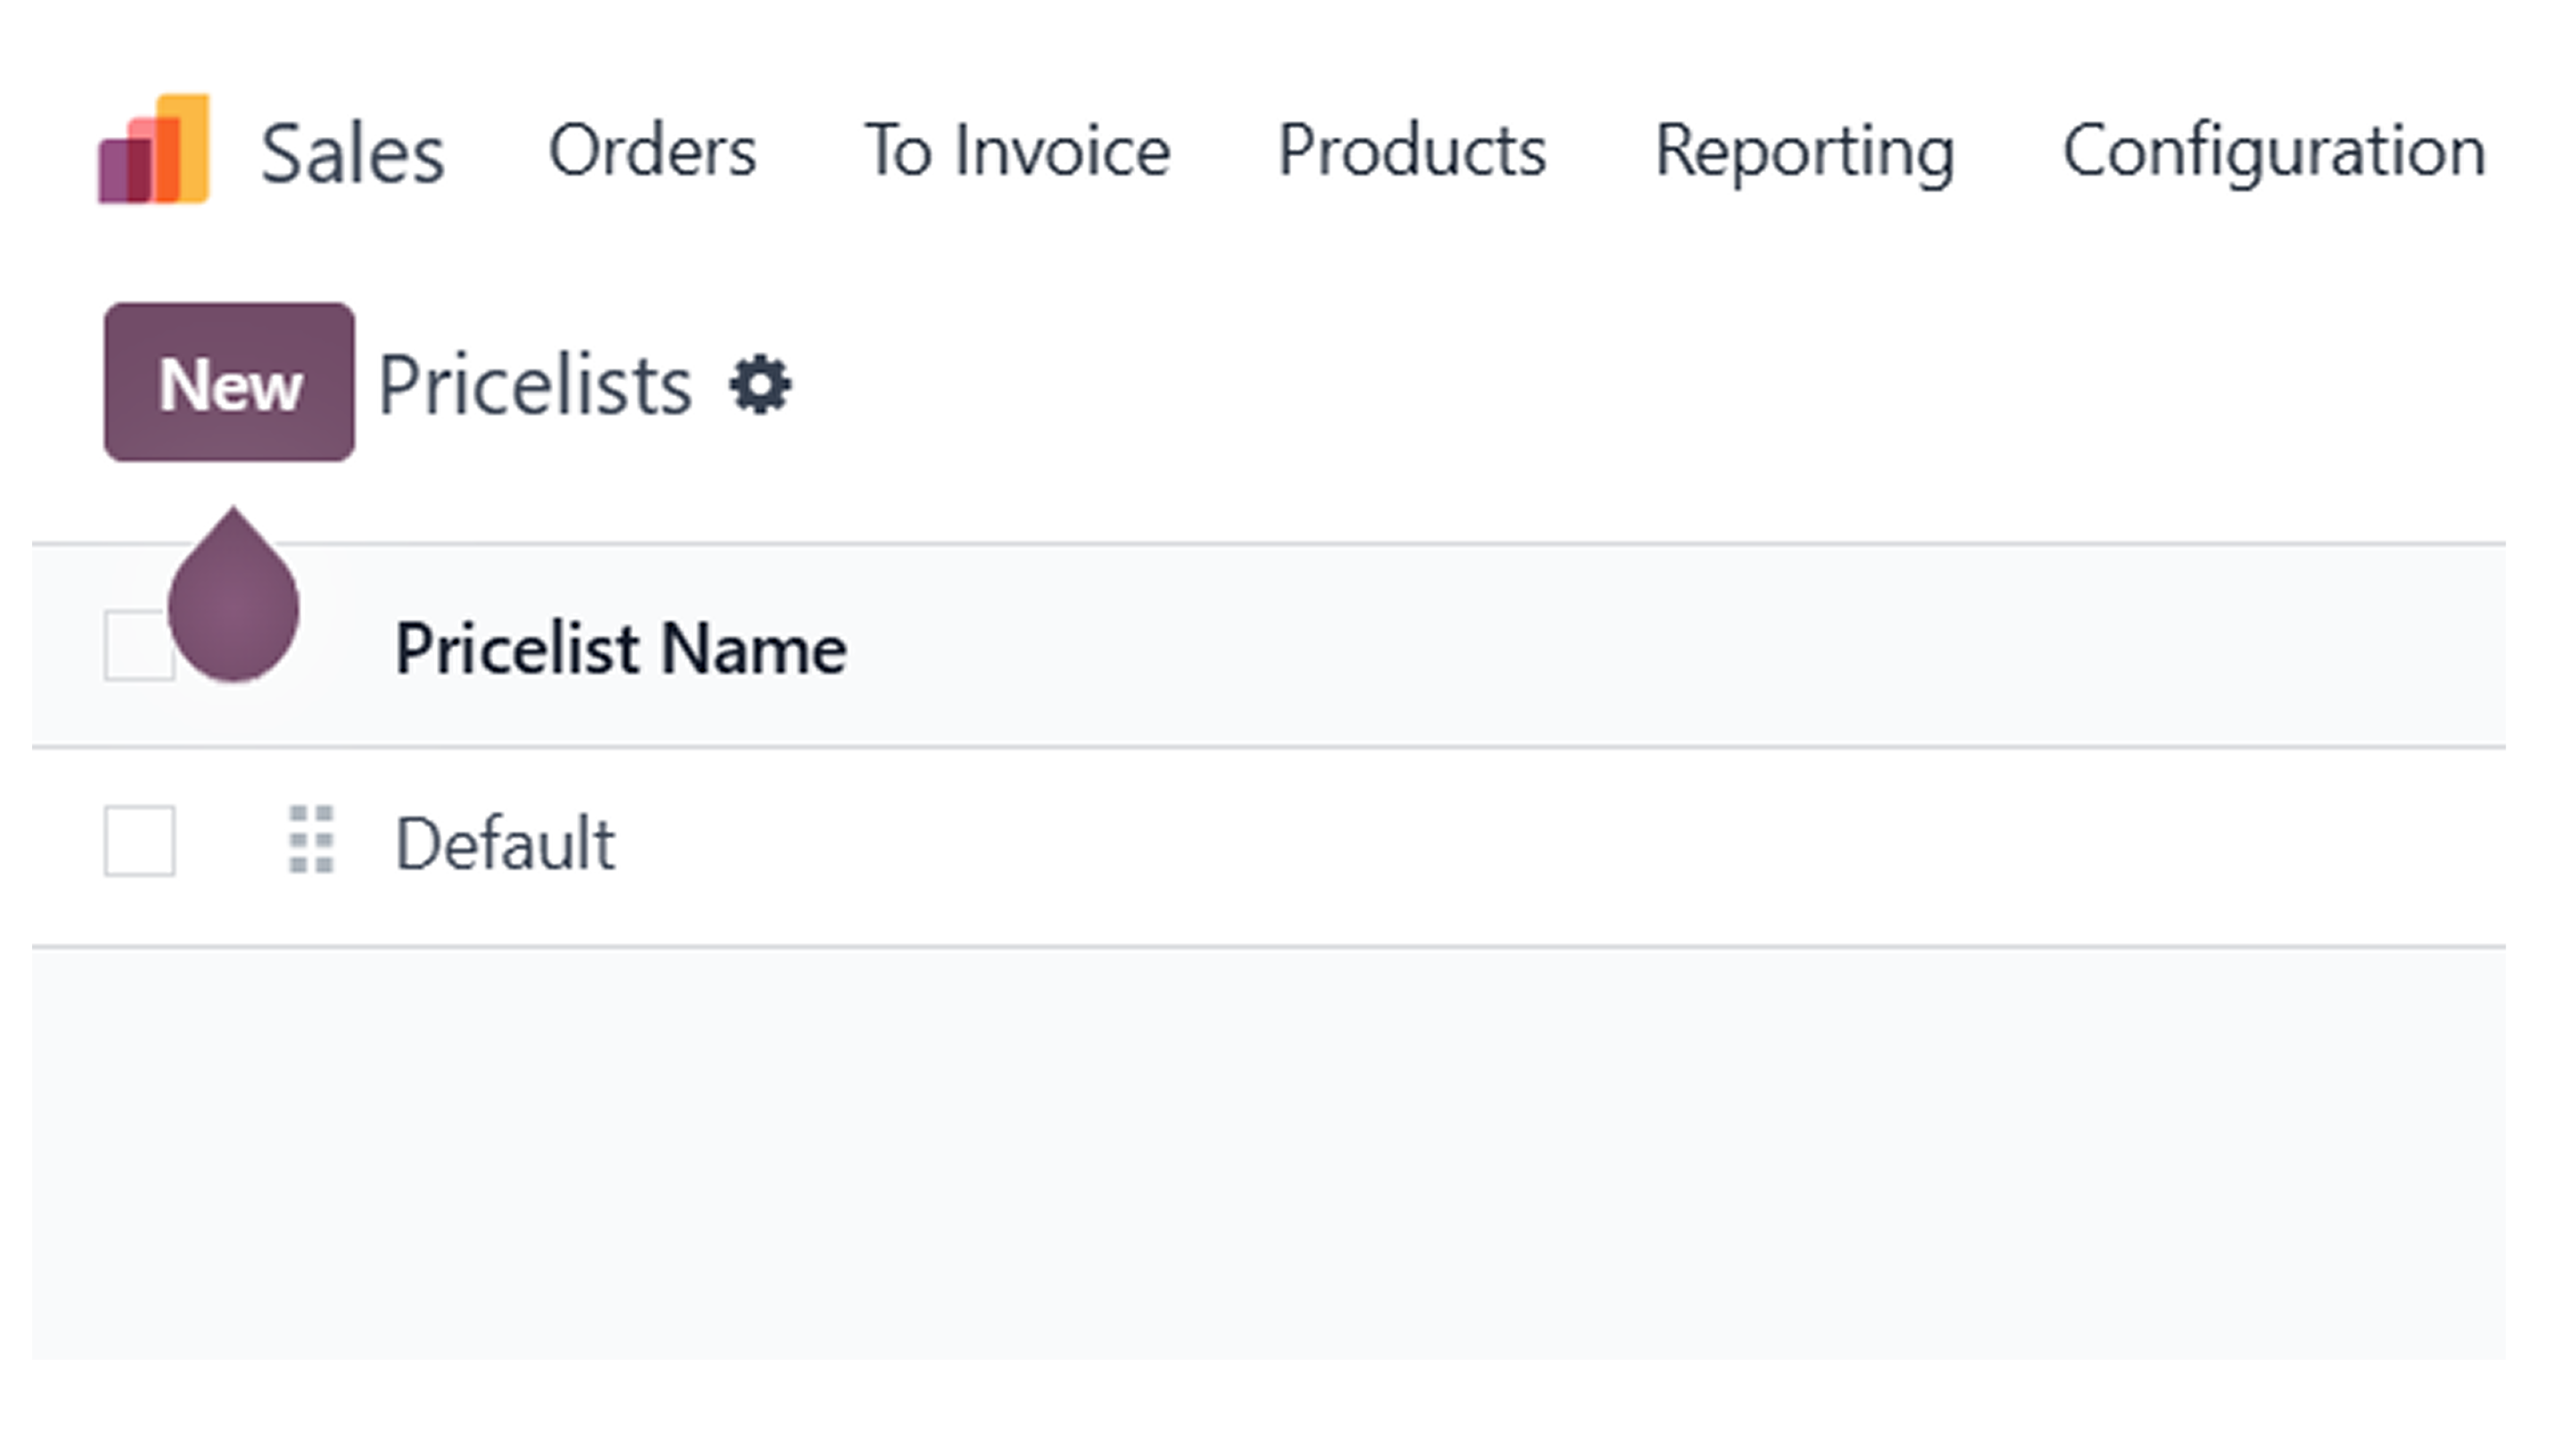
Now, click on the create button for coming up with a brand new pricelist.
Step 7: Fill in the name of the pricelist, Select the company, go to the ‘Price rules’ section and click on the ‘Add a line’ button for adding the products.
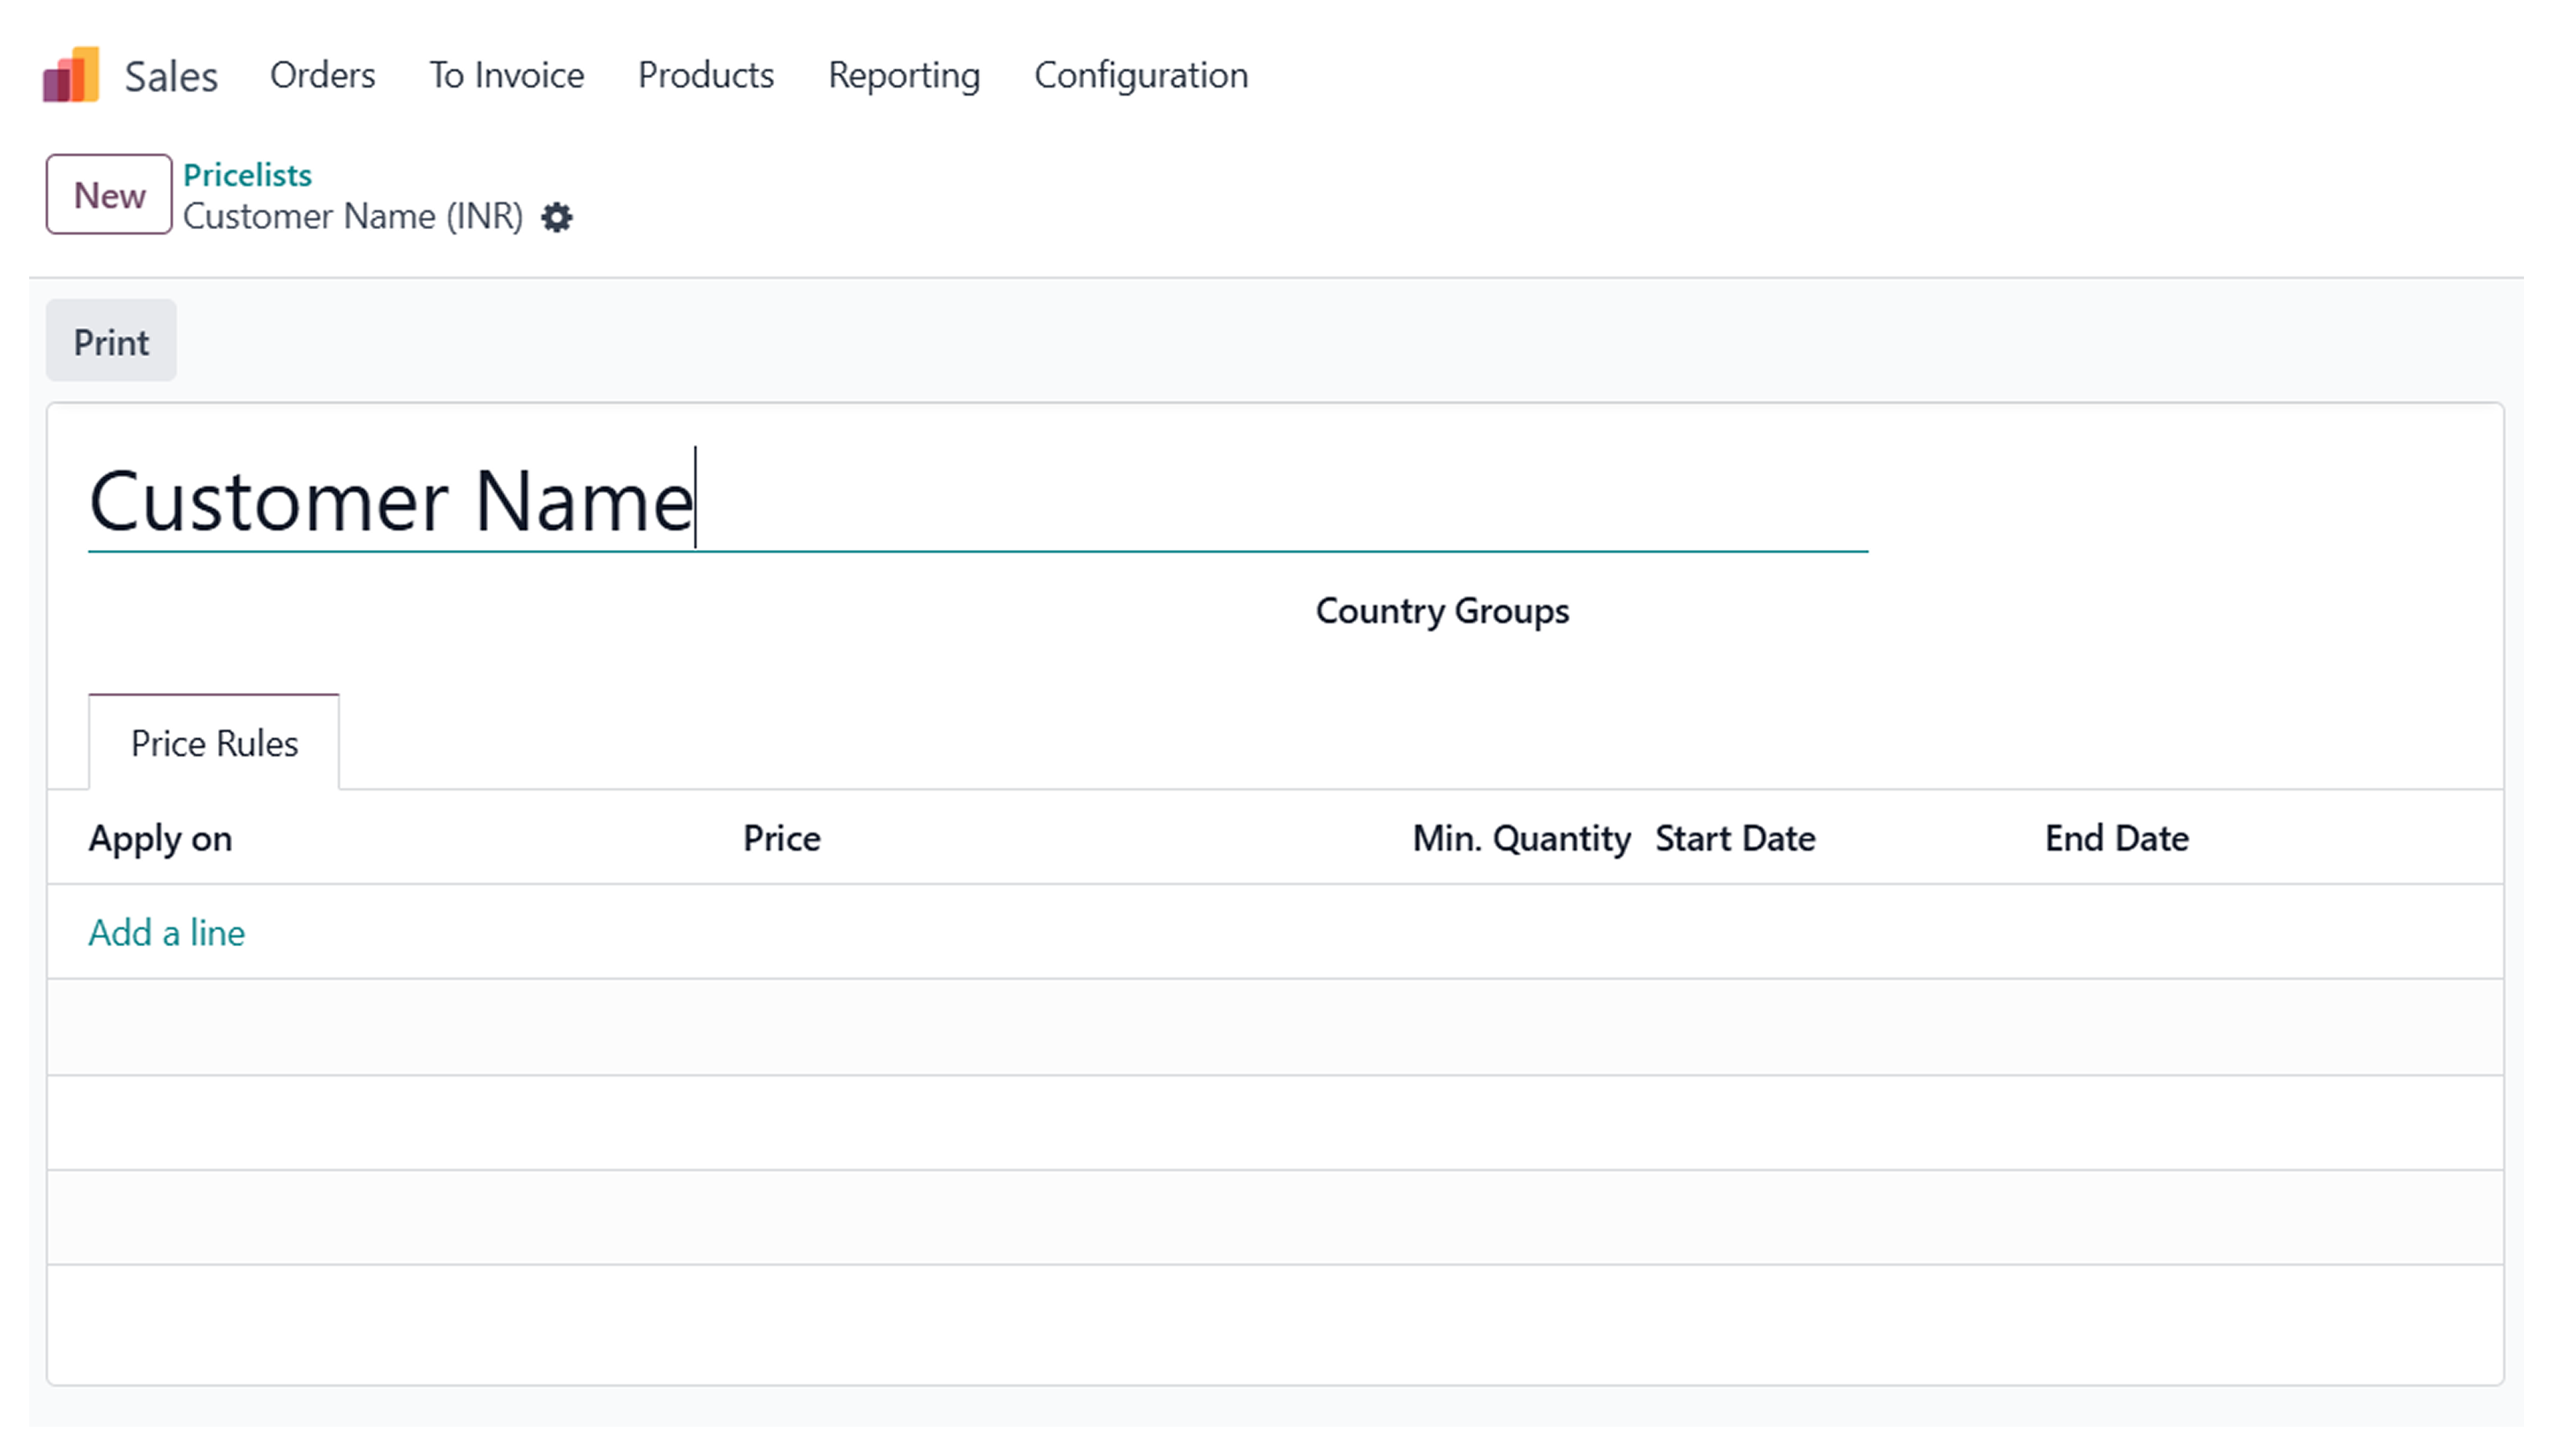
Firstly, pick a name for the pricelist and select the company. Once you have done that, click on add a line option.
Step 8: There is a new pop-up window and many options are available.
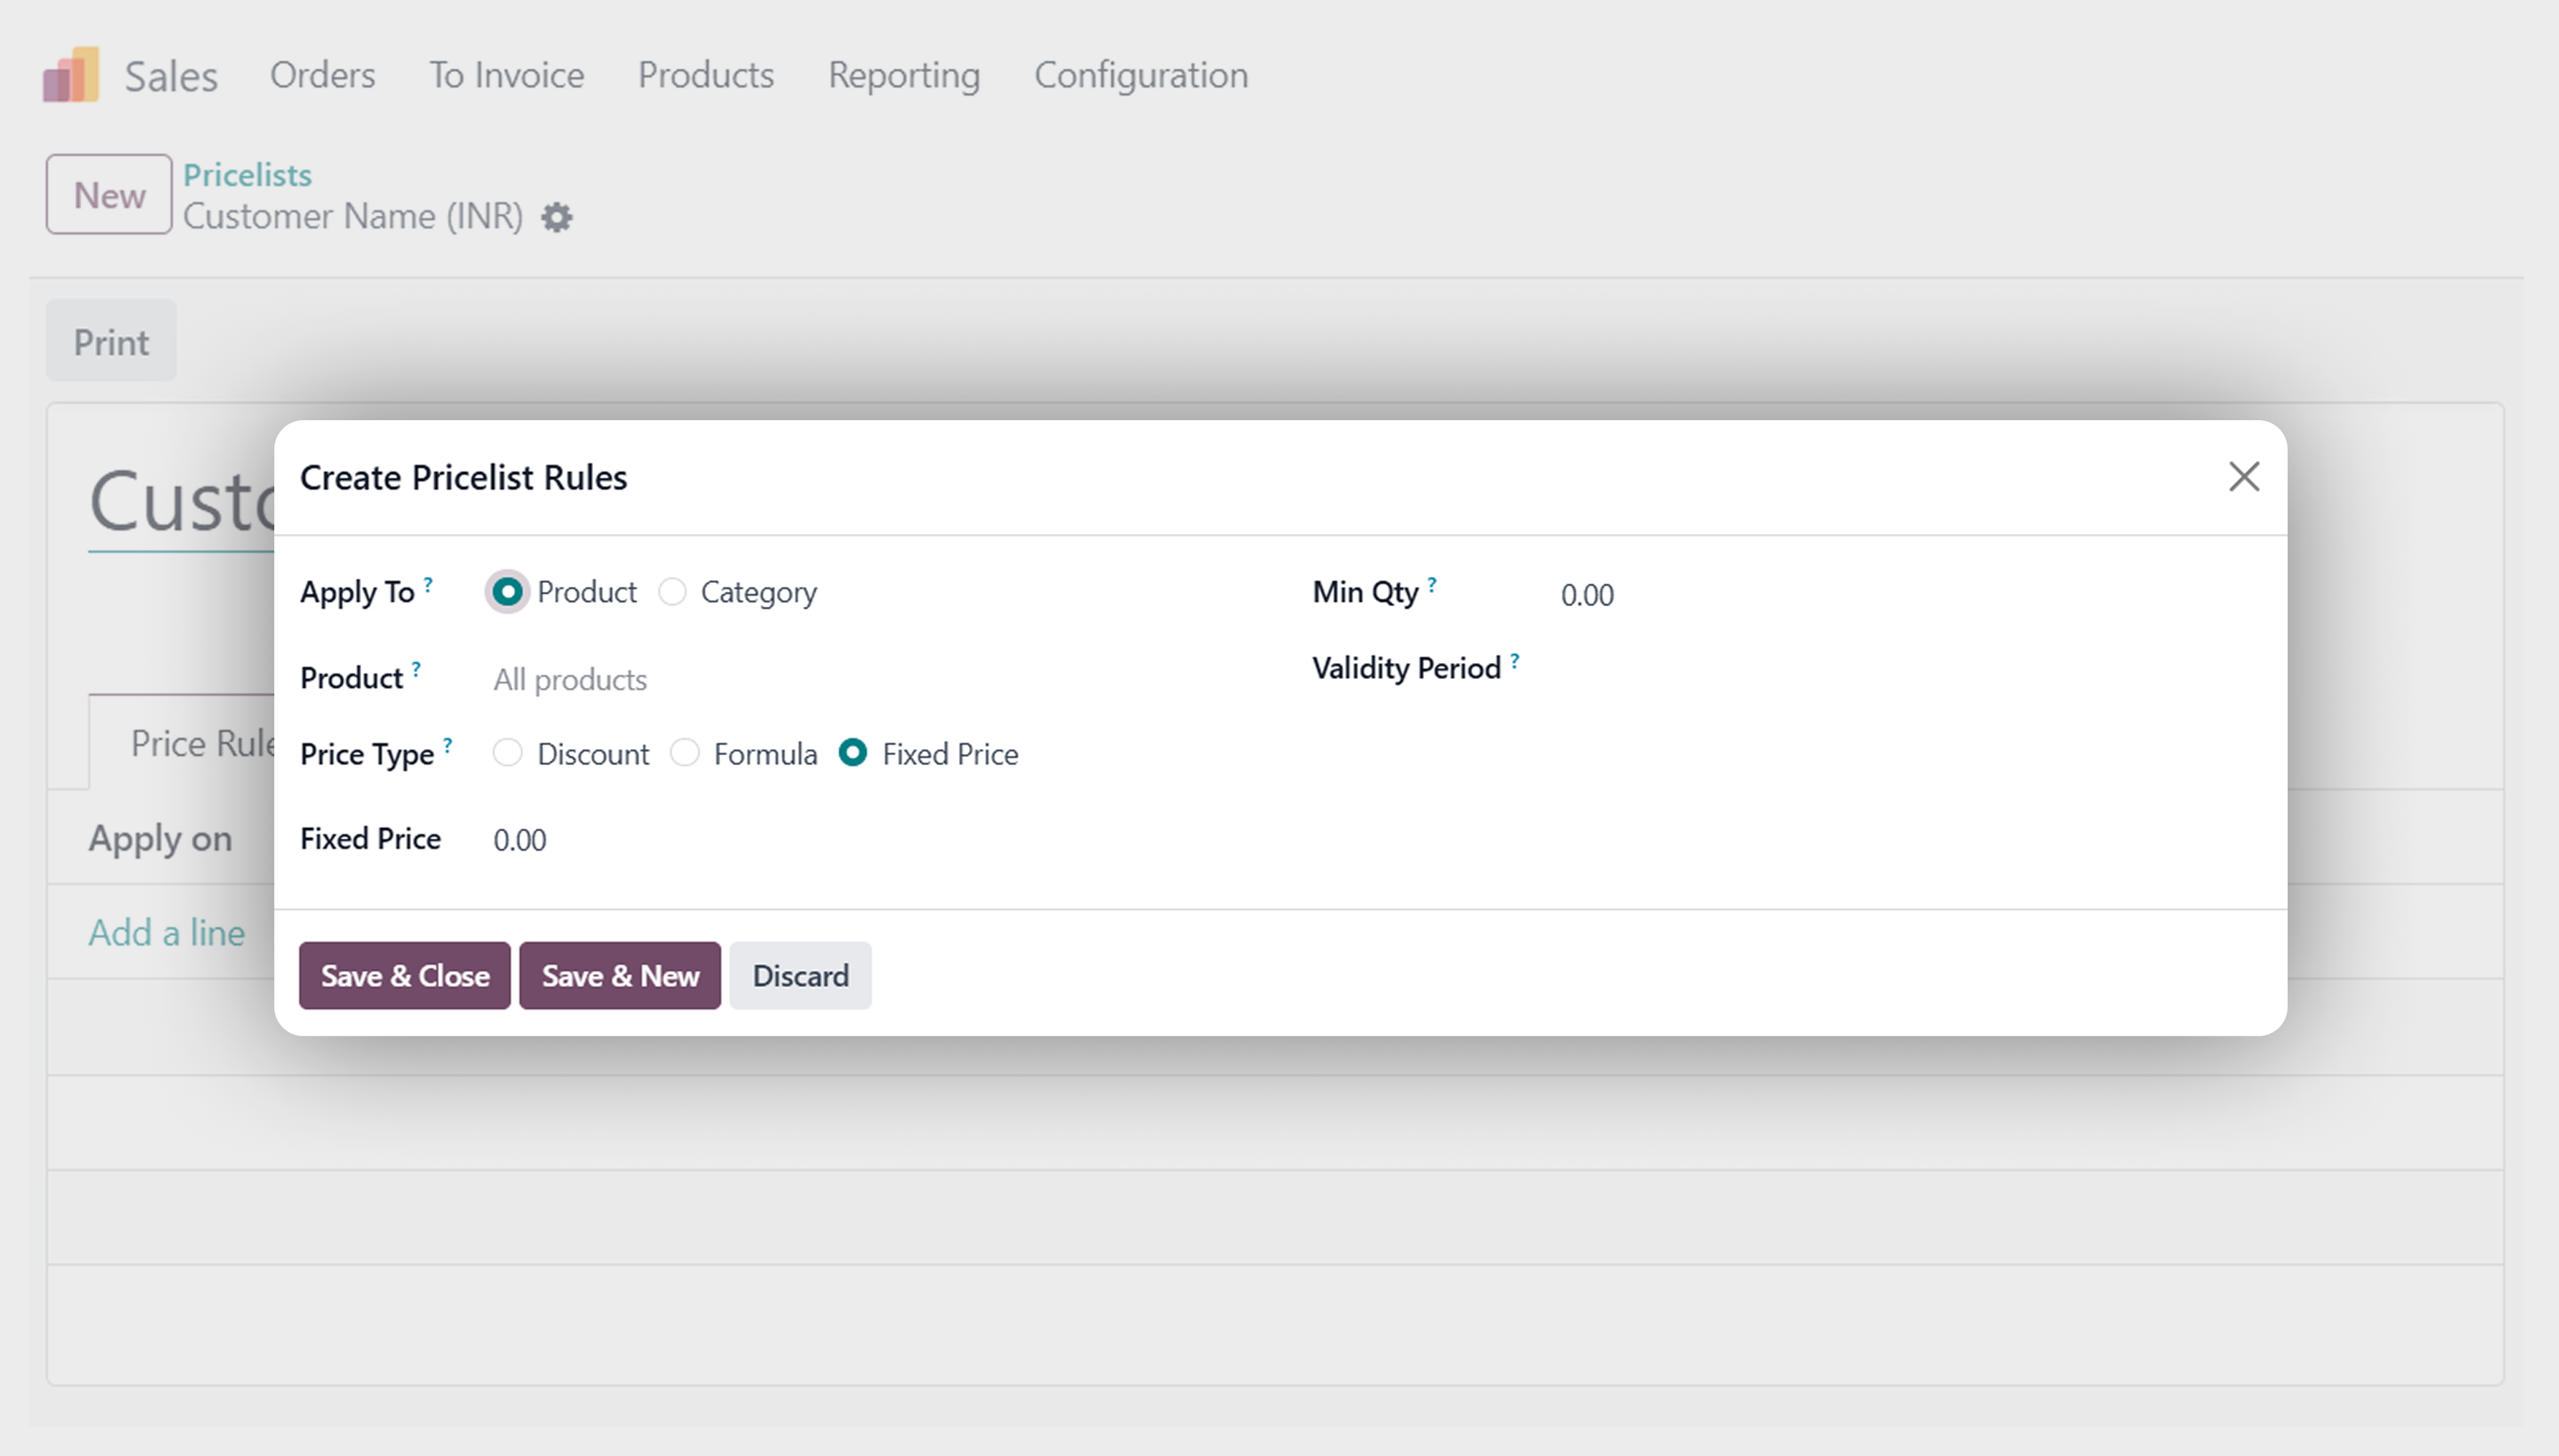
After clicking on the add a line optin, you will see a pop-up that is power-packed with several options.
Step 9: If you are creating a pricelist for all products, then select the ‘All products’ option. And select the price computation.
Suppose, you are looking forward to creating a price list for all the products, then you must select all and then go to price computation.
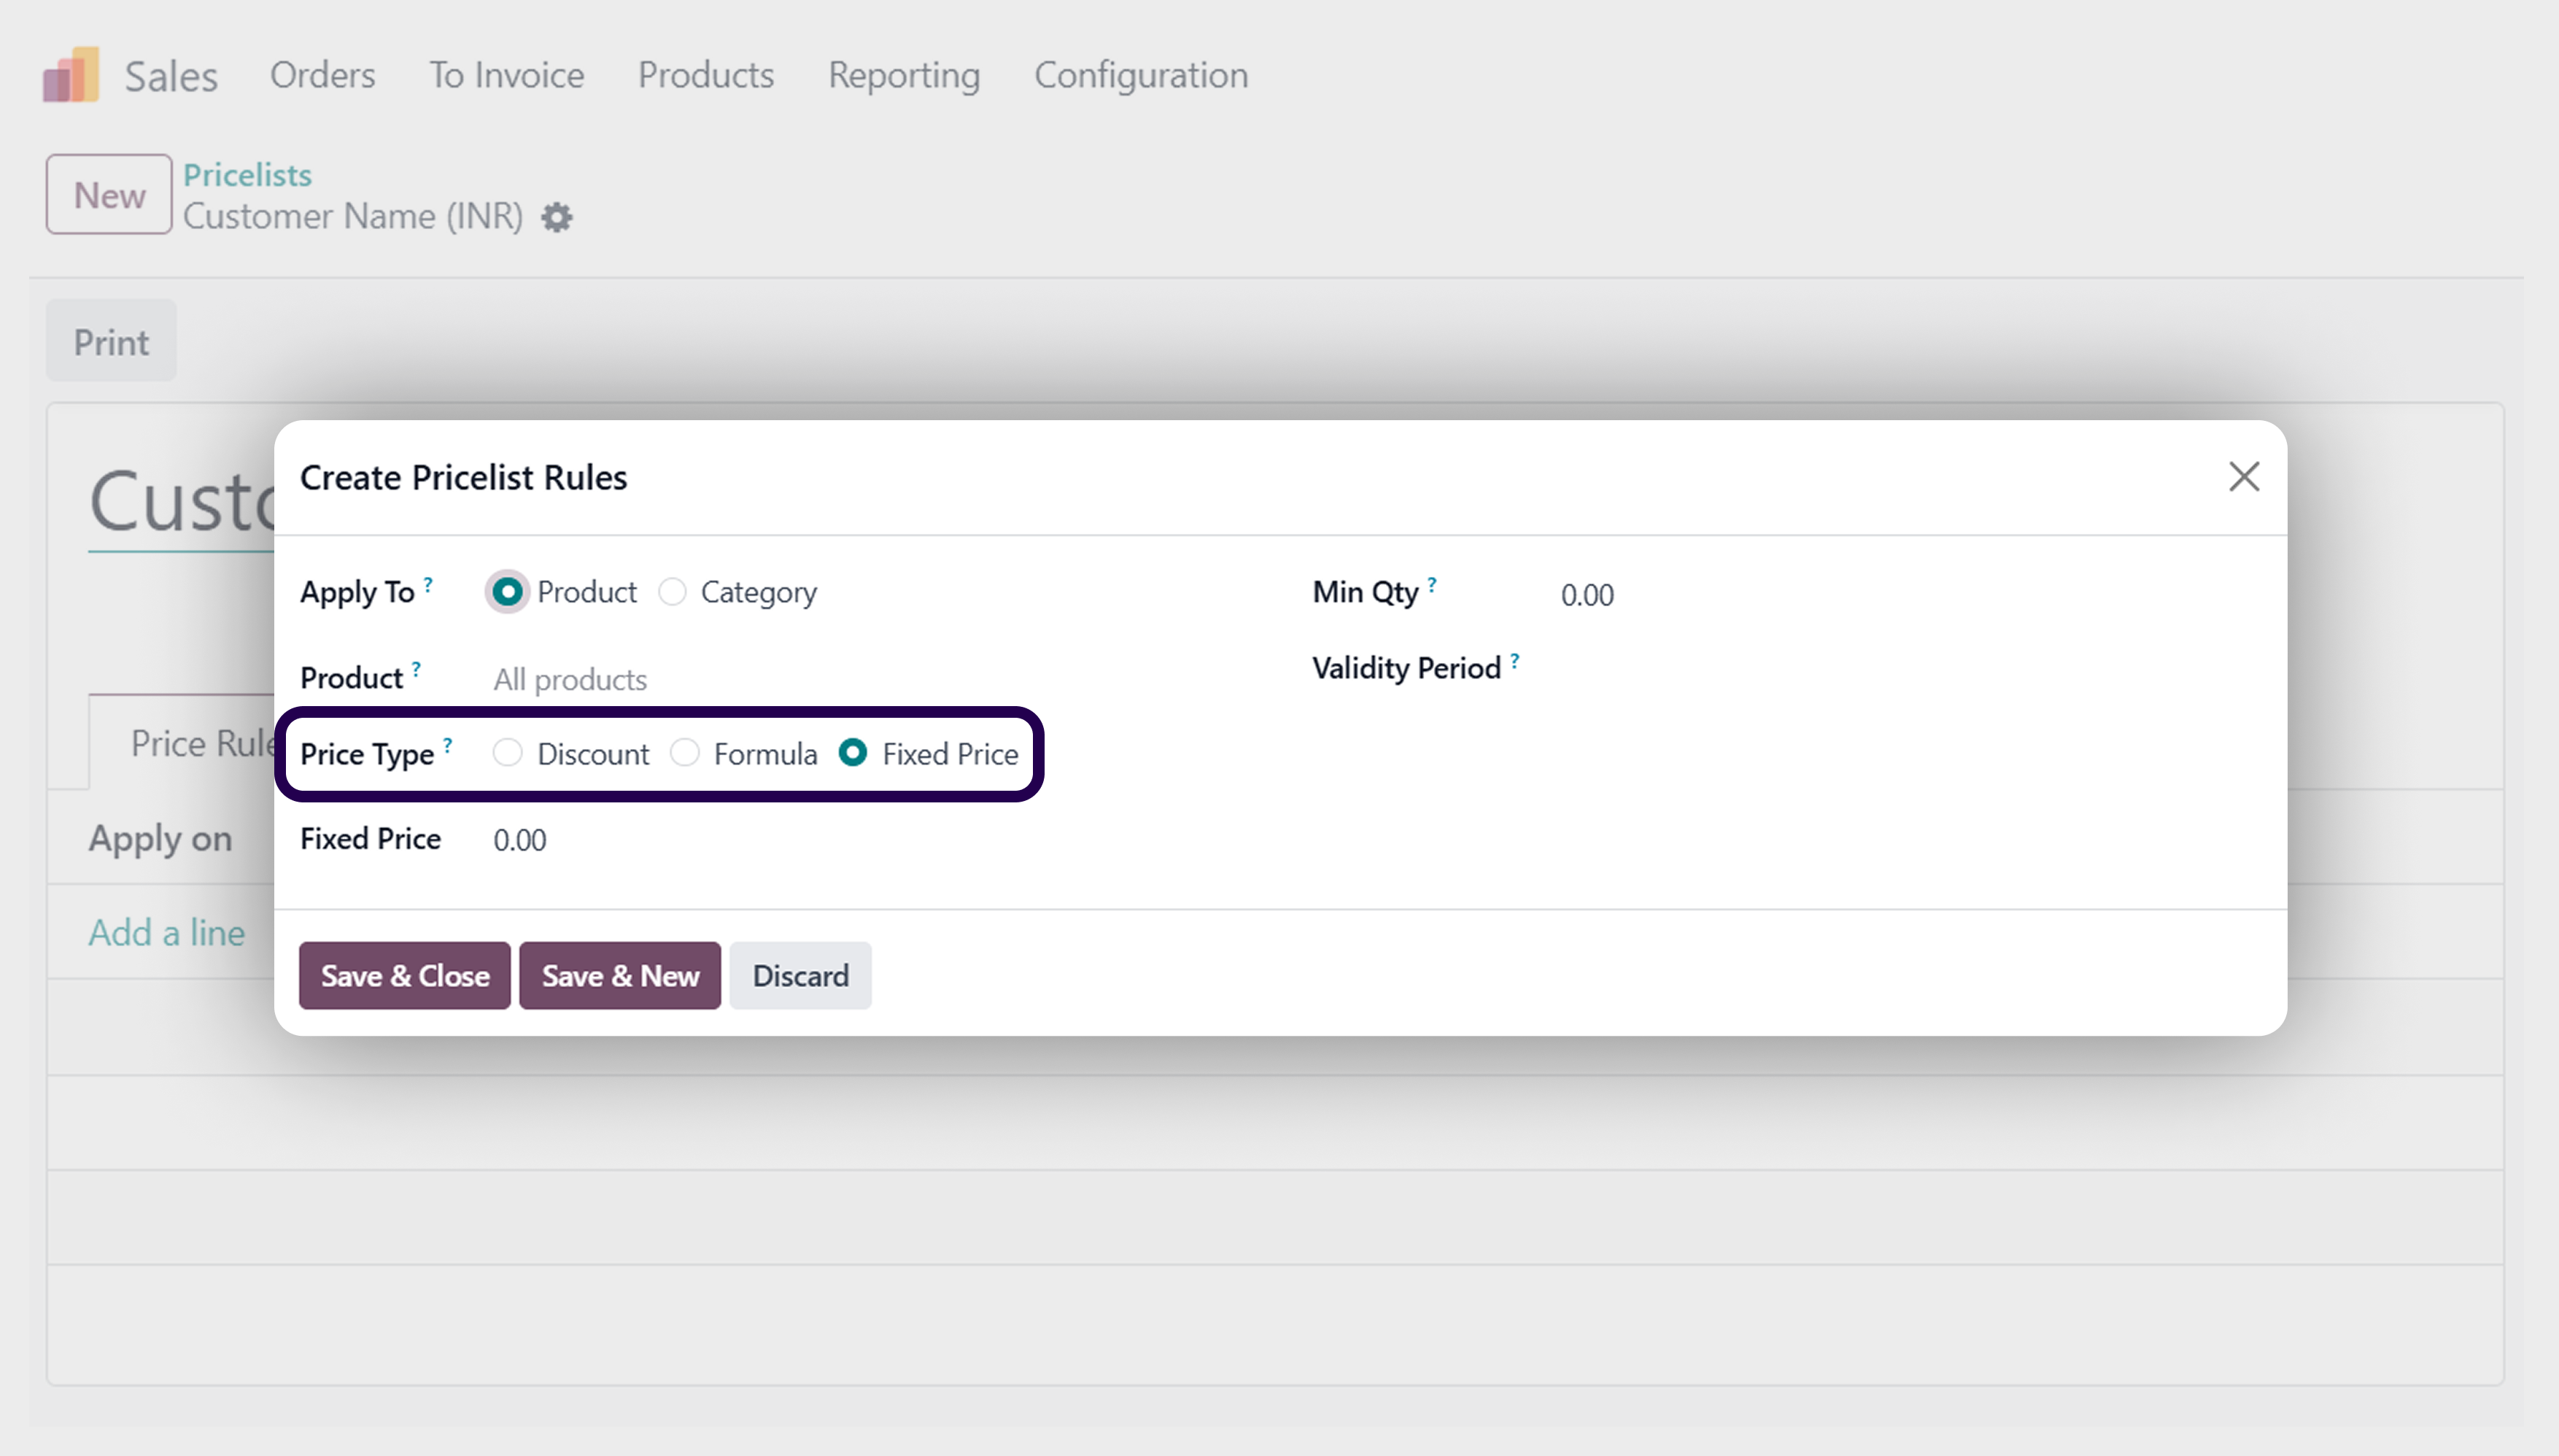
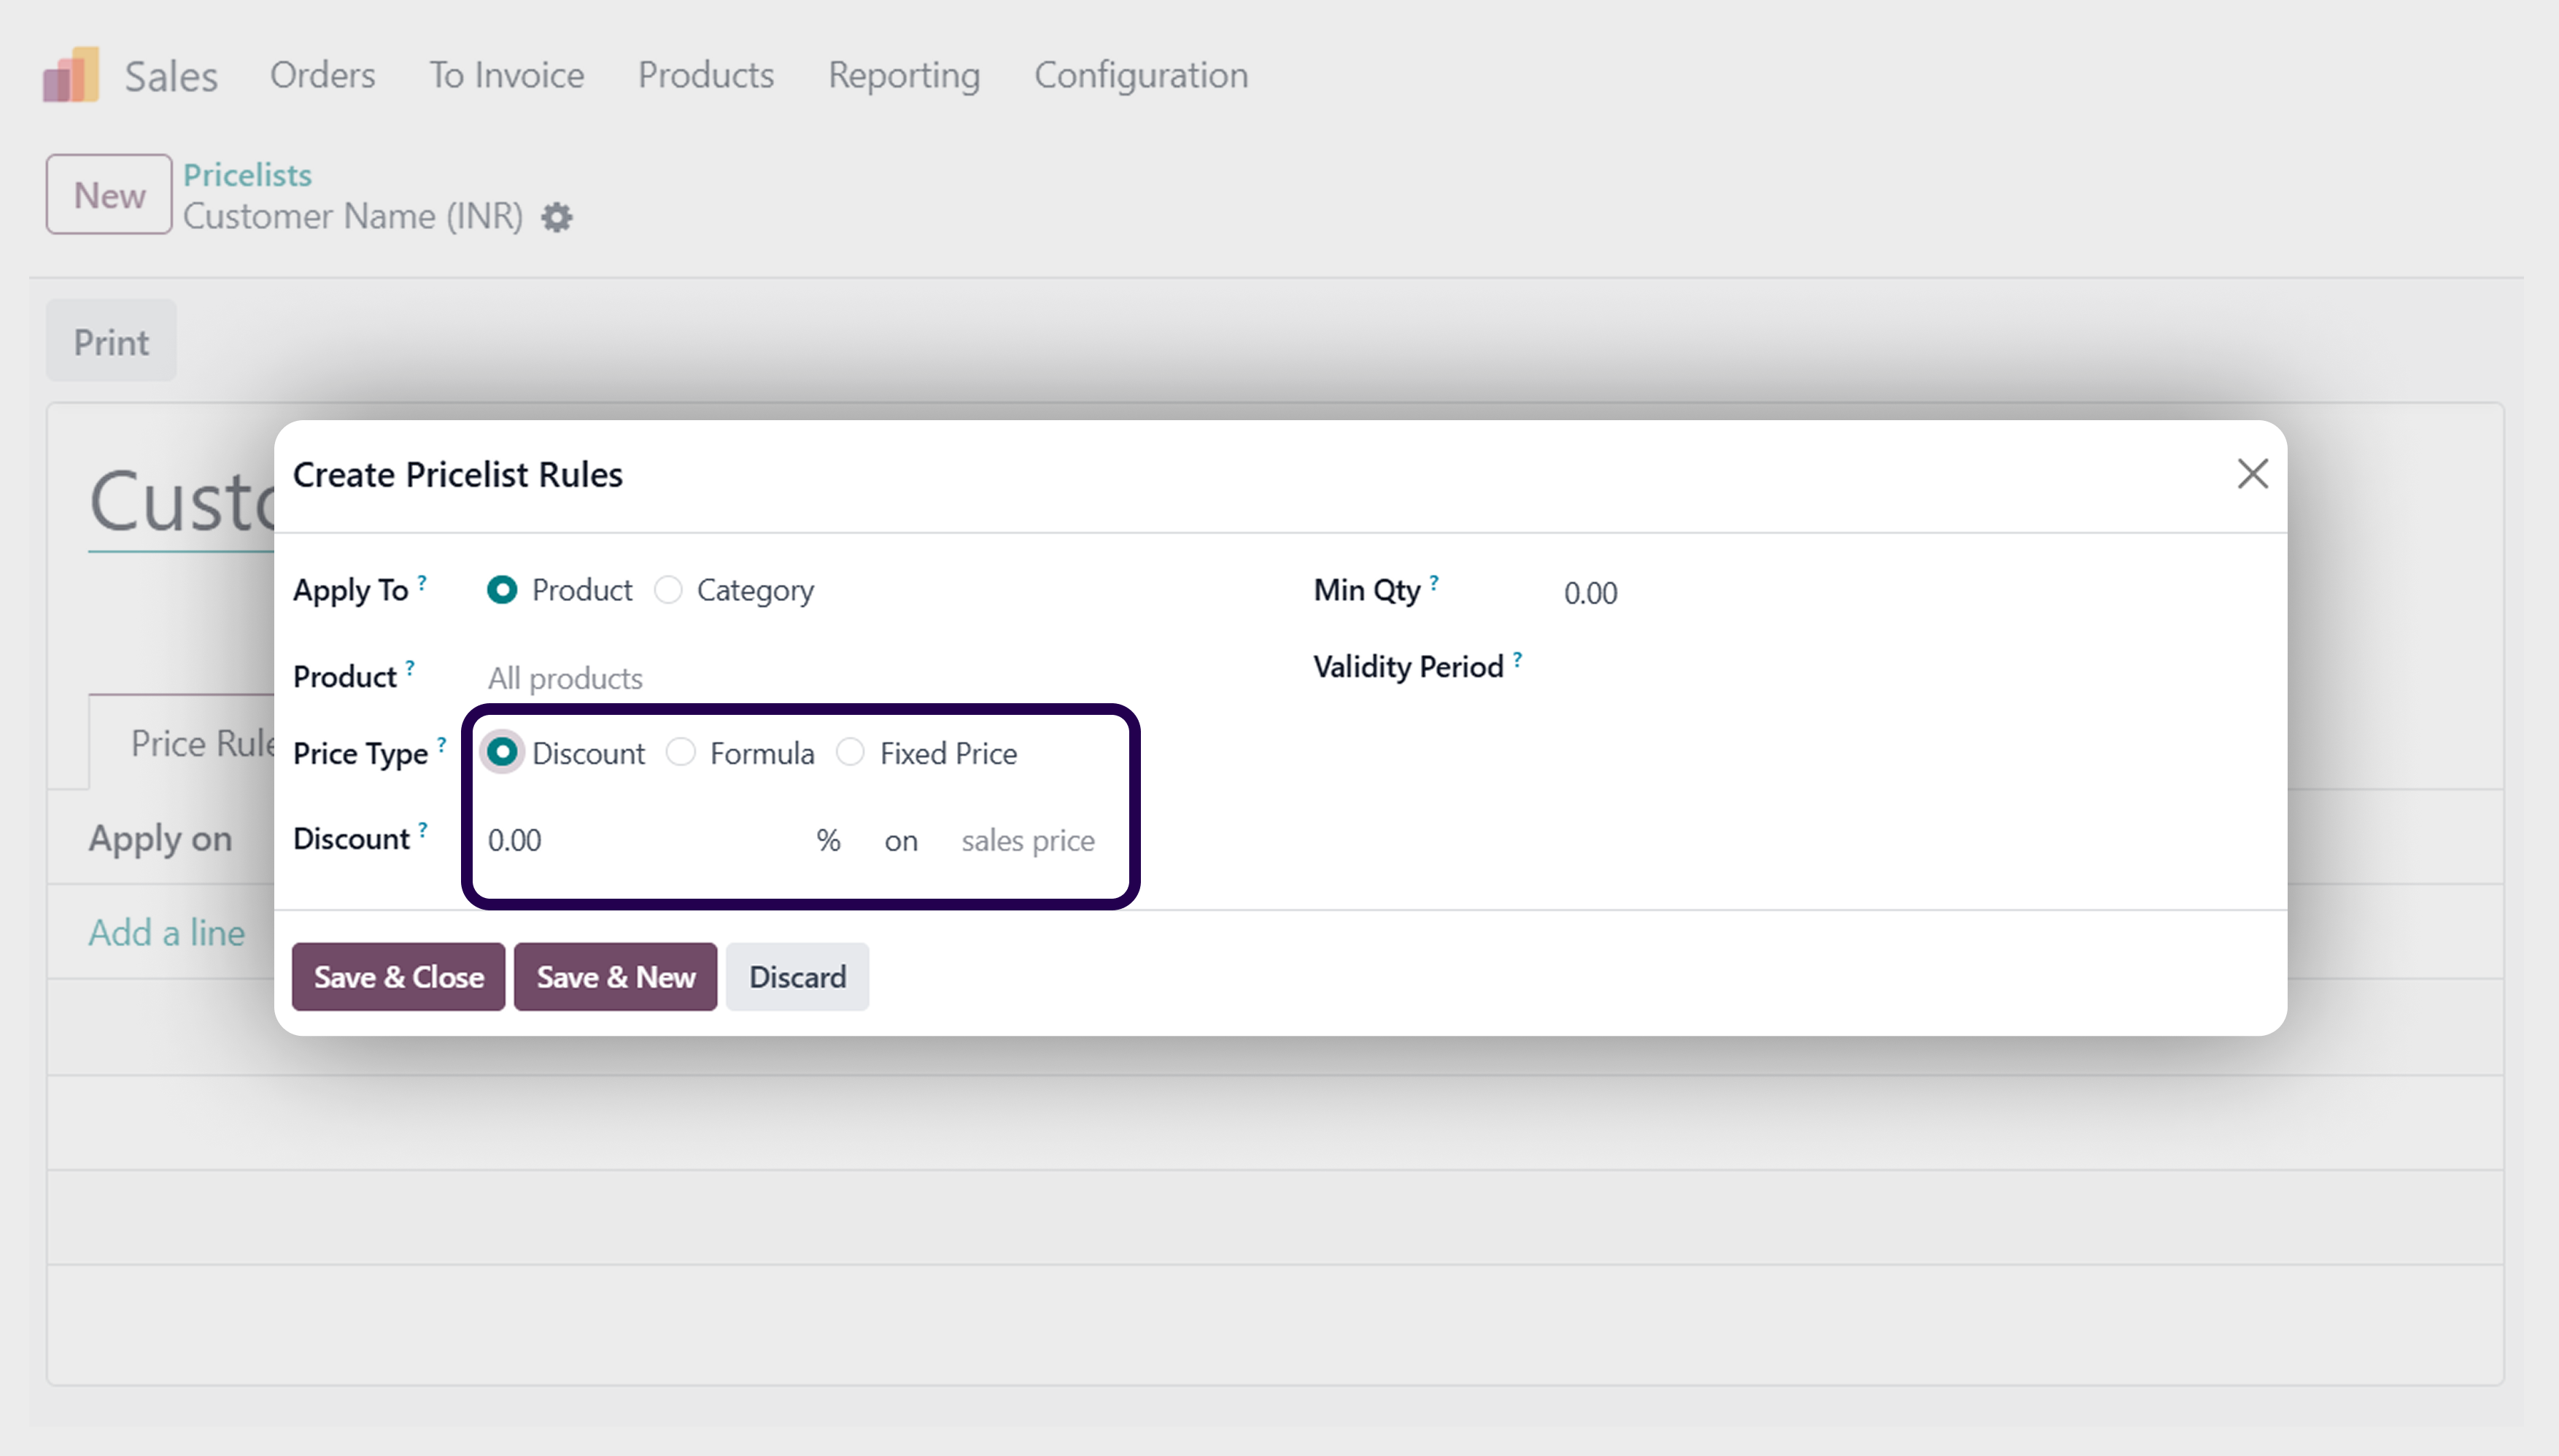
Step 10: If you are creating a price list for the product category, then select the ‘Product category’ option and add a product category. And select the price computation based on fixed price, percentage(%), and Formula.
If you want to create a price list for the product category, then select the ‘Product category’ option and add a product category. After that, you should select the price computation based on fixed price, percentage(%), and formula.
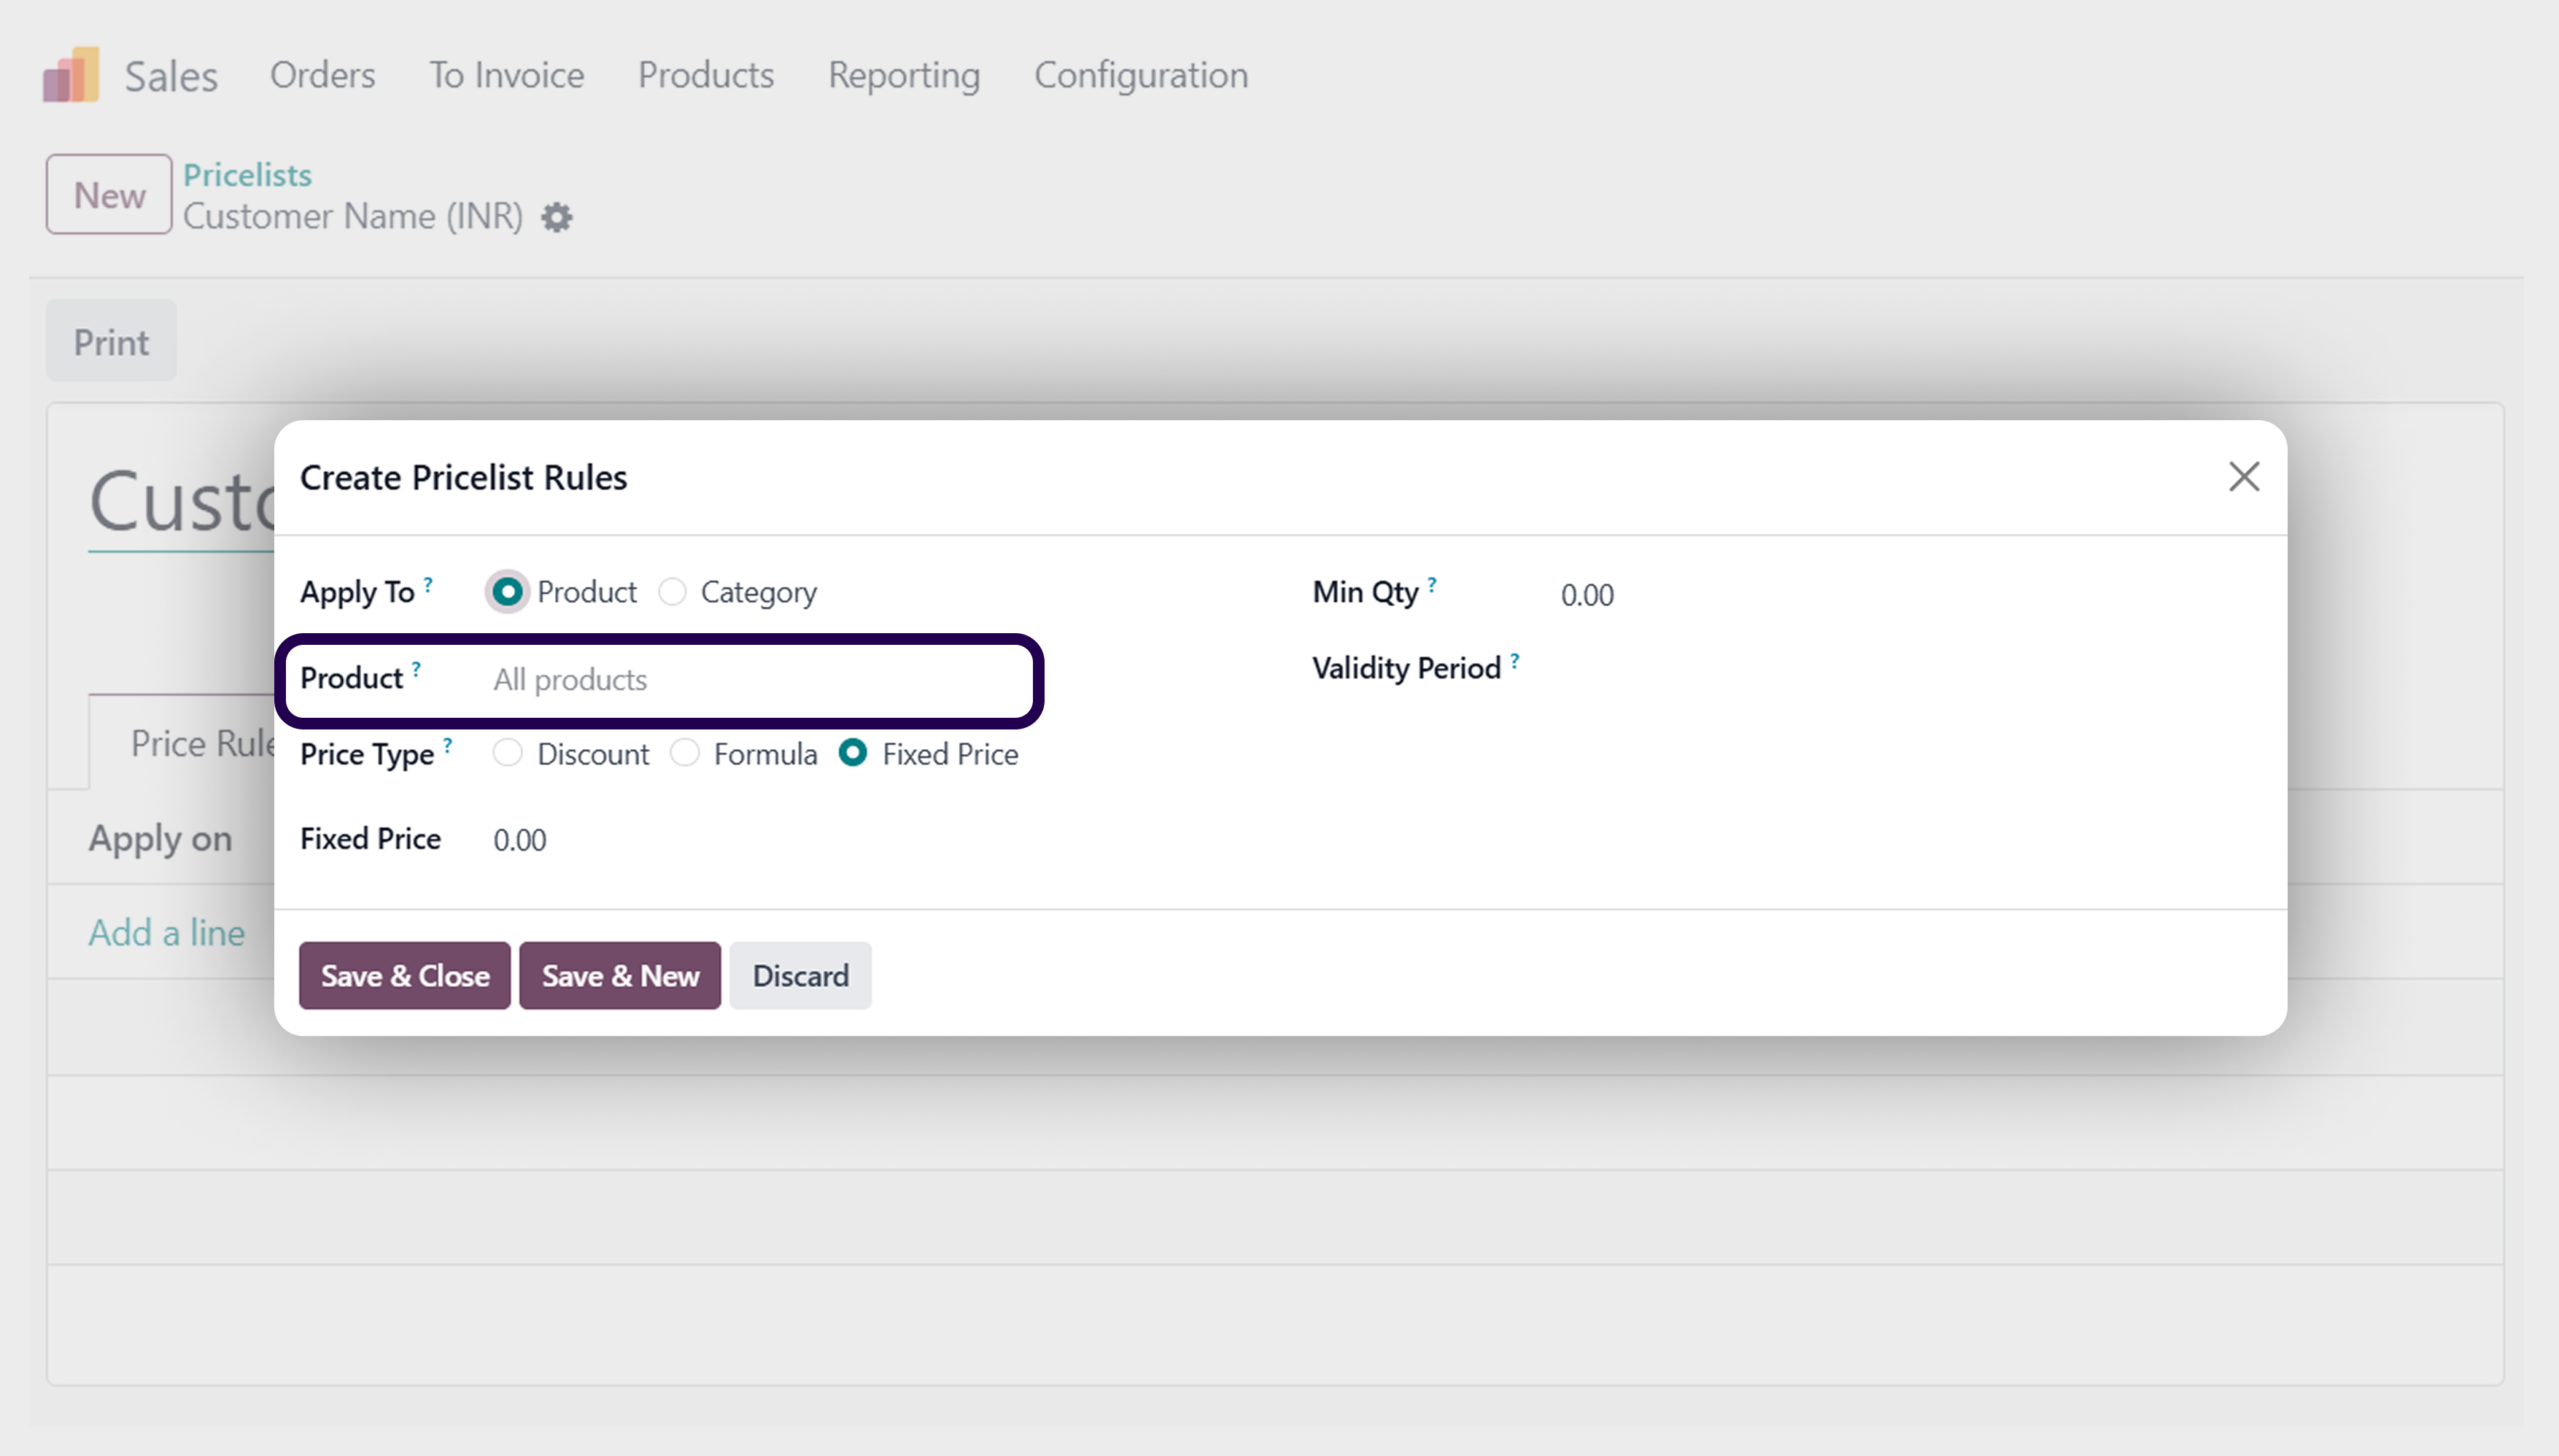
Step 11: If you are creating a pricelist for the product then select the ‘product’ option and add the product. If you create a based on a formula so select the formula option.
But, If you are creating a price list for a specific product, then you should the ‘product’ option and add the product. If you are are creating it based on a formula, so select the formula option.
⇒ After the select the formula option, their new line is added and create your Price list based on the formula.
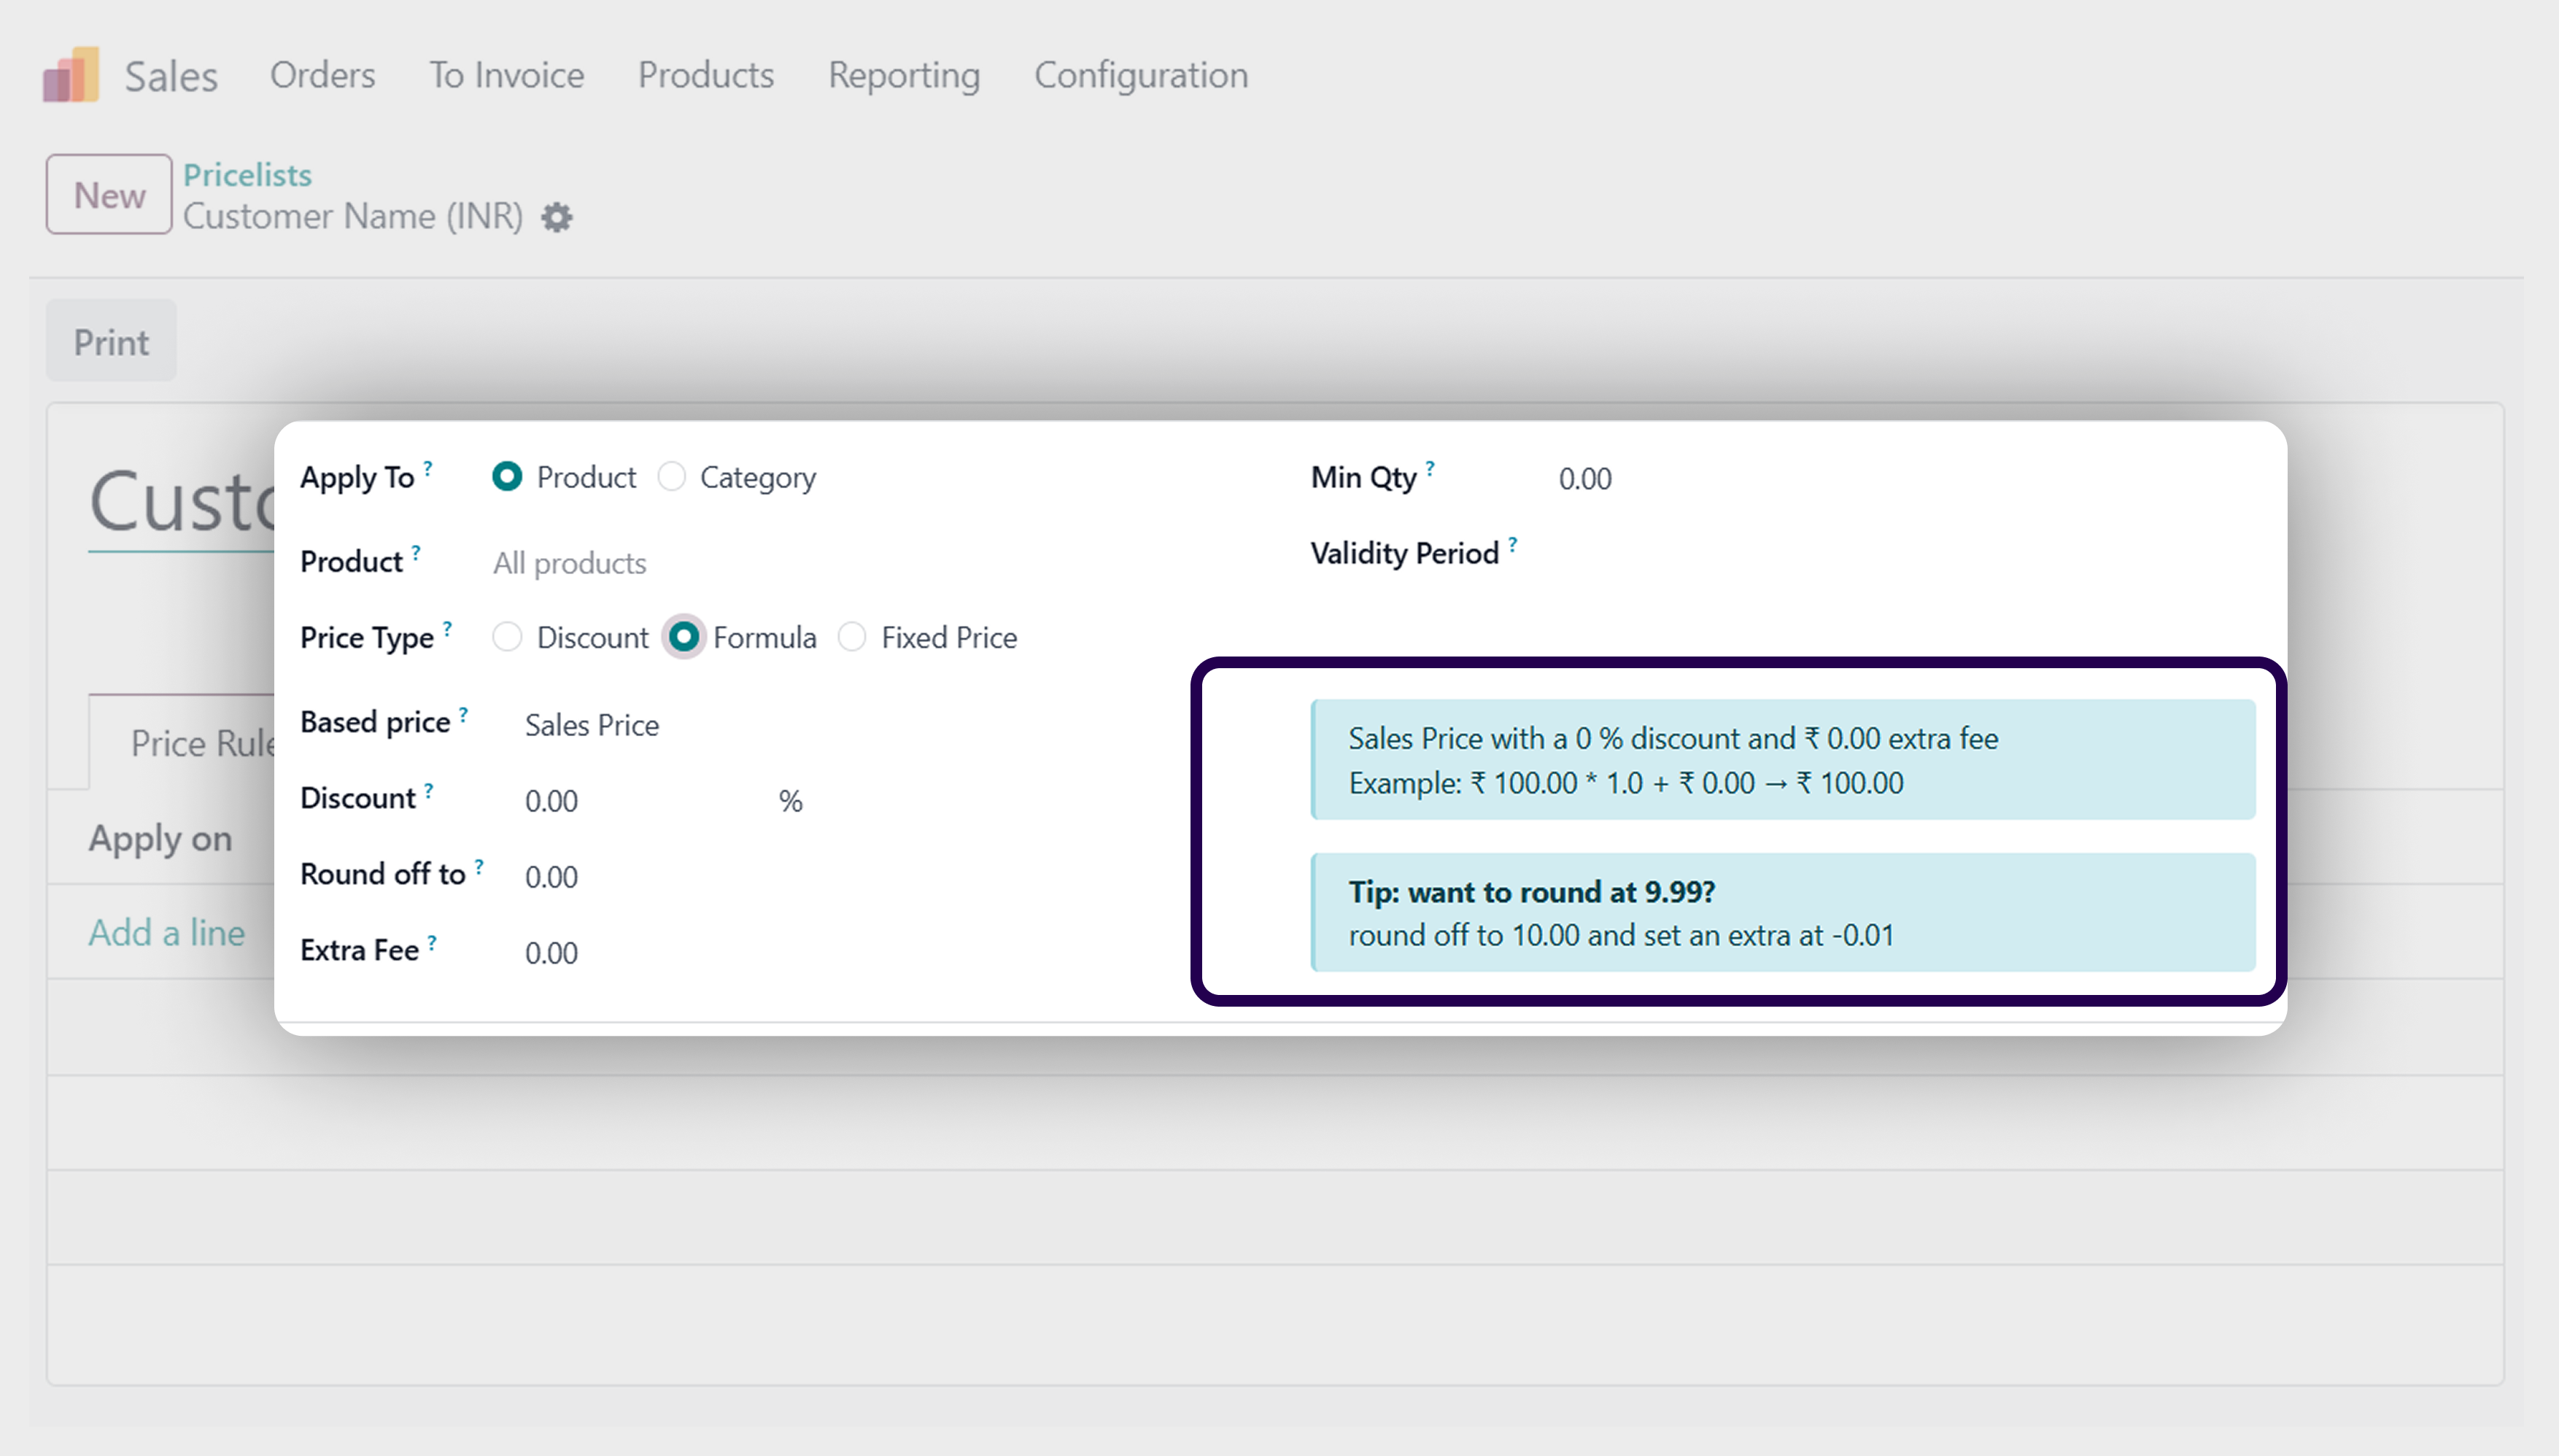
Now, it is time to add the formula option. Here you will see a new line has been created. You must create your price list on the basis of a formula.
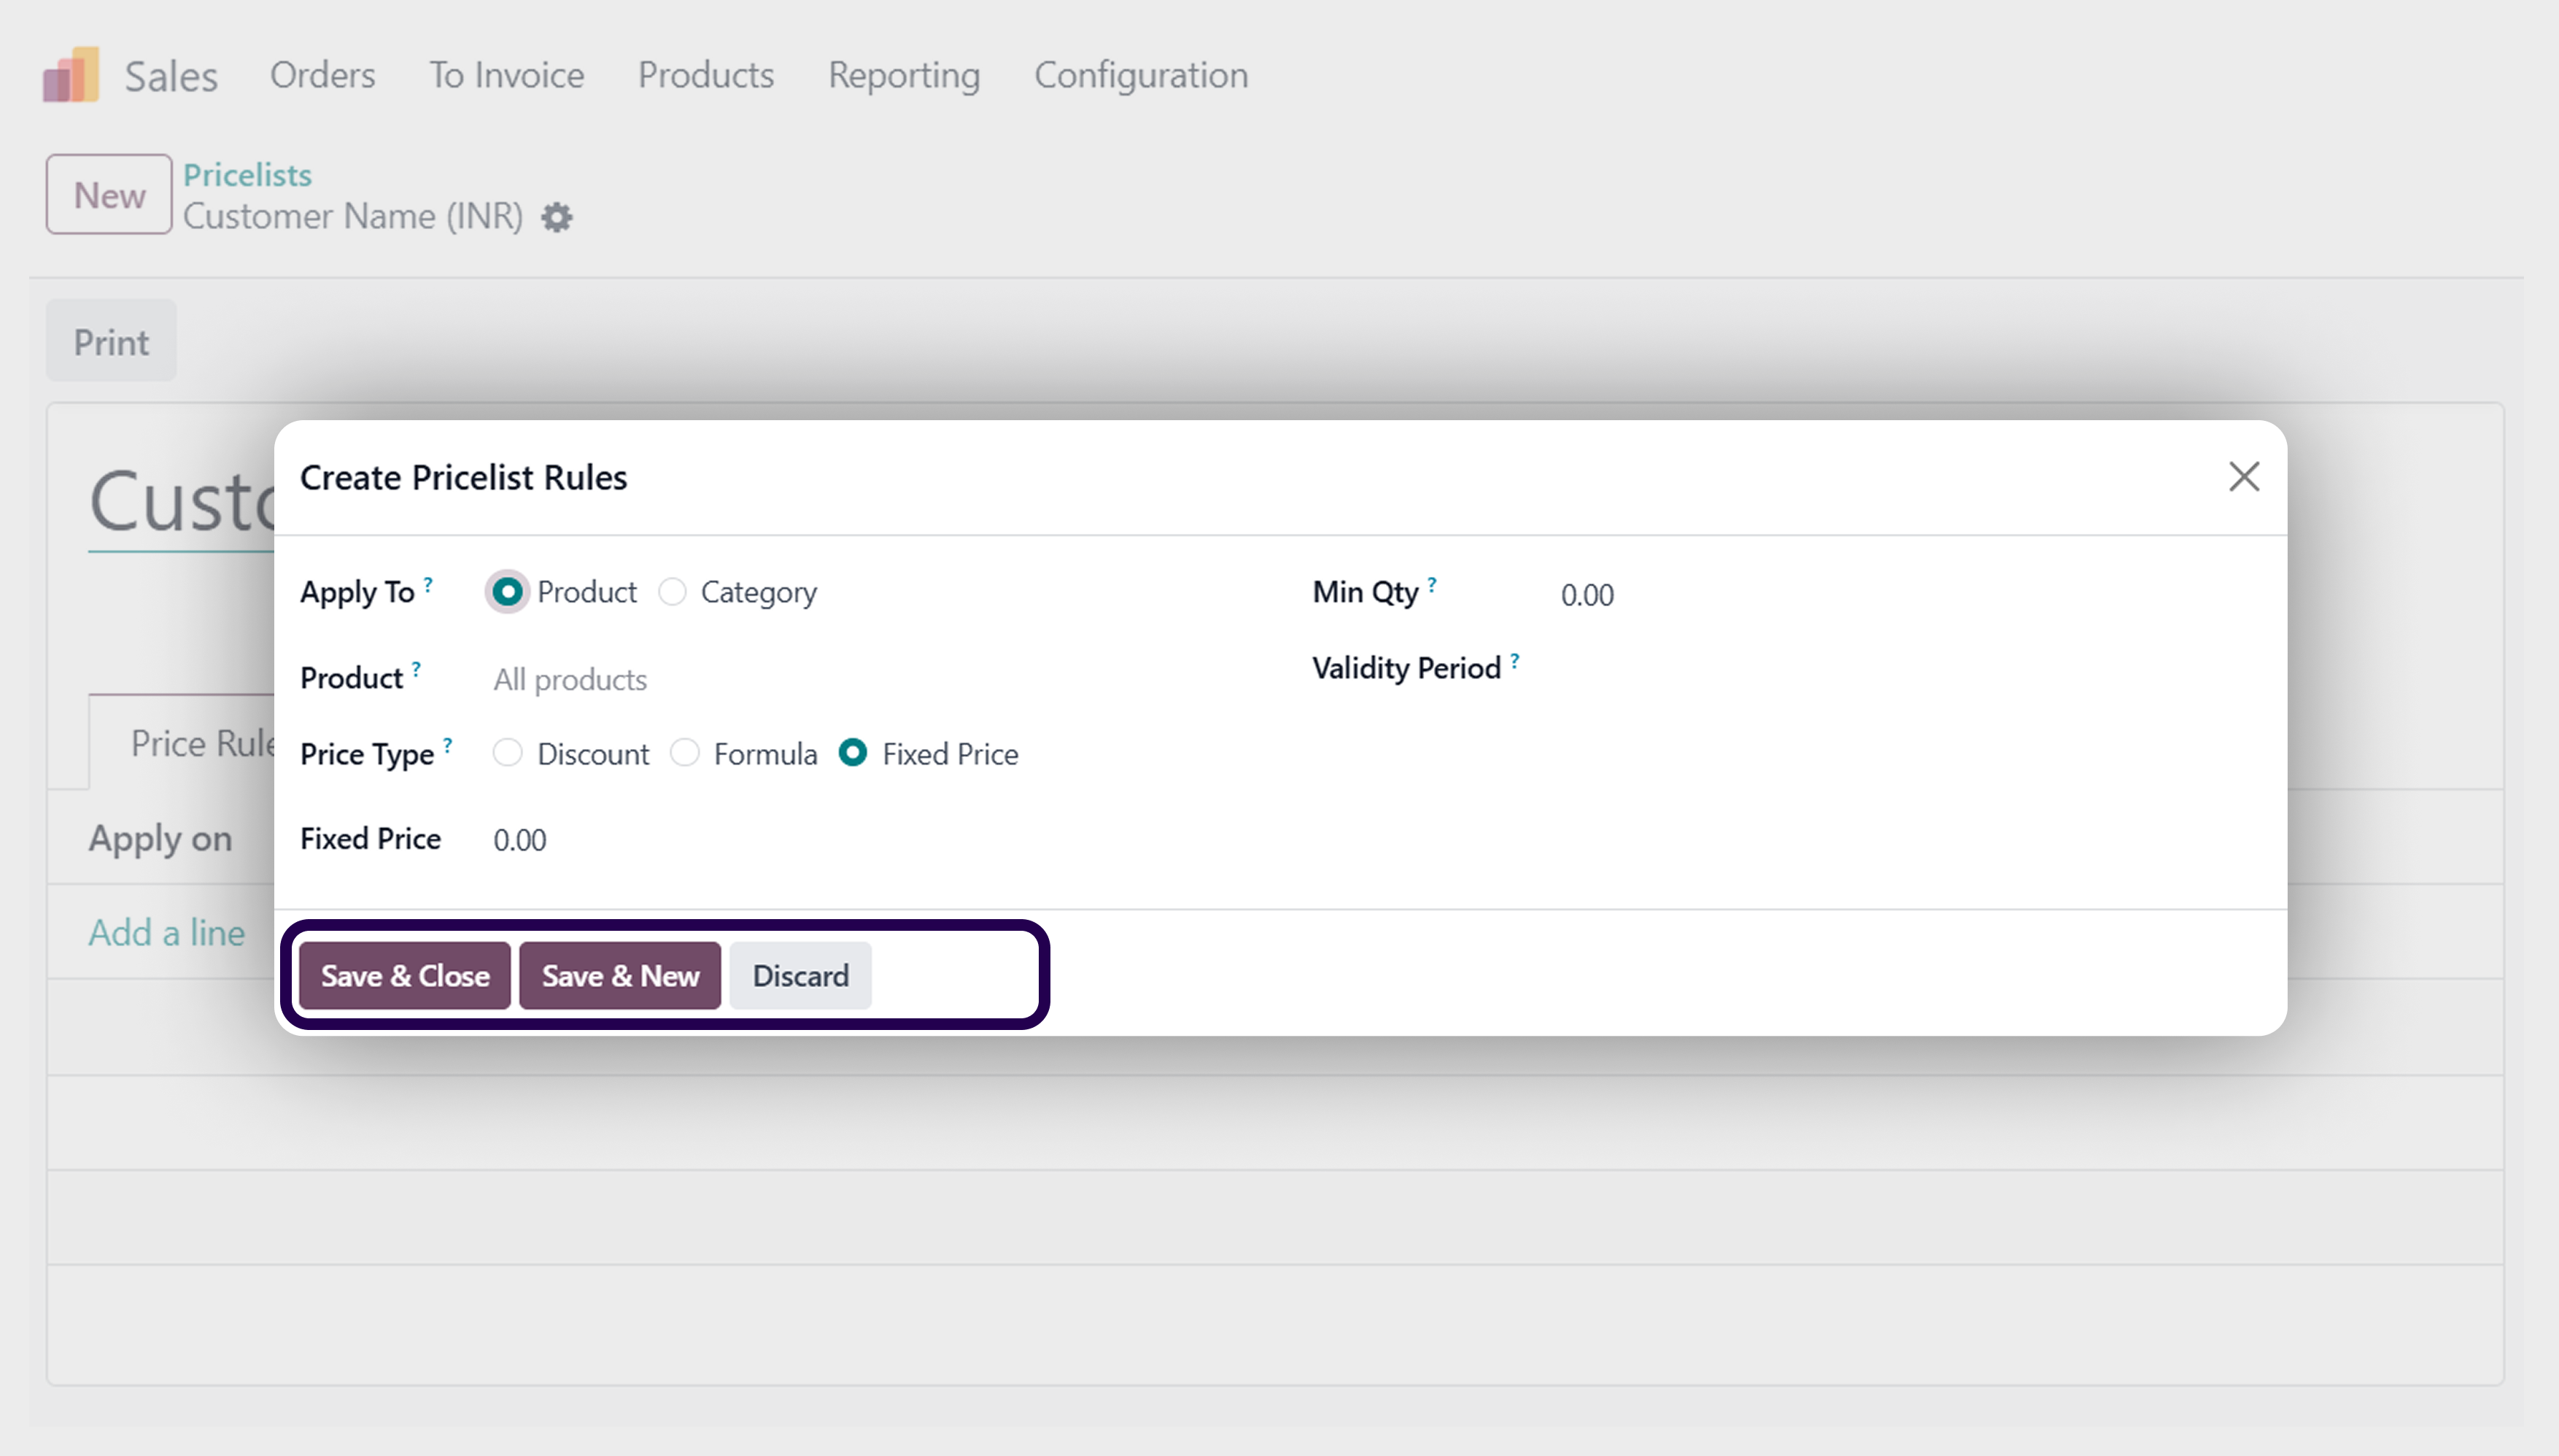
Step 12: If you are creating a pricelist for the product variant, then select the ‘product variant’ option and add the product variant. If you create a based on a Percentage, so select the ‘Percentage’ option. And specify the percentage in the ‘percentage price’ section.
Suppose, you are creating a pricelist for the product variant, then select the ‘product variant’ option and add the product variant. If you create it based on a Percentage, you should select the ‘Percentage’ option. Ensure to specify the percentage in the ‘percentage price’ section.
Step 13: Click on the ‘Save & close button.
Always ensure to click & save on the save button.
Step 14: Click on the ‘Save’ button.
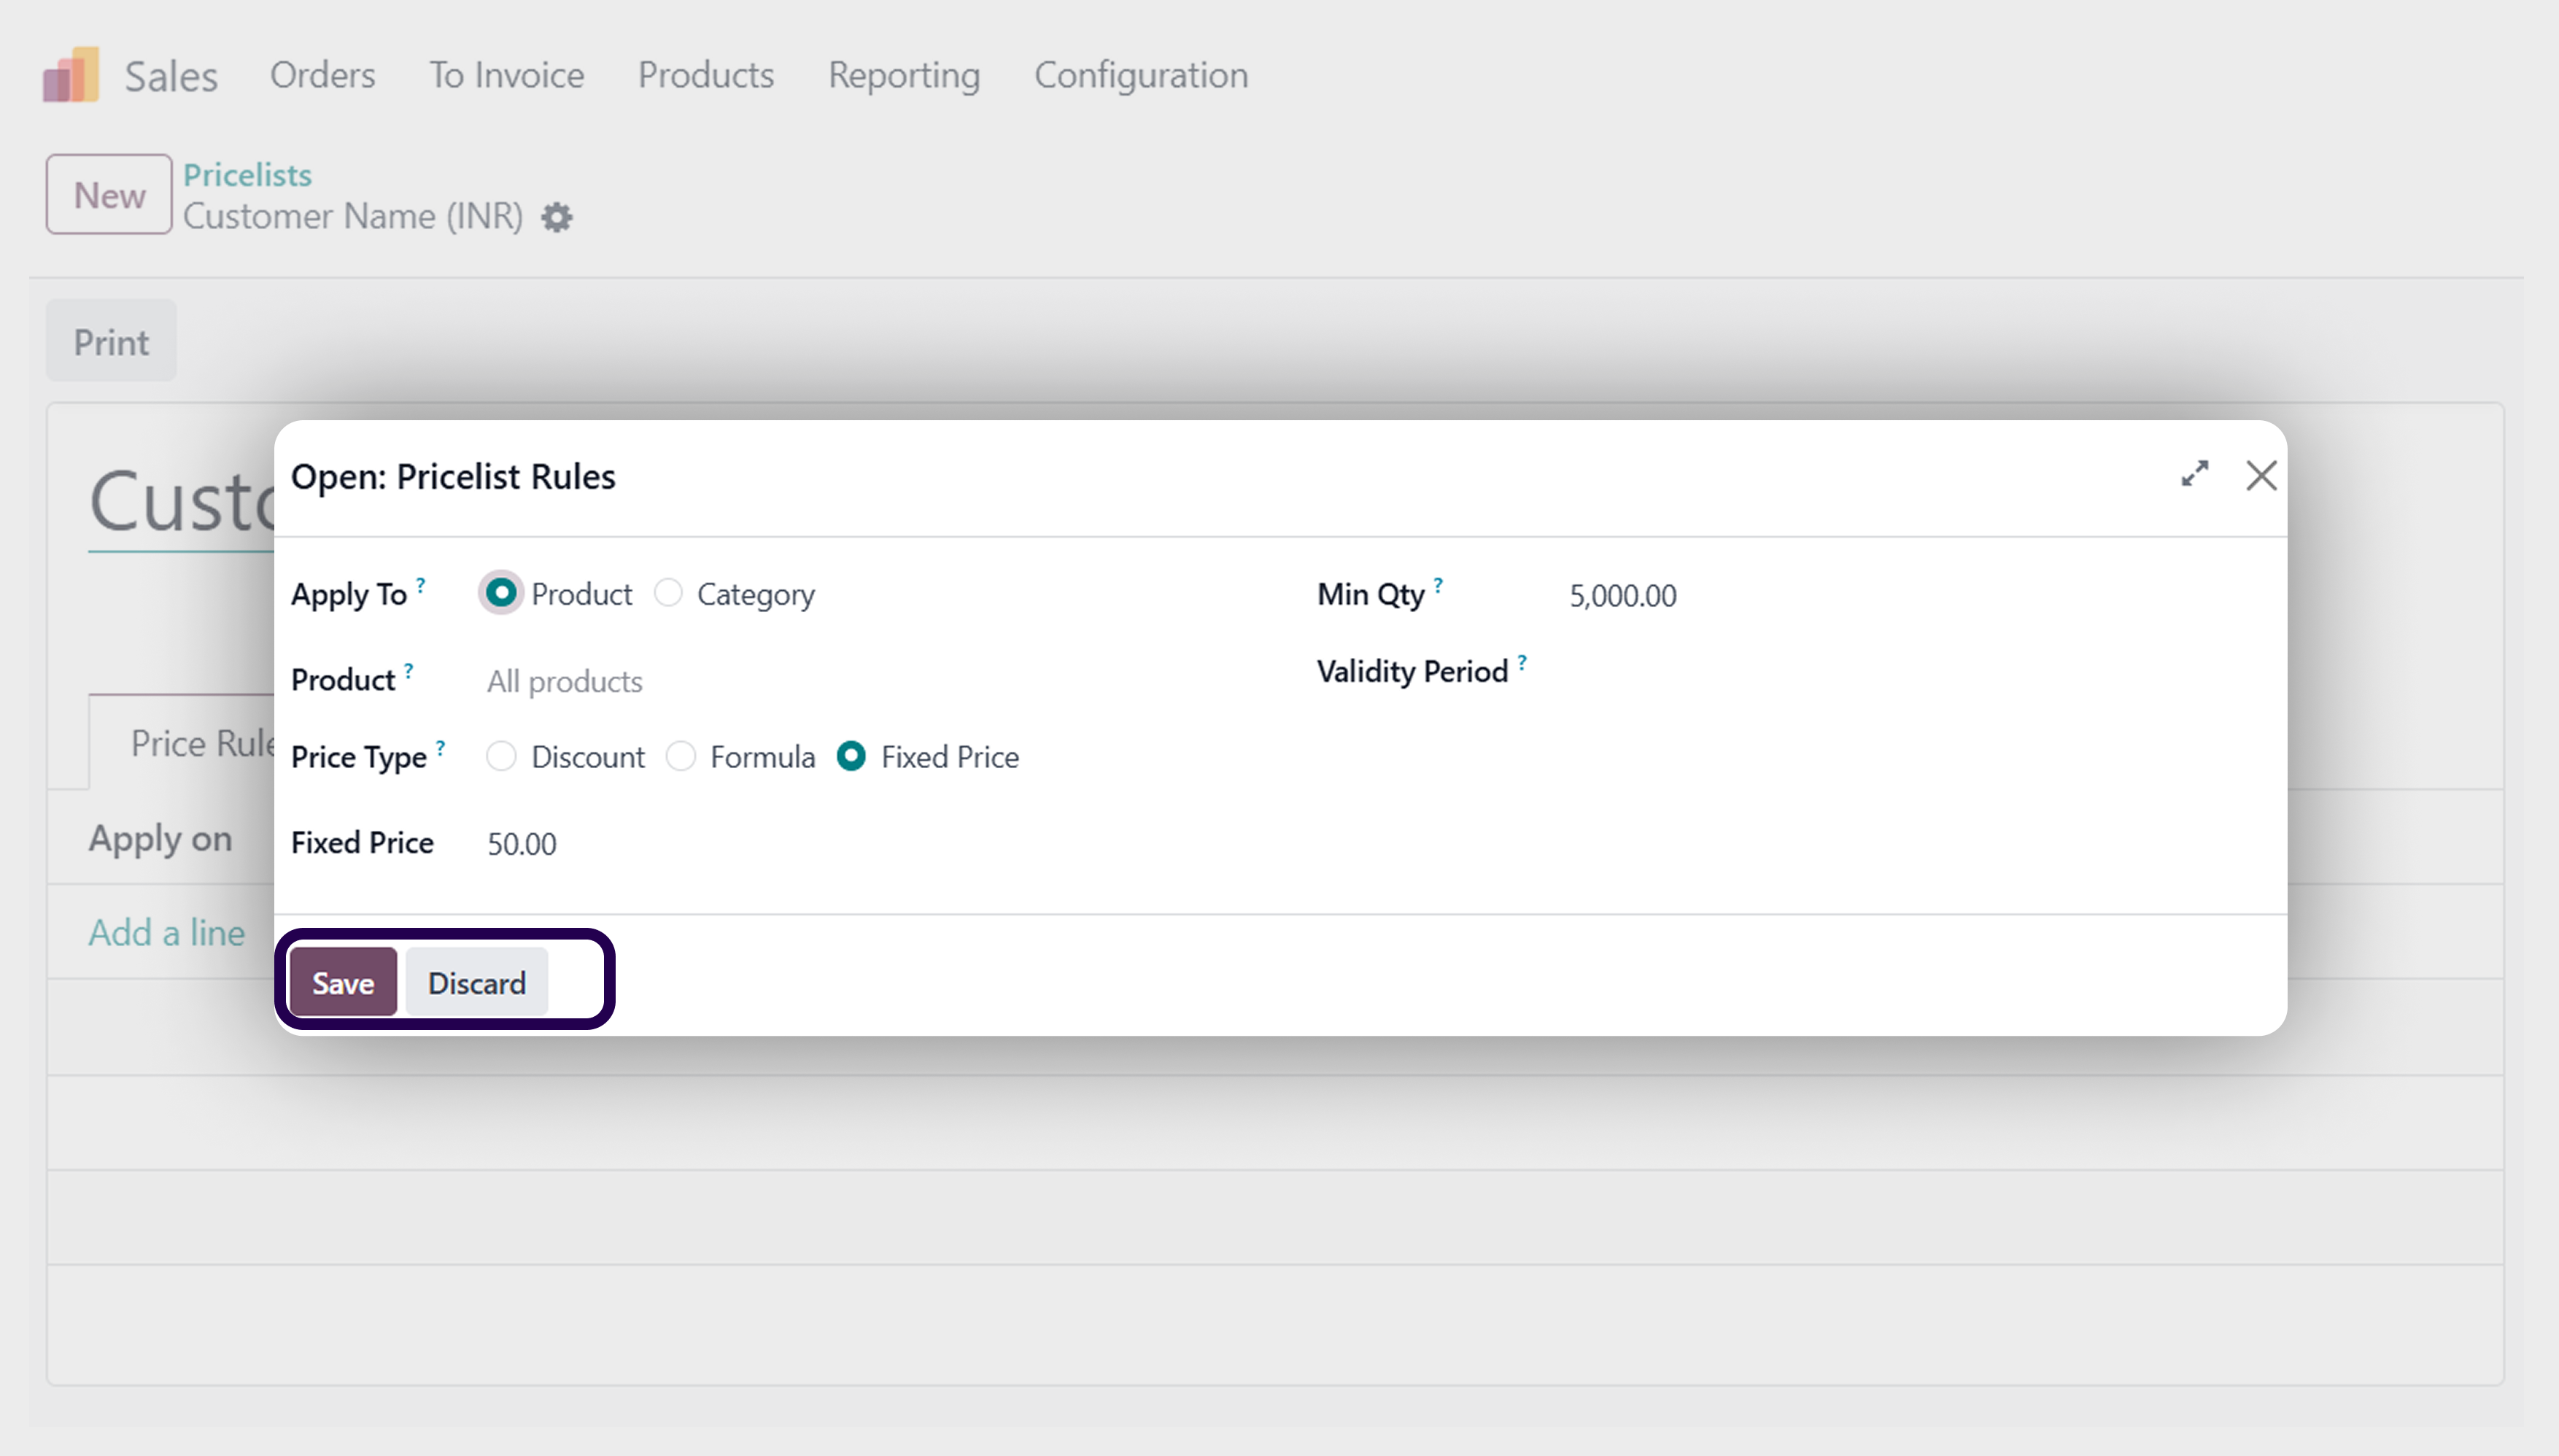
Now, it is time to click on the save button.
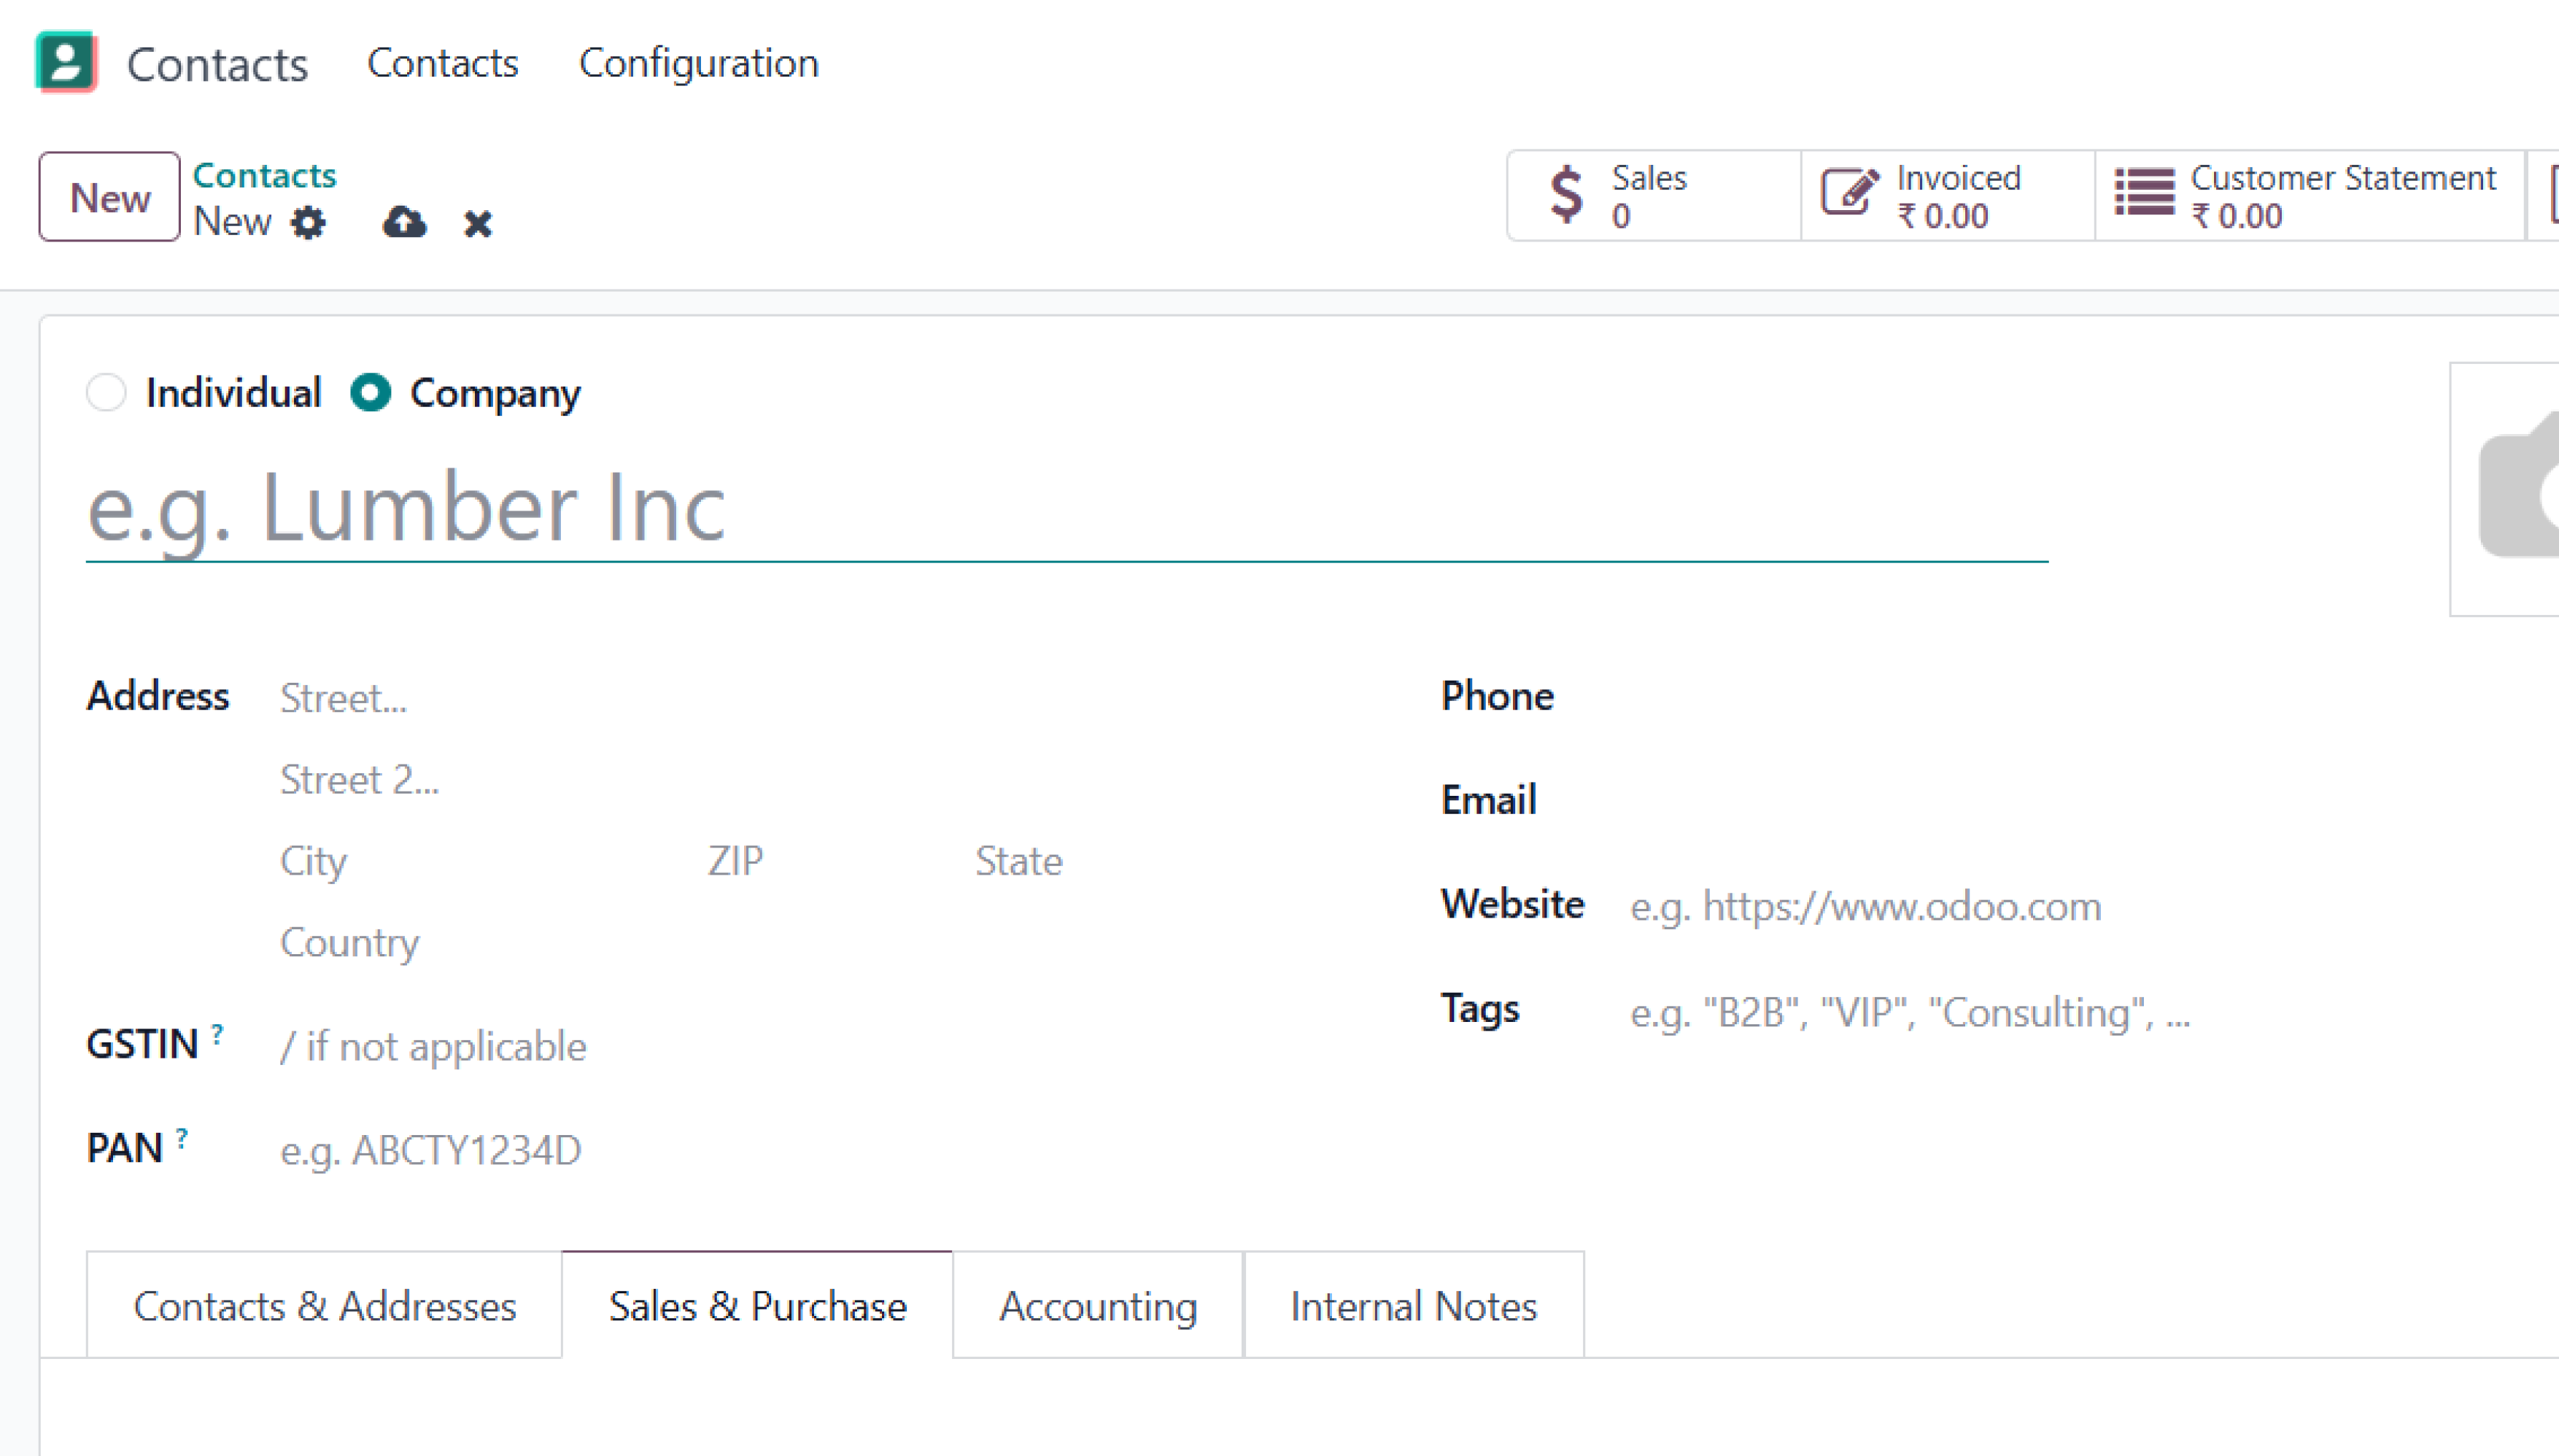
Step 15: Now go to the ‘Contacts’ module and select your super customer for applying the price list.
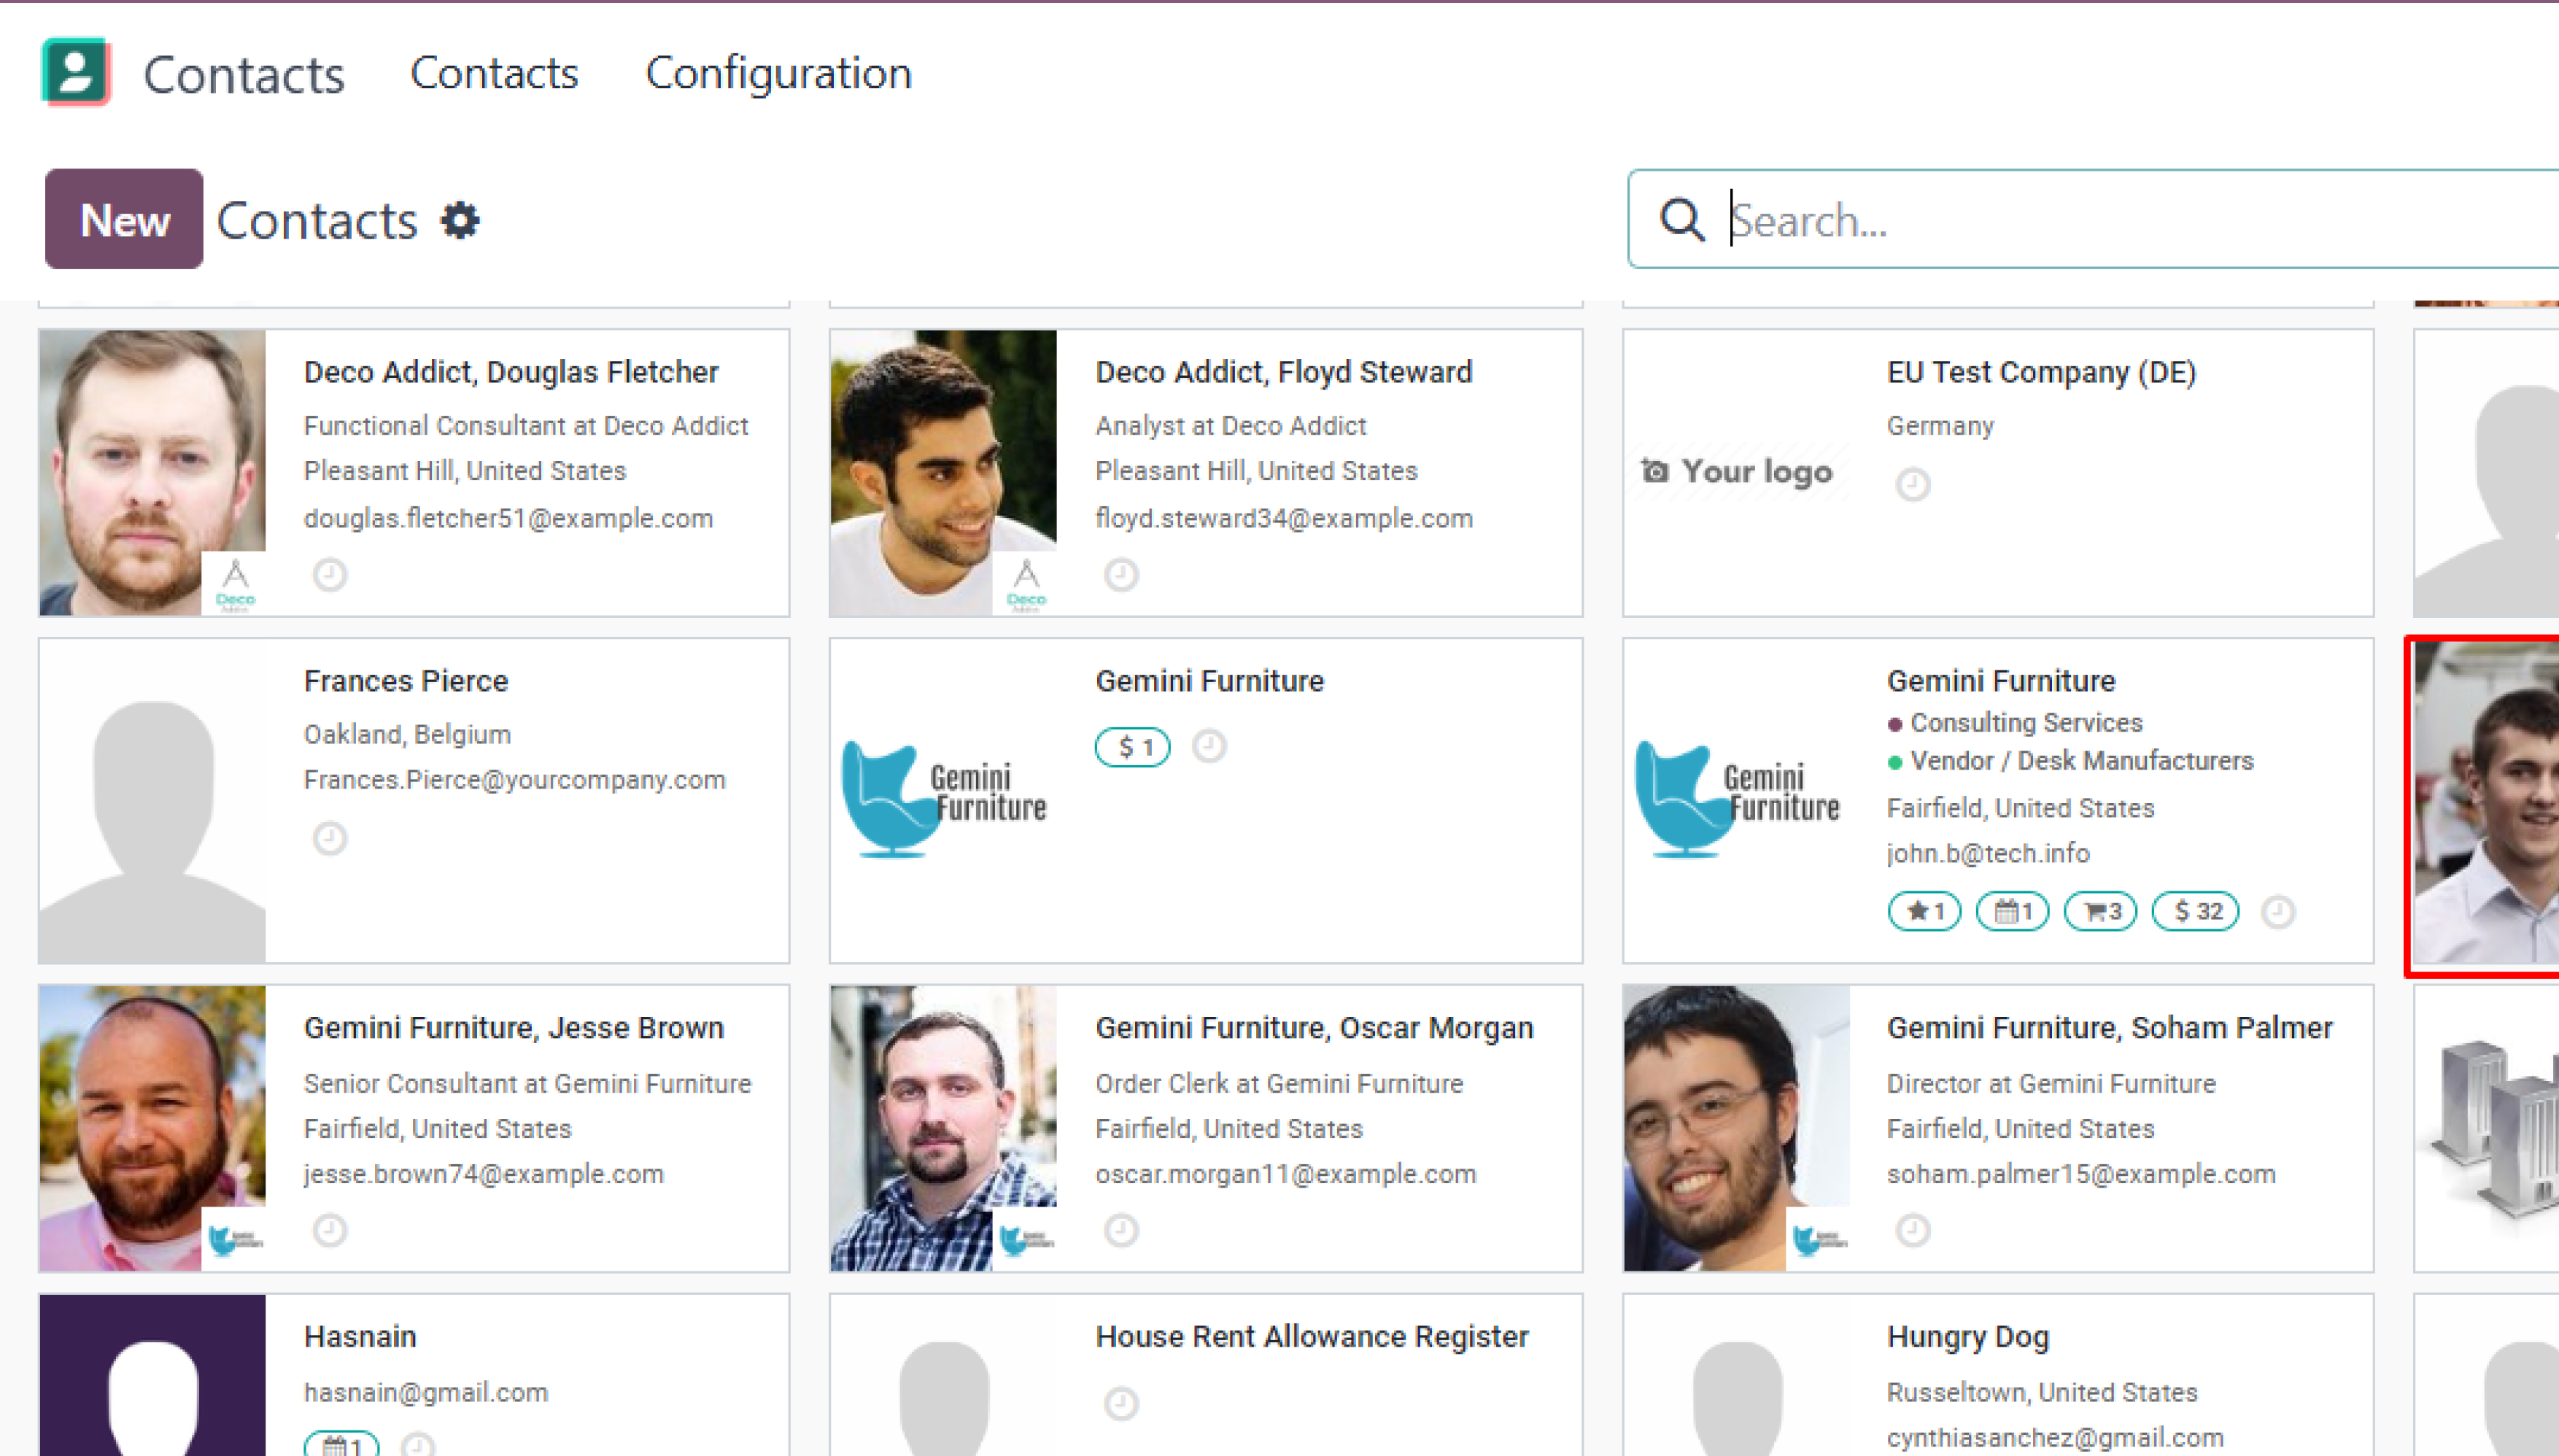
In order to apply the price list to your super customer, it is now time to go to your contacts.
Step 16: Click on the ‘Edit’ button and go to the ‘Sales & purchase’ section.
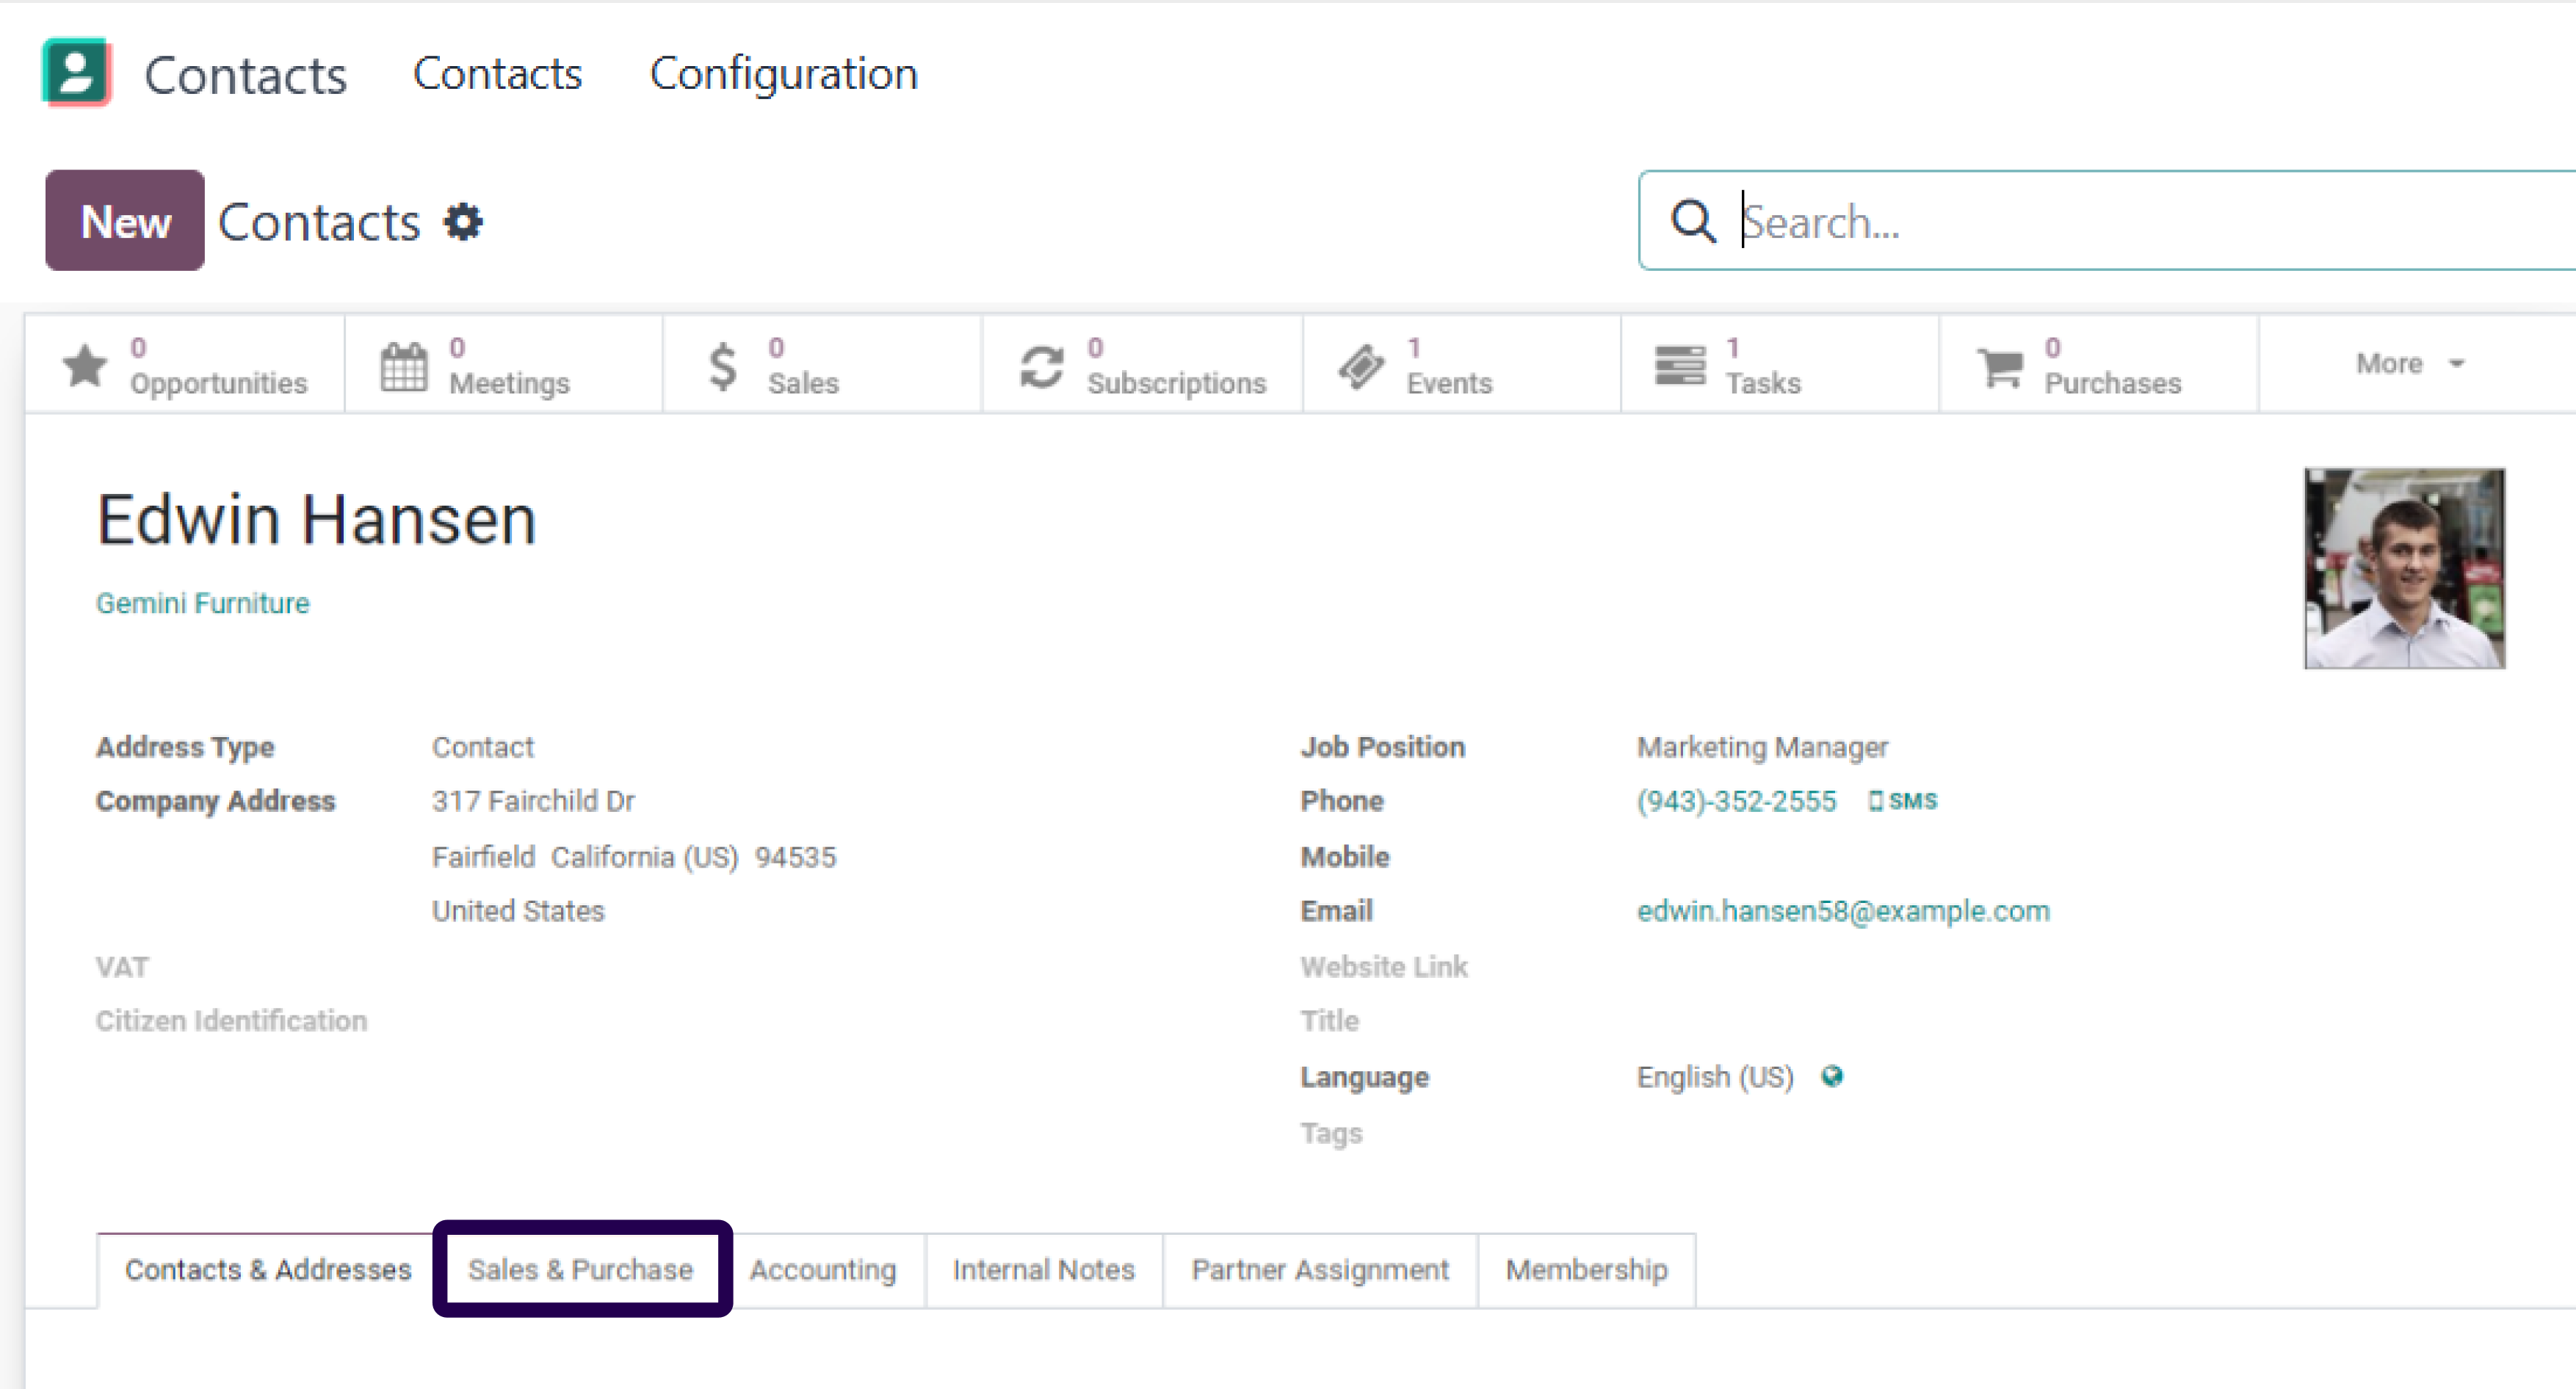
Now, click on the edit button and directly go to the section of sales and purchase.
Step 17: Here, you can see the price list is already selected as a public pricelist. Here you can apply your pricelist.
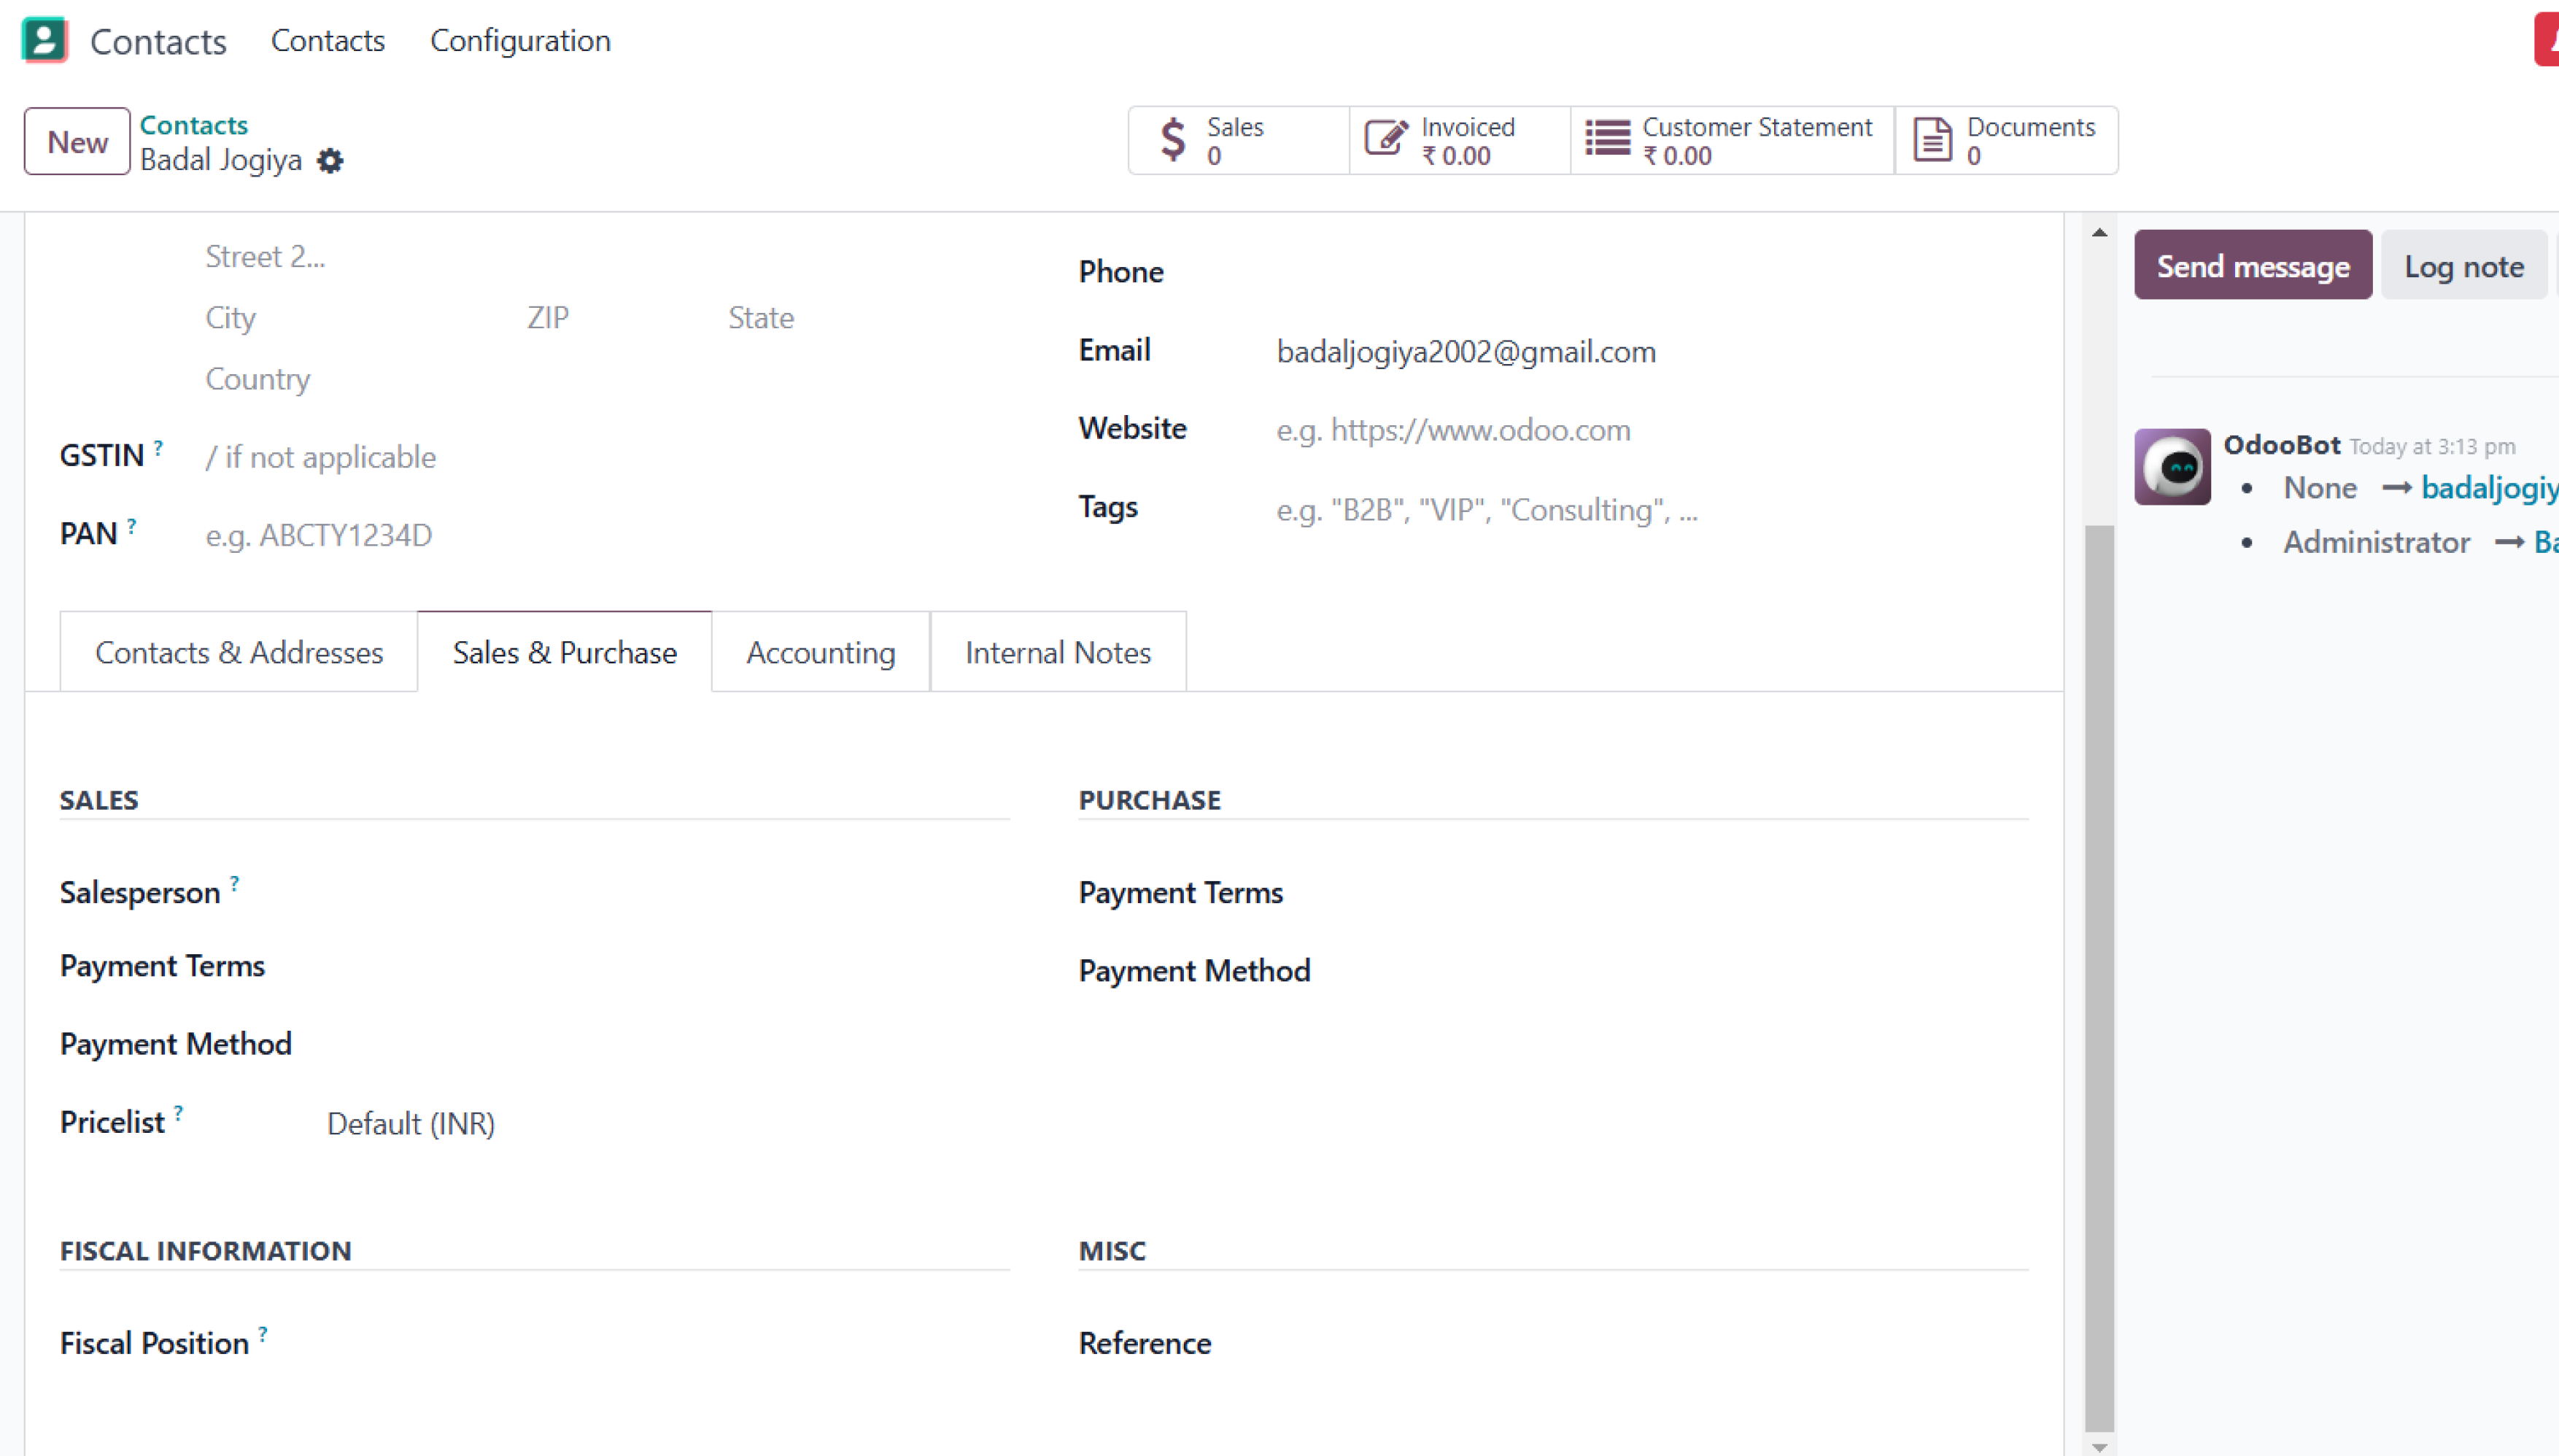
In the sales and purchase section, you will see the pricelist has been already selected as the public pricelist and can also be applied to the products.
Step 18: Click on the ‘Save’ button.
Now, remember to click on the save button.
Step 19: Now, go to the ‘Sales’ module and create a new sales order.
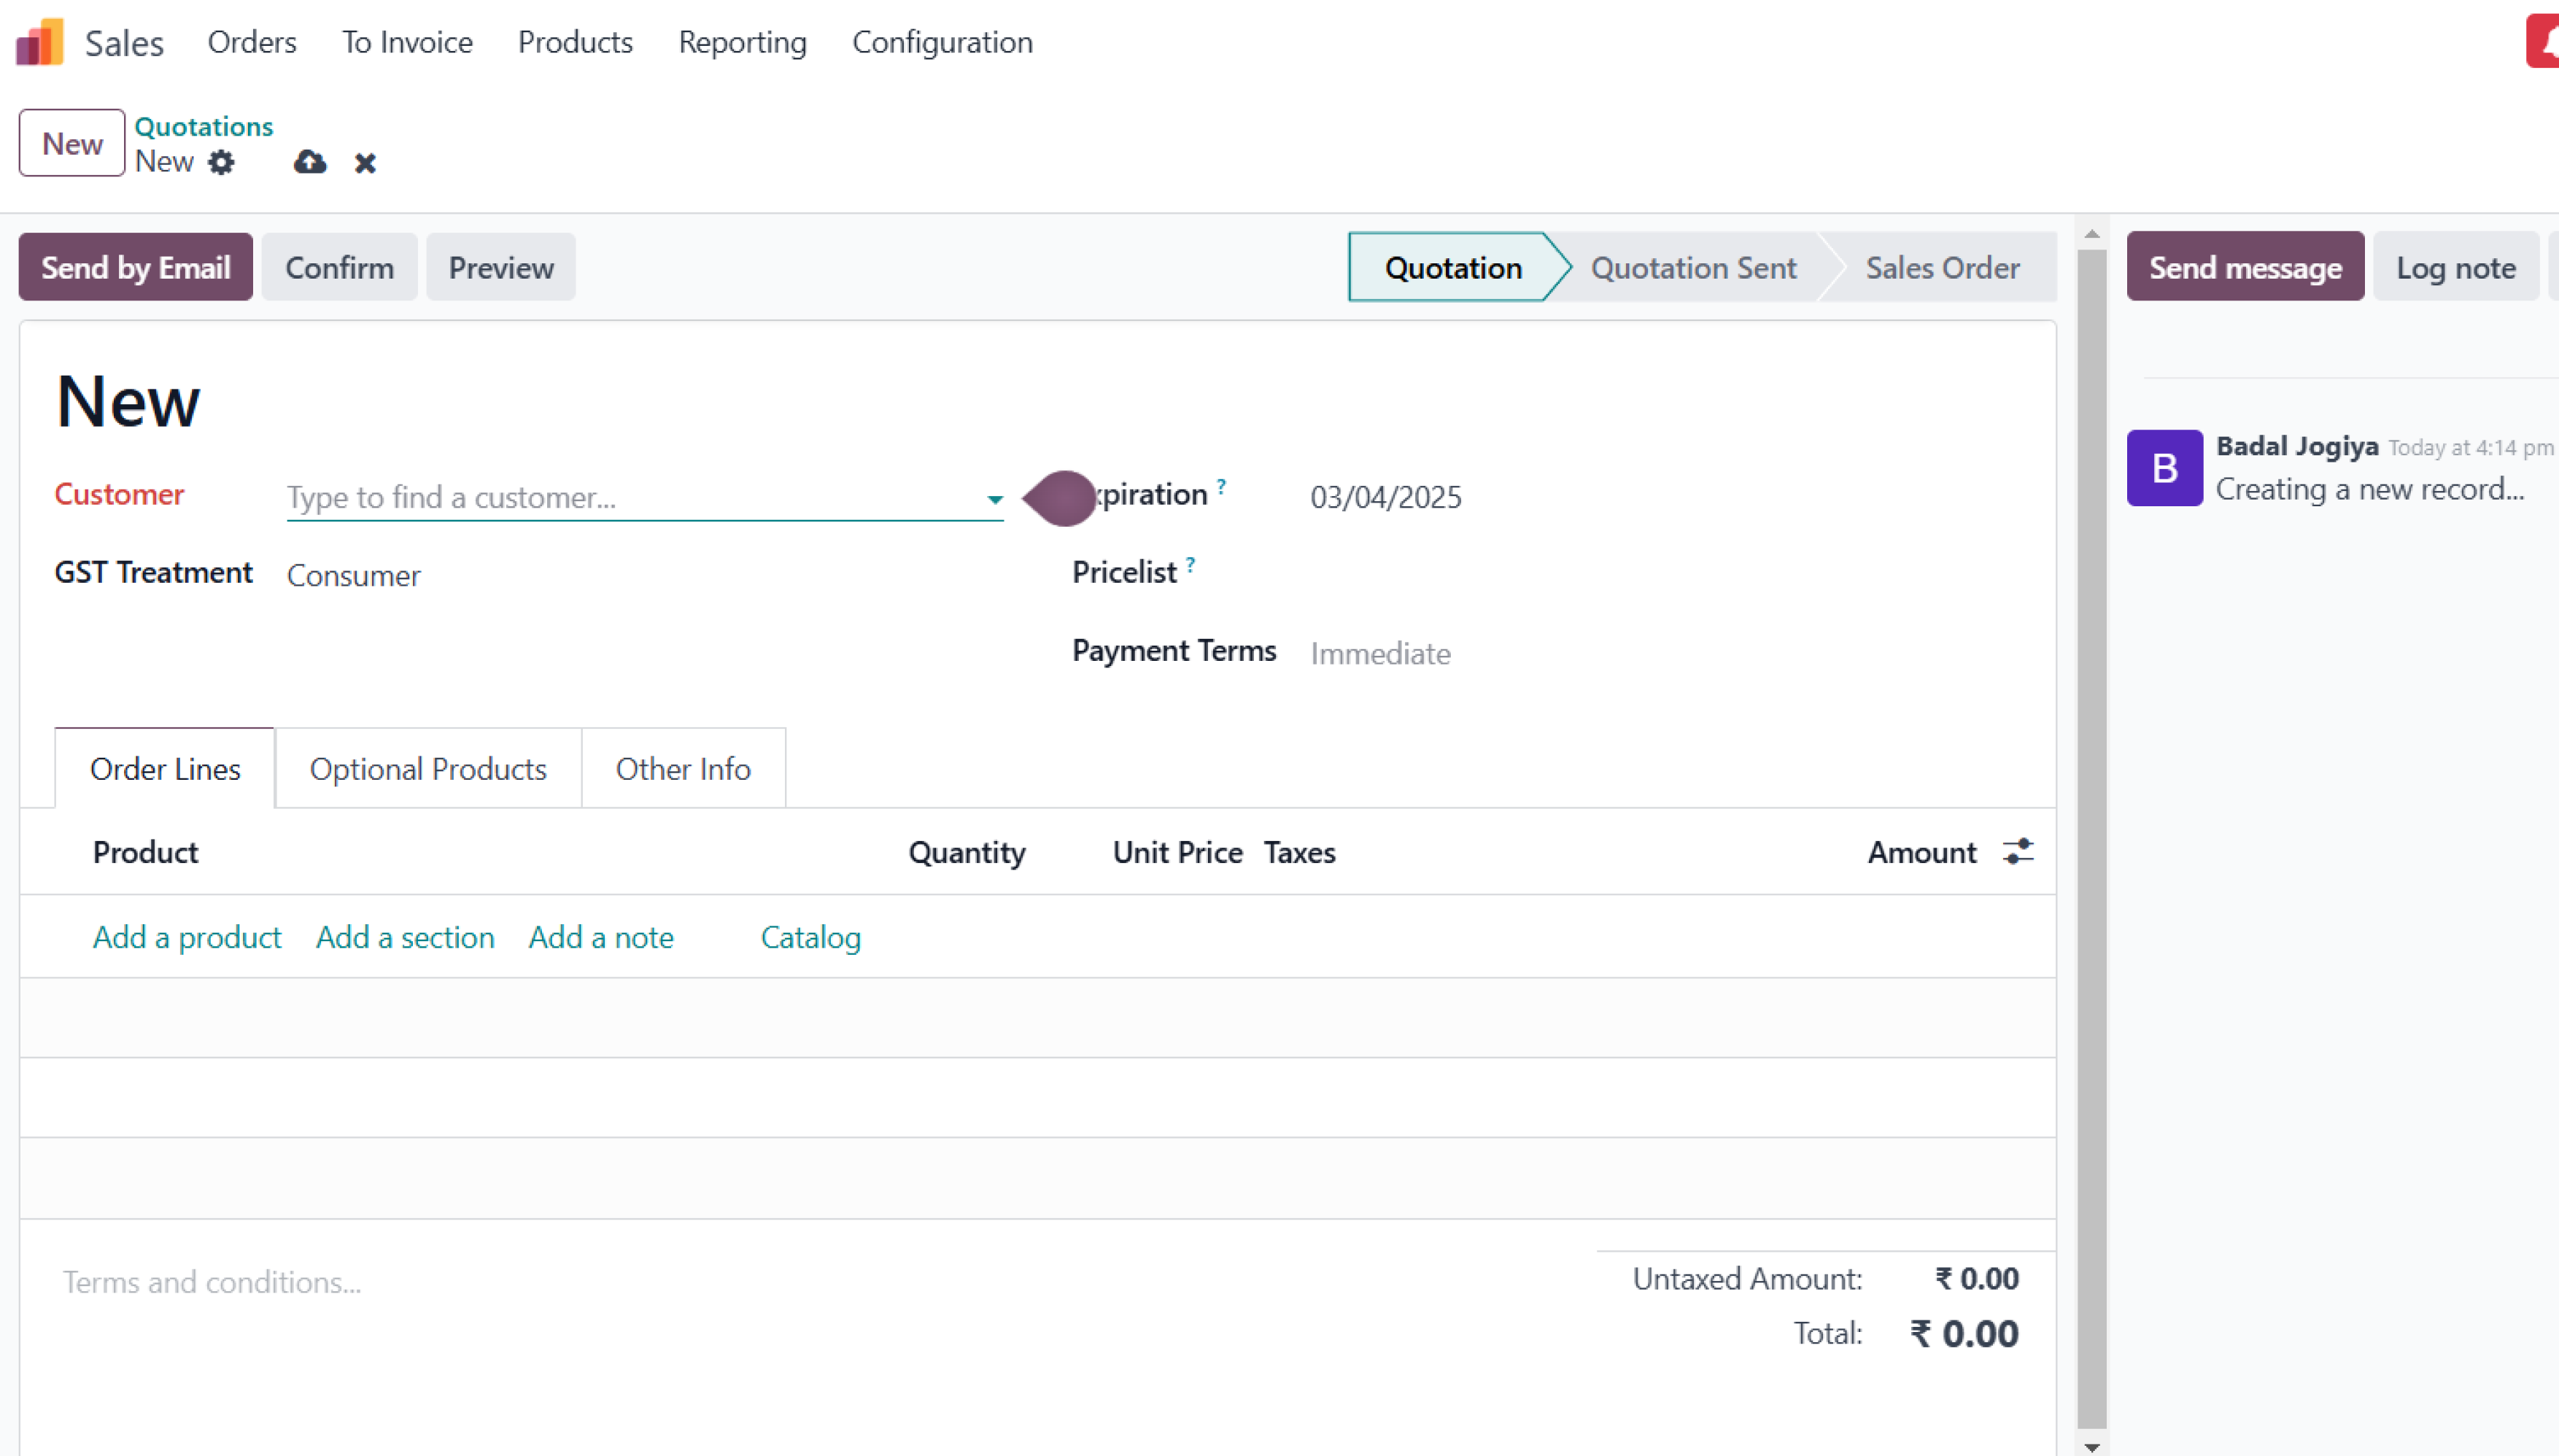
Now, it is time to go to the ‘Sales’ module and create a new sales order.
Step 20: Select our Super customer and there the pricelist automatically selects the ‘Super customer’.
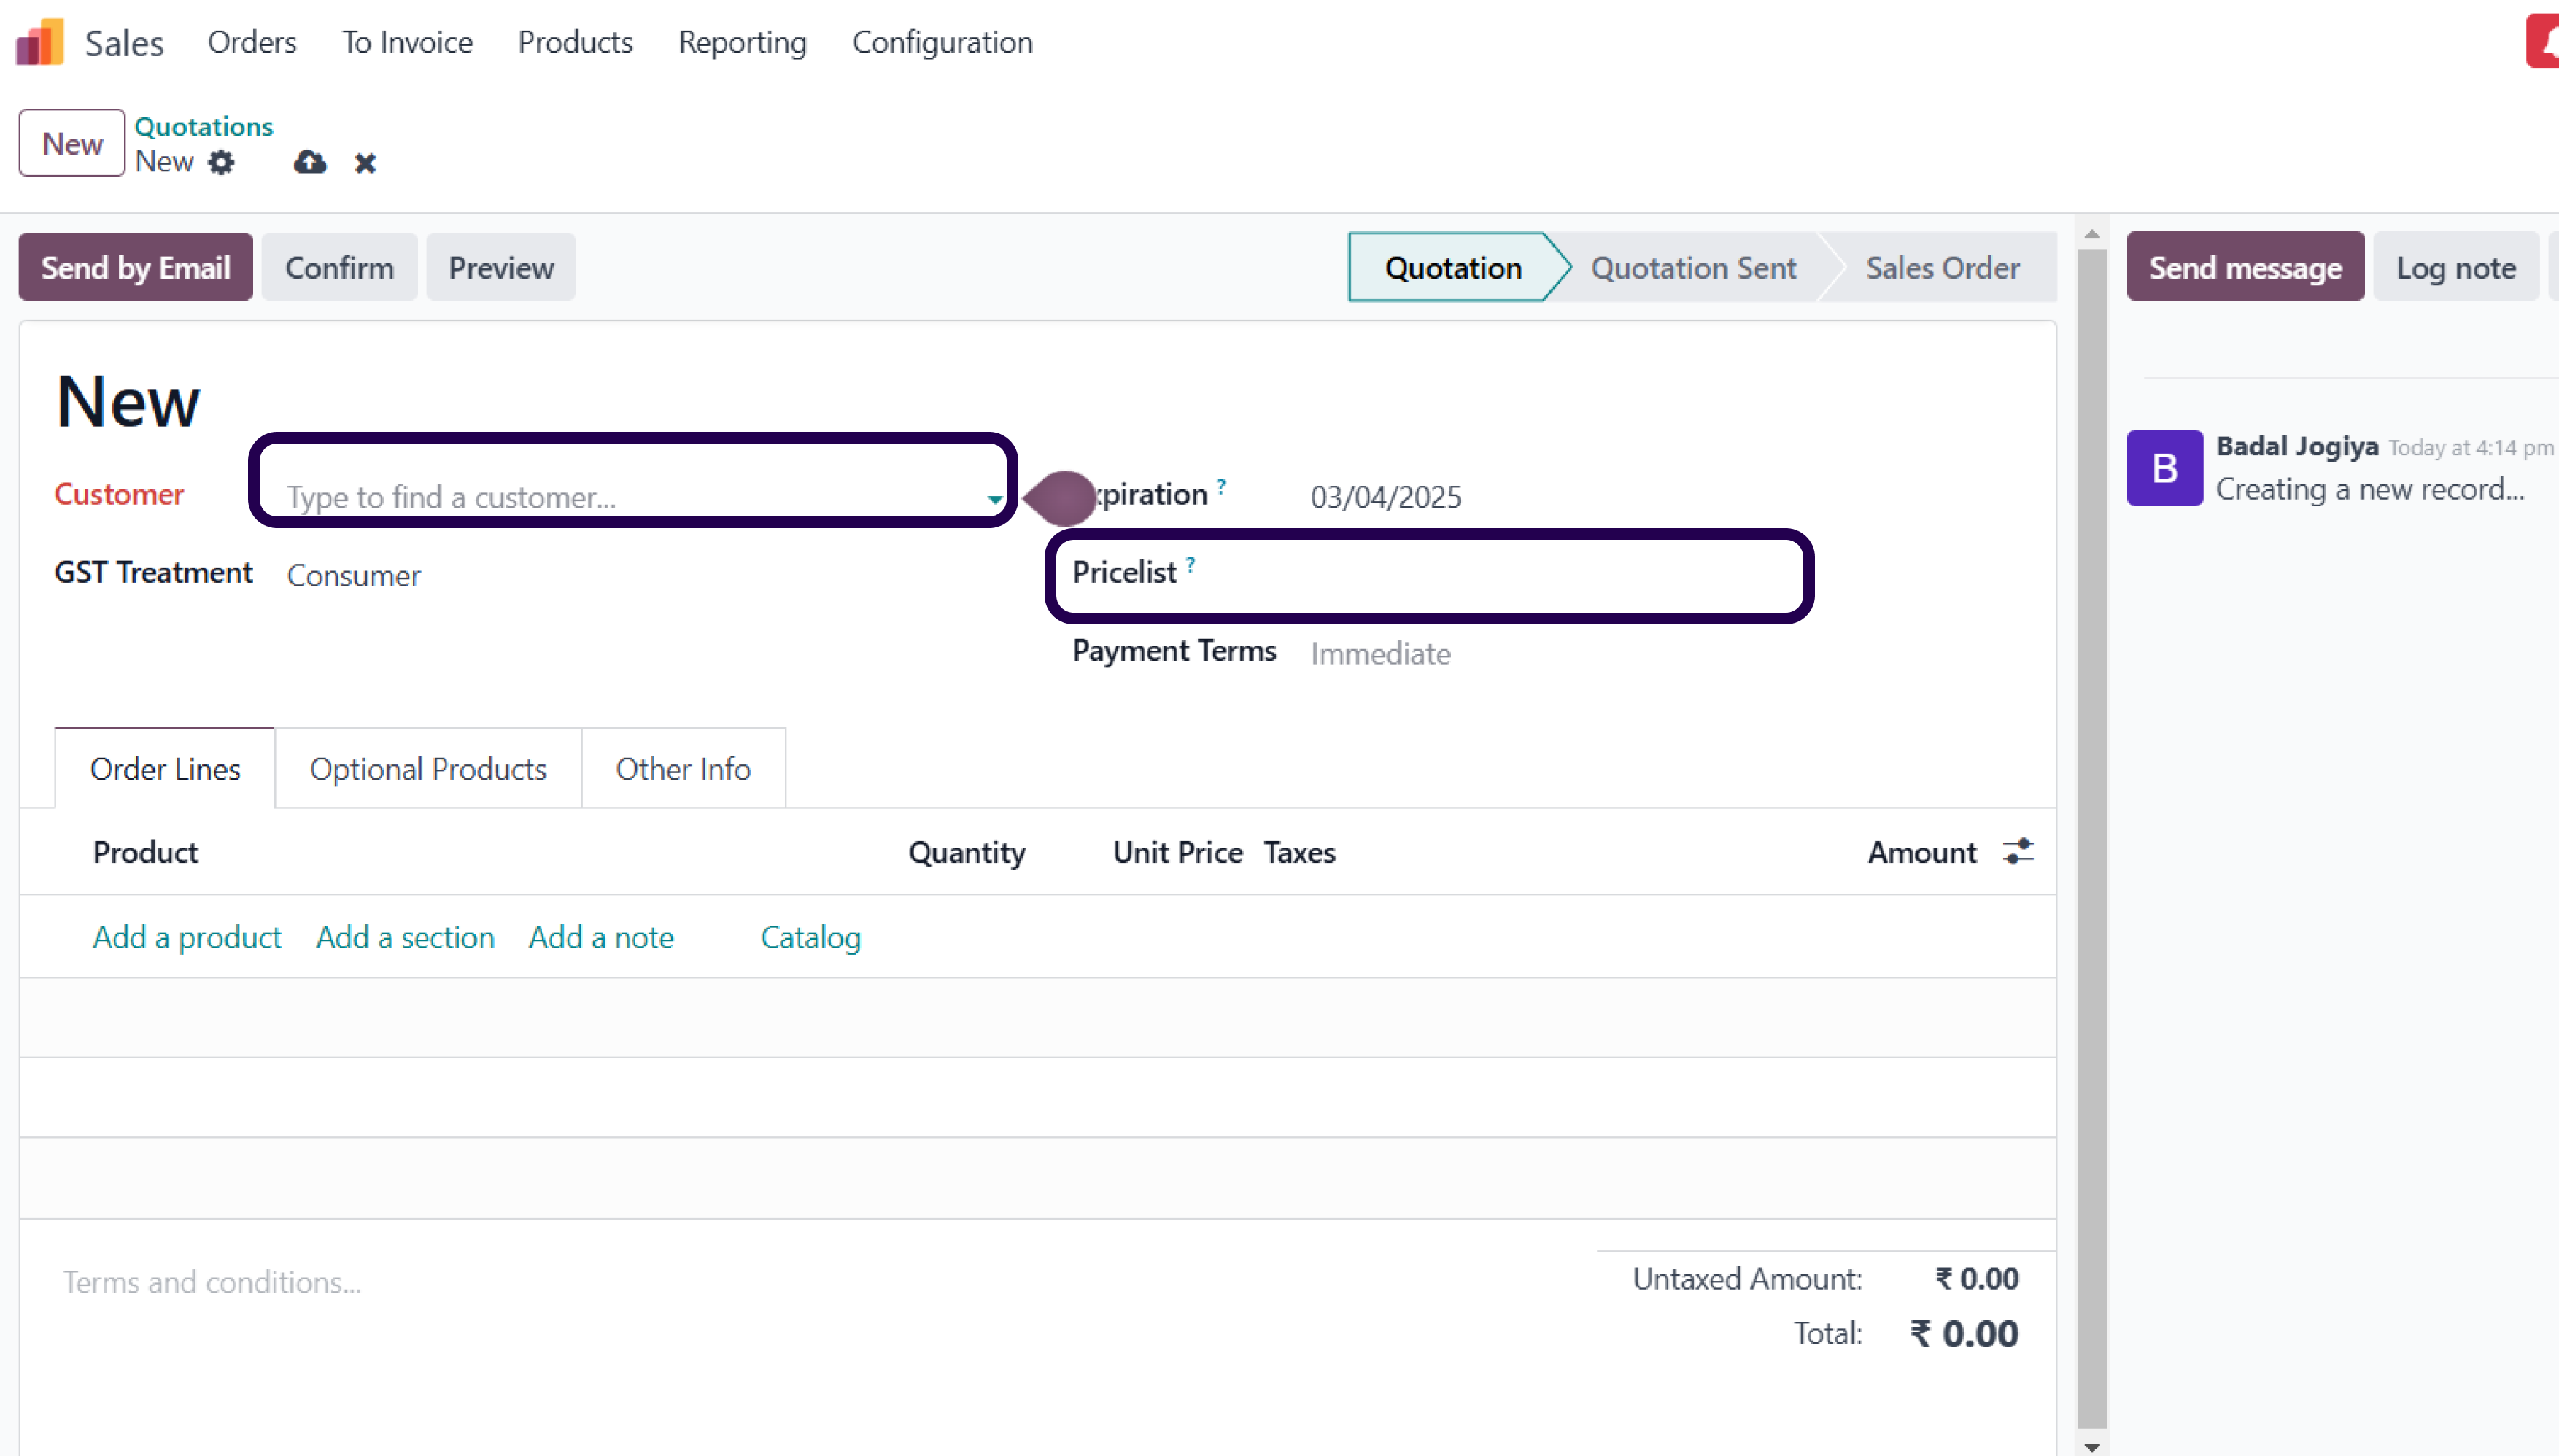
Once you are in the sales order, pick a super customer of yours. Here, you will see that the pricelist automatically changes to super customer.
Step 21: Now, add our specific product.
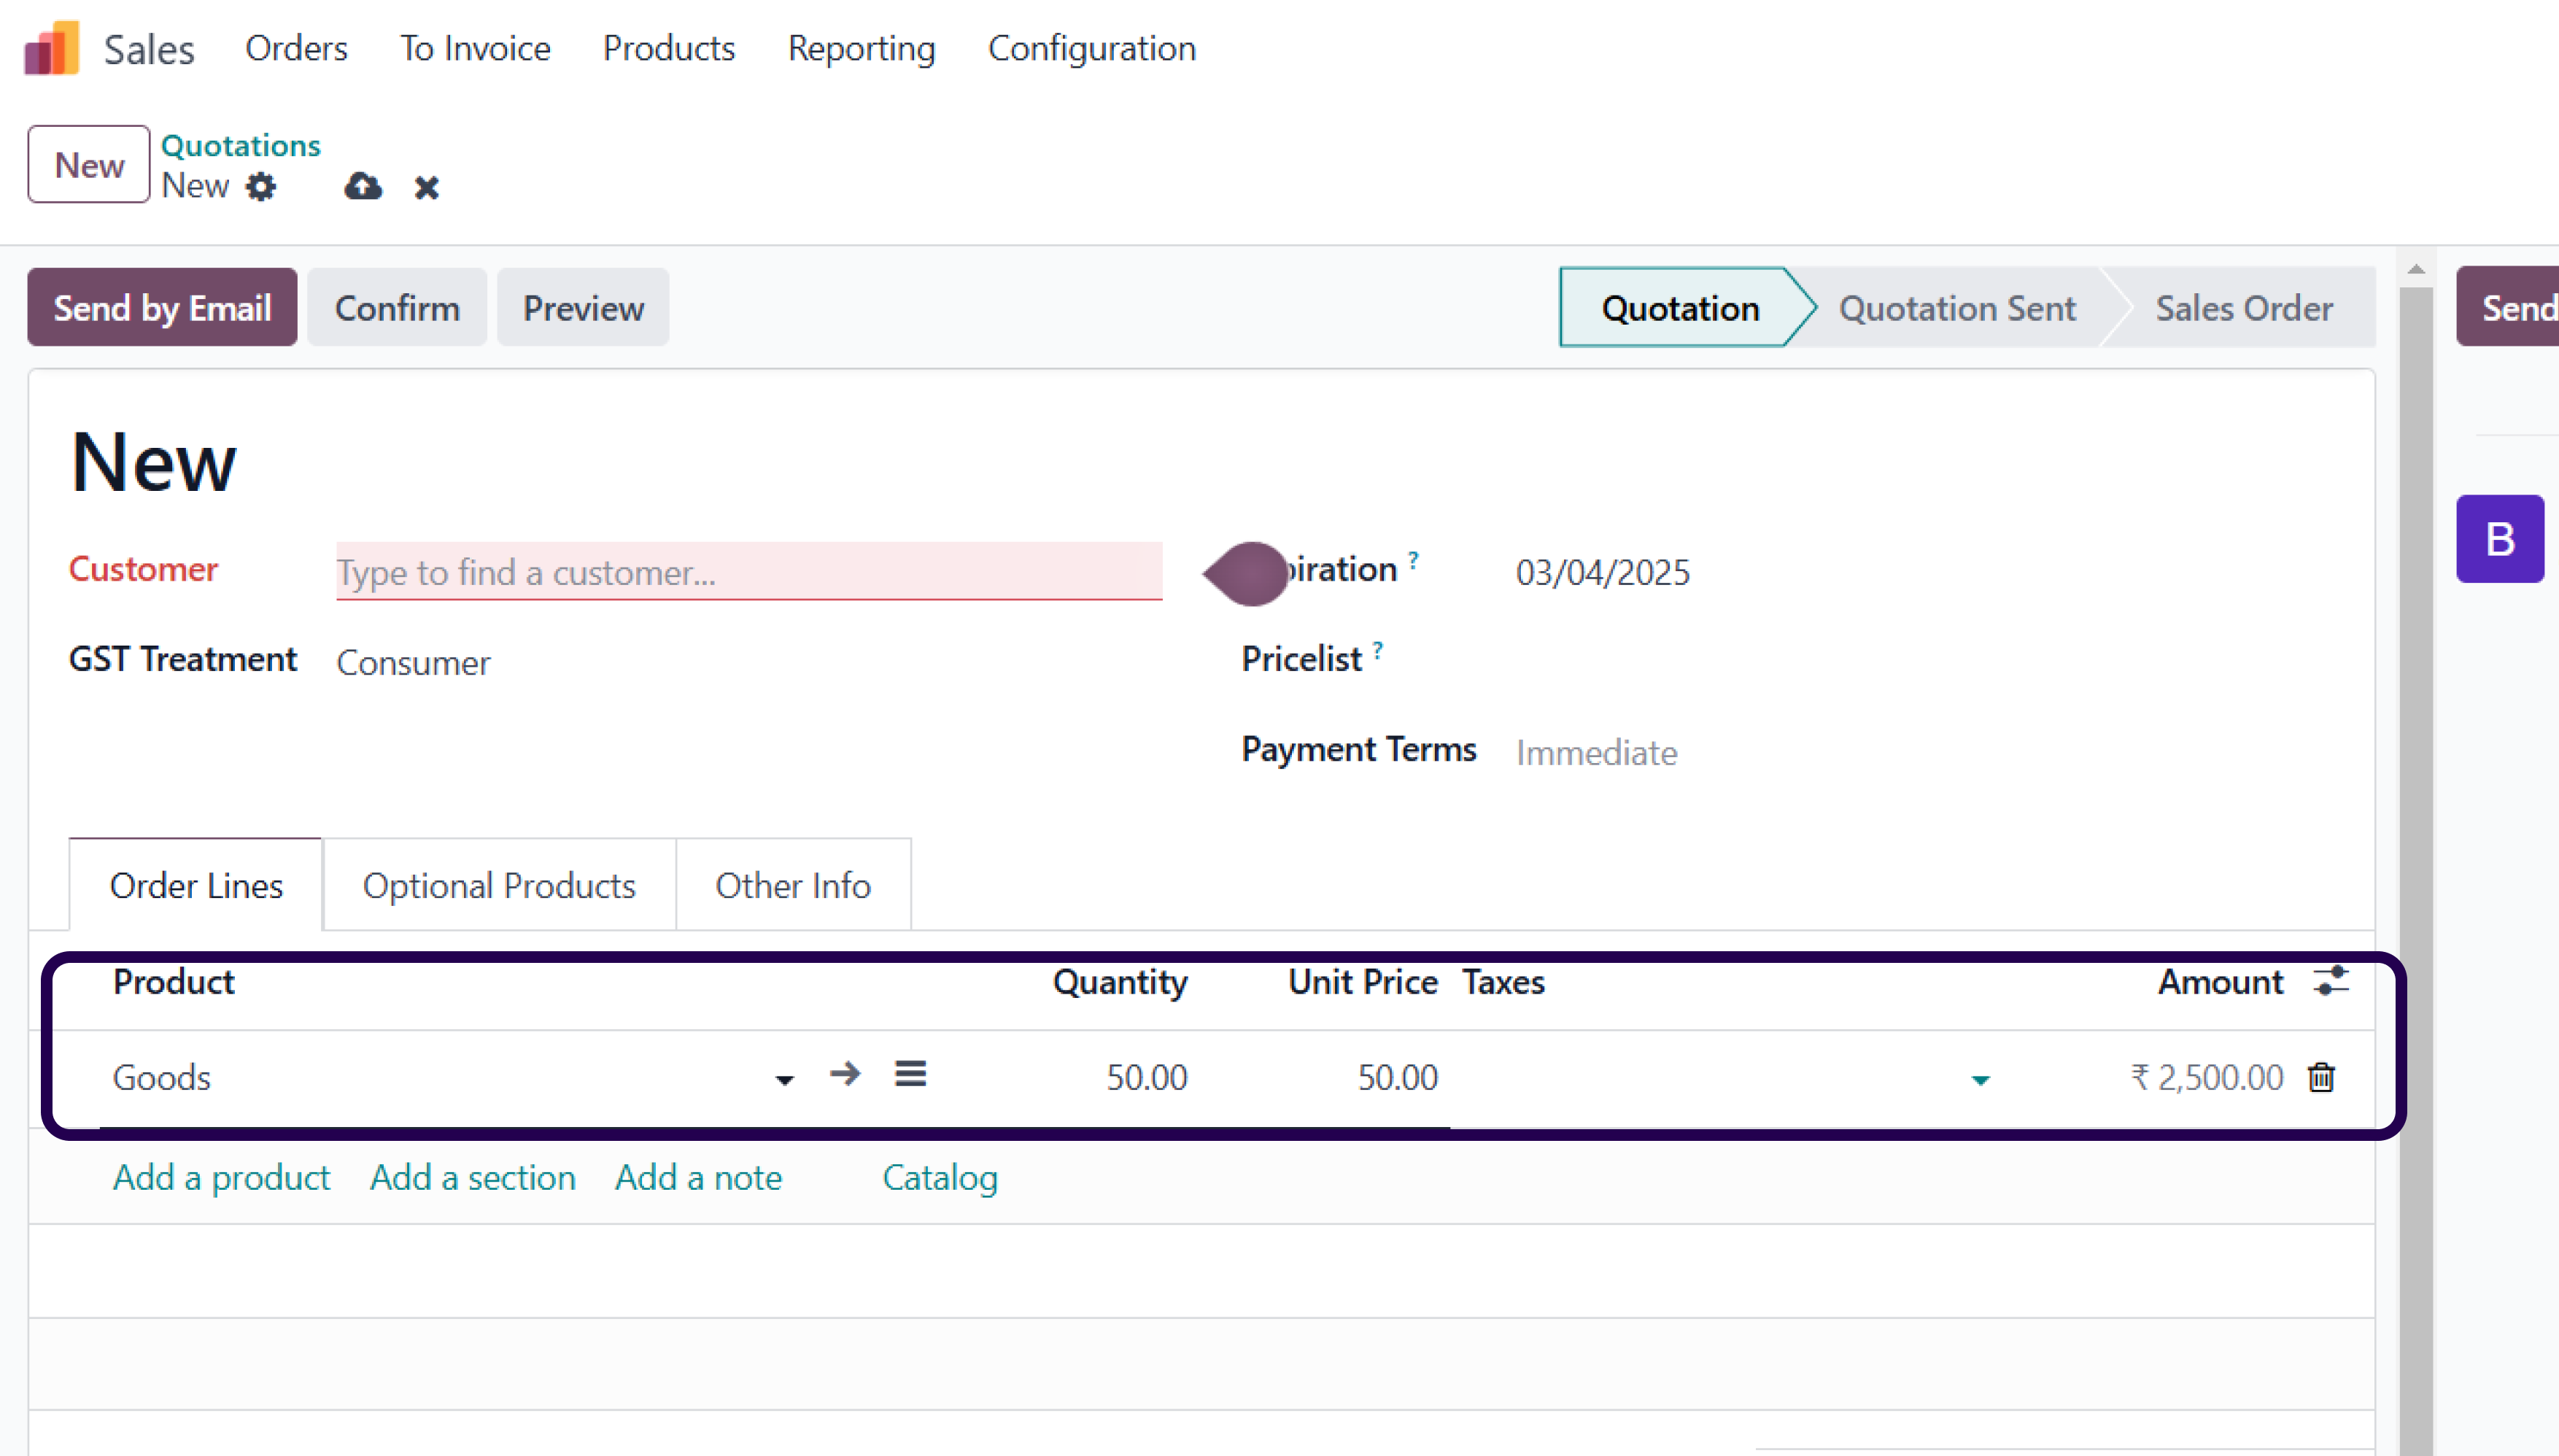
It is now time to add the specific products to move further from here. Now, here you can see the price is displayed on the basis of a formula.
- Let’s see what happen if you are selecting another customer. We will also see what is price list appears and what is applied to the product.
Step 22: Select the customer, and the pricelist has come into a public pricelist.

Suppose, you happen to select another customer, you will see that the pricelist that appears is – public pricelist.
Step 23: Add the same Product, and see the price has come $70.

Even if you add similar products along with same quantities, the price that you will see is $70.

About Author