Ways to customize Invoices in the Odoo 16 Accounting Module
Published on January 16th 2023
How to create Invoices in the Odoo 16 Accounting module
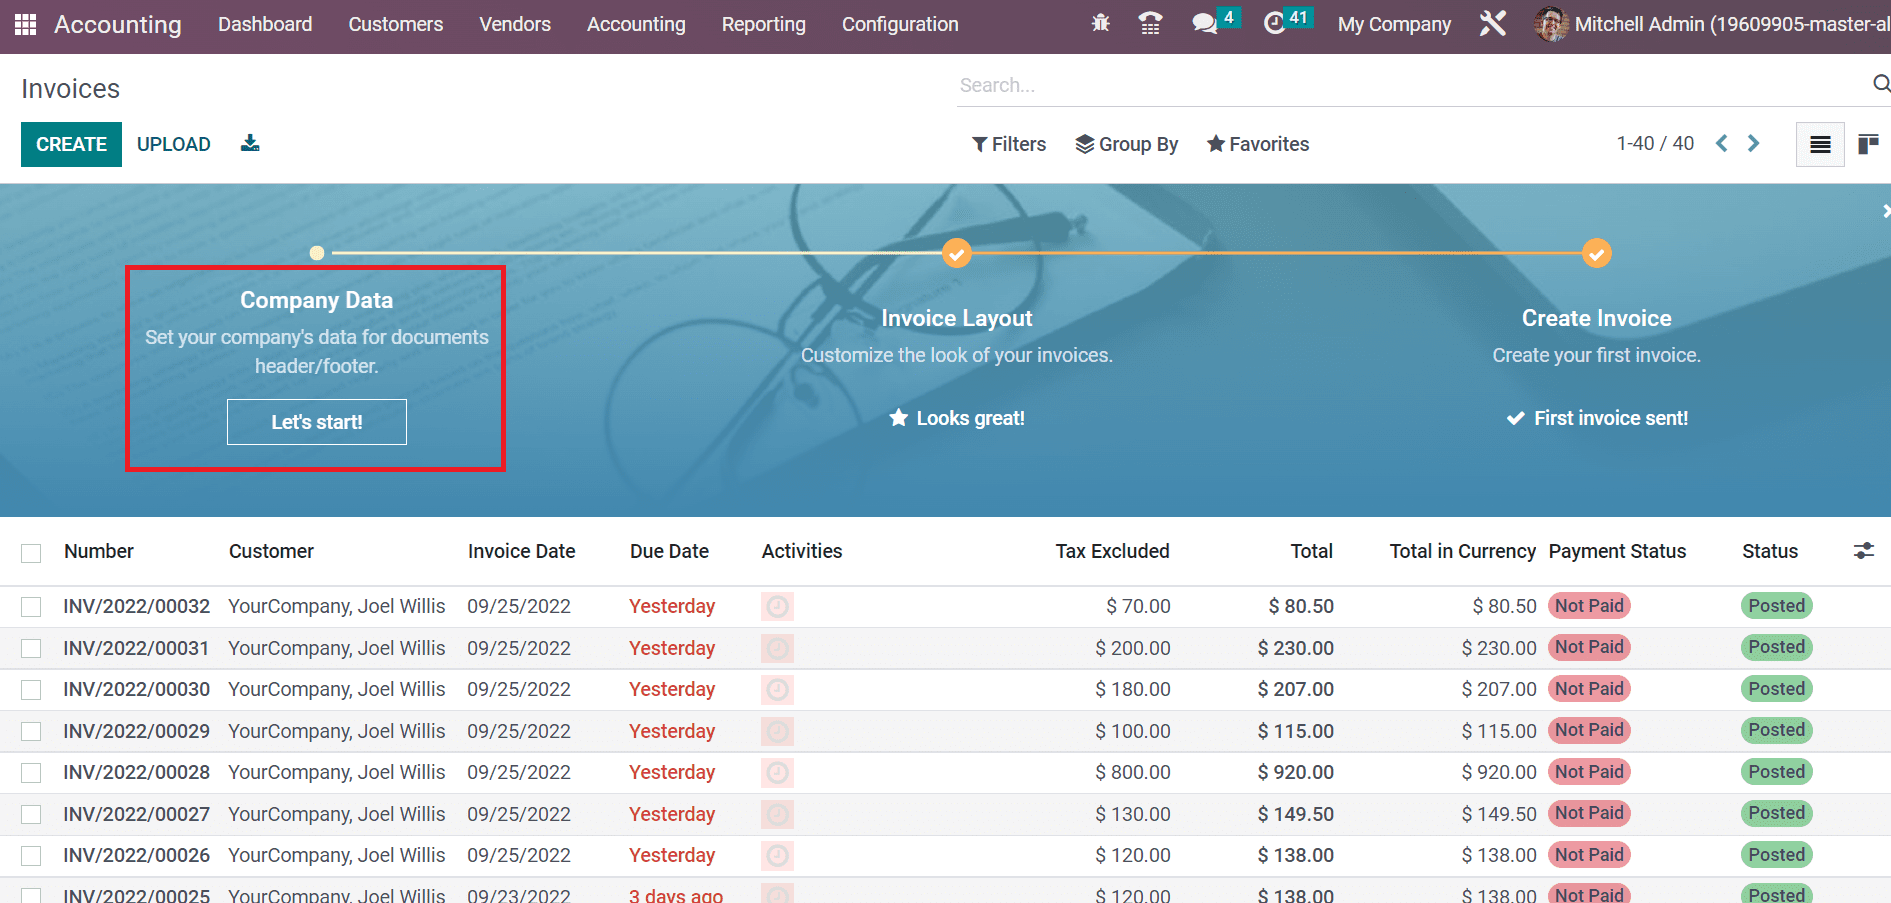
Users will find the invoice’s menu from the customers tab in Odoo 16 accounting. The invoice window consists of various features such as company data, invoice layout, and creation of invoice. With the use of company data feature, you can prepare your company data for the header or footer as shown in the below screenshot.
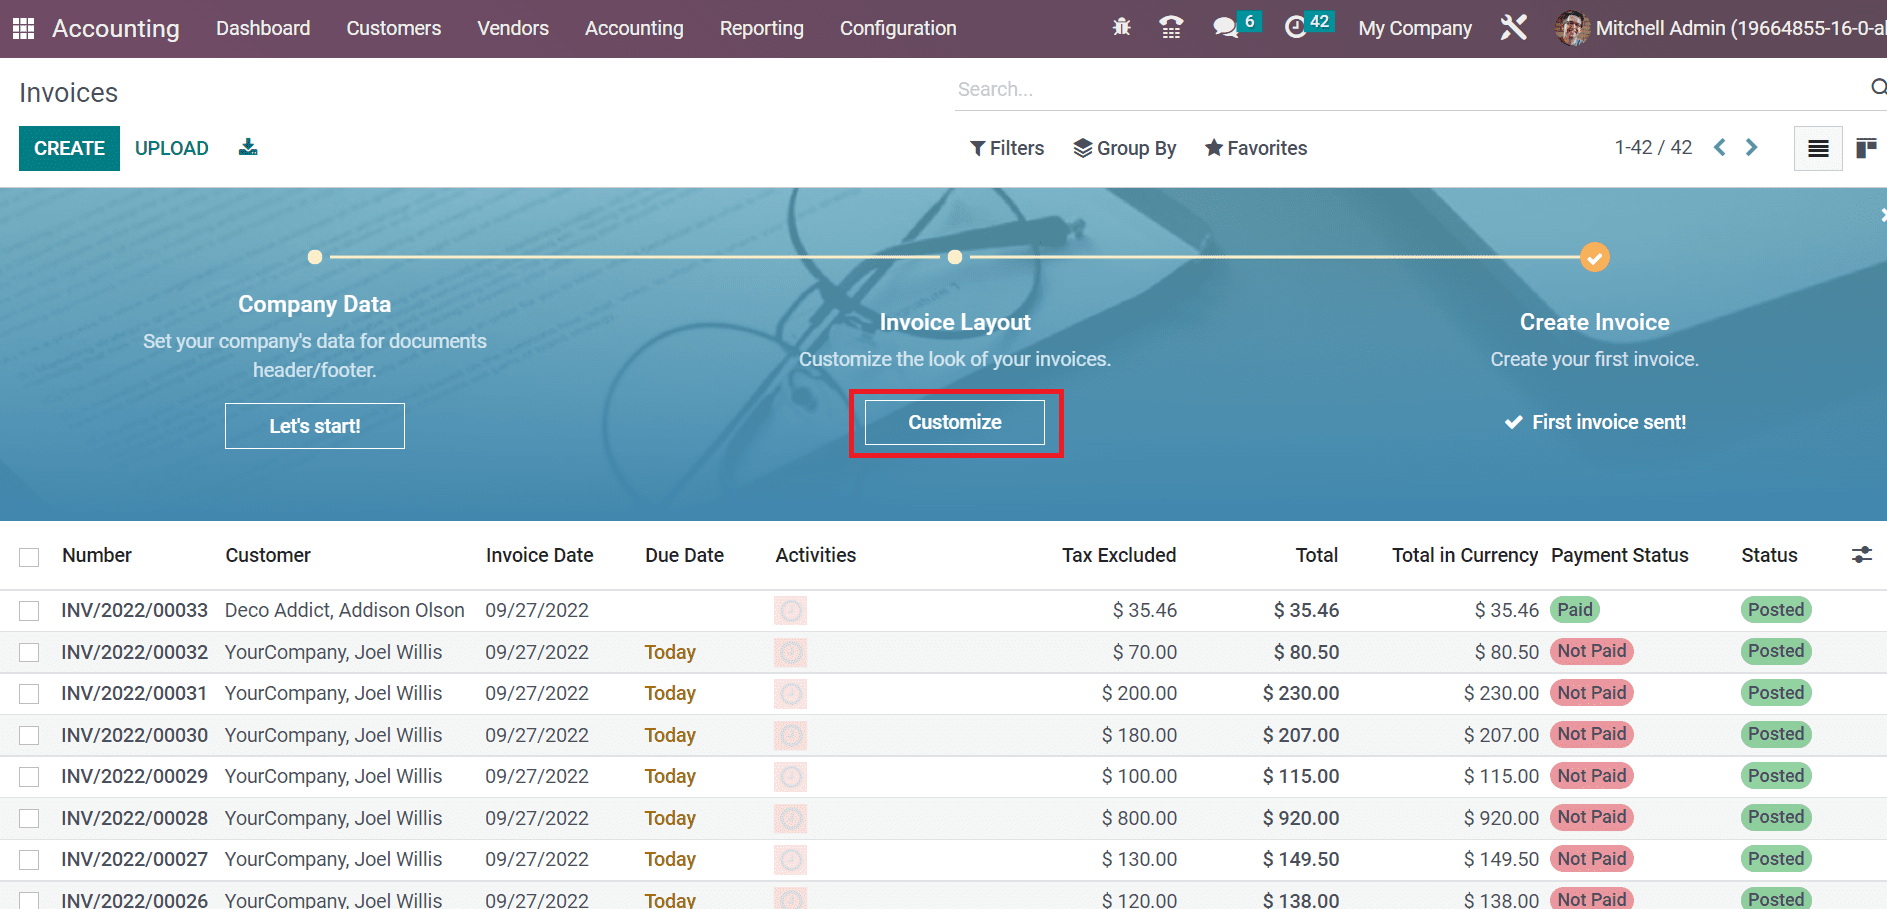
Invoice layout helps is customizing the way your invoice looks in Odoo 16. Besides this, it is also possible to set an invoice layout for creating invoices after going on to customize button.
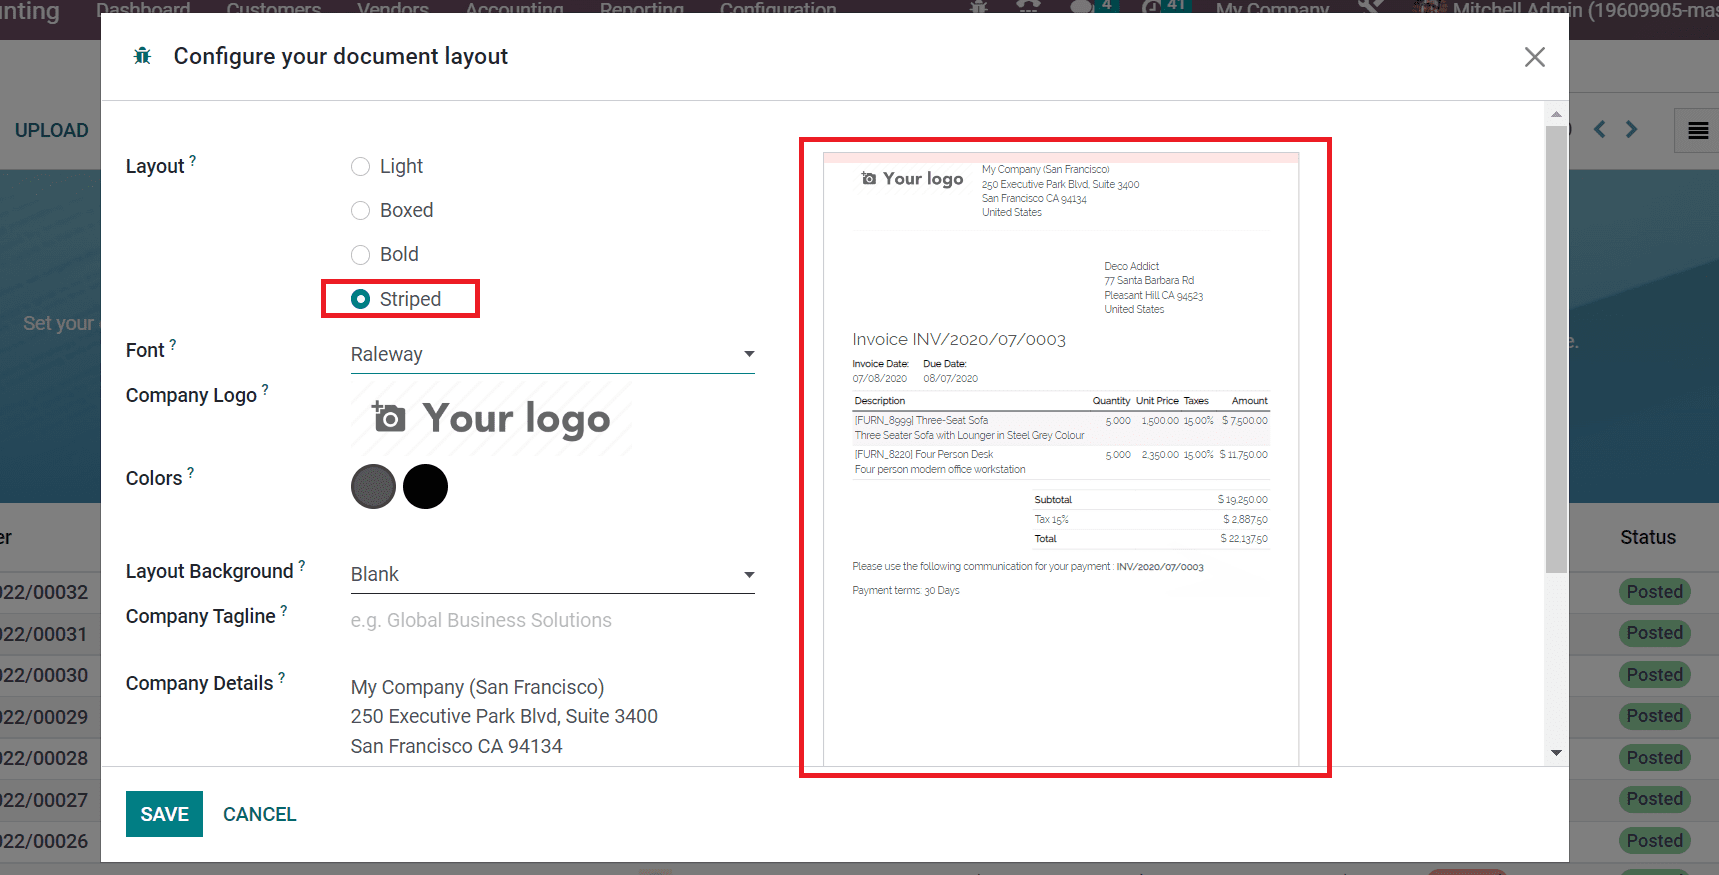
Once you click on the invoice layout feature, you will find a new window on your screen. Here, you can pick a specific layout for an invoice such as light, bold, and stripped. Suppose, you pick a striped layout, a specific feature can be seen in the preview of an invoice. It is visible in the screenshot below.
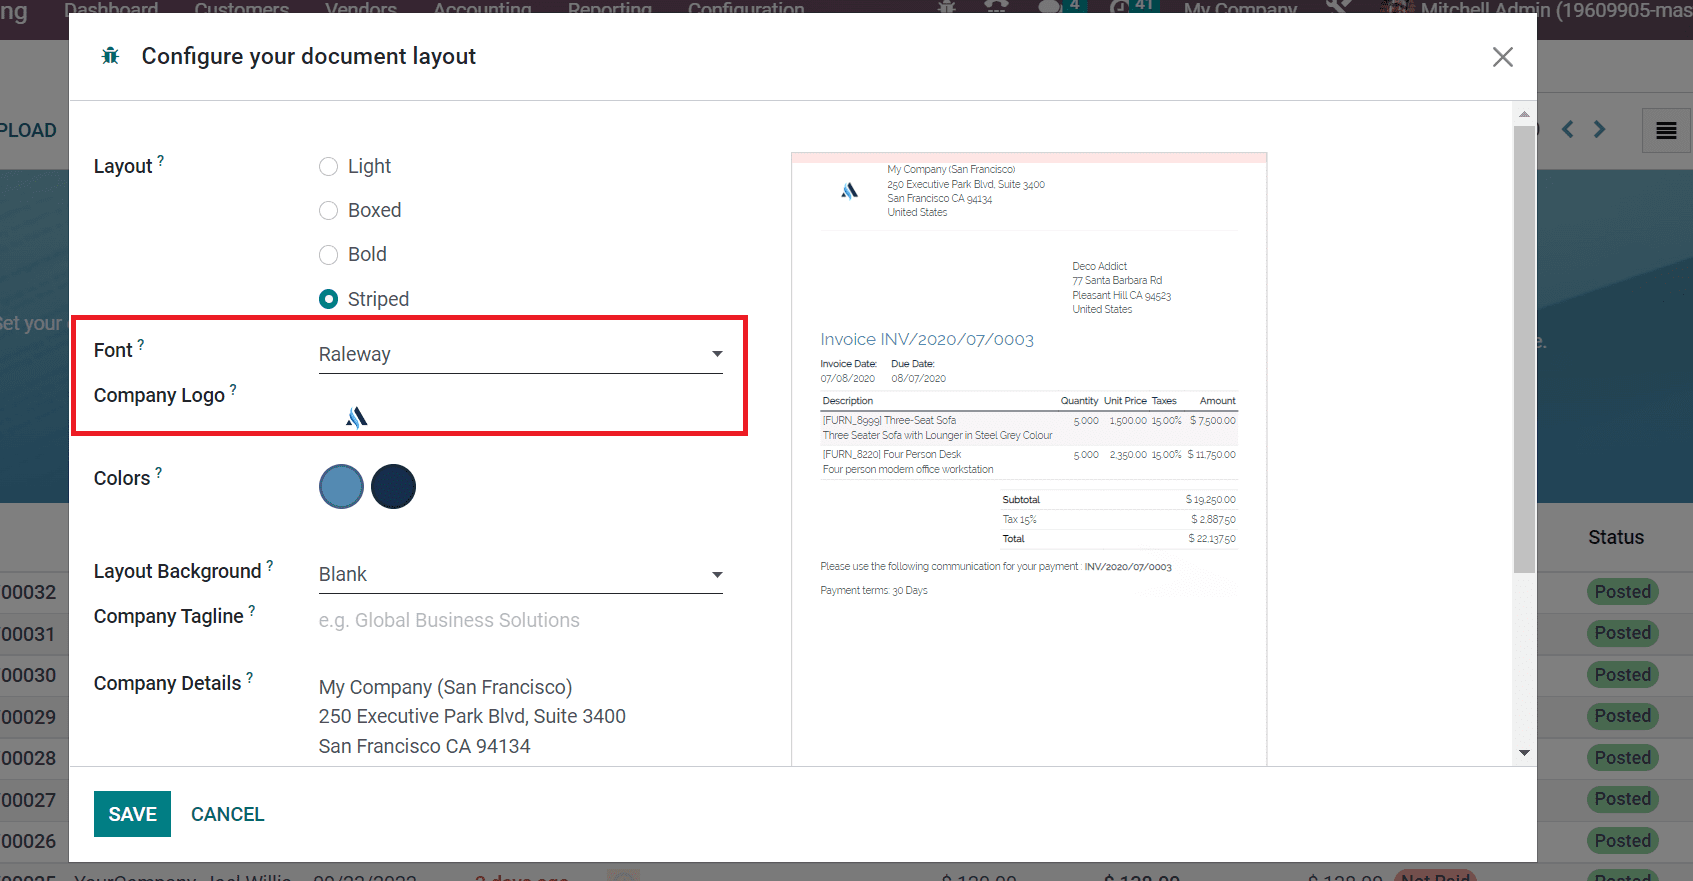
Post that, you will have to choose a specific font for the invoice. Pick your company’s logo from the company logo field as shown in the screenshot below.
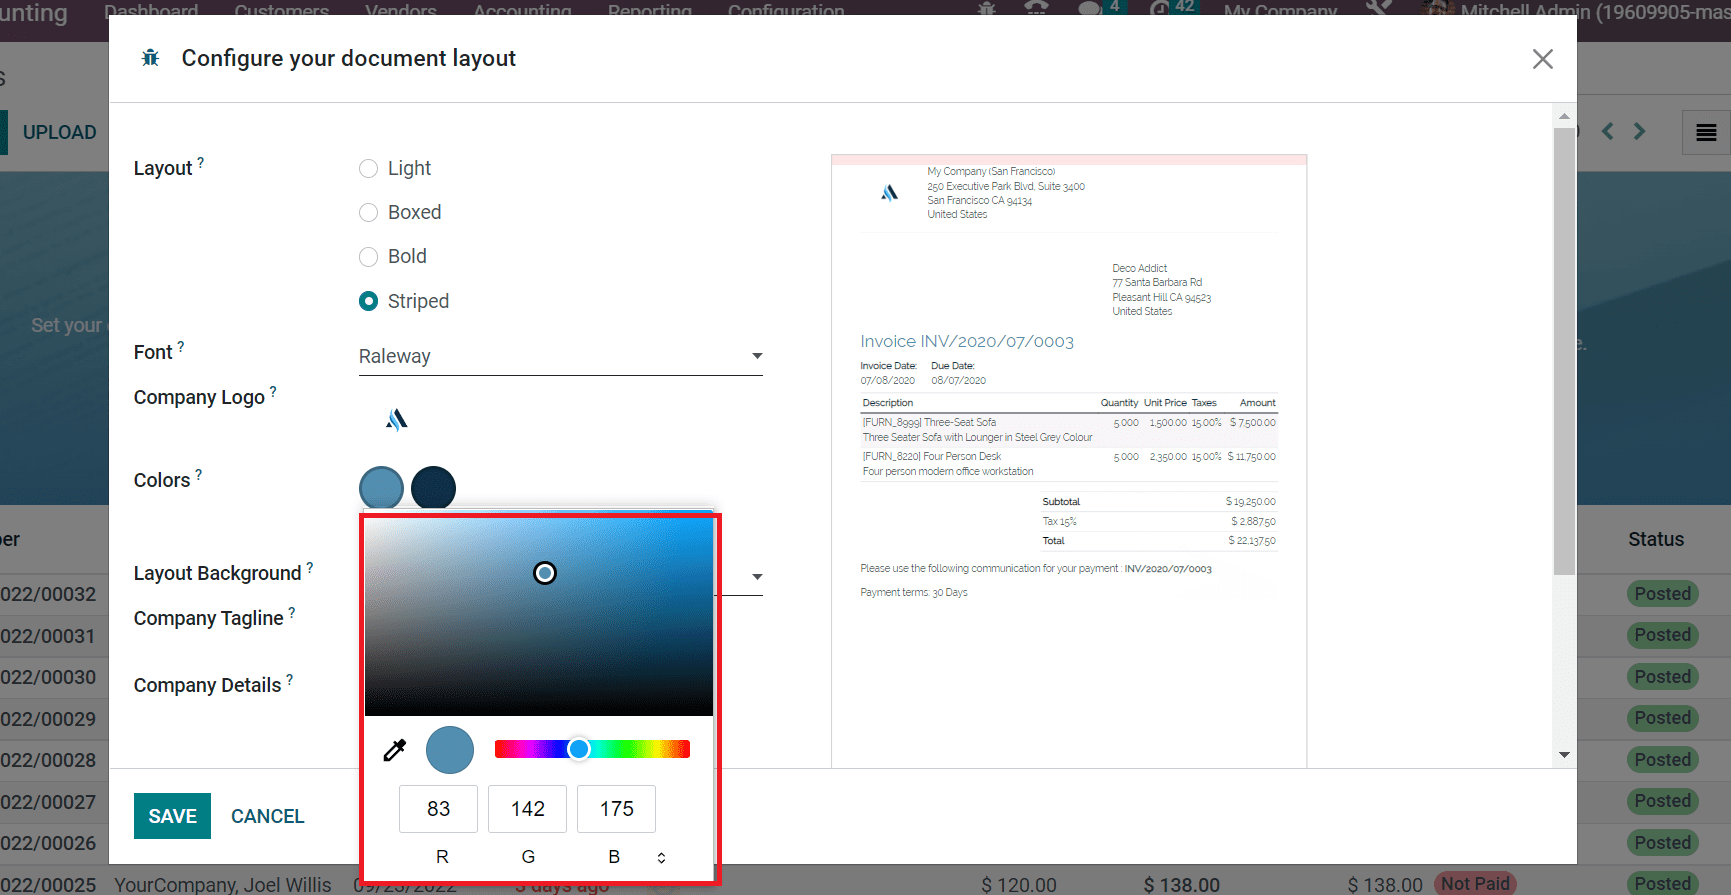
It is also possible to pick a specific colour for the invoice documents from the colours field. For picking a specific colour, you will have to click on the circle icon. Pick the colour of your choice, as showcased in the screenshot.
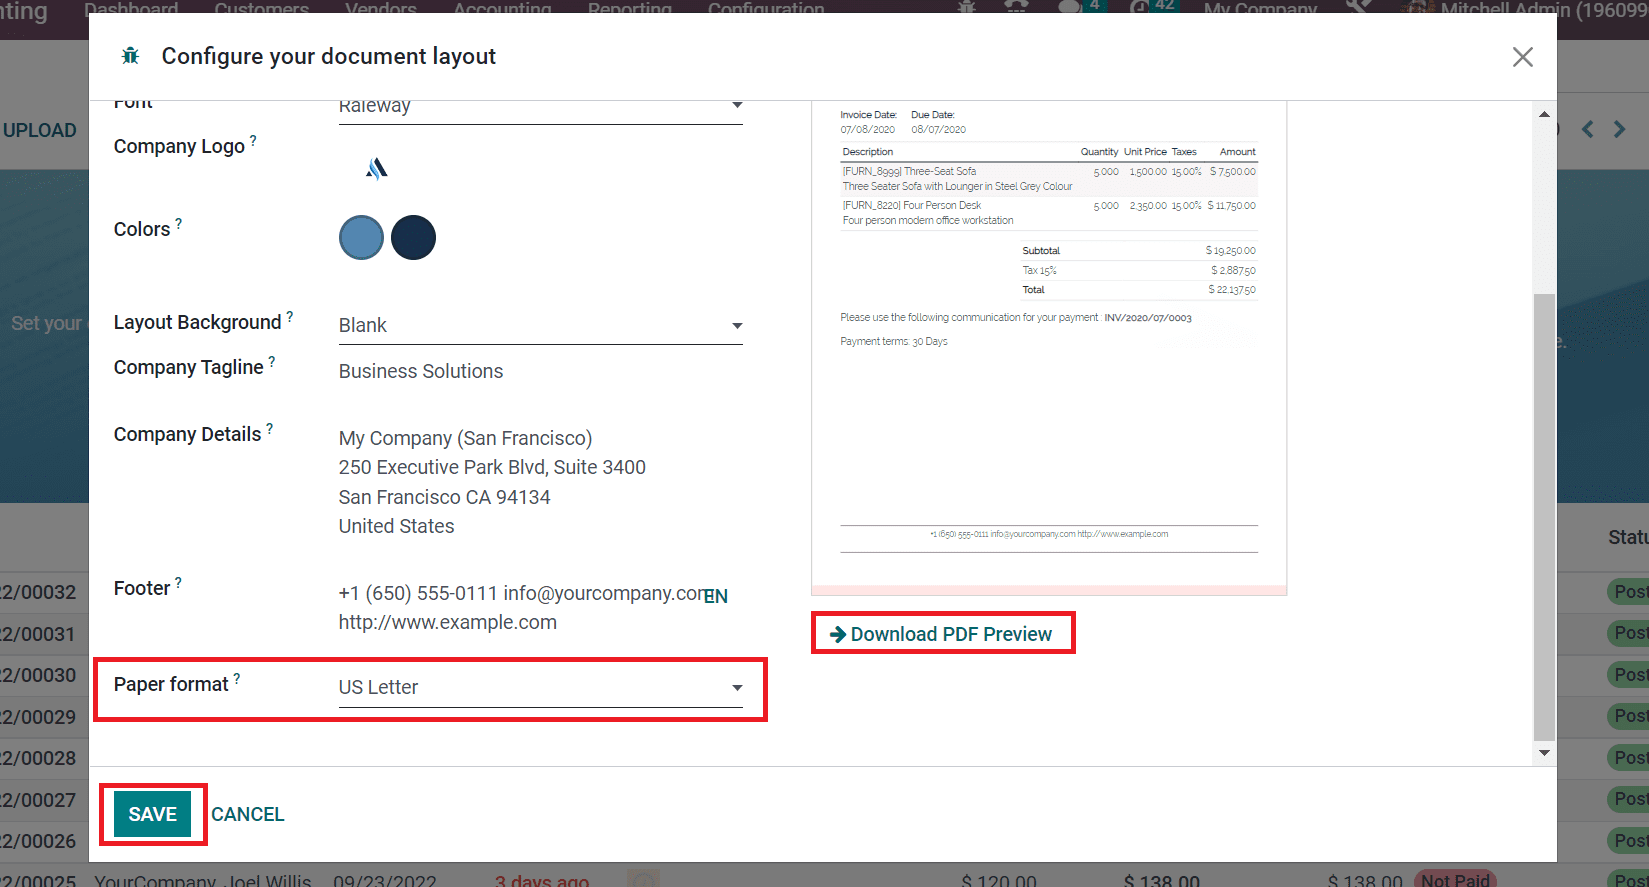
Now, it is time to pick the layout background for your invoice document. Set a company tag line as shown in the top right corner of the screen. You can also find another important information about your company in the Company Details field as shown in the screenshot below.
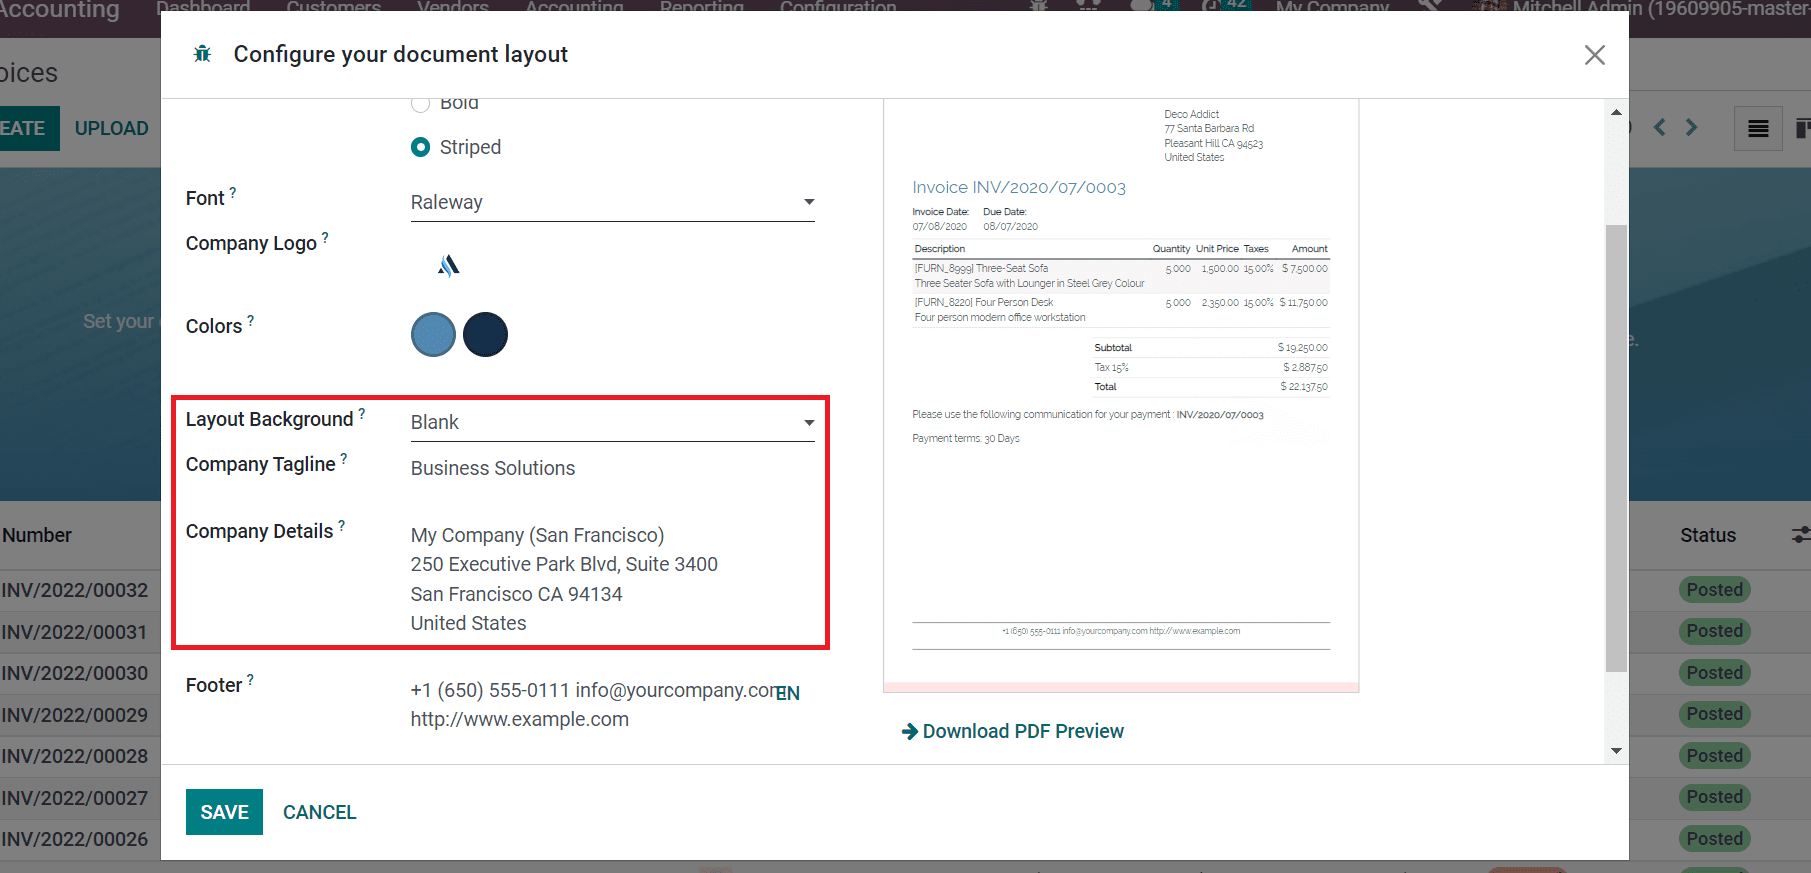
Here, users have the option to download a preview of the invoice document by clicking on the Download PDF Preview option. Apply the paper format on your invoice document as US letter and click on the save button.
Here, it is quite easy to create a document layout for a specific invoice in Odoo 16 accounting. A user can access all the records of created invoices from the invoices window. It showcases various important details like Invoice Date, Due Date, Number, etc. Now, we will show you the process of developing a new invoice for a customer in Odoo 16.
Steps To Create a Customer Invoice in Odoo 16
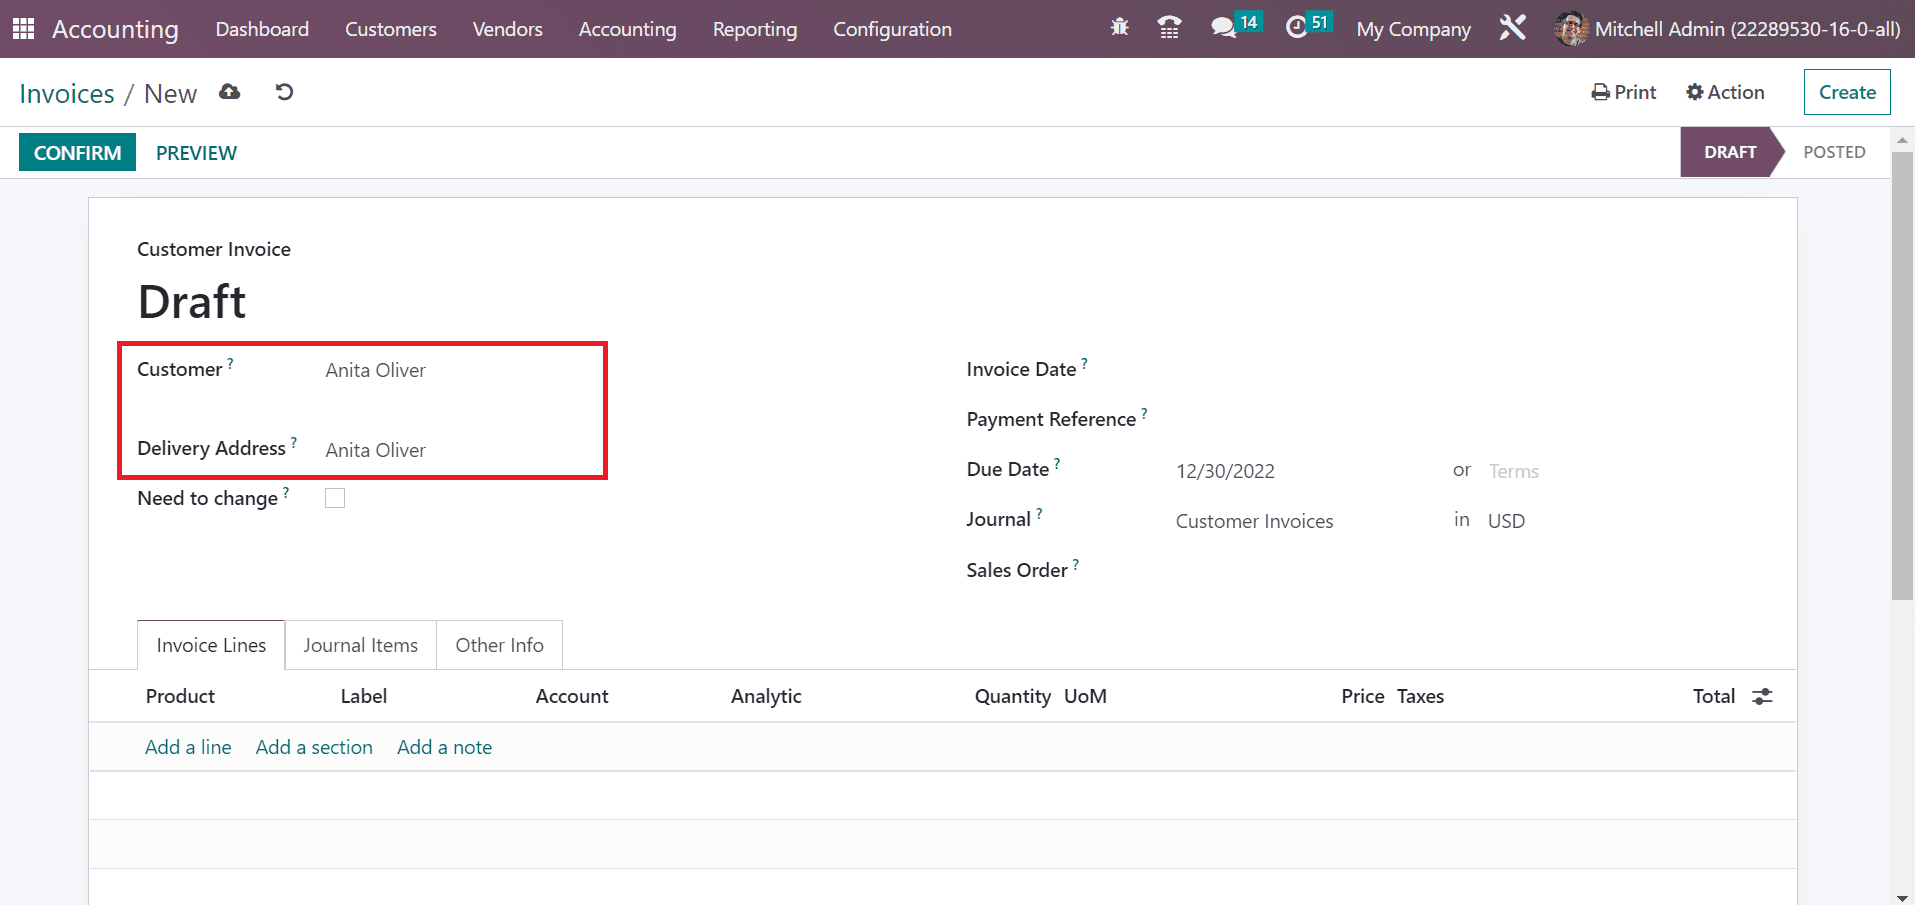
To create a new customer invoice, first you will have to click on the invoice's menu in the customers tab. After that, click on the create button visible on the invoices window for creating a new customer invoice. As the open screen appears, put in your customer name and the delivery address will automatically be added to the invoice.
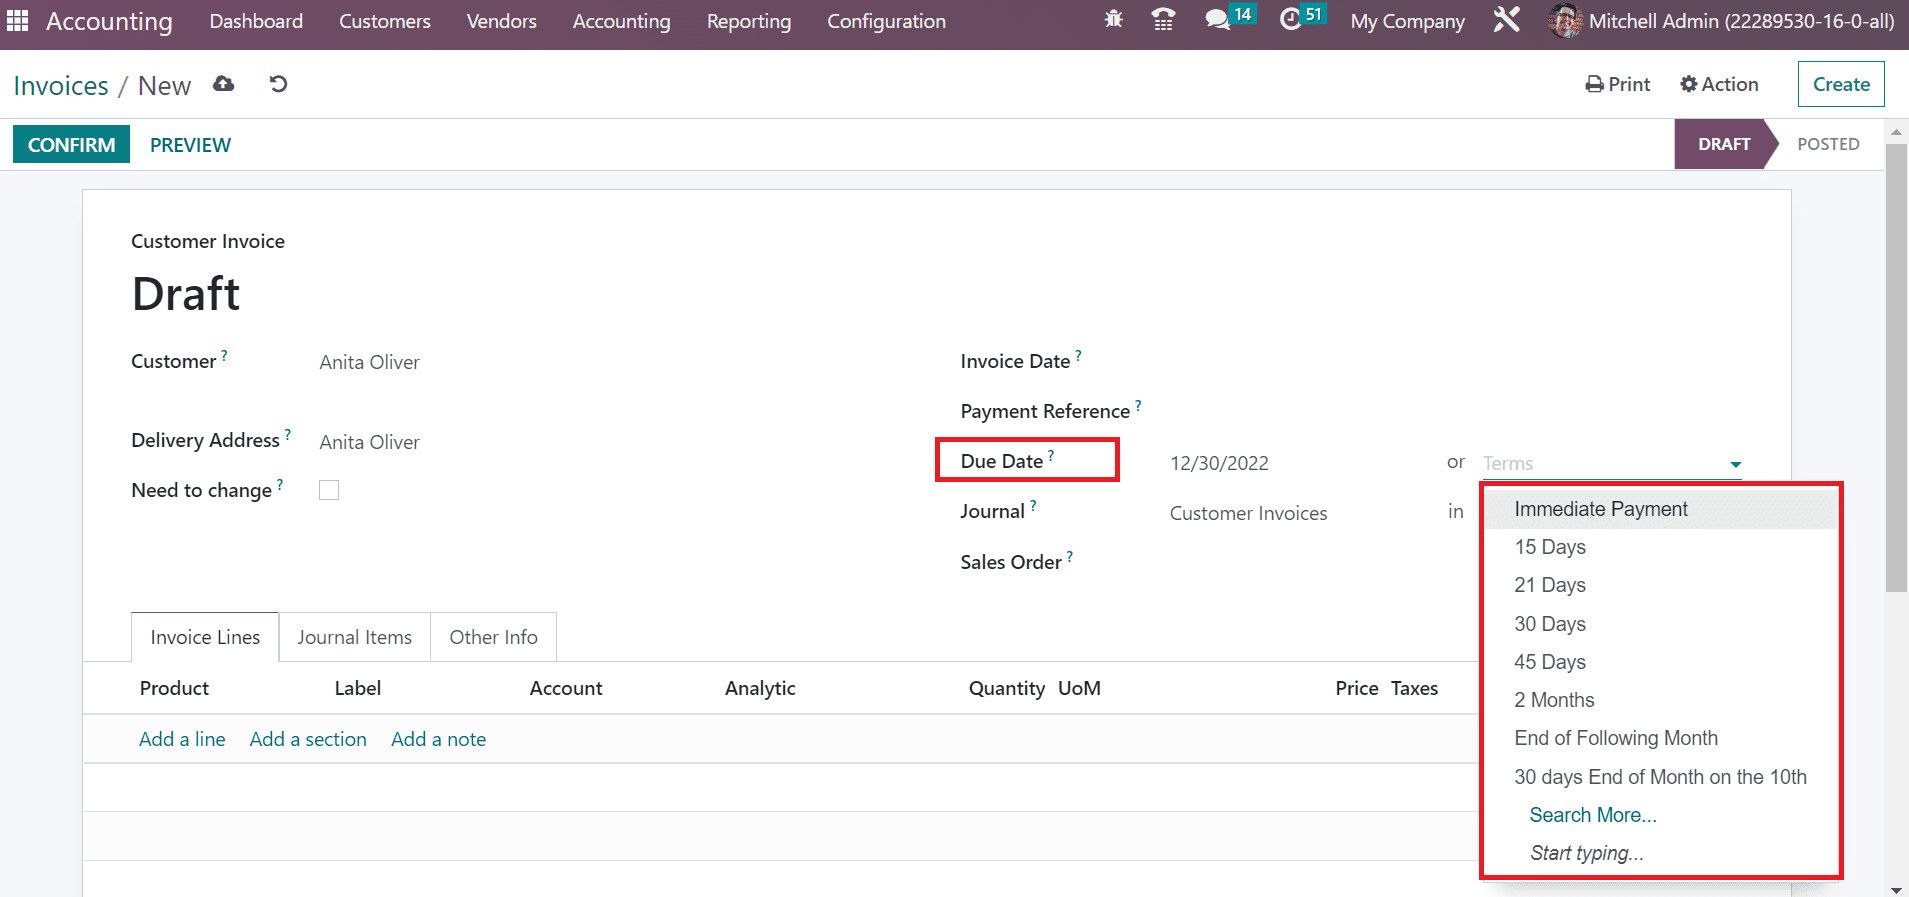
Here, you have the option to pick a specific end date or specific terms relating to the invoice payment in the Due Date field. Once, you click on the terms, you will find various options on the screen such as immediate payment, 15 days, or two months.
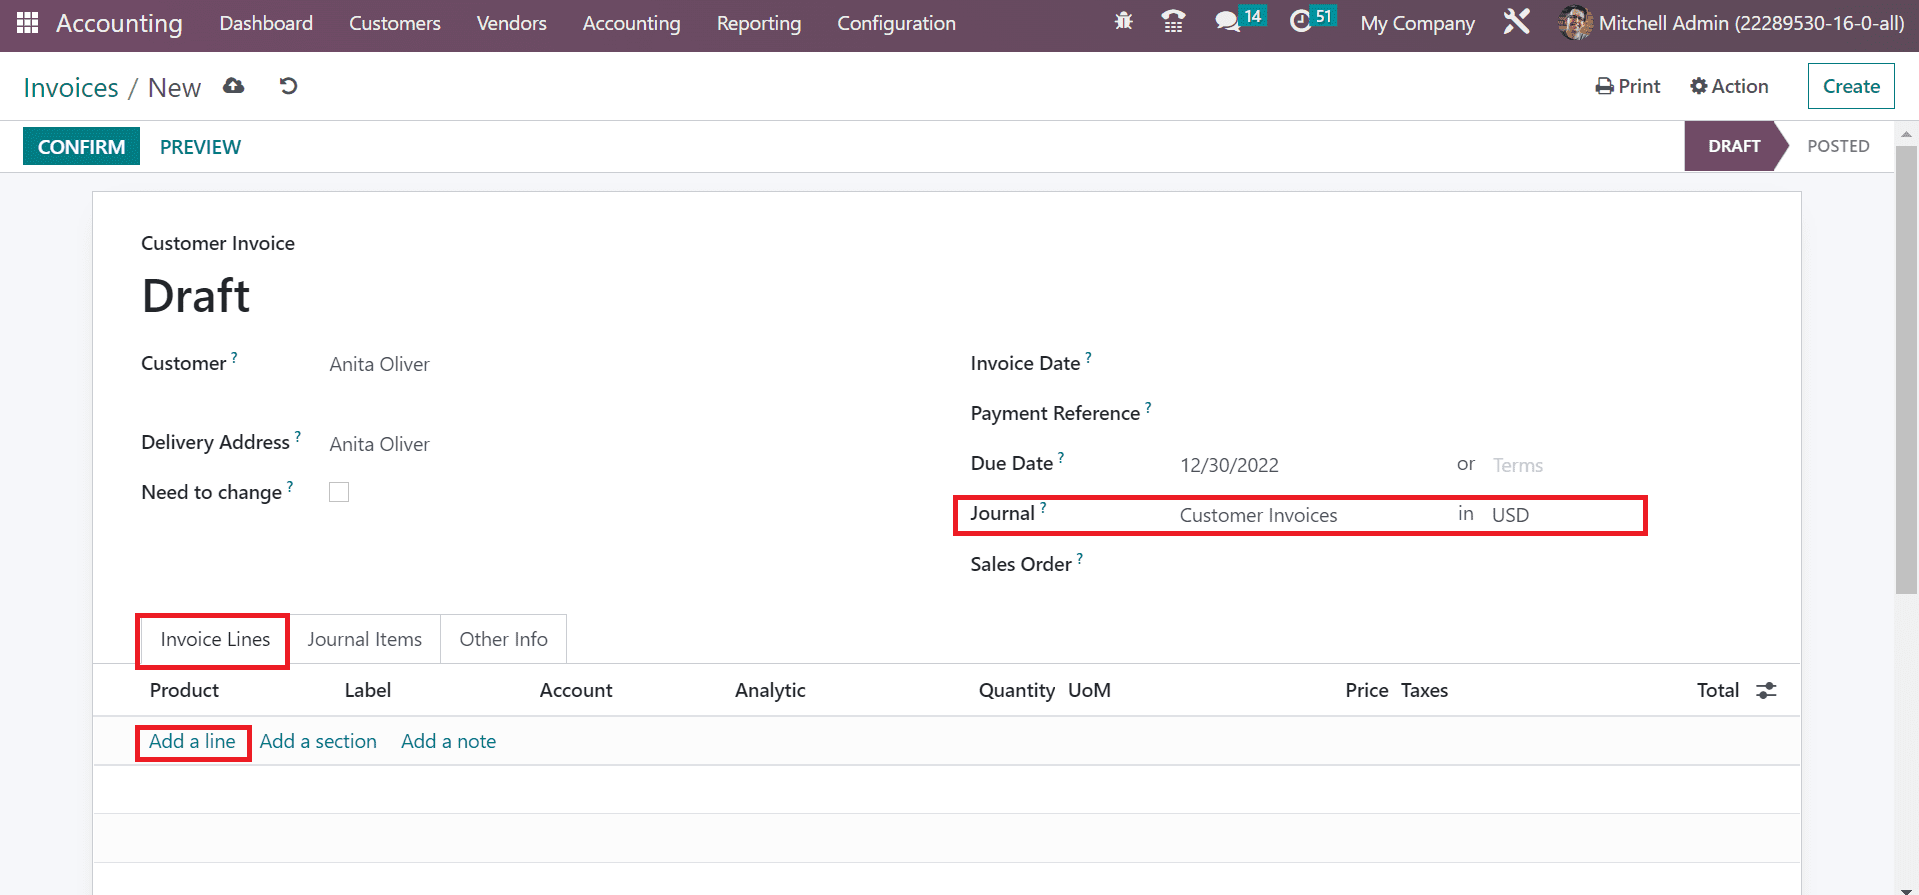
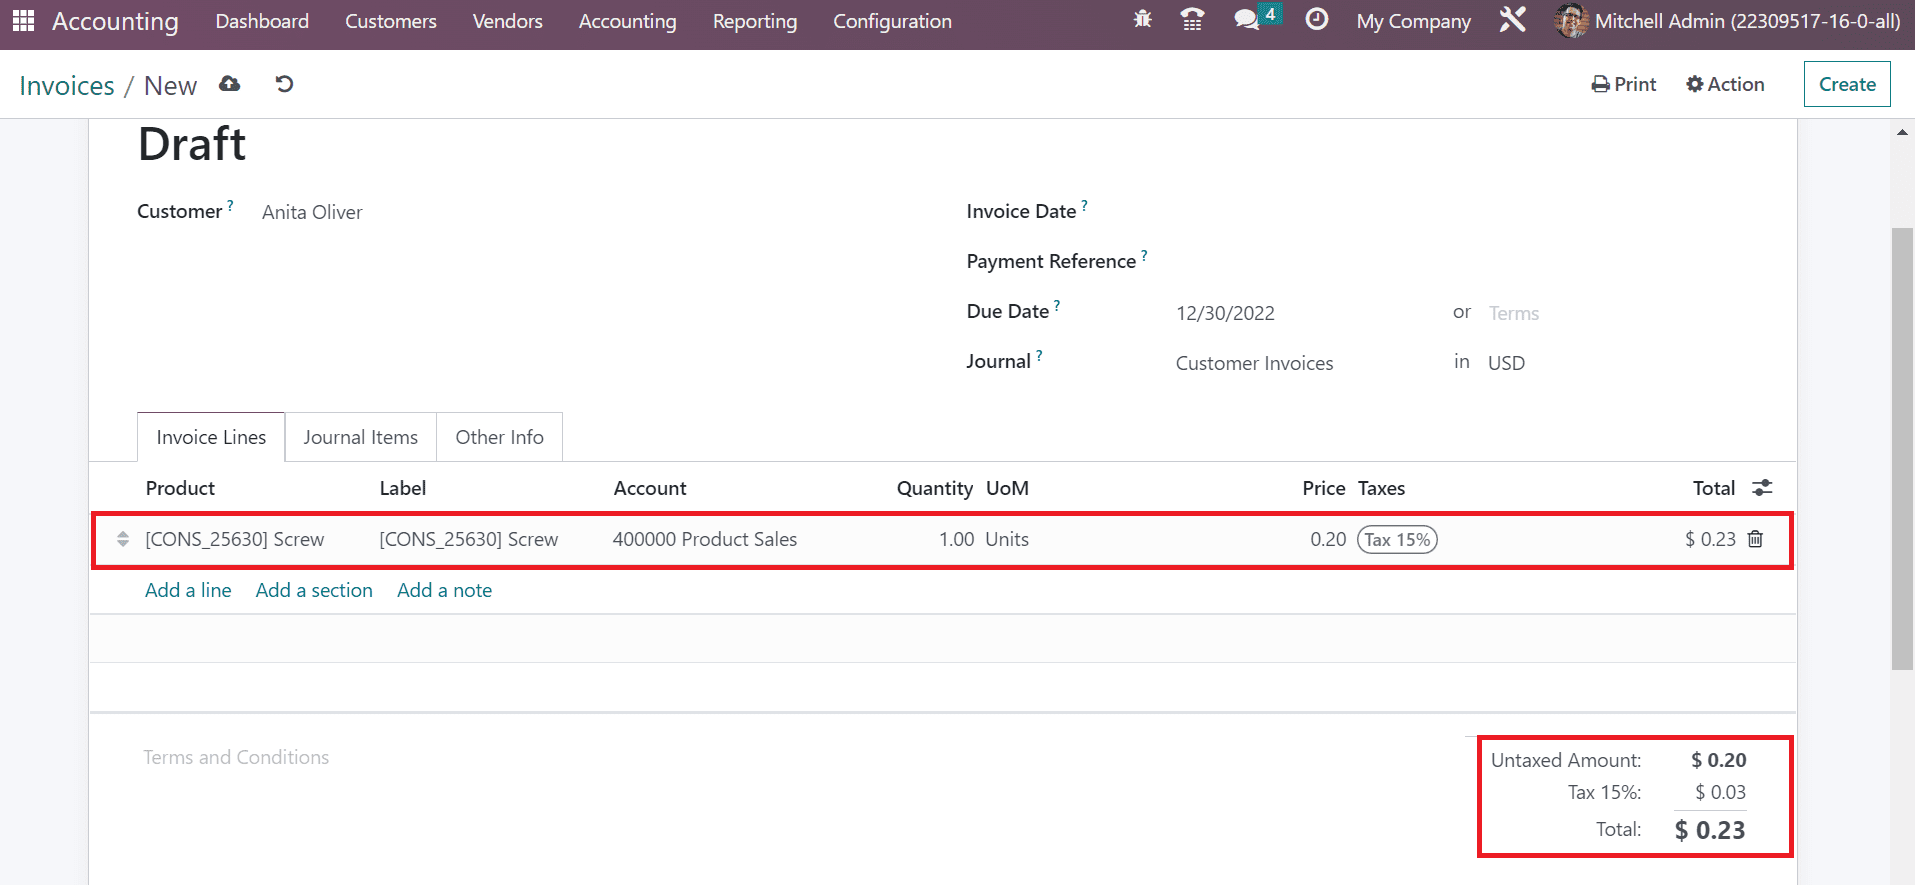
Once you have set the Due Date, it is time to select your journal and specific currency in the journal section. Here, users can put in product information by picking the Add a line option as shown in the screenshot below.
Here, we have picked only one quantity of screw beneath the invoices line tab. The total amount can be seen on the right end.
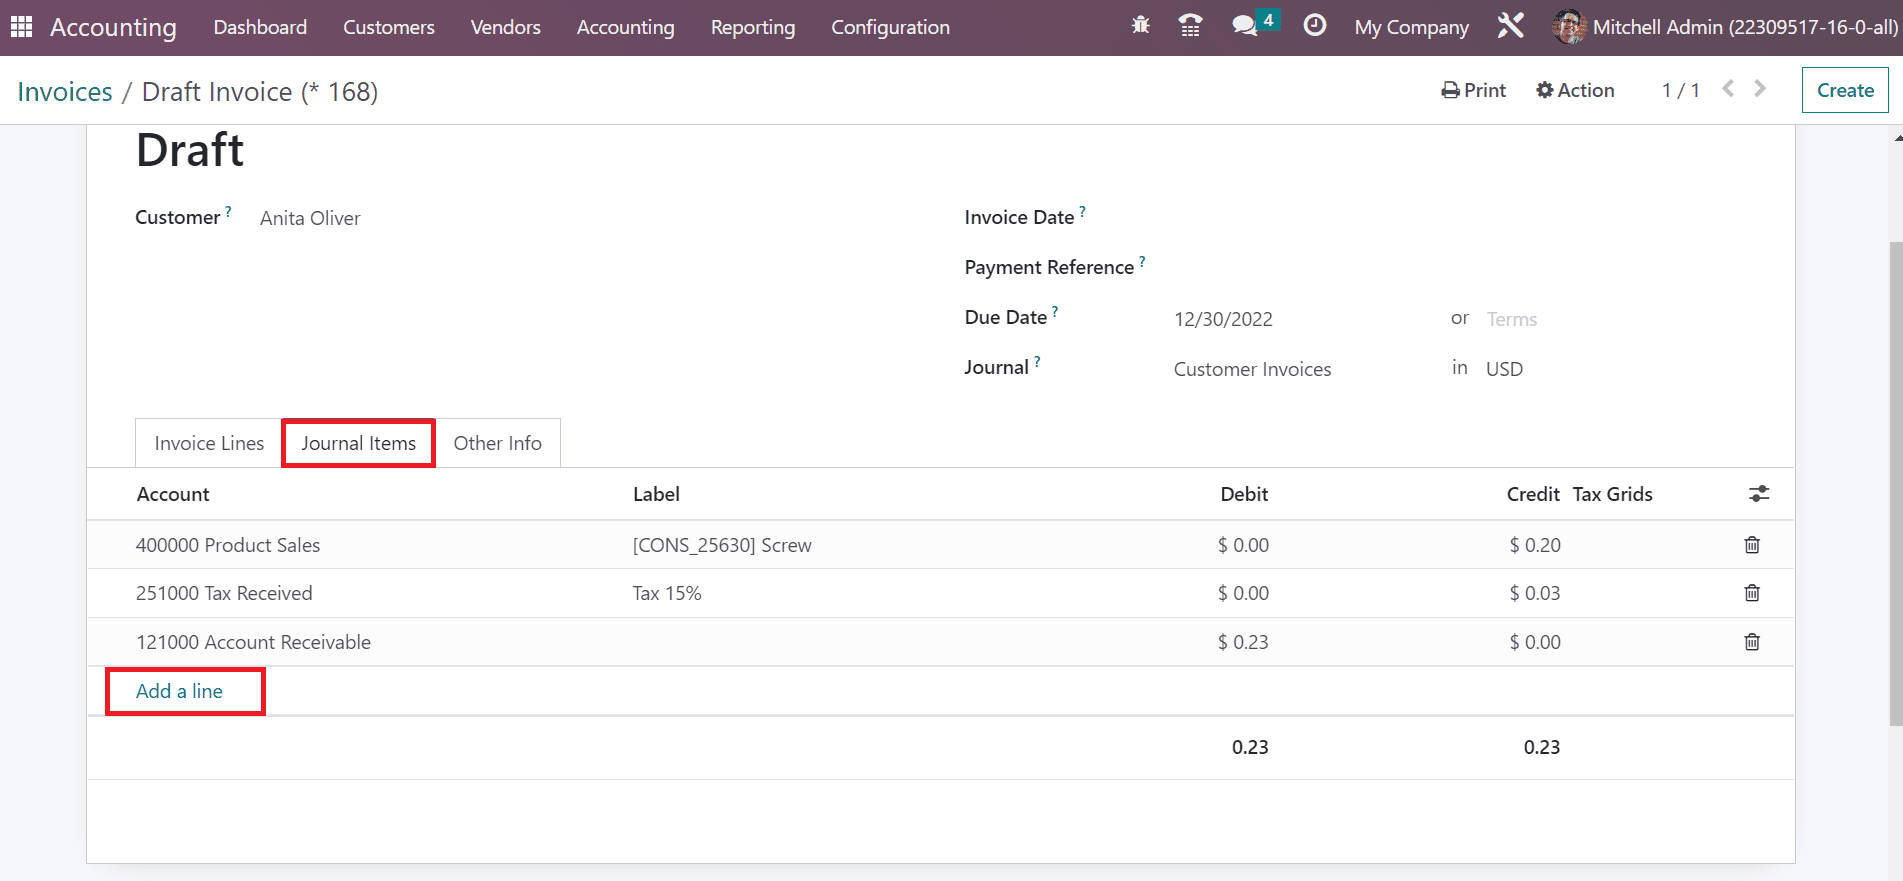
In Odoo 16 accounting module, users get the access to several important details related to selected products inside the Journal Items tab. This journal tab consists of various items like debit, account, label, etc. Go to Add a line option for adding a new journal item regarding the invoiced product.
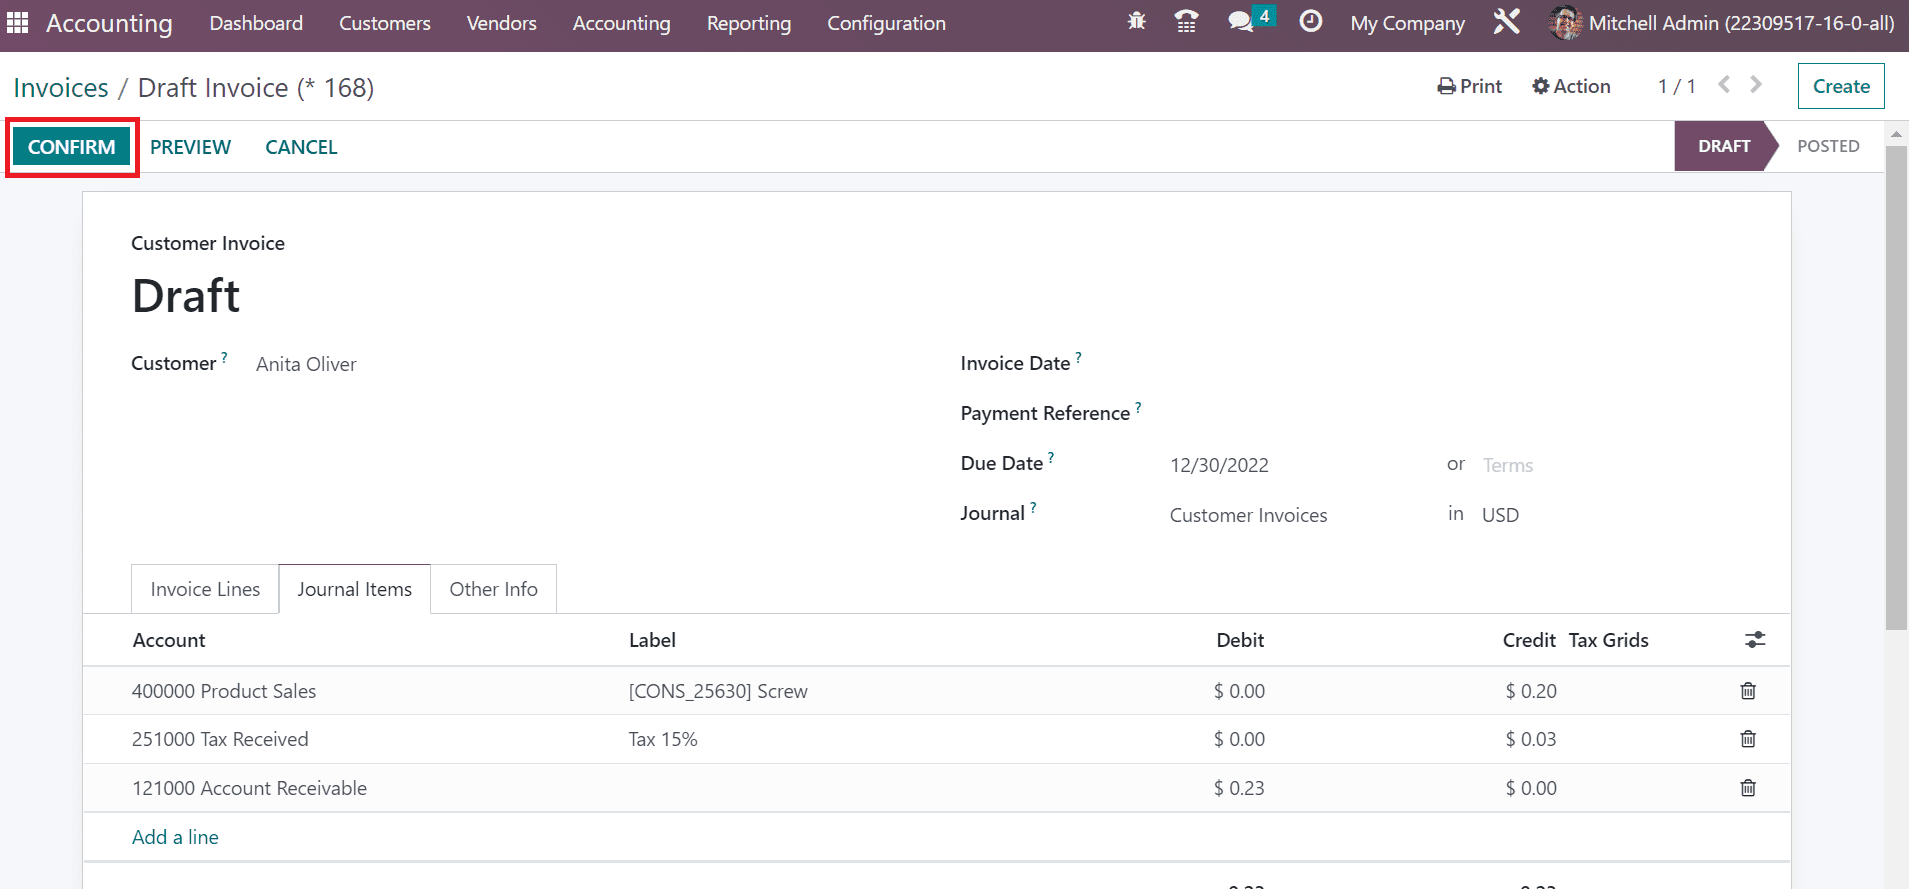
Once, you have applied all the necessary data for the invoice, it is now time to click on the Confirm button in the draft invoice.
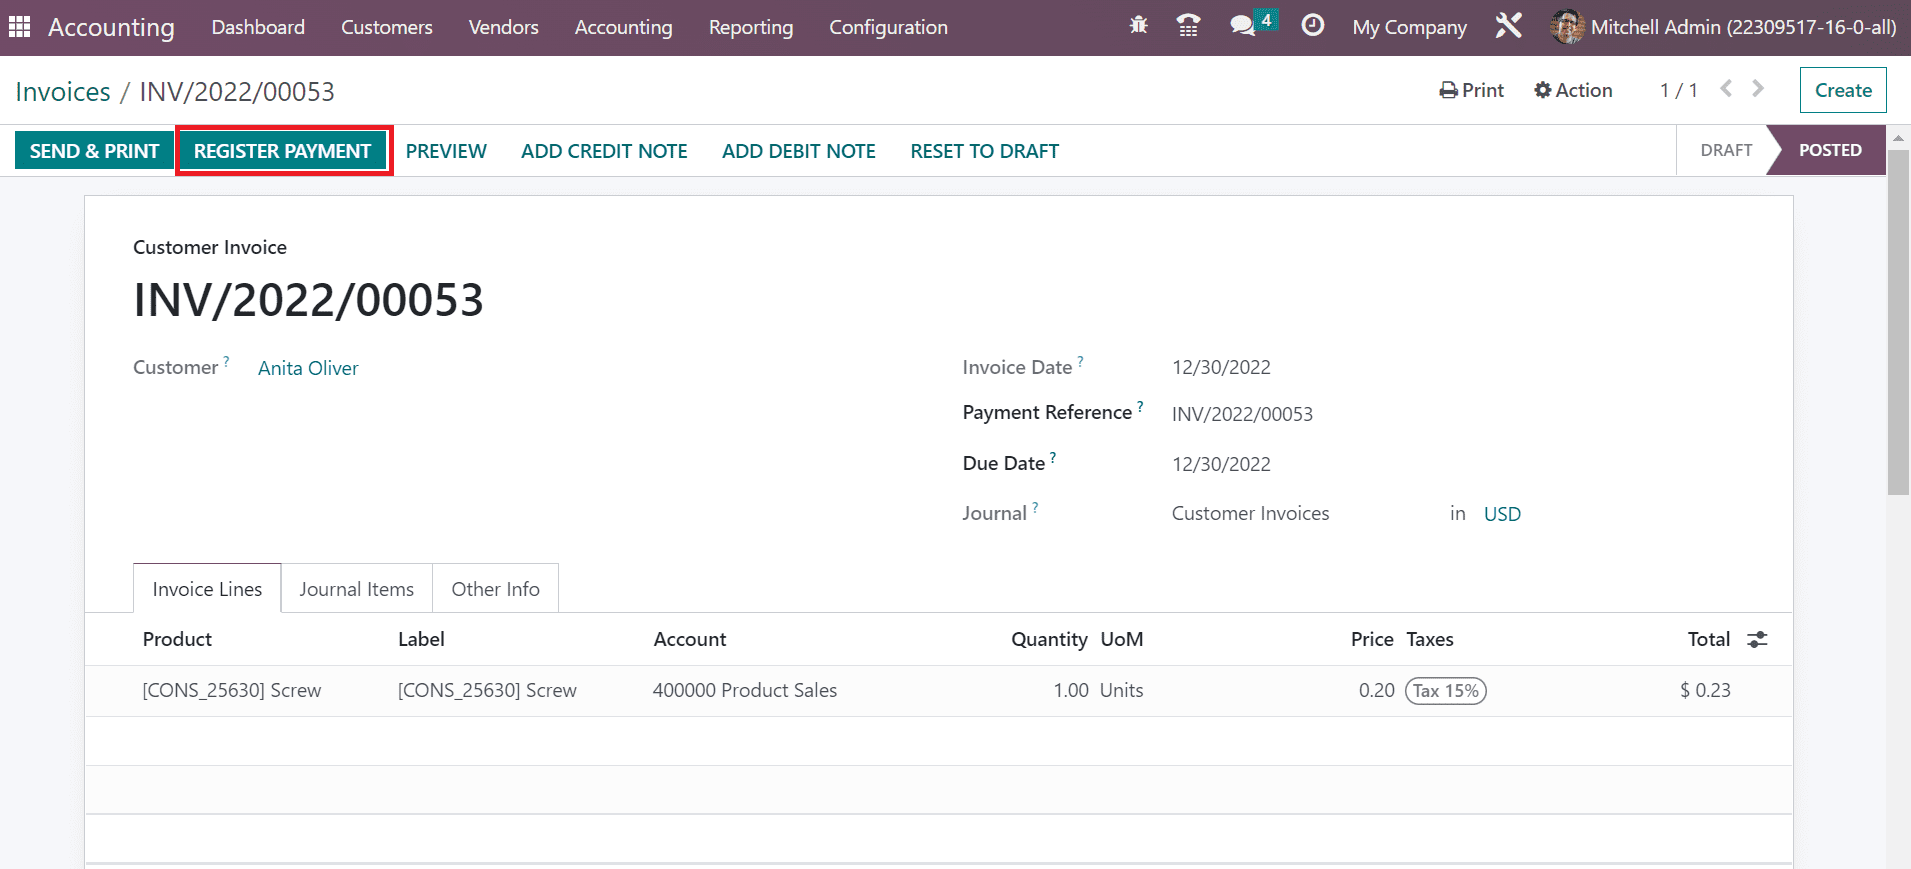
Once you get the confirmation, your invoice draft will change its status to post. You can now move forward by clicking on the Register Payment icon, as showcased in the screenshot below.
After being redirected to the Register Payment window, pick a specific journal. Post that, choose a transaction method for invoicing in the Payment Method field.
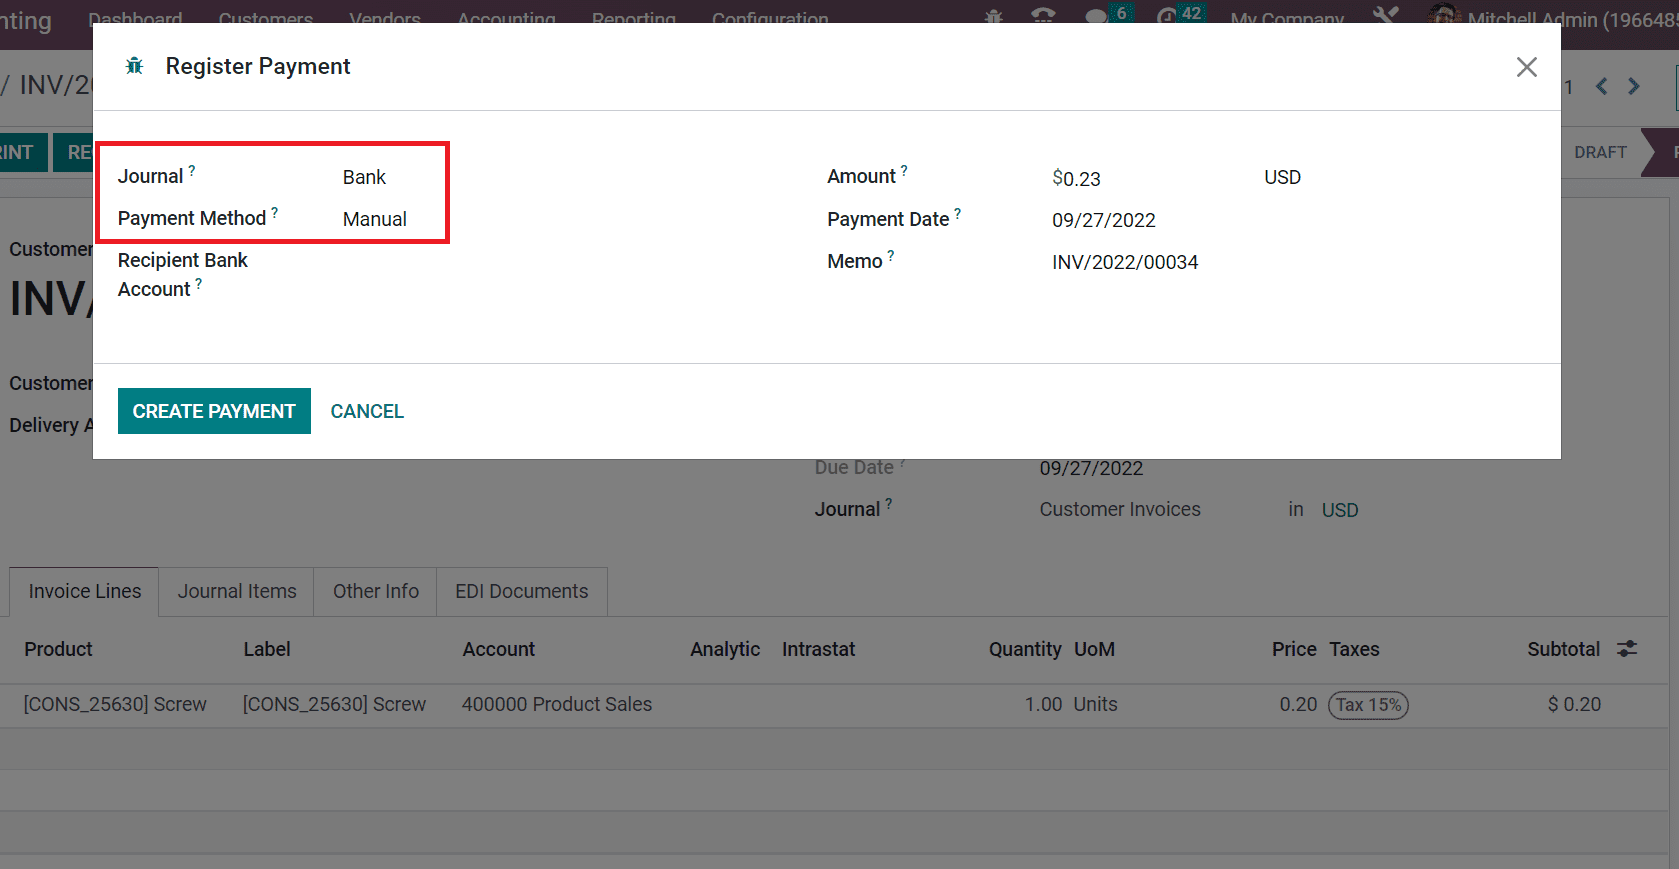
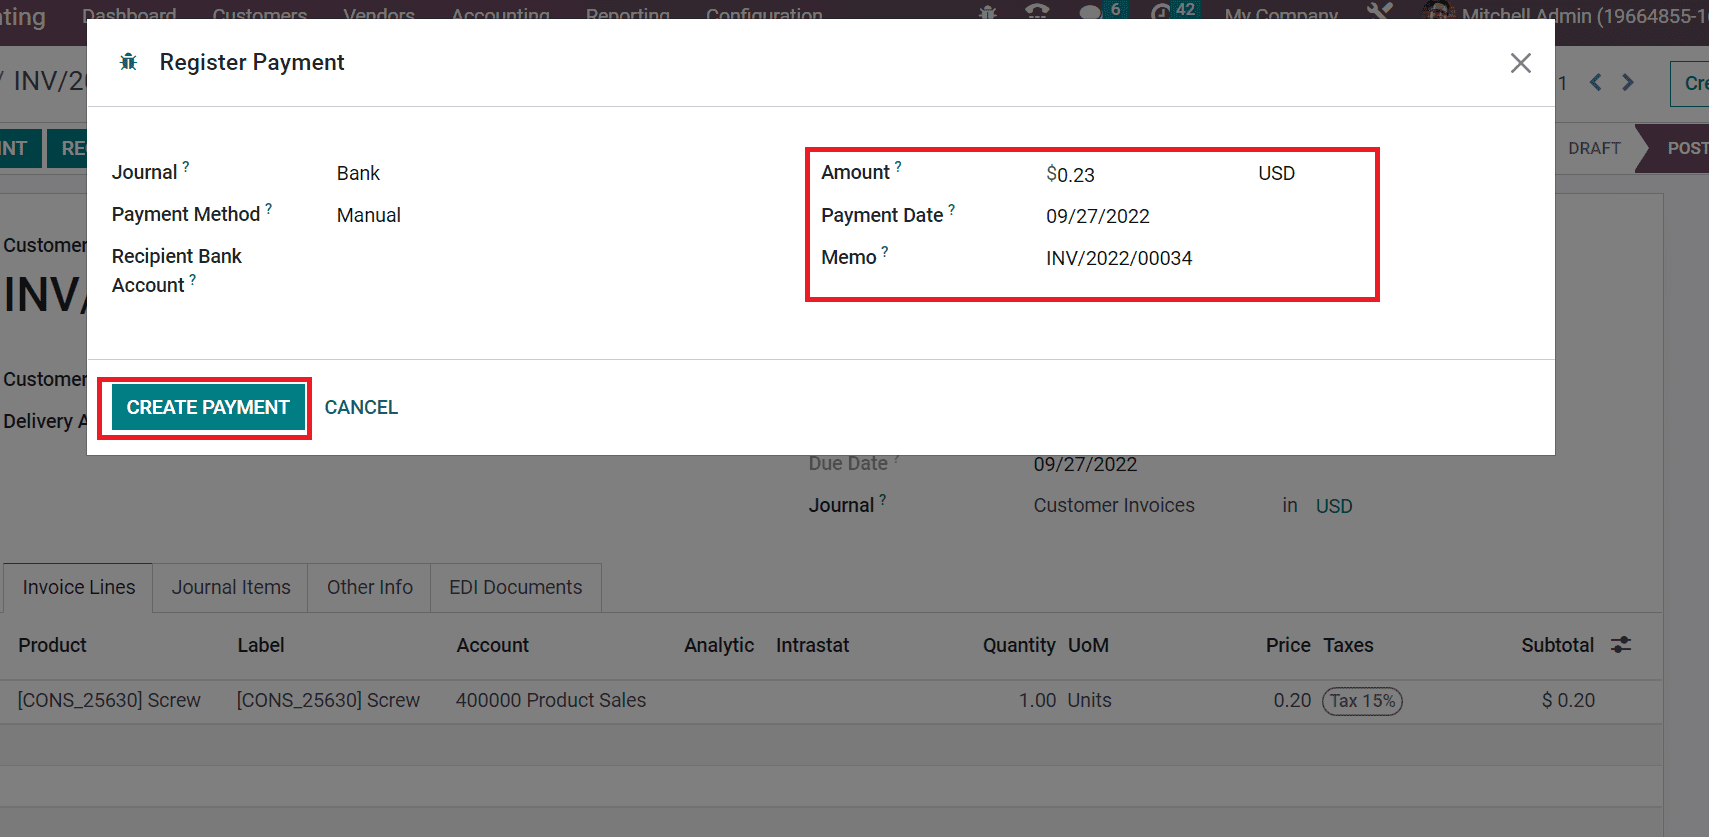
In Odoo 16 accounting module, you can set a manual payment method for getting your payments from other than Odoo. Here, you will see the total amount for delivering in the amounts field. The payment date is present in the Payment Date field. Apart from this, you can also view the Memo. After putting in these important details, click on the Create Payment button in the Register Payment window.
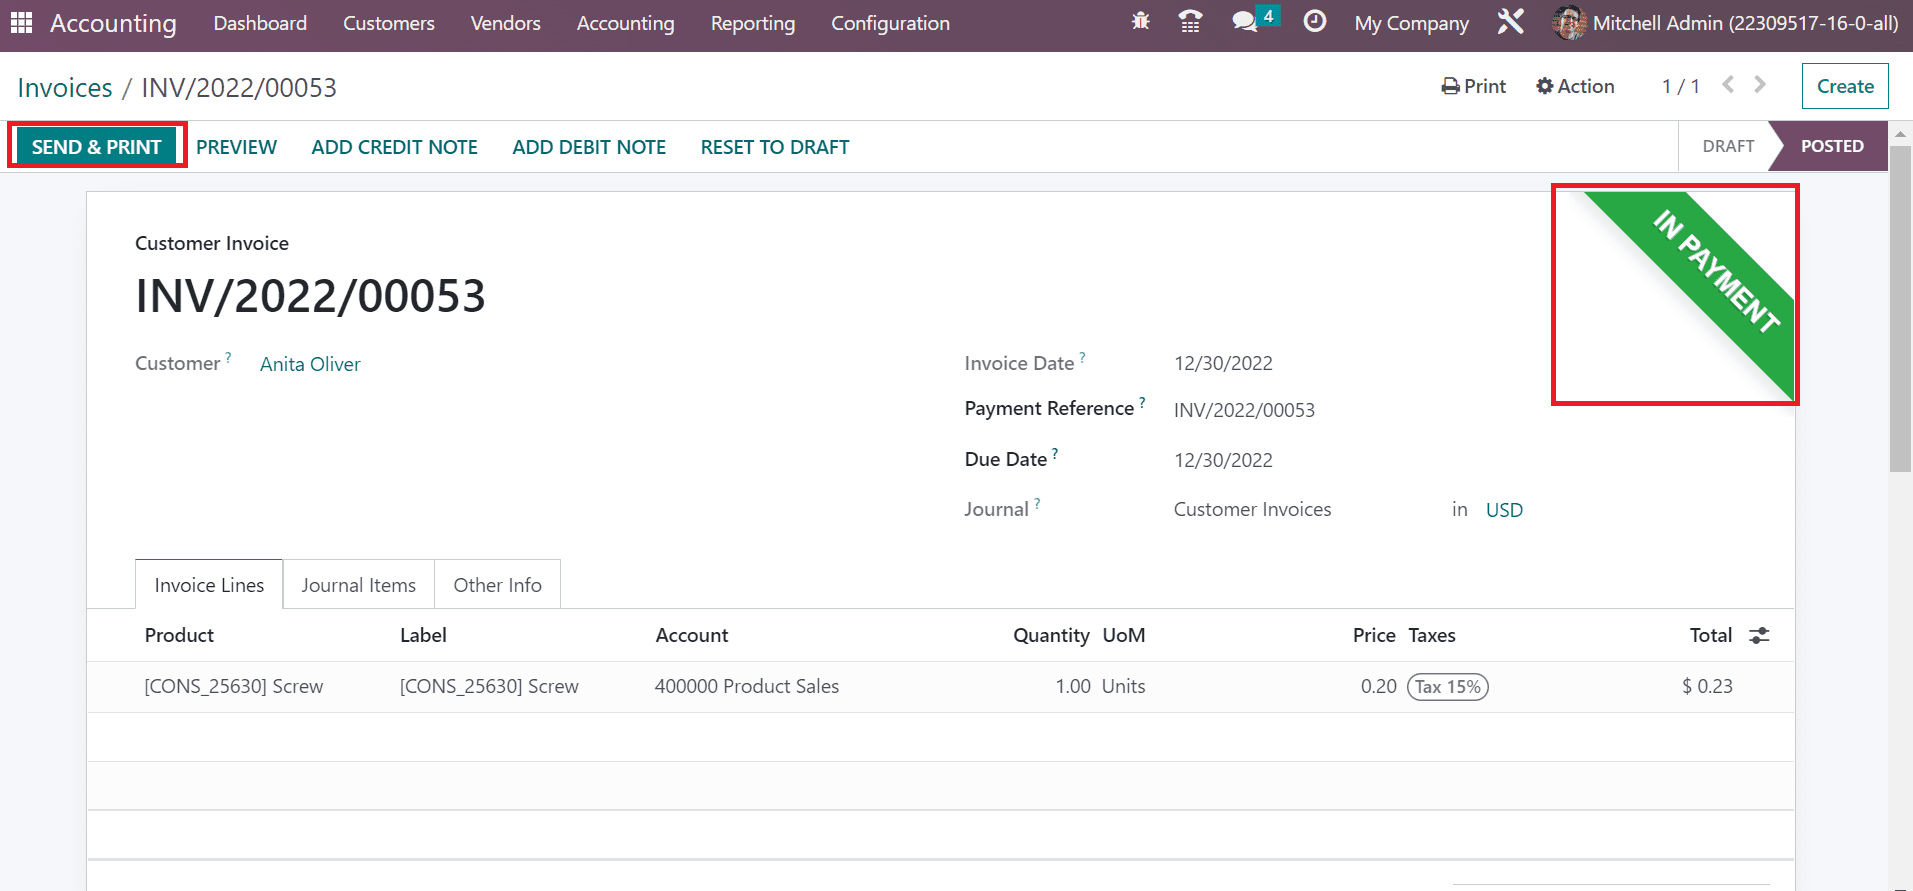
After the completion of the payment step, you will be able to access a green mark of In Payment in the Invoices window. You can now print out the invoice document by clicking on the Send & Print button, as shown in the screenshot below.
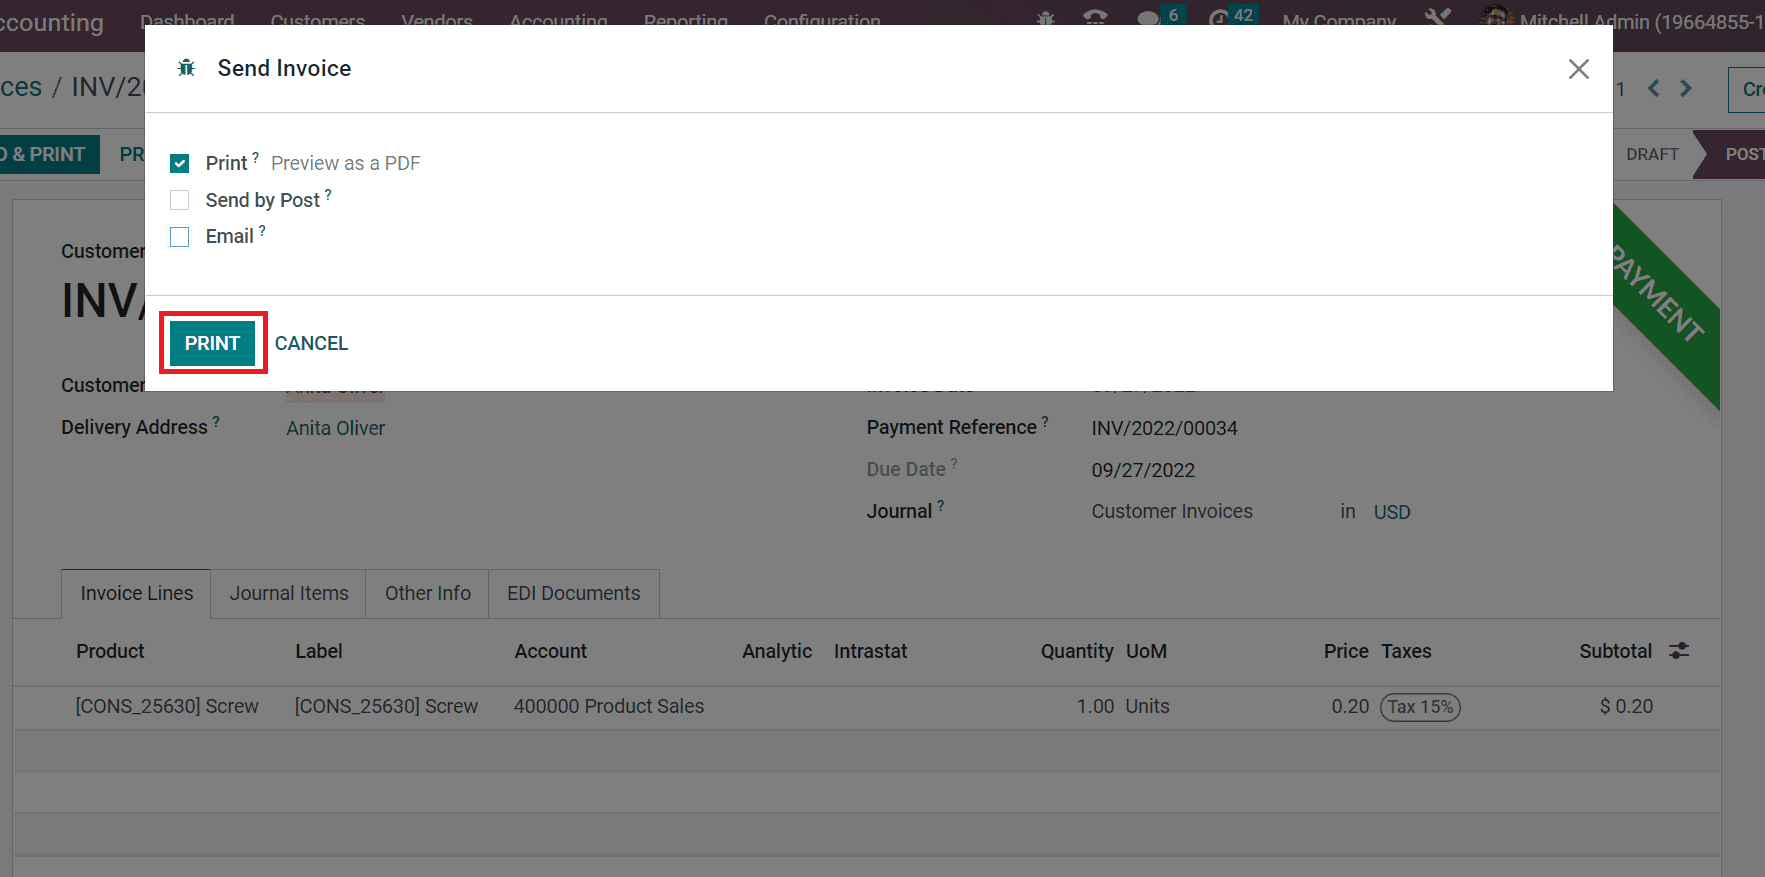
Once you are on the Send Invoice screen, allow the Print option for getting a view of your invoice document. Click on the Print button in the send invoice page after activating the print option.
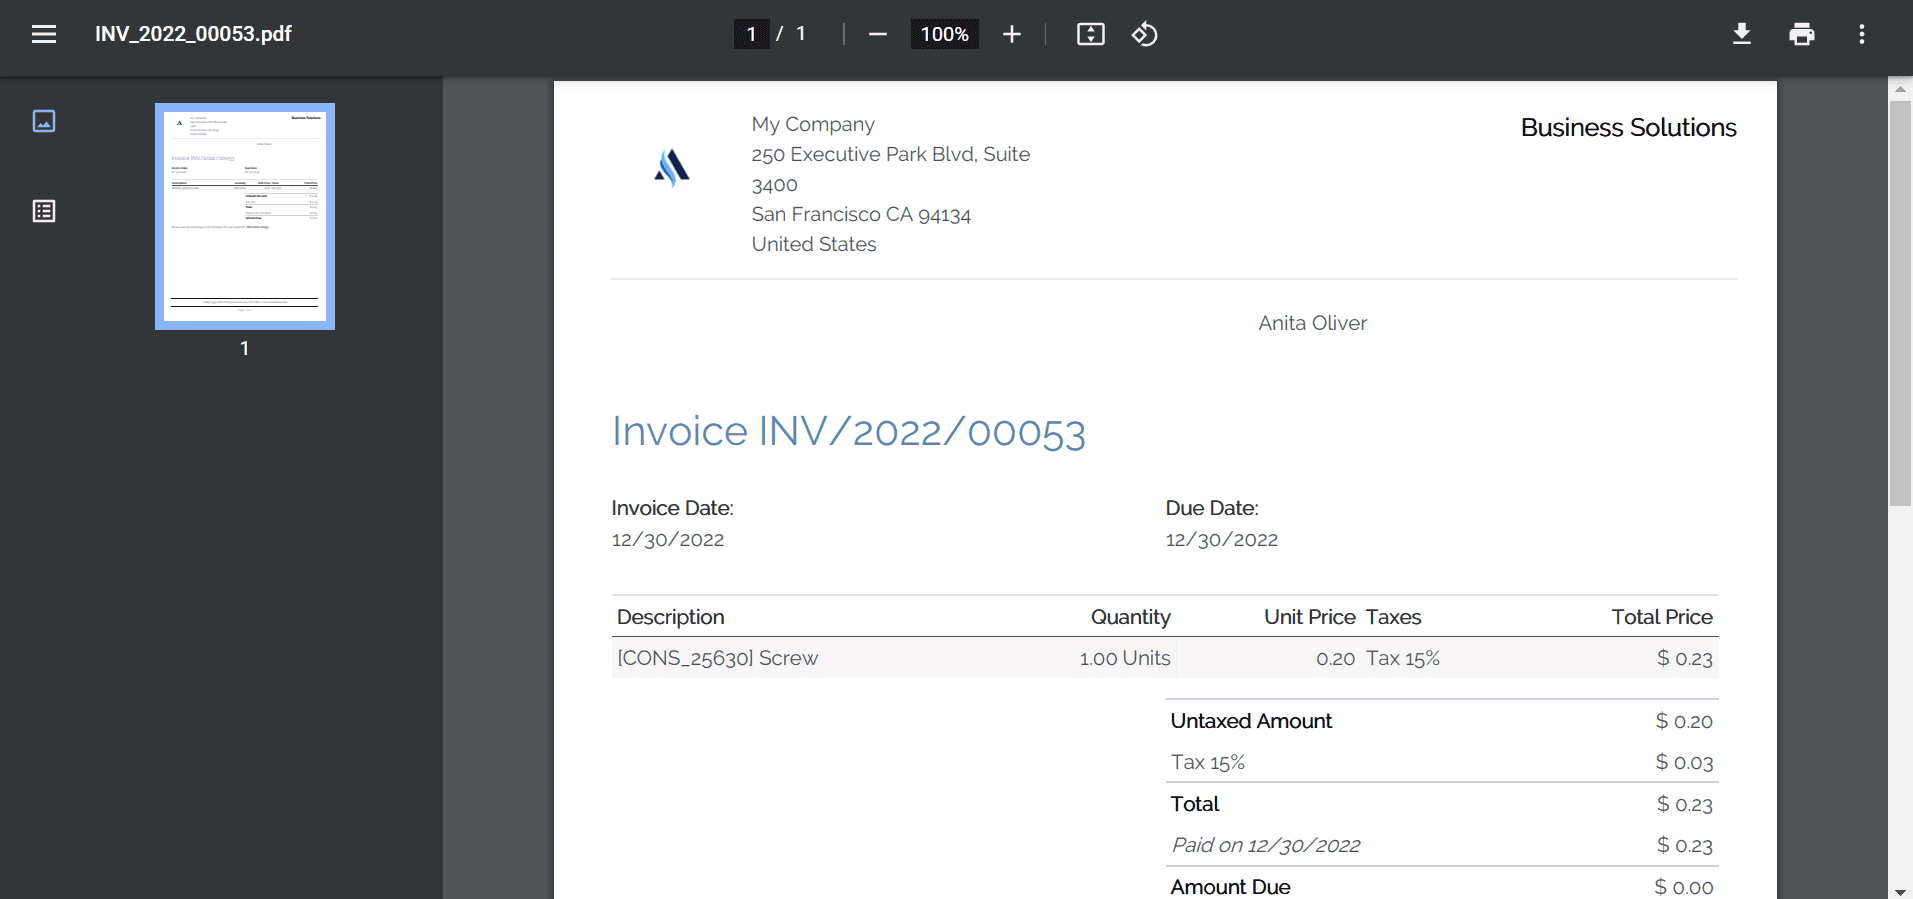
After you click on the Print button, the invoice PDF will be downloaded into your system. Here, users will get a view of invoices for customers in the printed document. Besides this, the file layout is quite similar to the Invoice layout created in Odoo 16. All specific detail that you have added in the invoice layout document will appear on the printed file.
Want to start a project with us?
Empowering businesses to achieve greatness through strategic guidance and innovative solutions.
Book A Demo

About Author
Kalpesh Gajera is the Chief Technology Officer at UNCANNY Consulting Services, specializing in Odoo, ERP, and eCommerce technologies. He focuses on building scalable enterprise solutions that help organizations streamline operations, improve efficiency, and accelerate digital transformation initiatives.
Kalpesh Gajera is the Chief Technology Officer at UNCANNY Consulting Services, specializing in Odoo, ERP, and eCommerce technologies. He focuses on building scalable enterprise solutions that help organizations streamline operations, improve efficiency, and accelerate digital transformation initiatives.