A Detailed Guide To Odoo Project Management Module
Published on August 31st 2022
Summary
Odoo project management is one of the most preferred tool that offers you with a visual overview of all your ongoing projects. It is of great use in managing projects, tasks, people, daily timesheets, etc. With this odoo module, you get various functions to control various projects. Last but not least, it also provides graphical charts to analyze the progress of certain tasks and projects.
Step 1: Go to the ‘Project’ application.
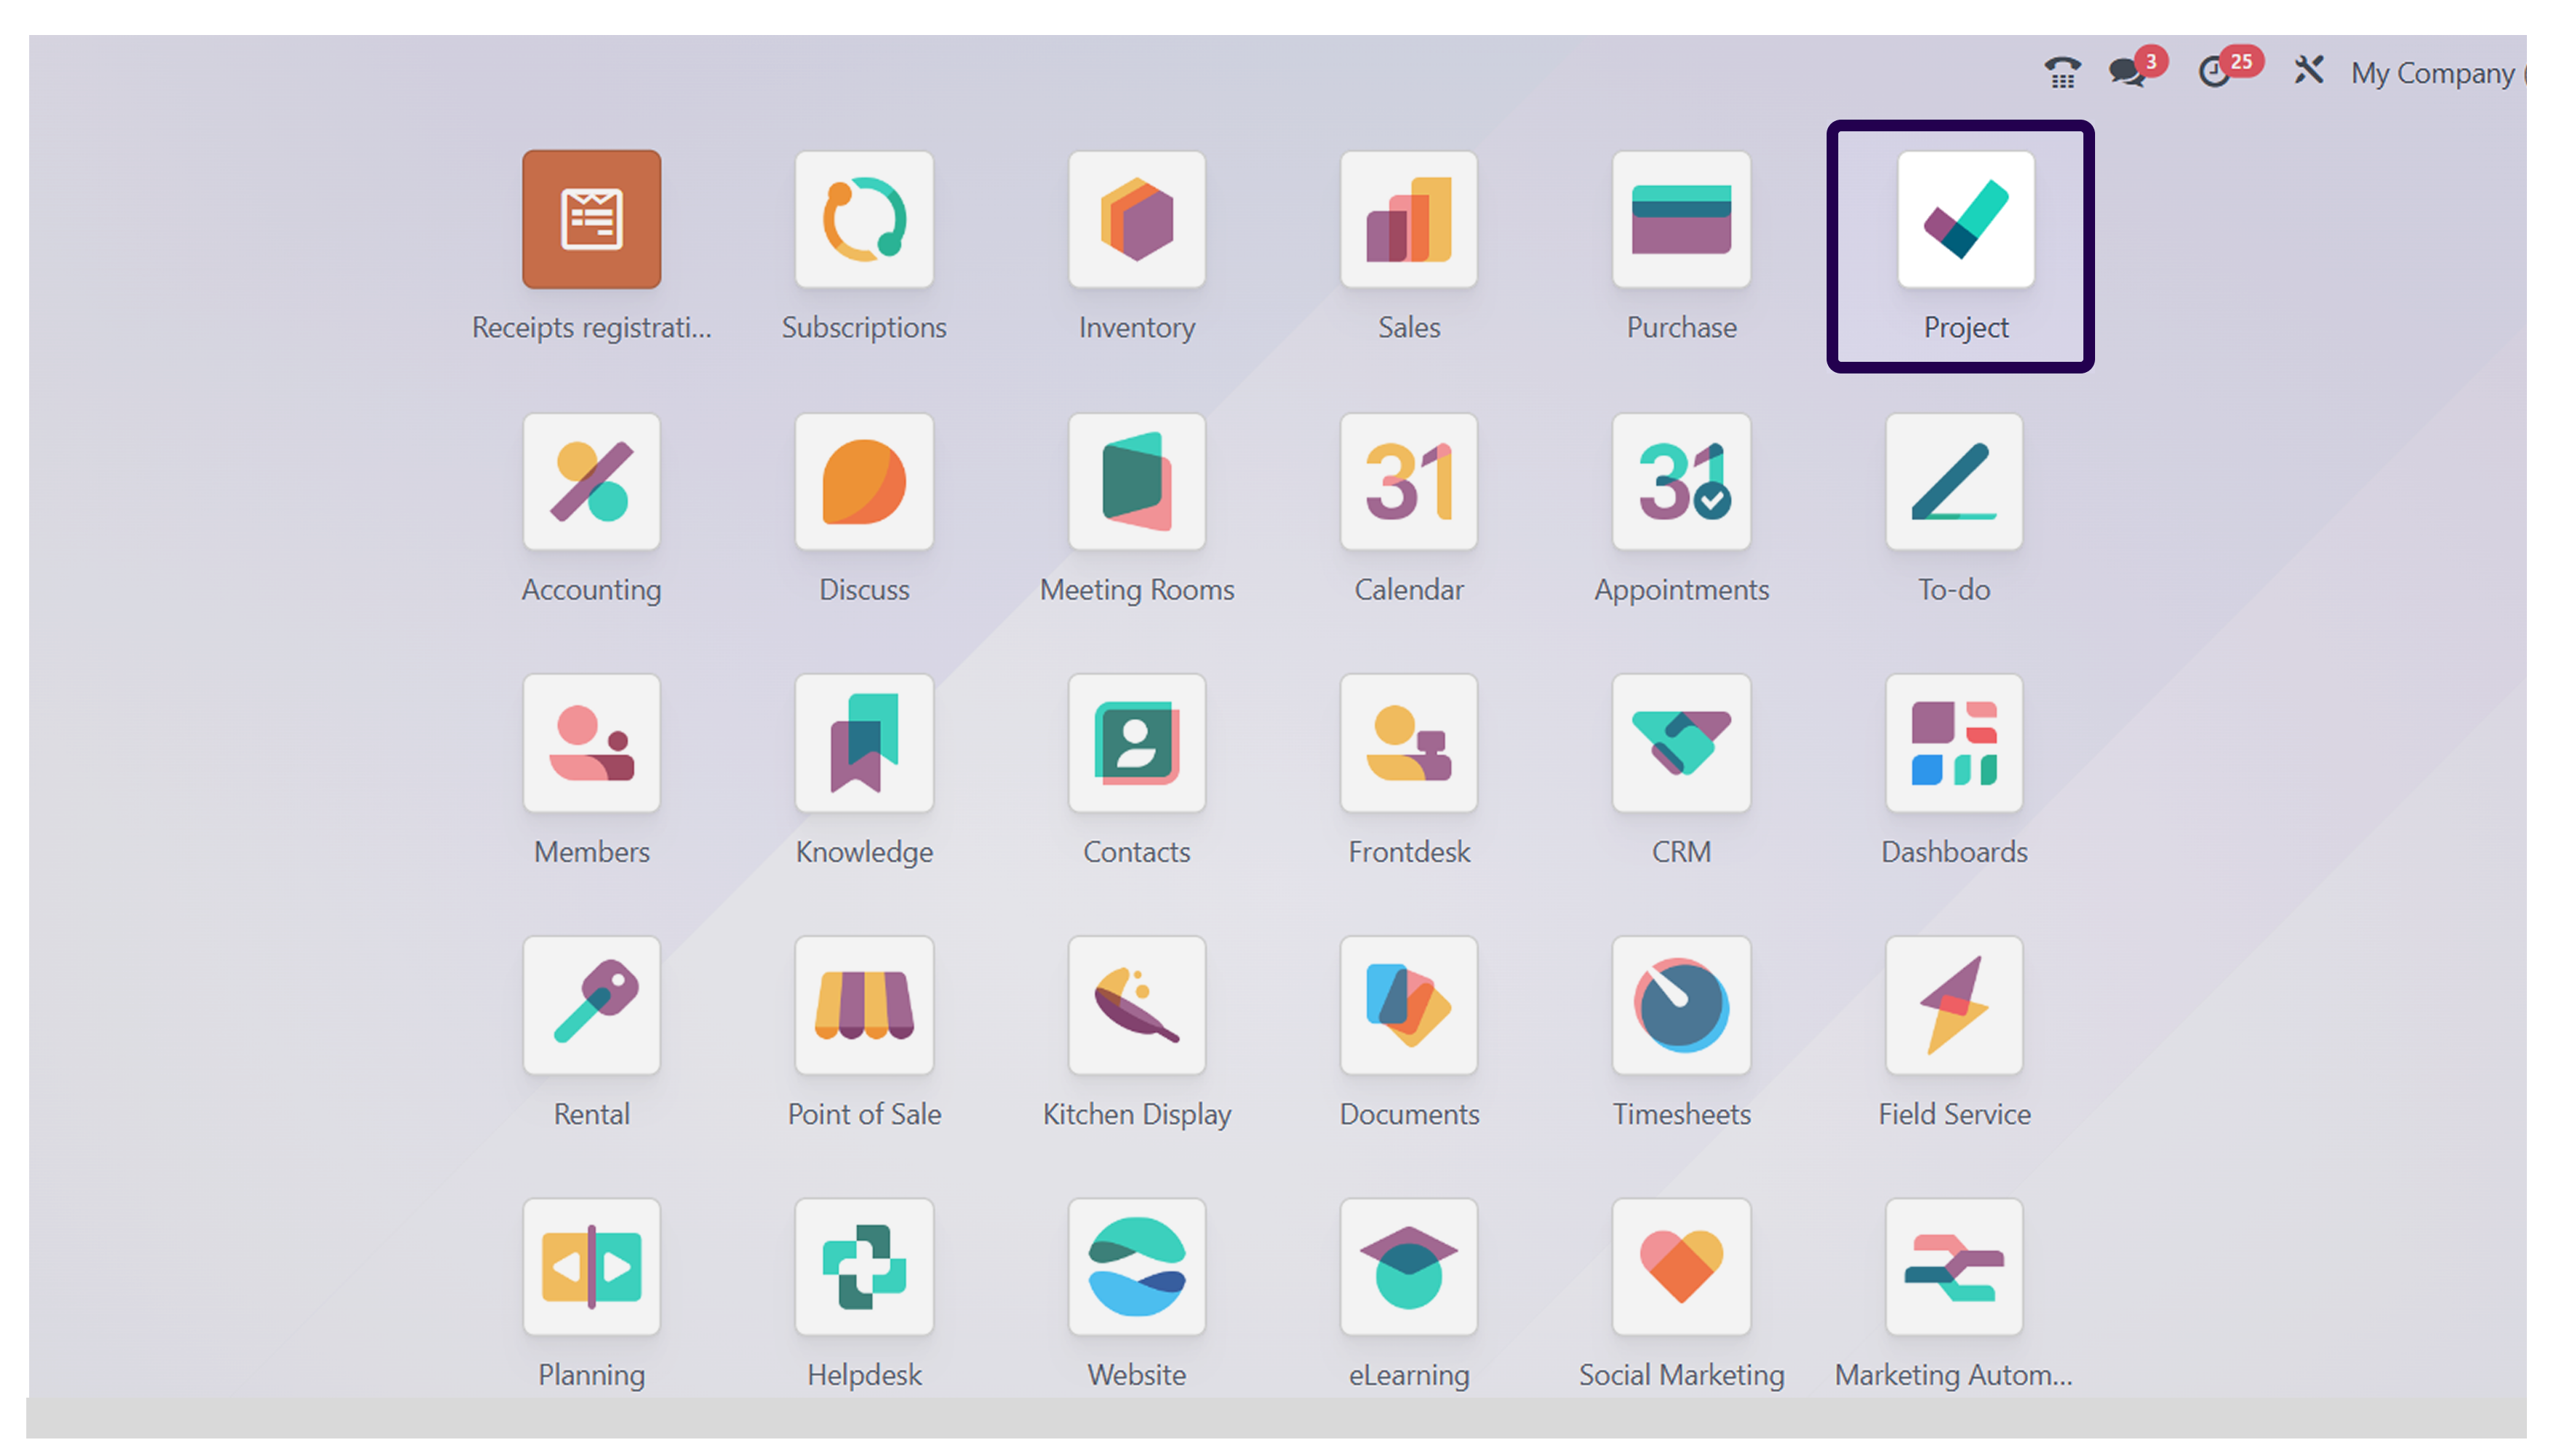
Foremost, you will have to visit the home page and click on the project icon.
Step 2: Click on the ‘Create’ button to create a project.
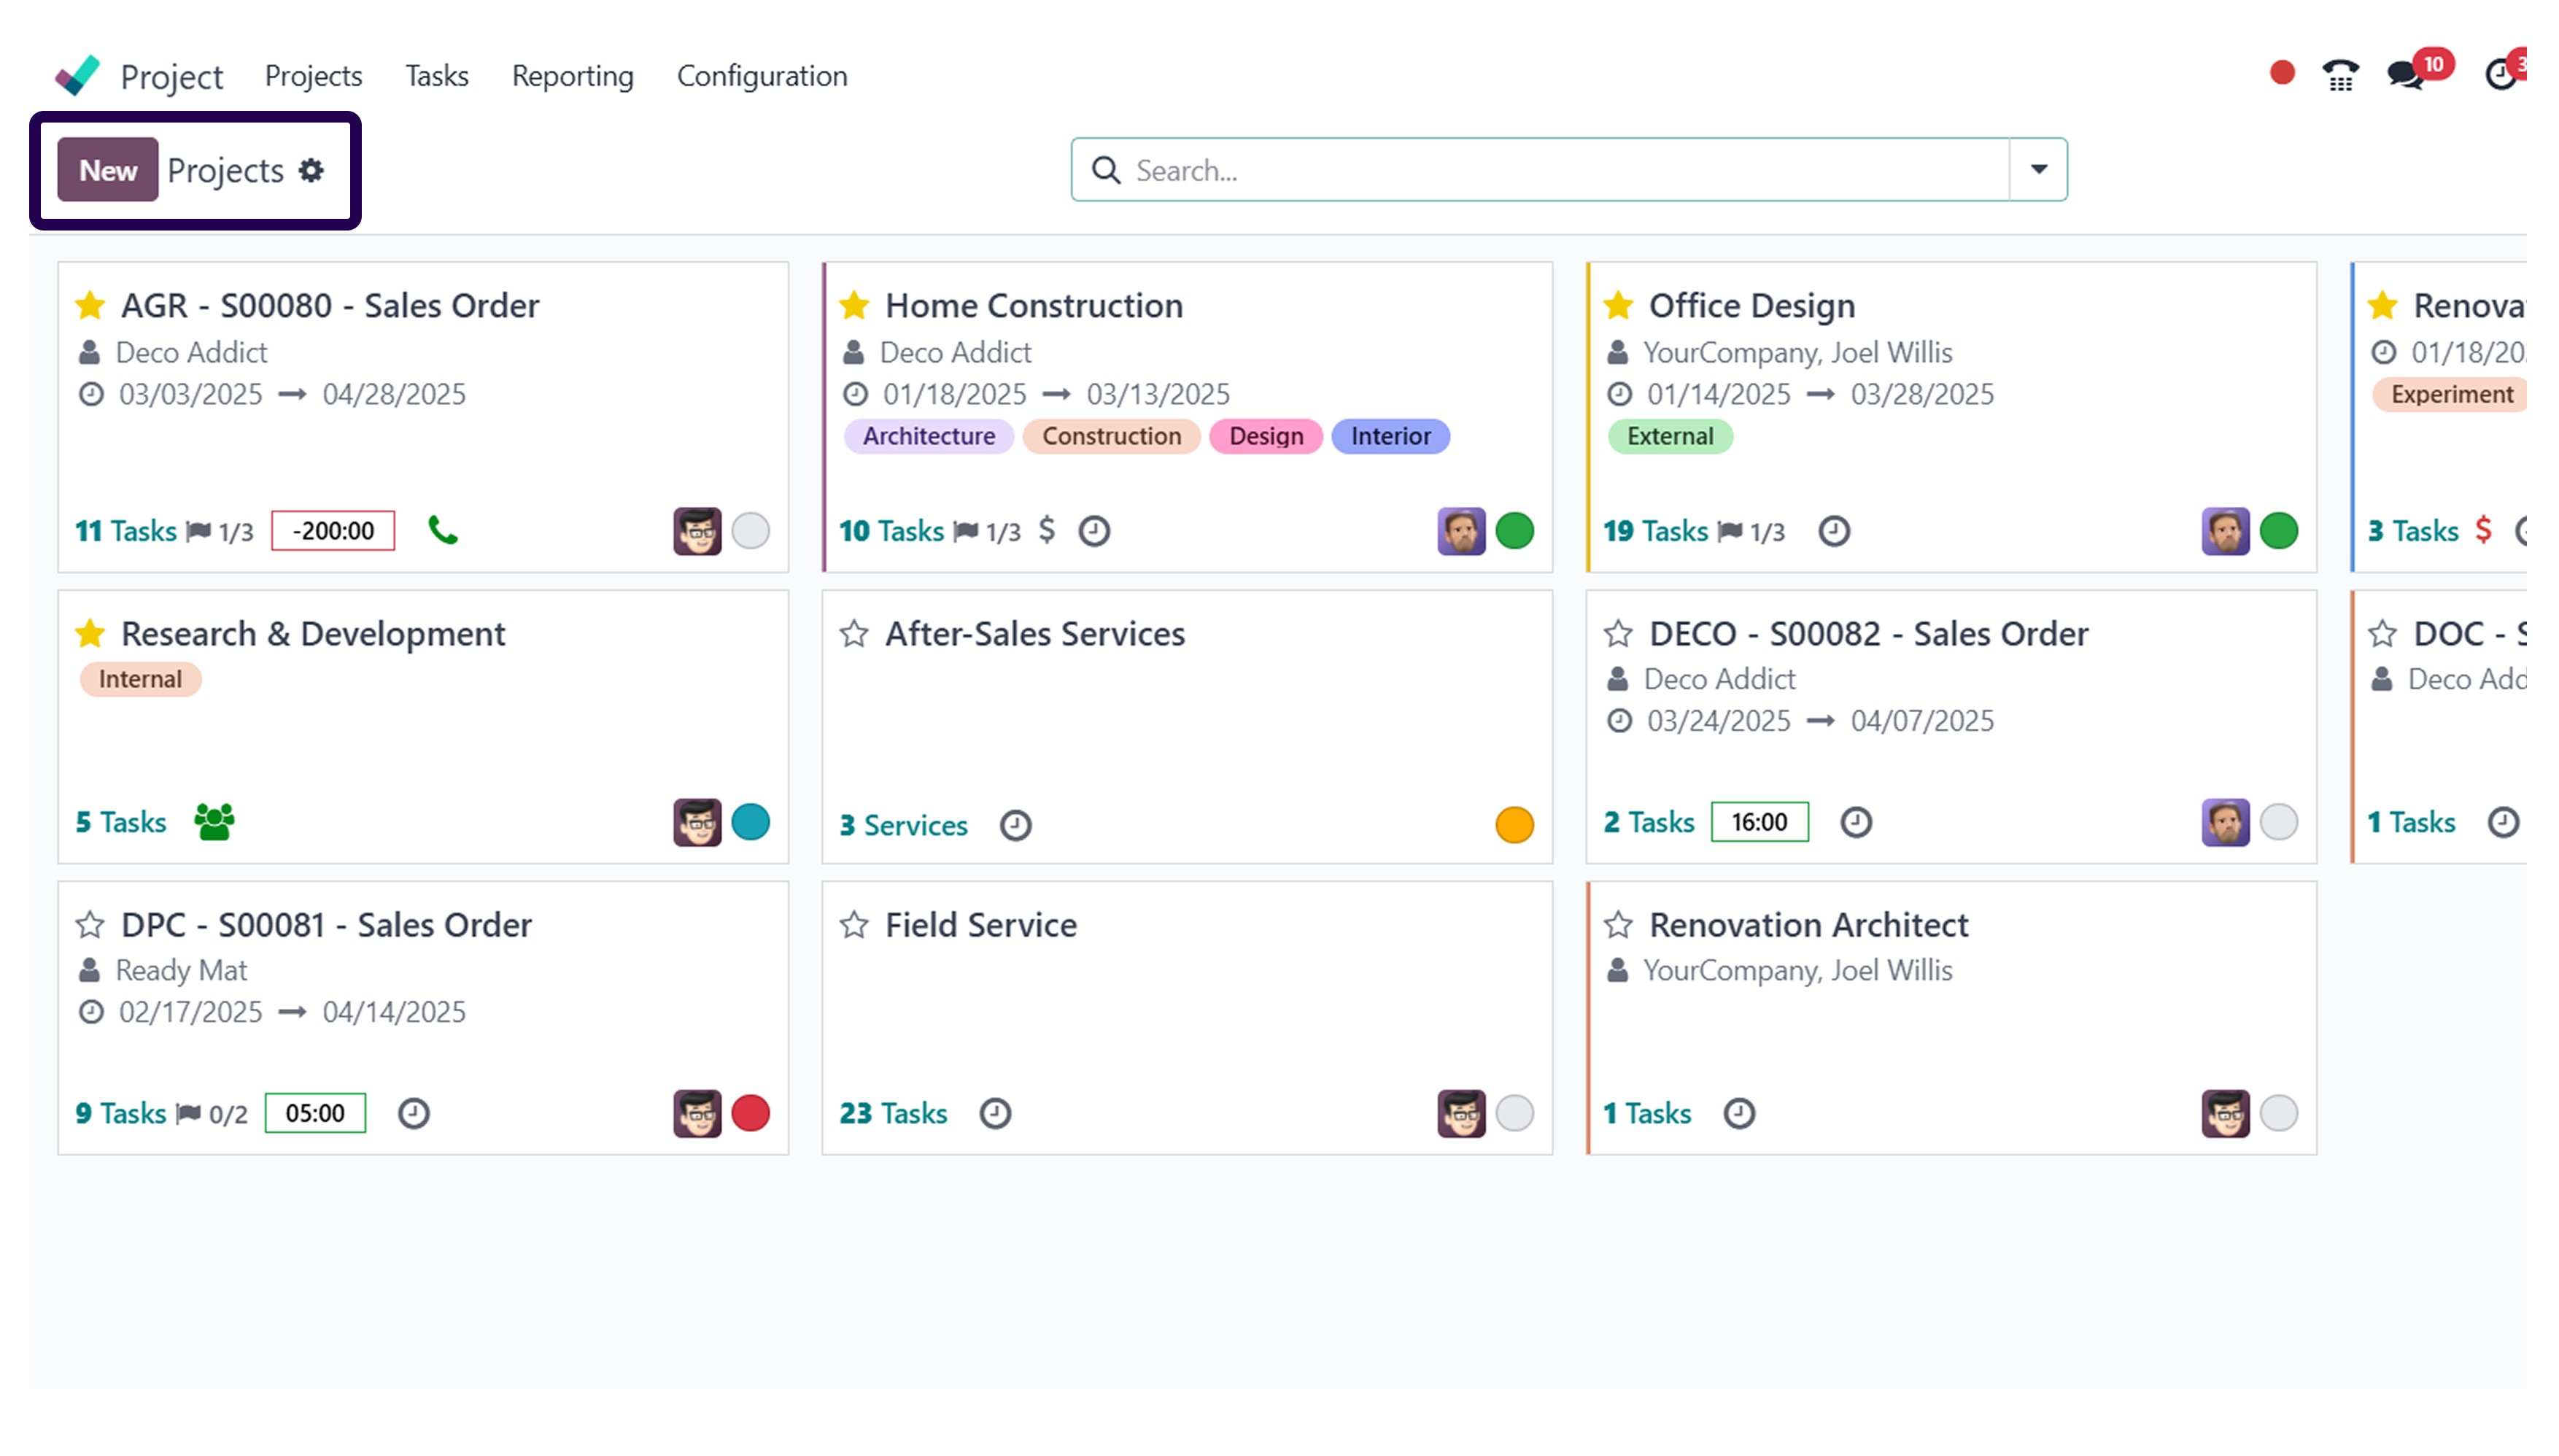
To create a specific project, click on the ‘Create’ button. You can find this button on the left side of the screen.
Step 3: Fill in the project ‘Name’ and select and unselect ‘Billable, Timesheets, Planning, and Worksheets’.
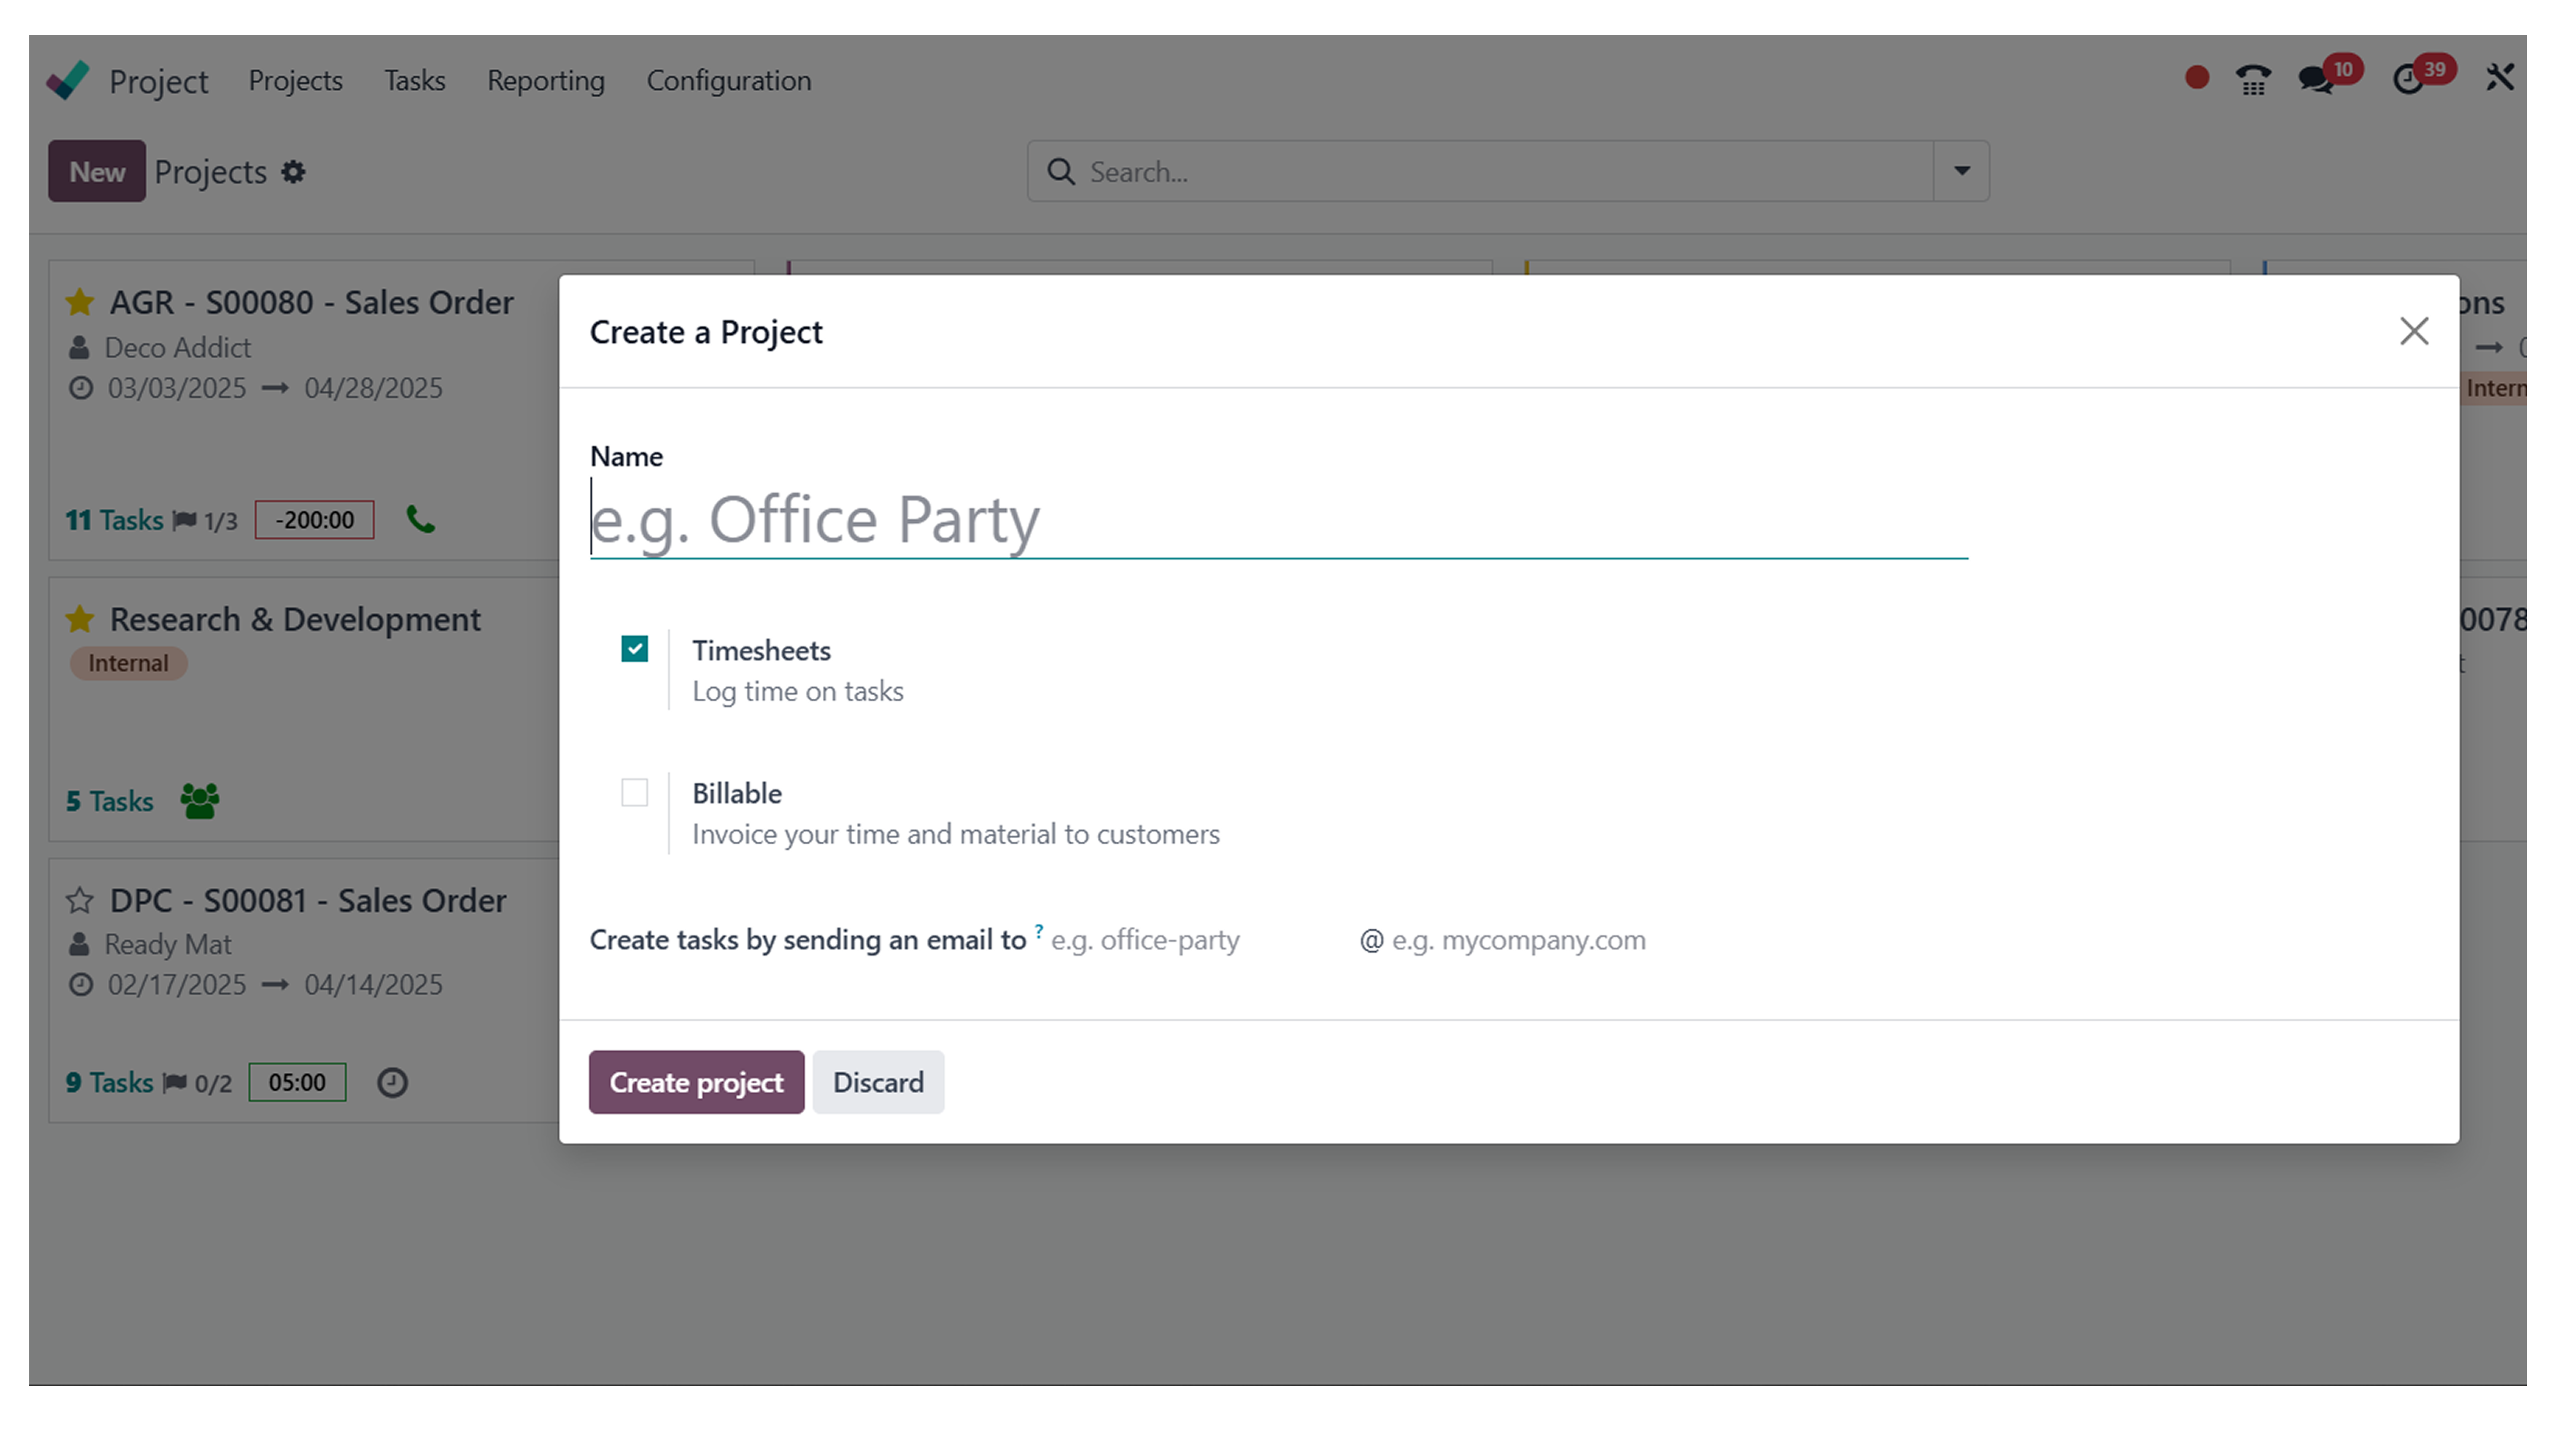
Once, you have created a project, it is time to fill in the project ‘Name’ and select and unselect ‘Billable, Timesheets, Planning, and Worksheets’.
Step 4: Click on the ‘Create’ button.
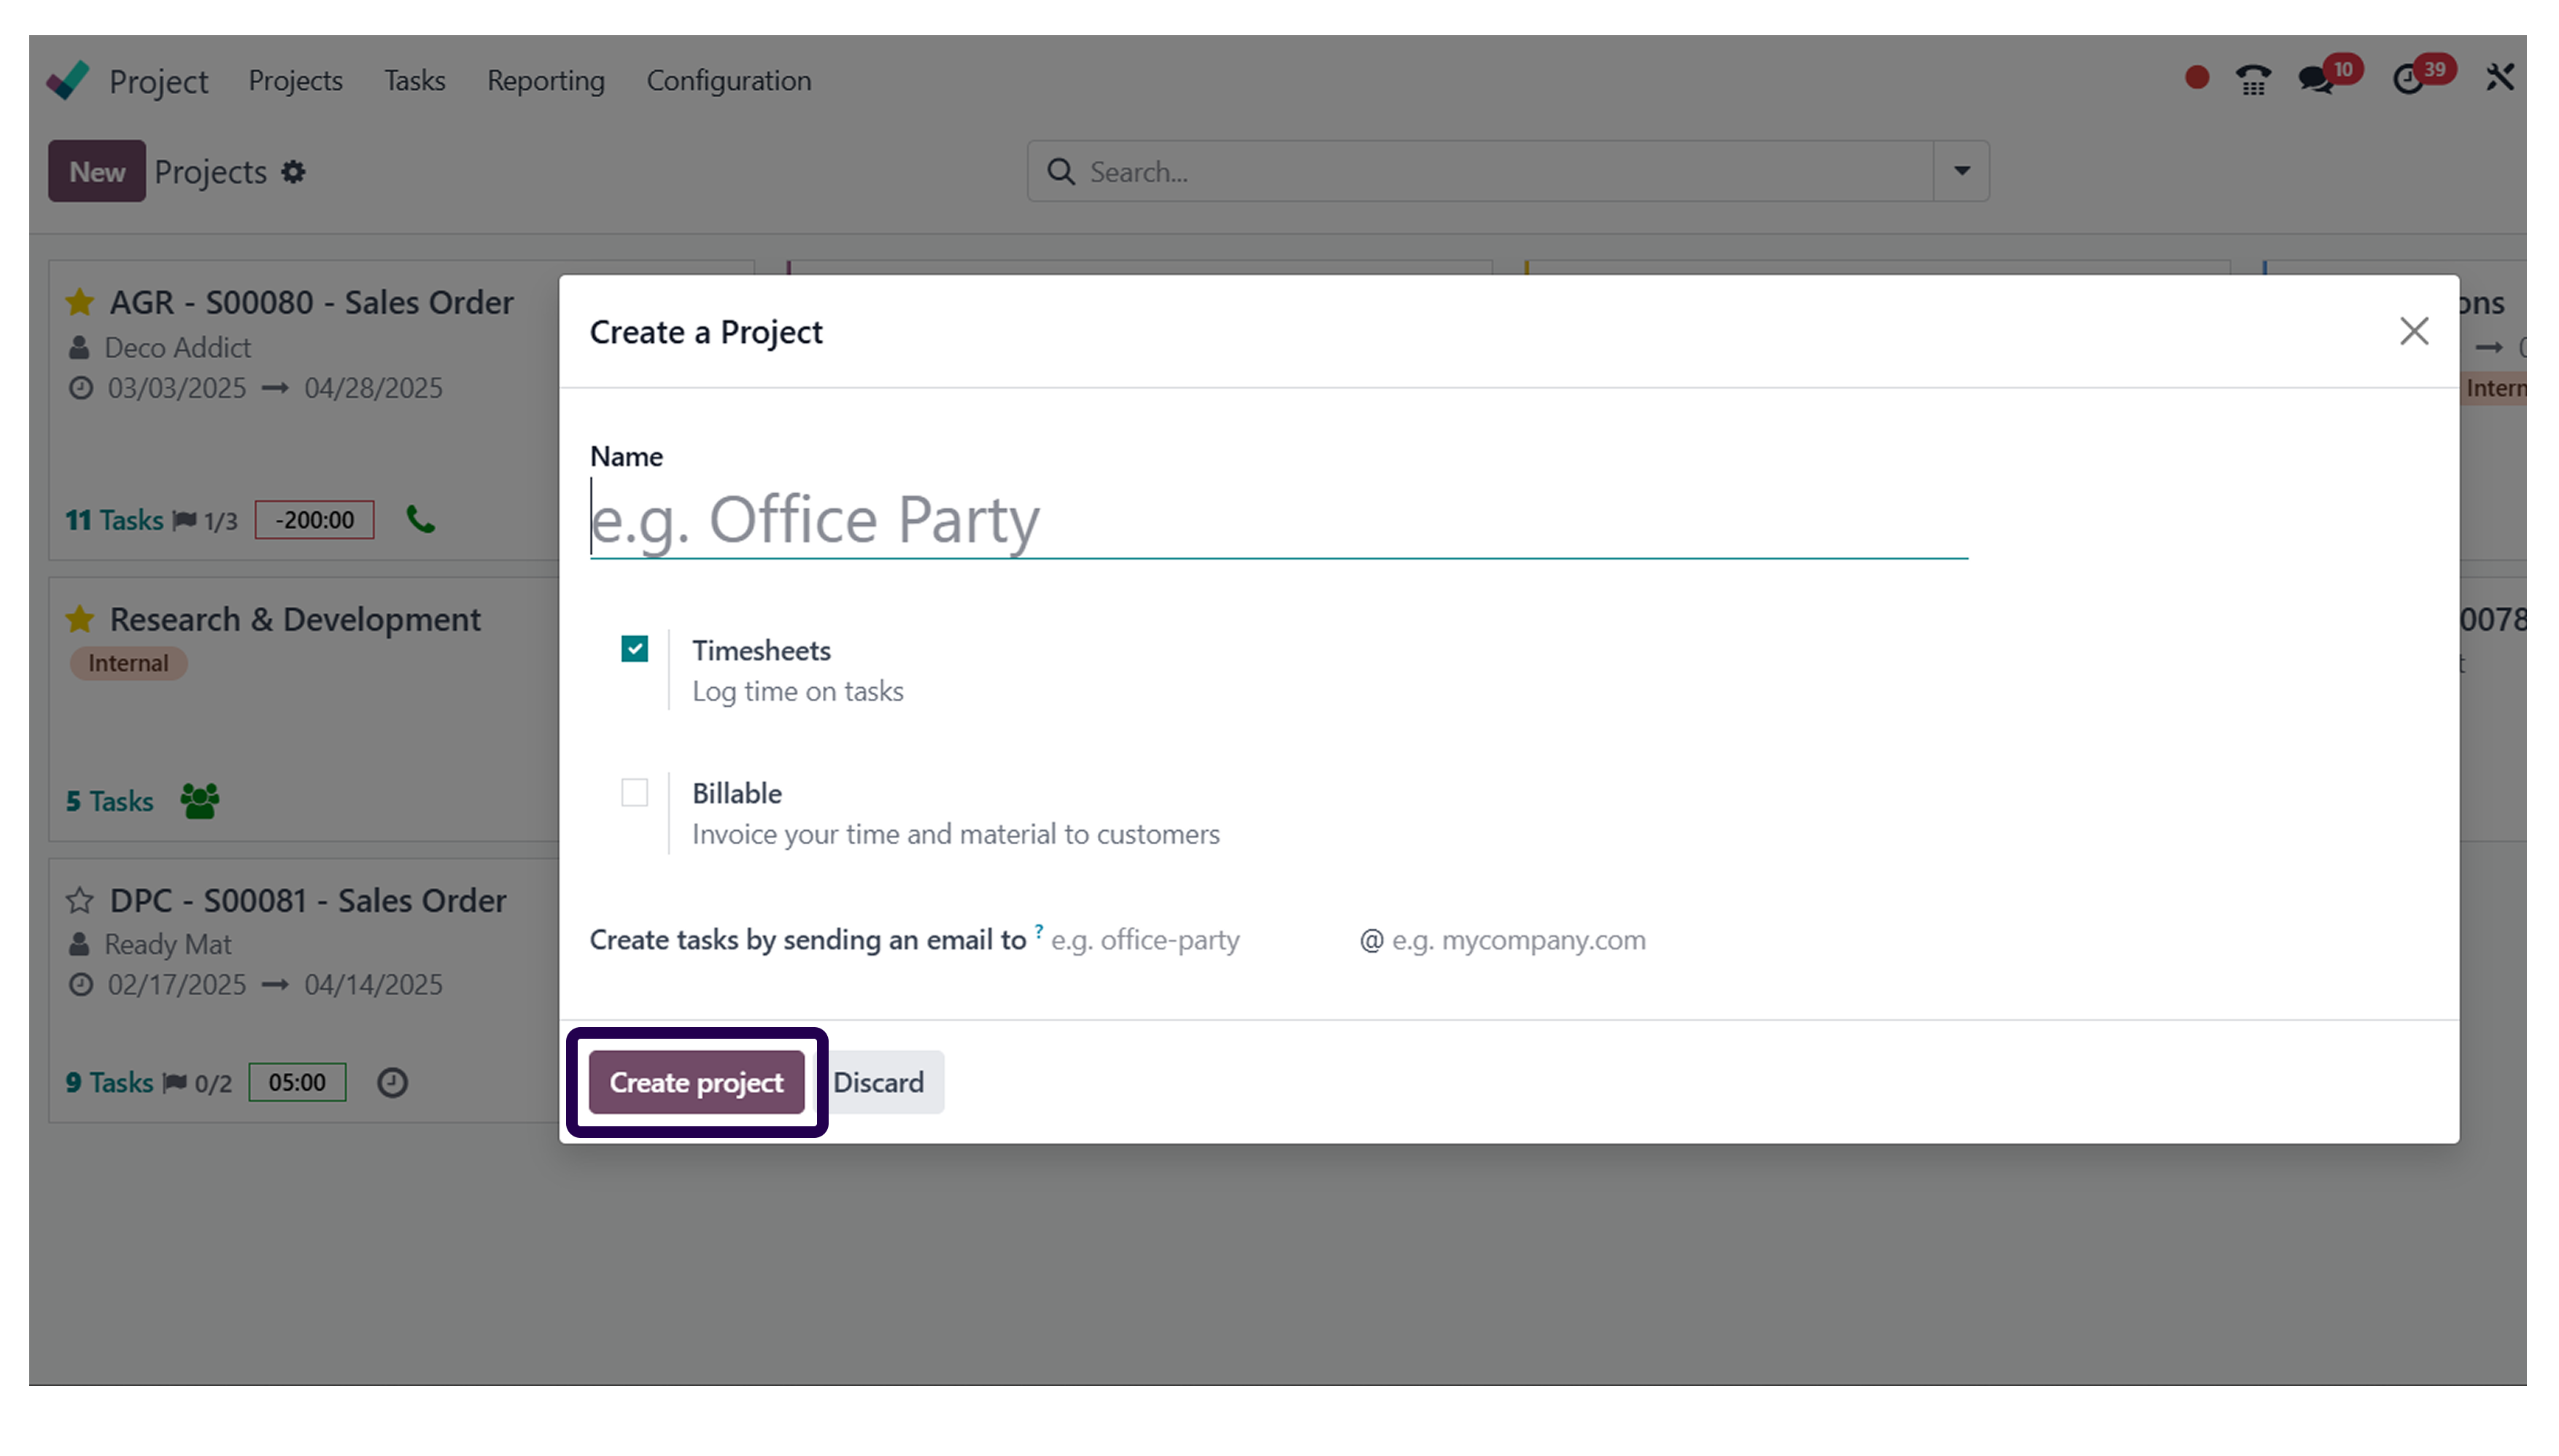
When you are done filling in all the details, it is time to click on the create button.
Step 5: Here, We can select any project easily.
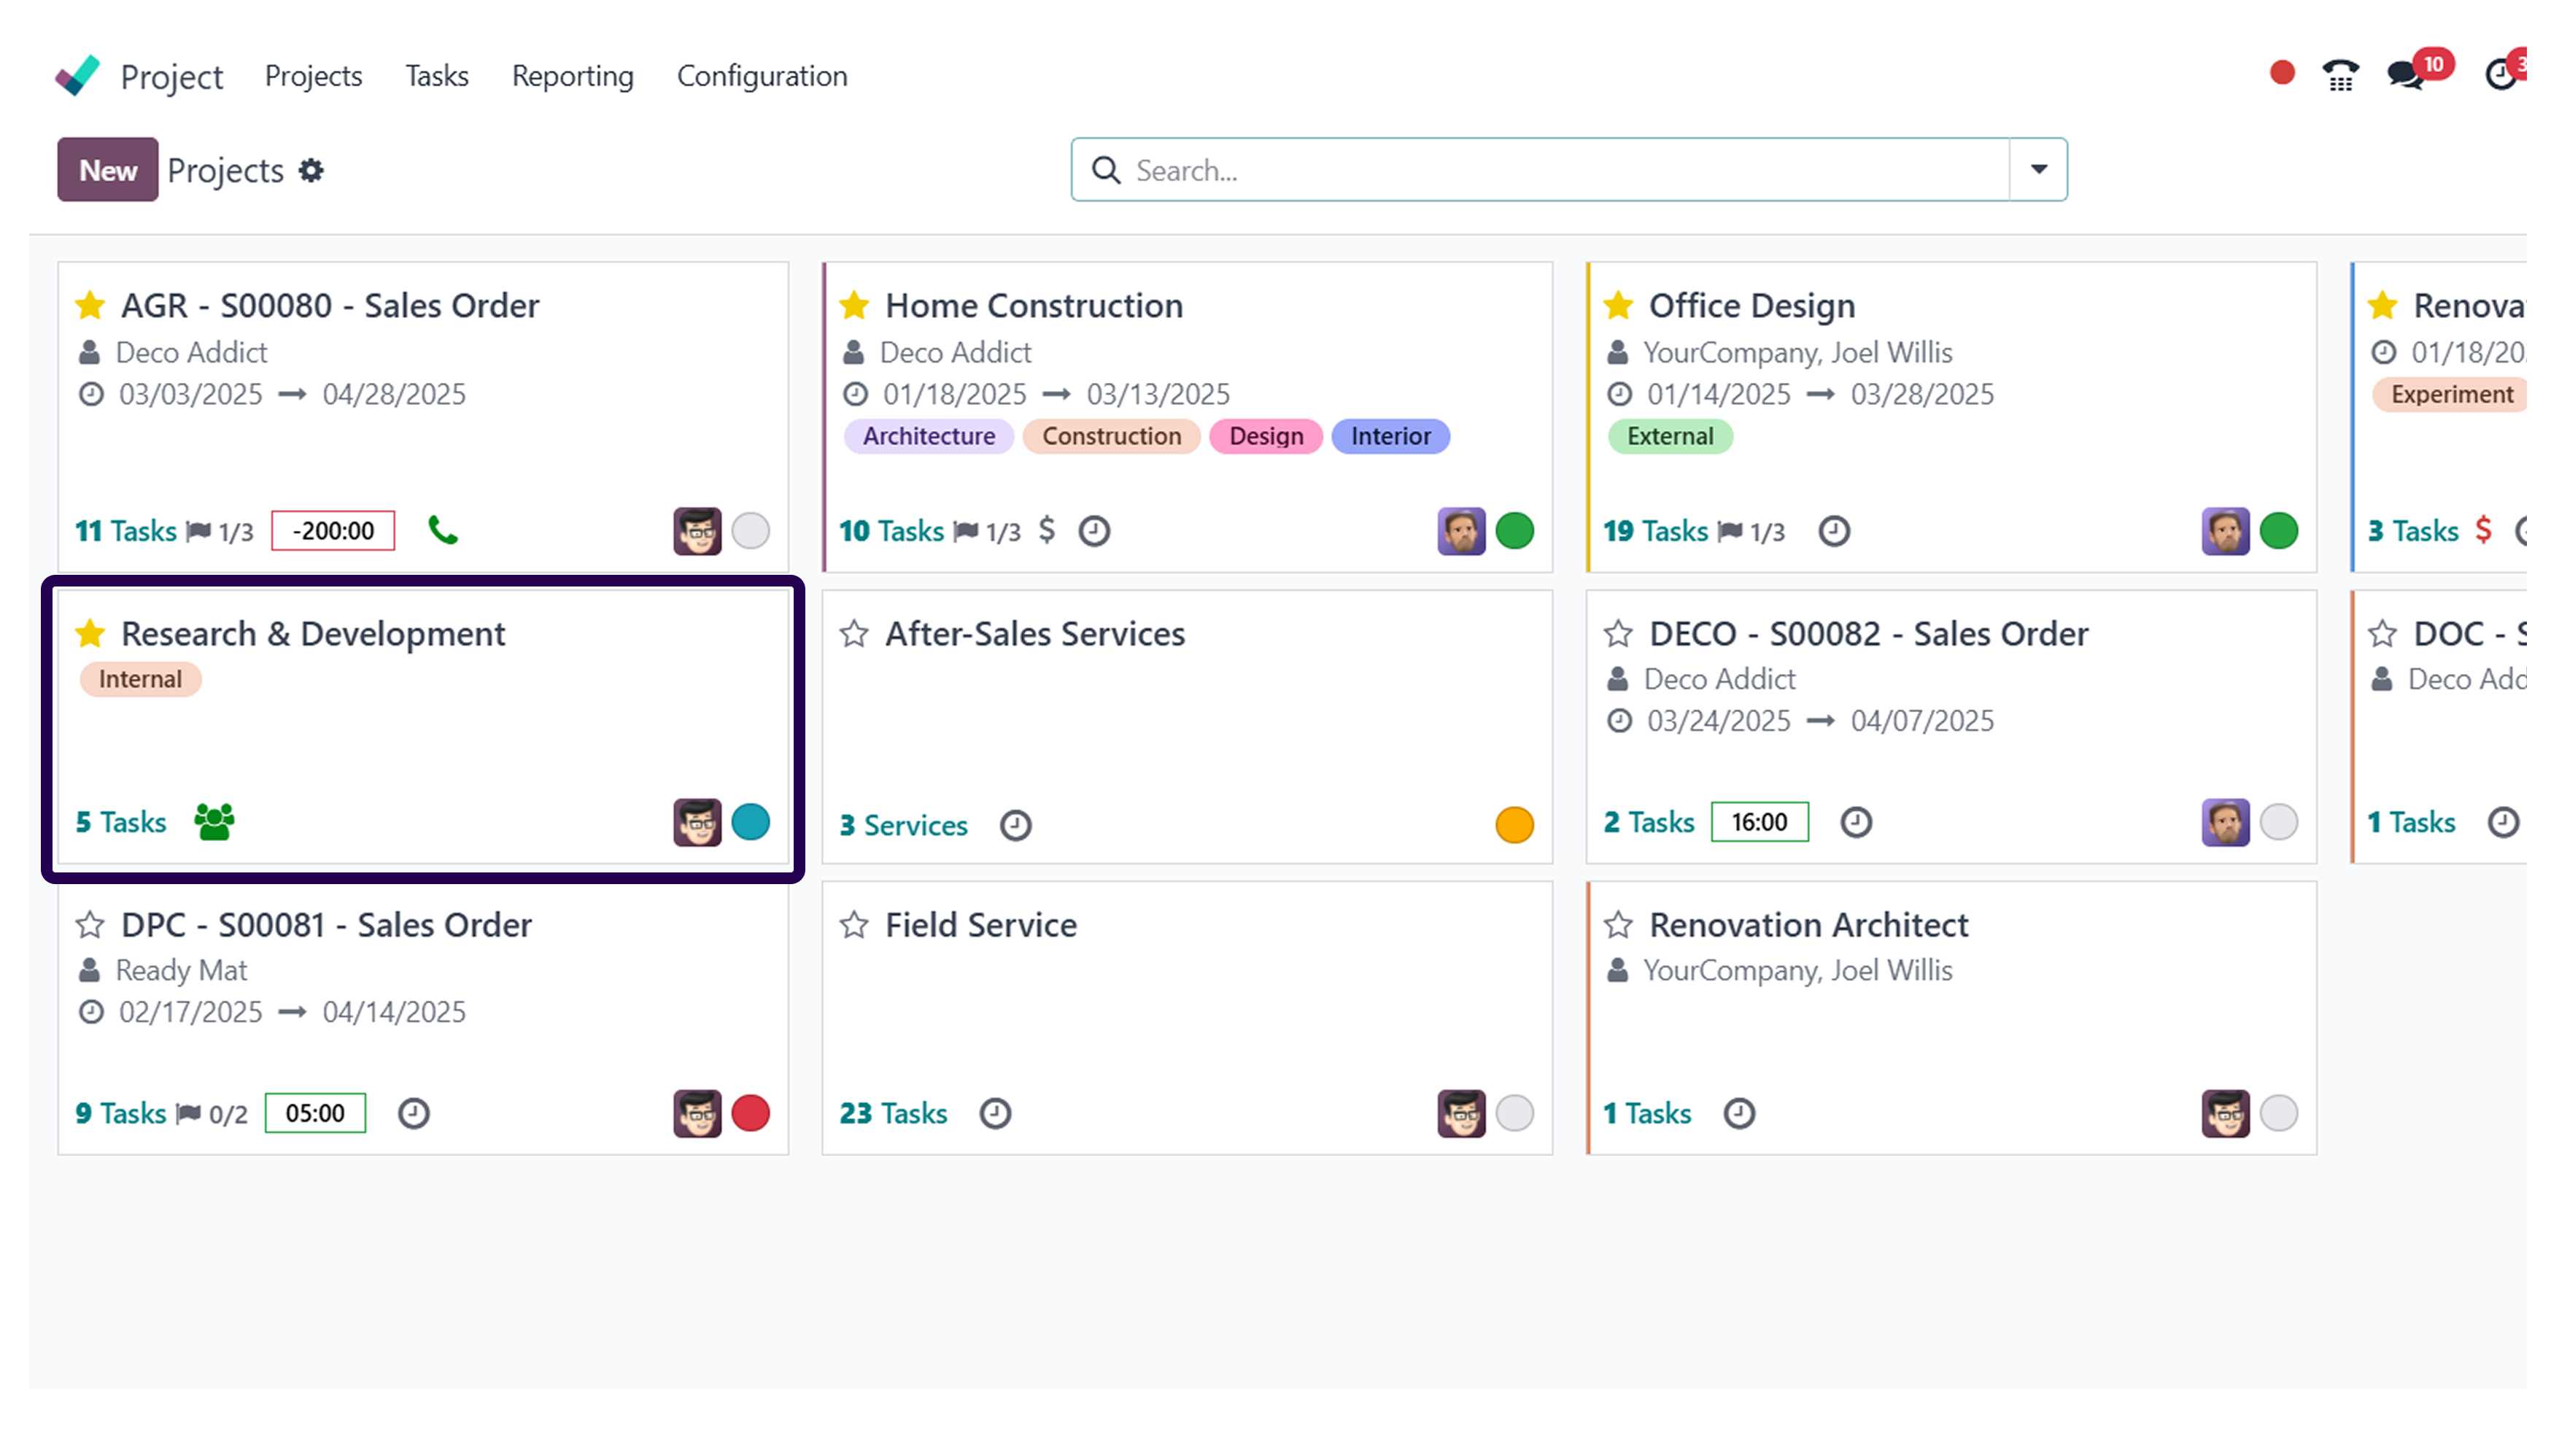
If you want to select a project, it can be done easily by clicking on the project.
⇒ This view is called the ‘Kanban’ view.
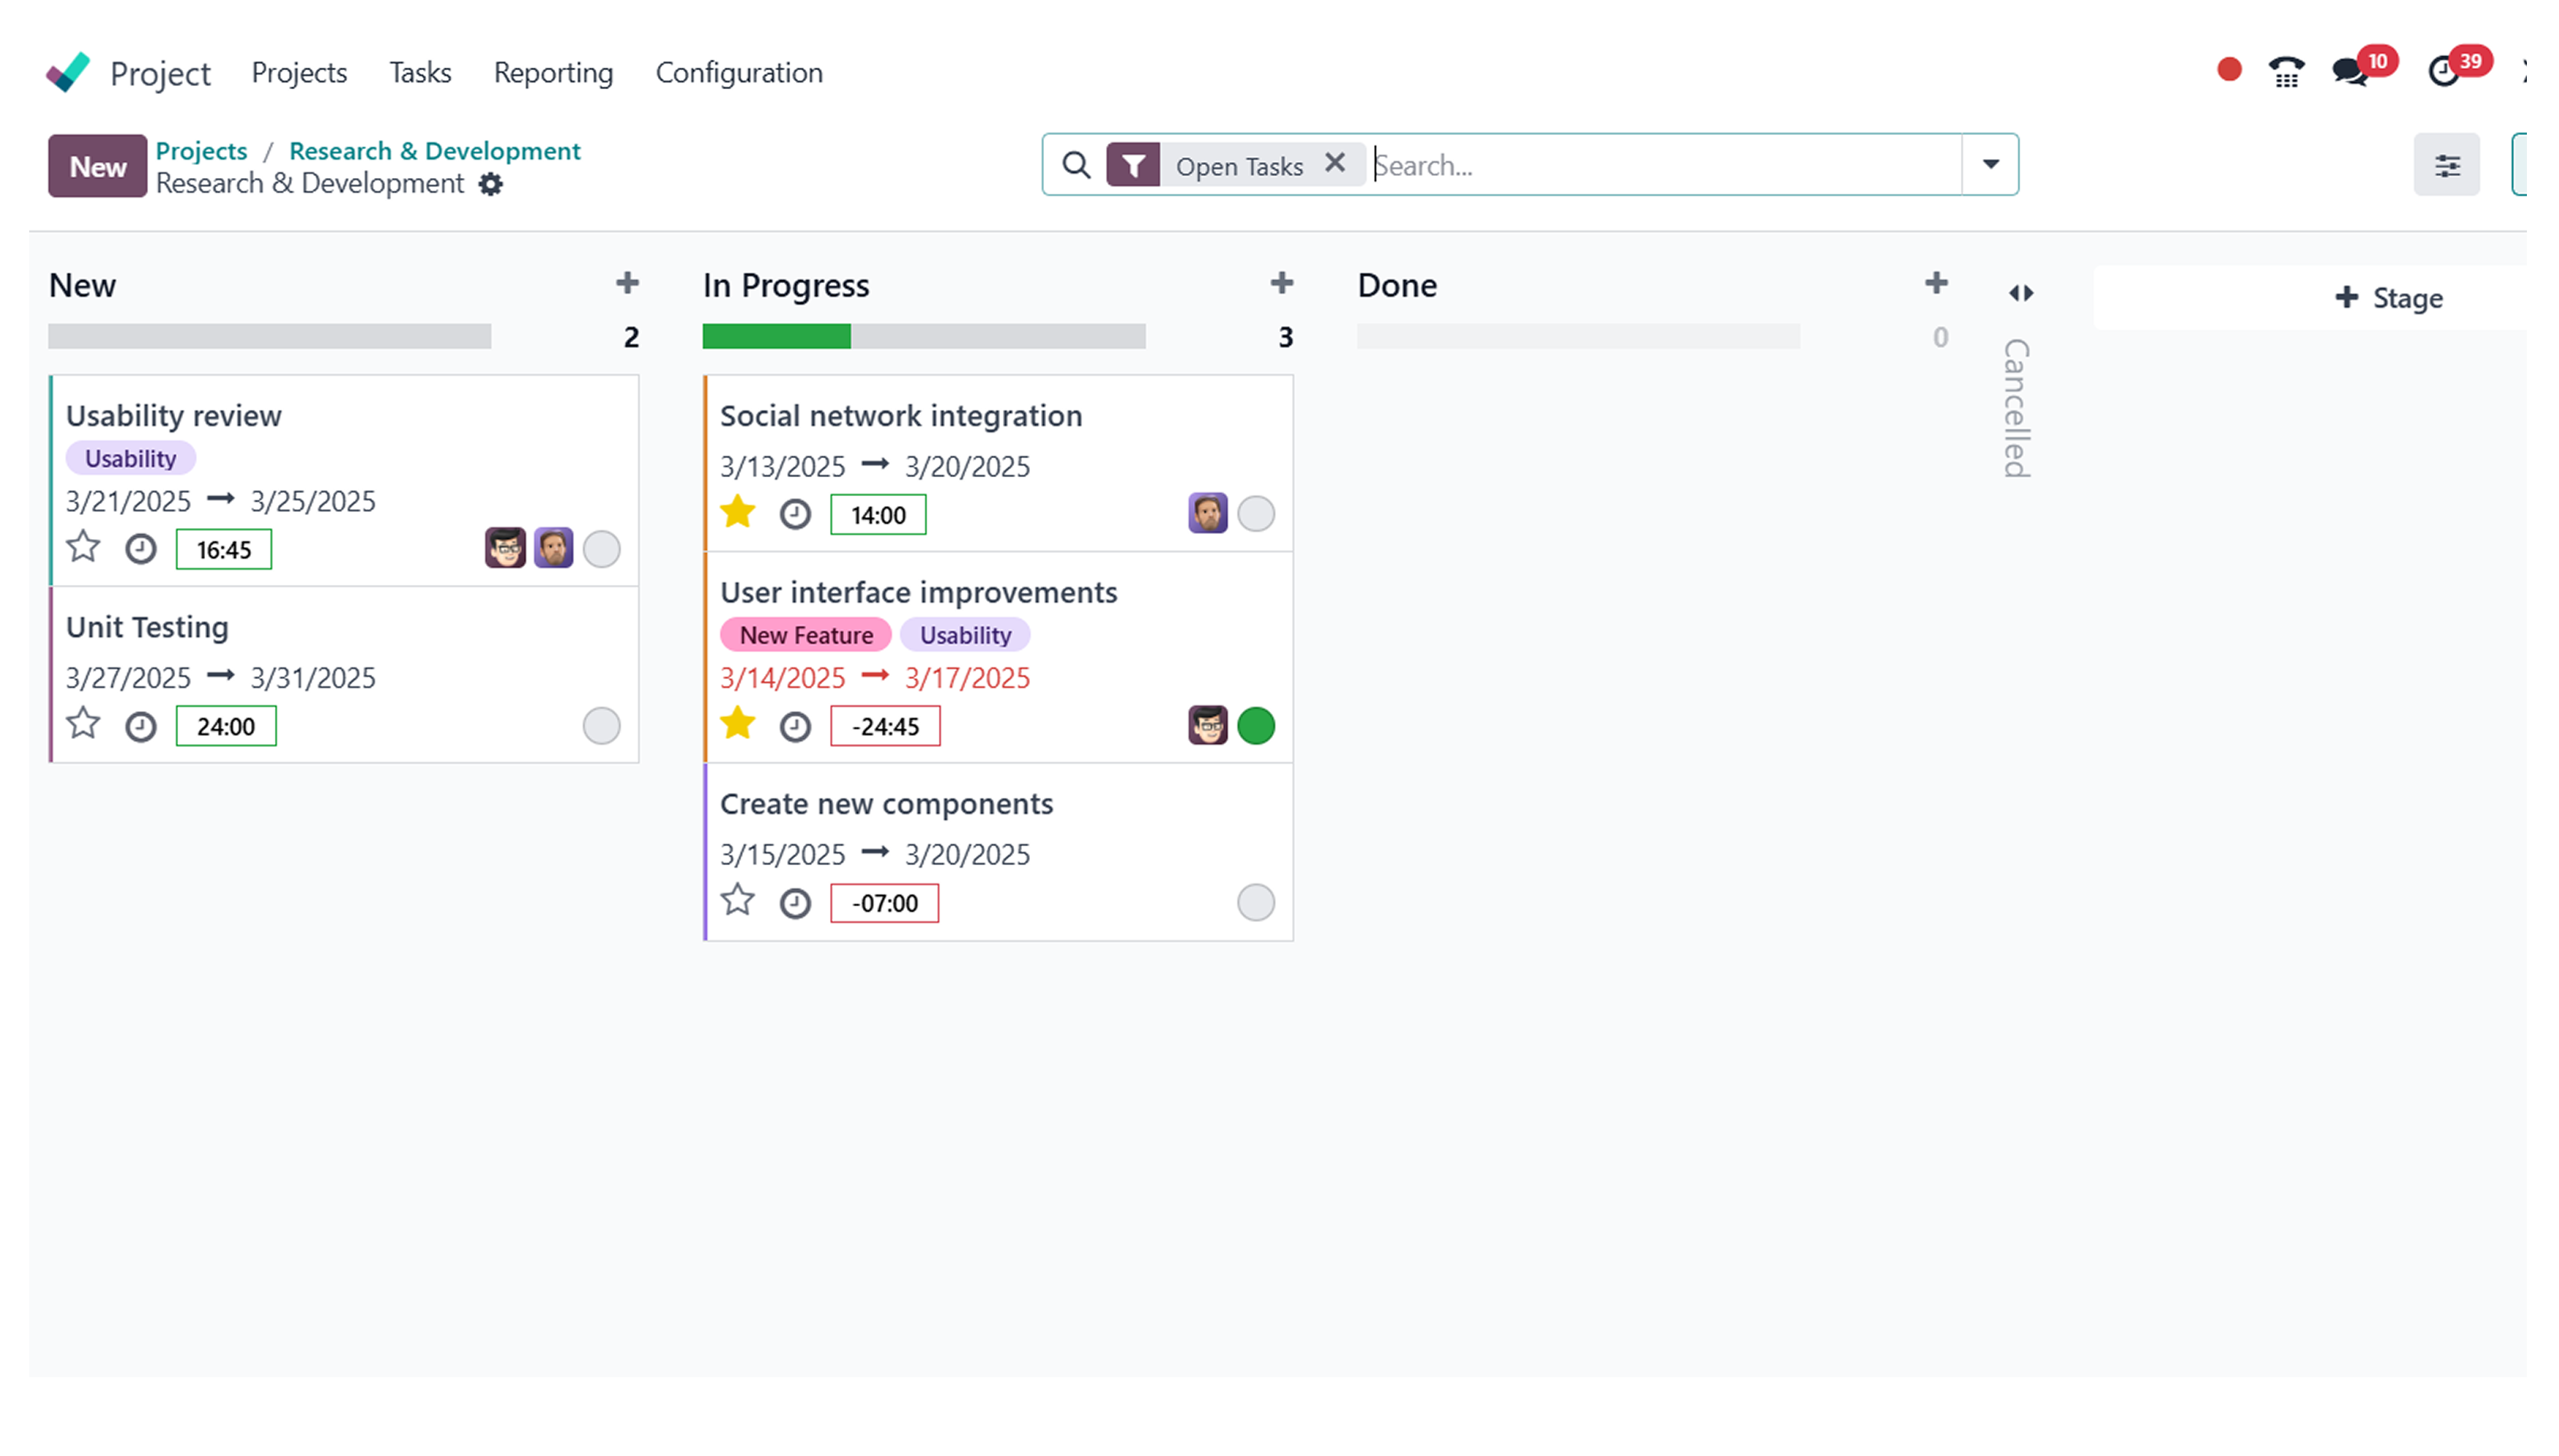
The screen that you can see now is the – ‘Kanban’ view.
Step 6: If you want to add a new task, then click on the ‘Plus’ symbol.
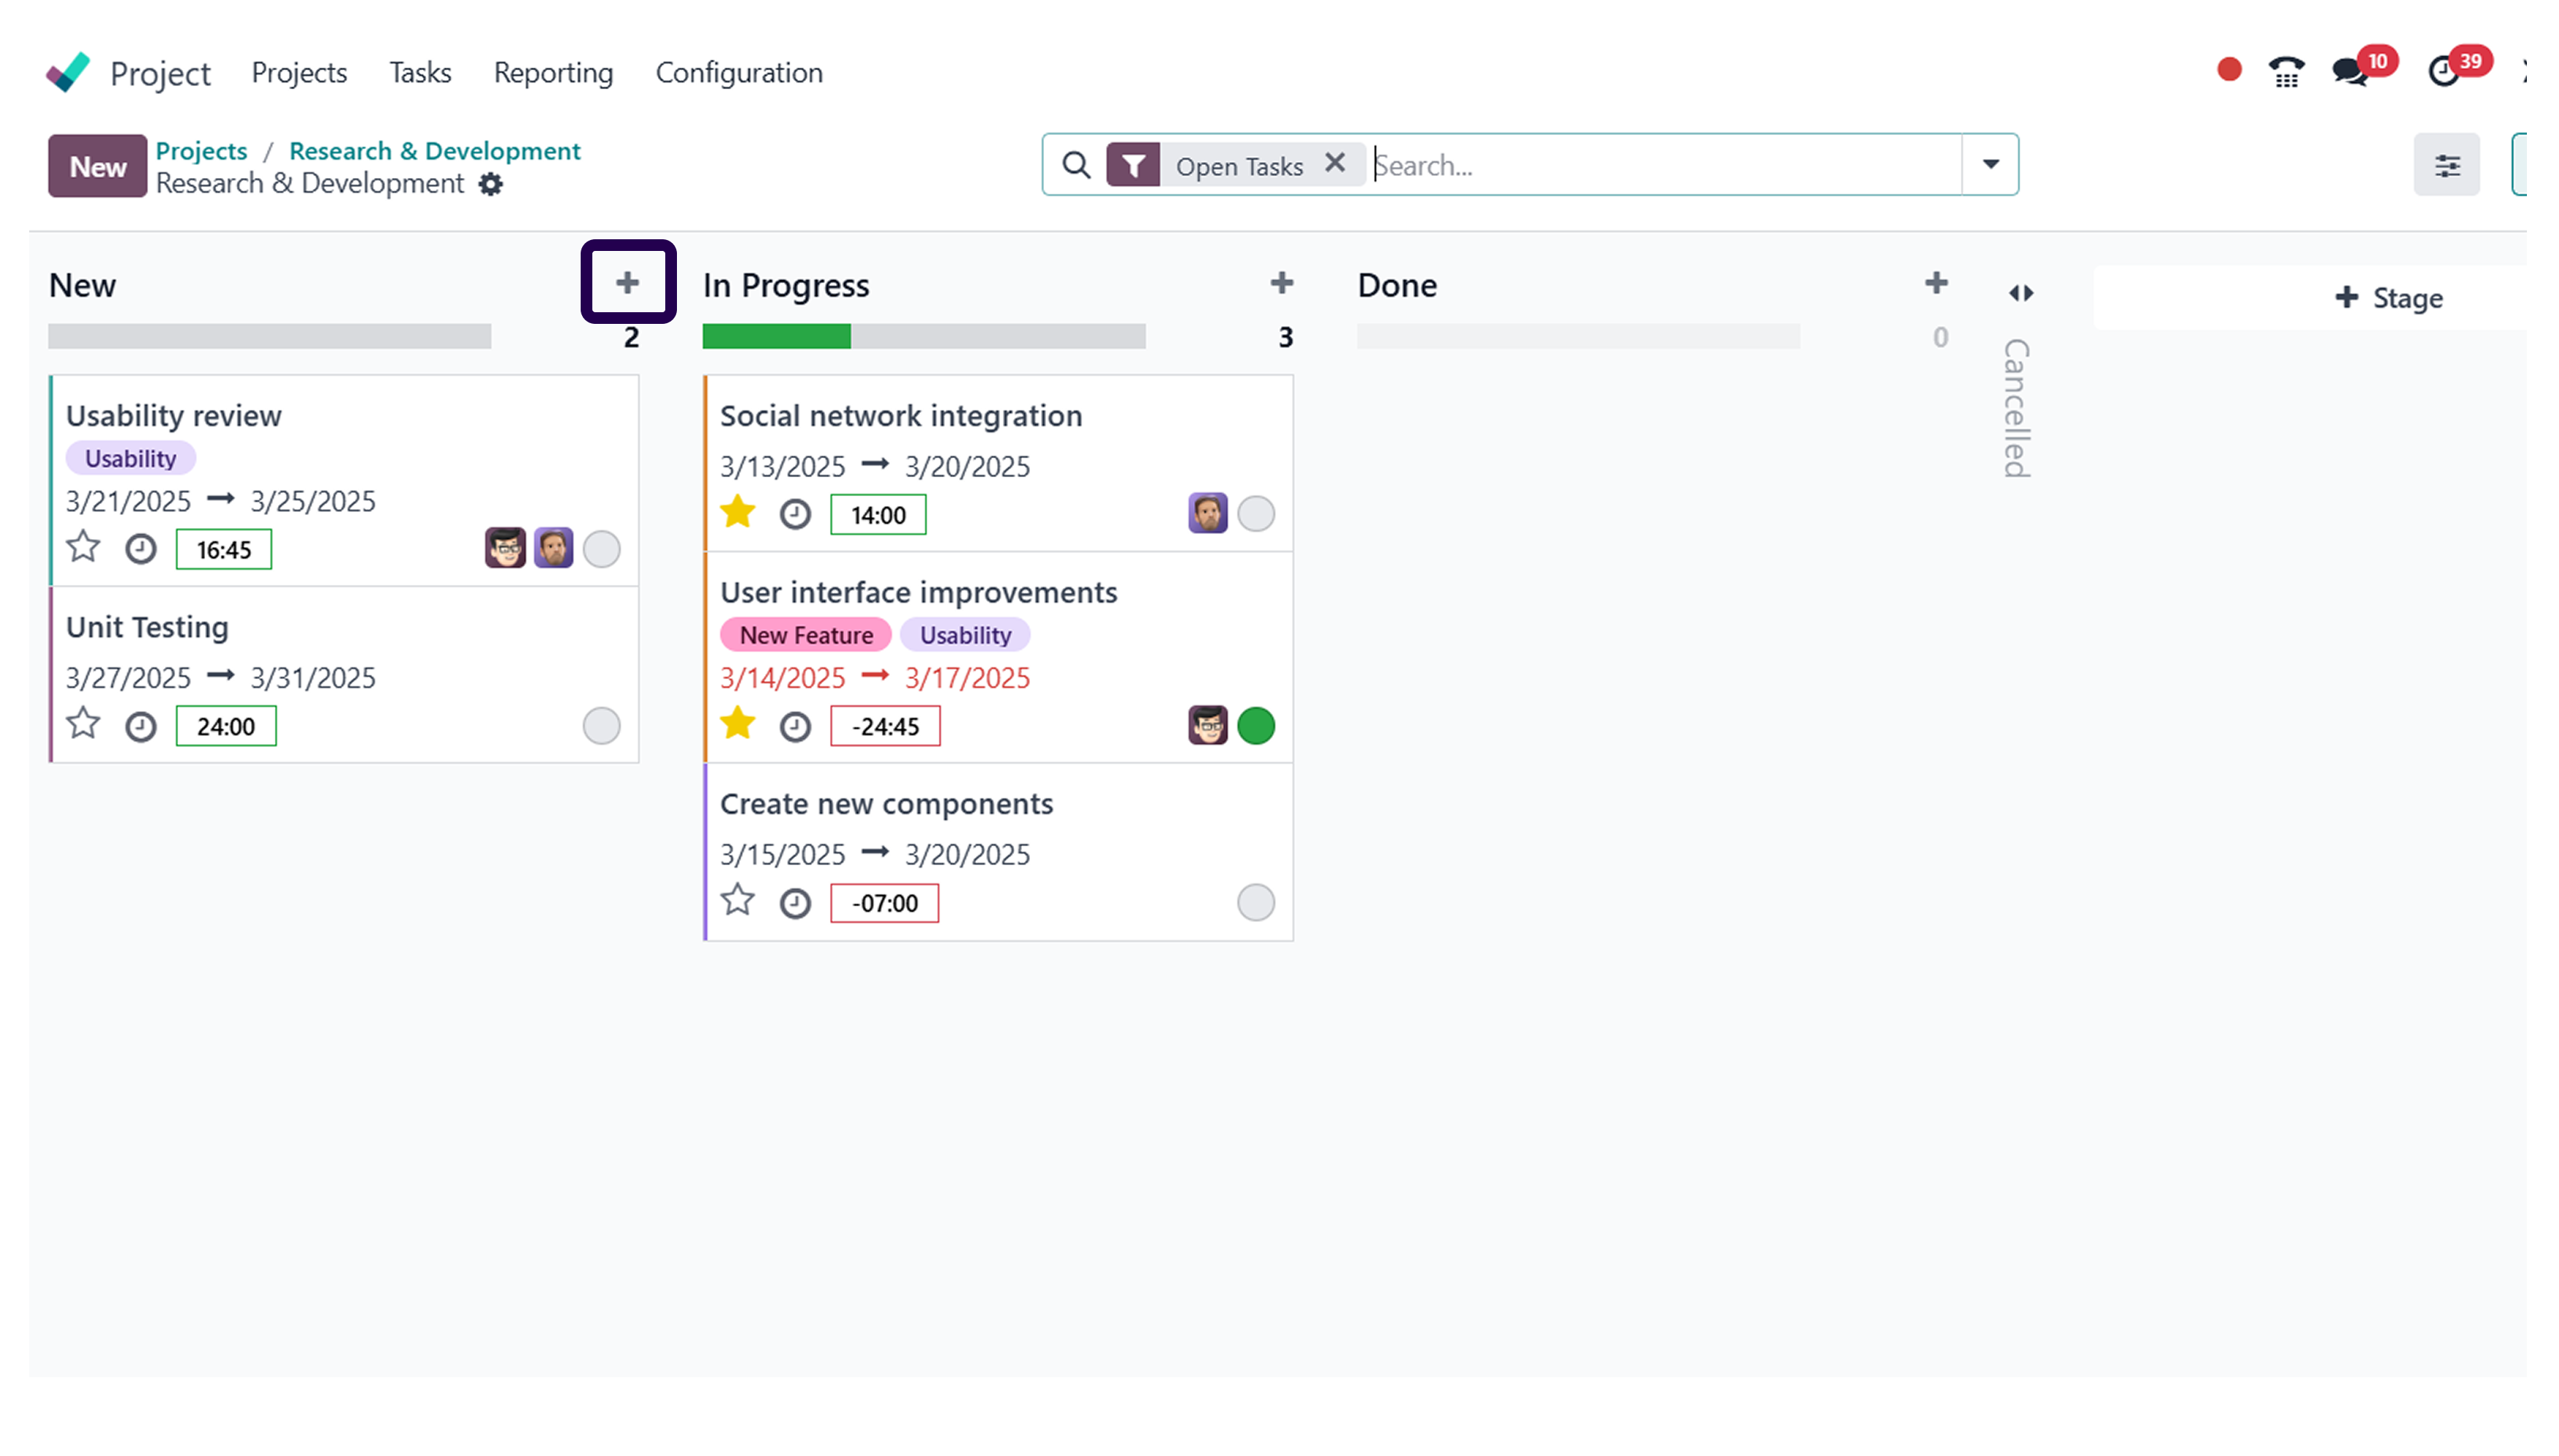
If you wish to add a new task, all you have to do is click on the ‘Plus’ symbol.
Step 7: Write the task name and click on the ‘Add’ button.
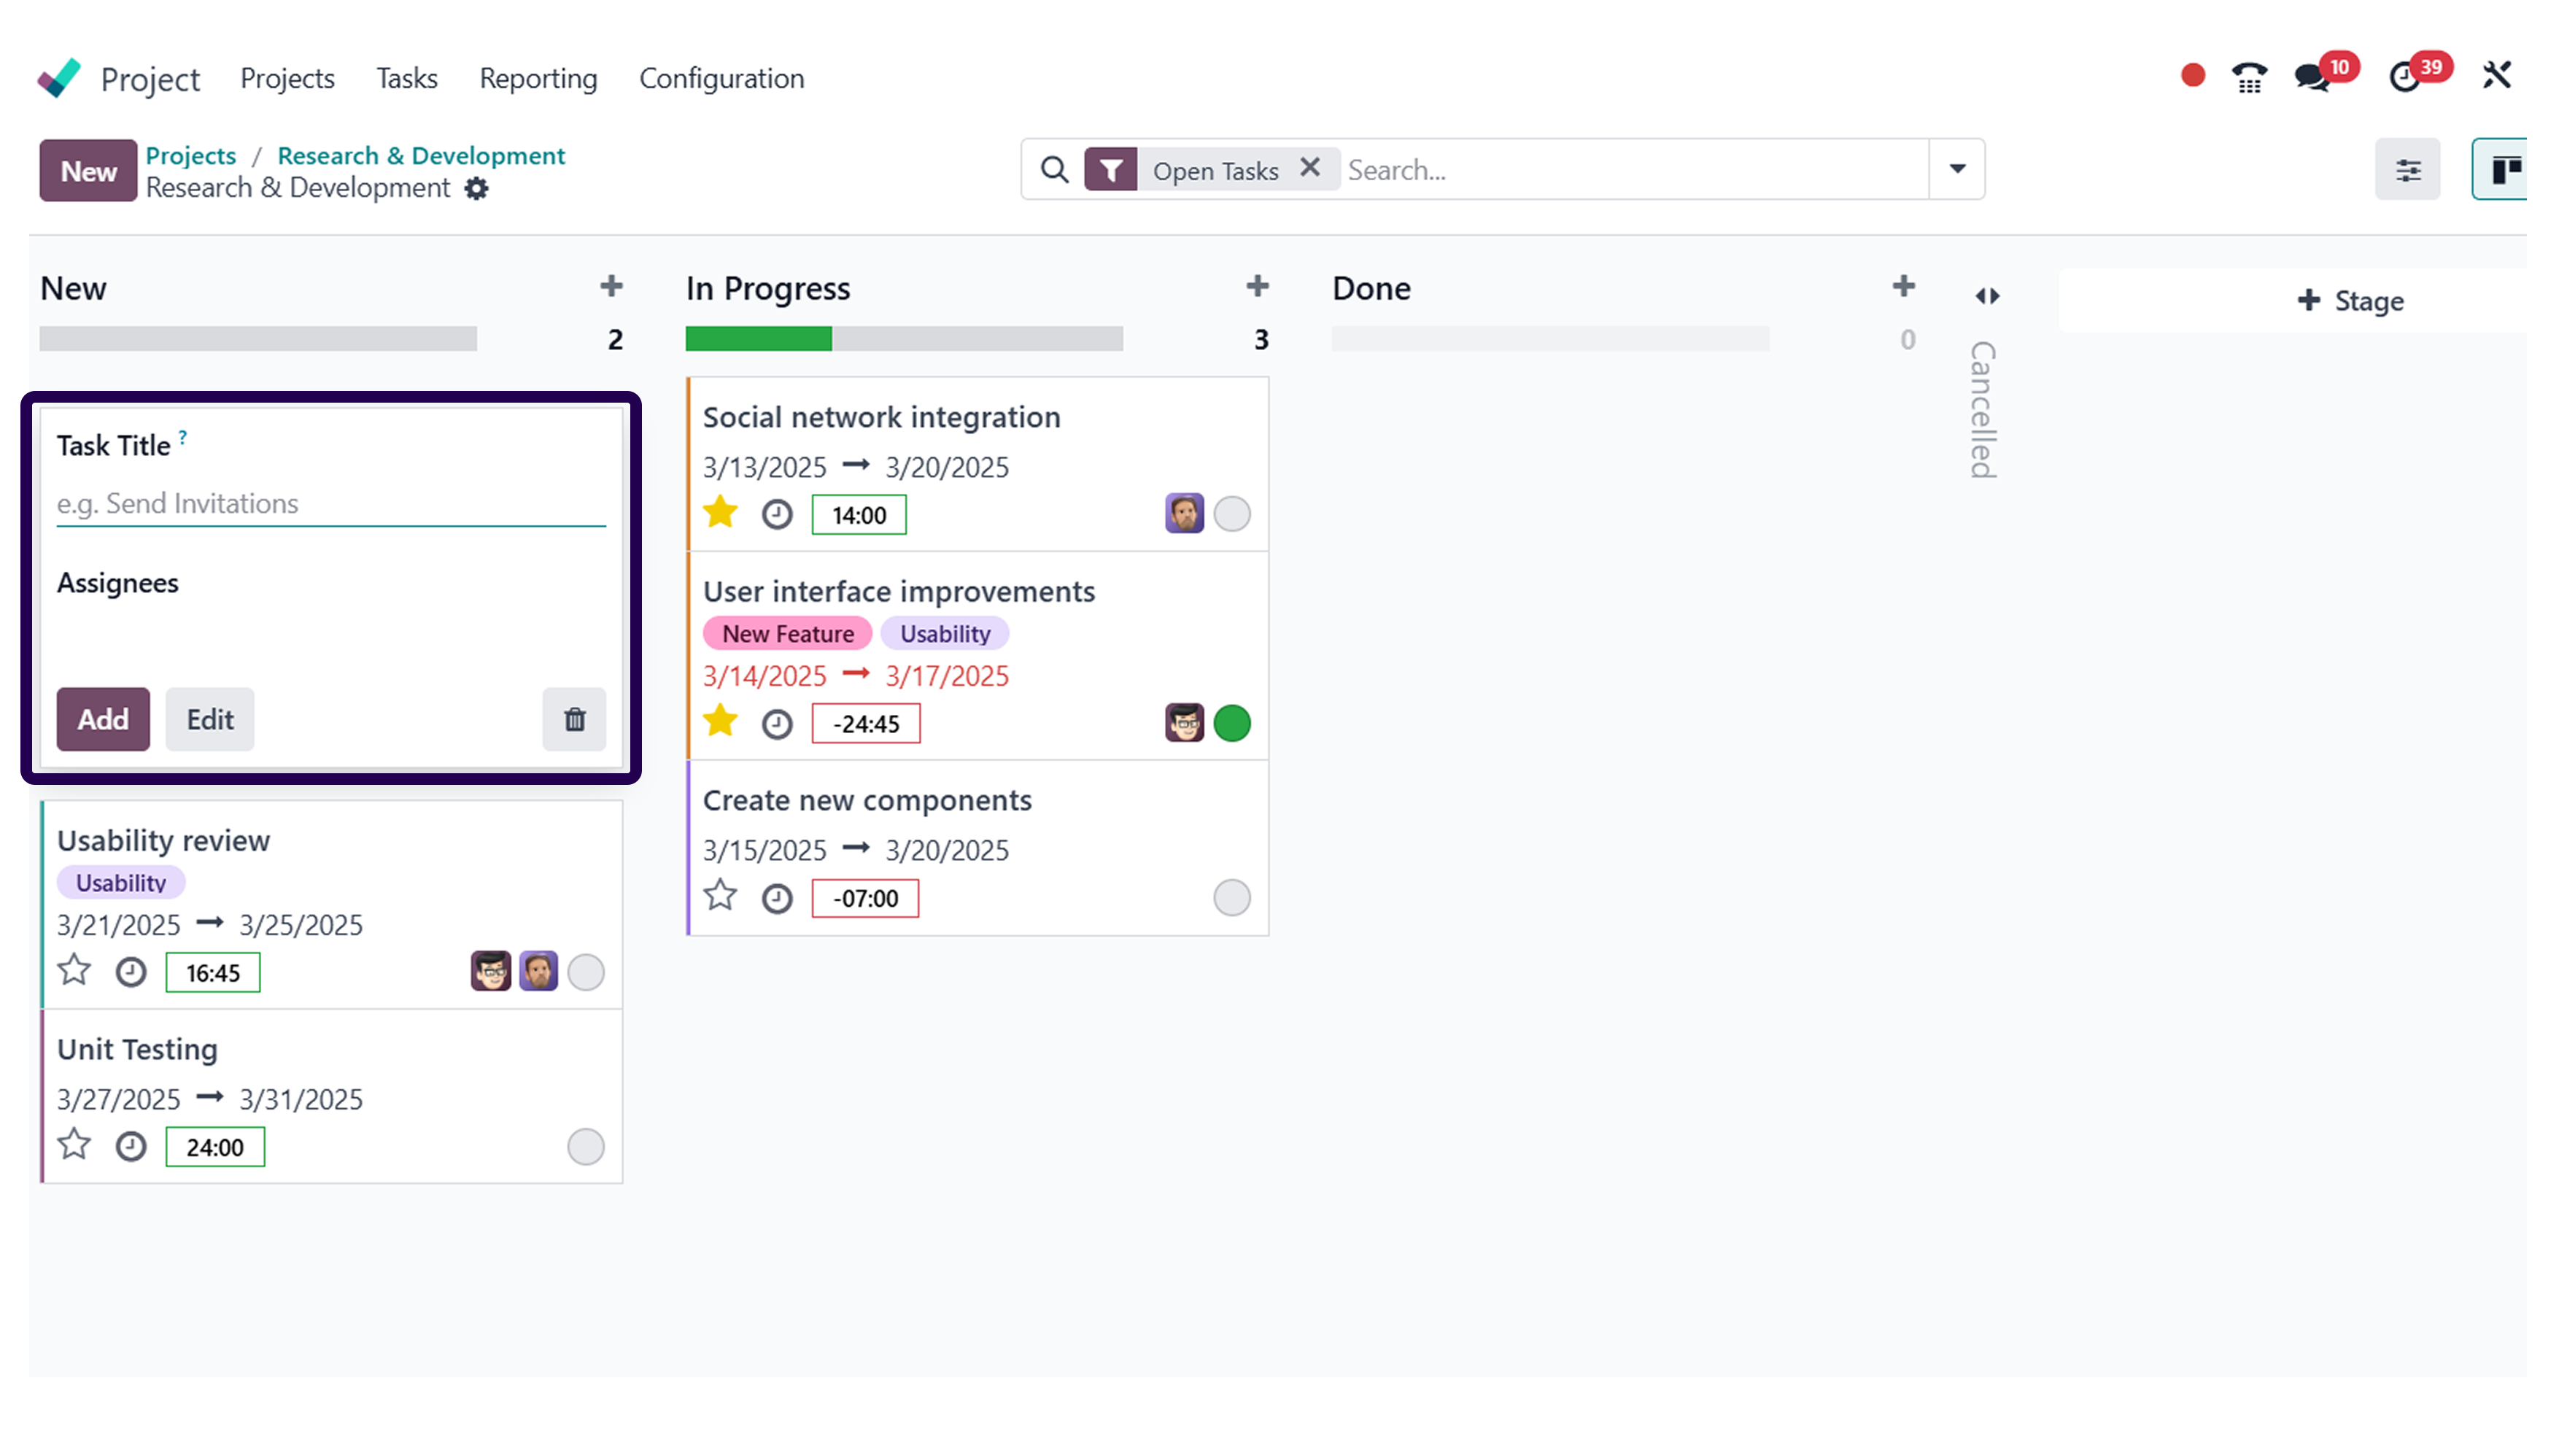
To create a task, give a name to it. Once that is done, click on the‘Add’ button.
⇒ Here, we can easily change the stage
Step 8:Select the task and drag it from new stage to the in-progress stage.
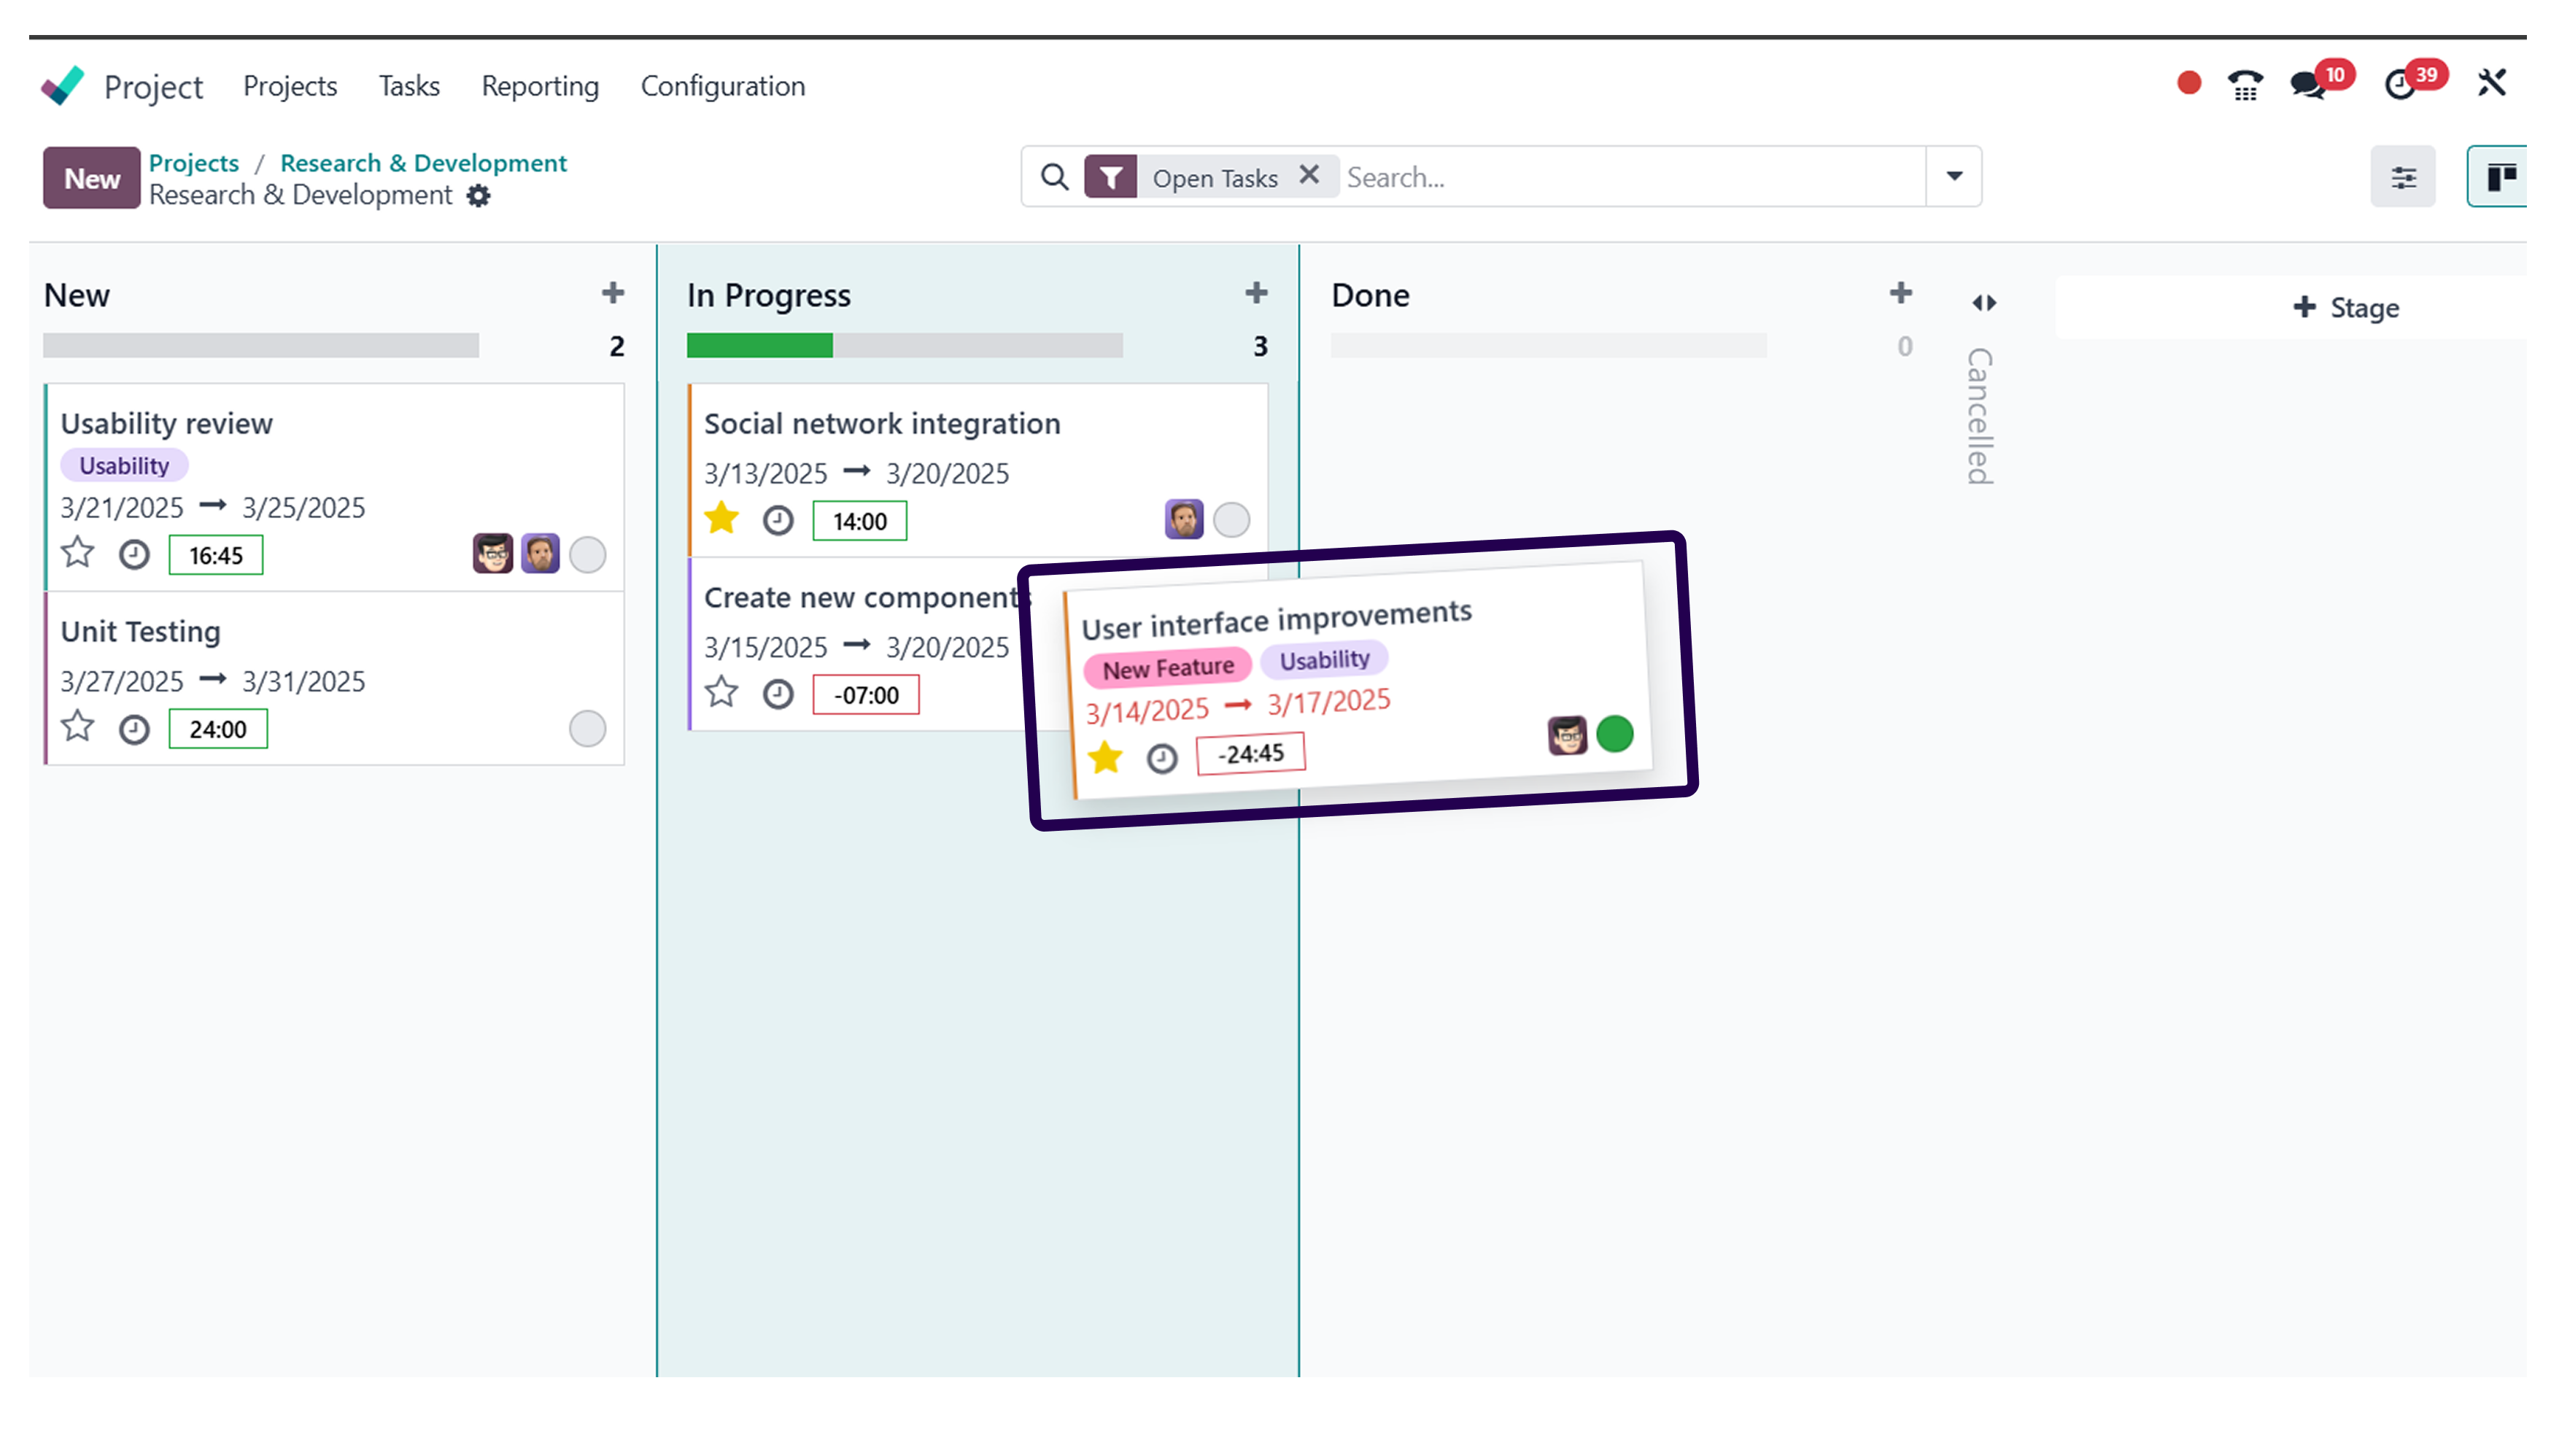
Here, it is easy to change the status of your task. You change the task status from new to in-progress. All you have to do is select the task and drag it from new status to in-progress.
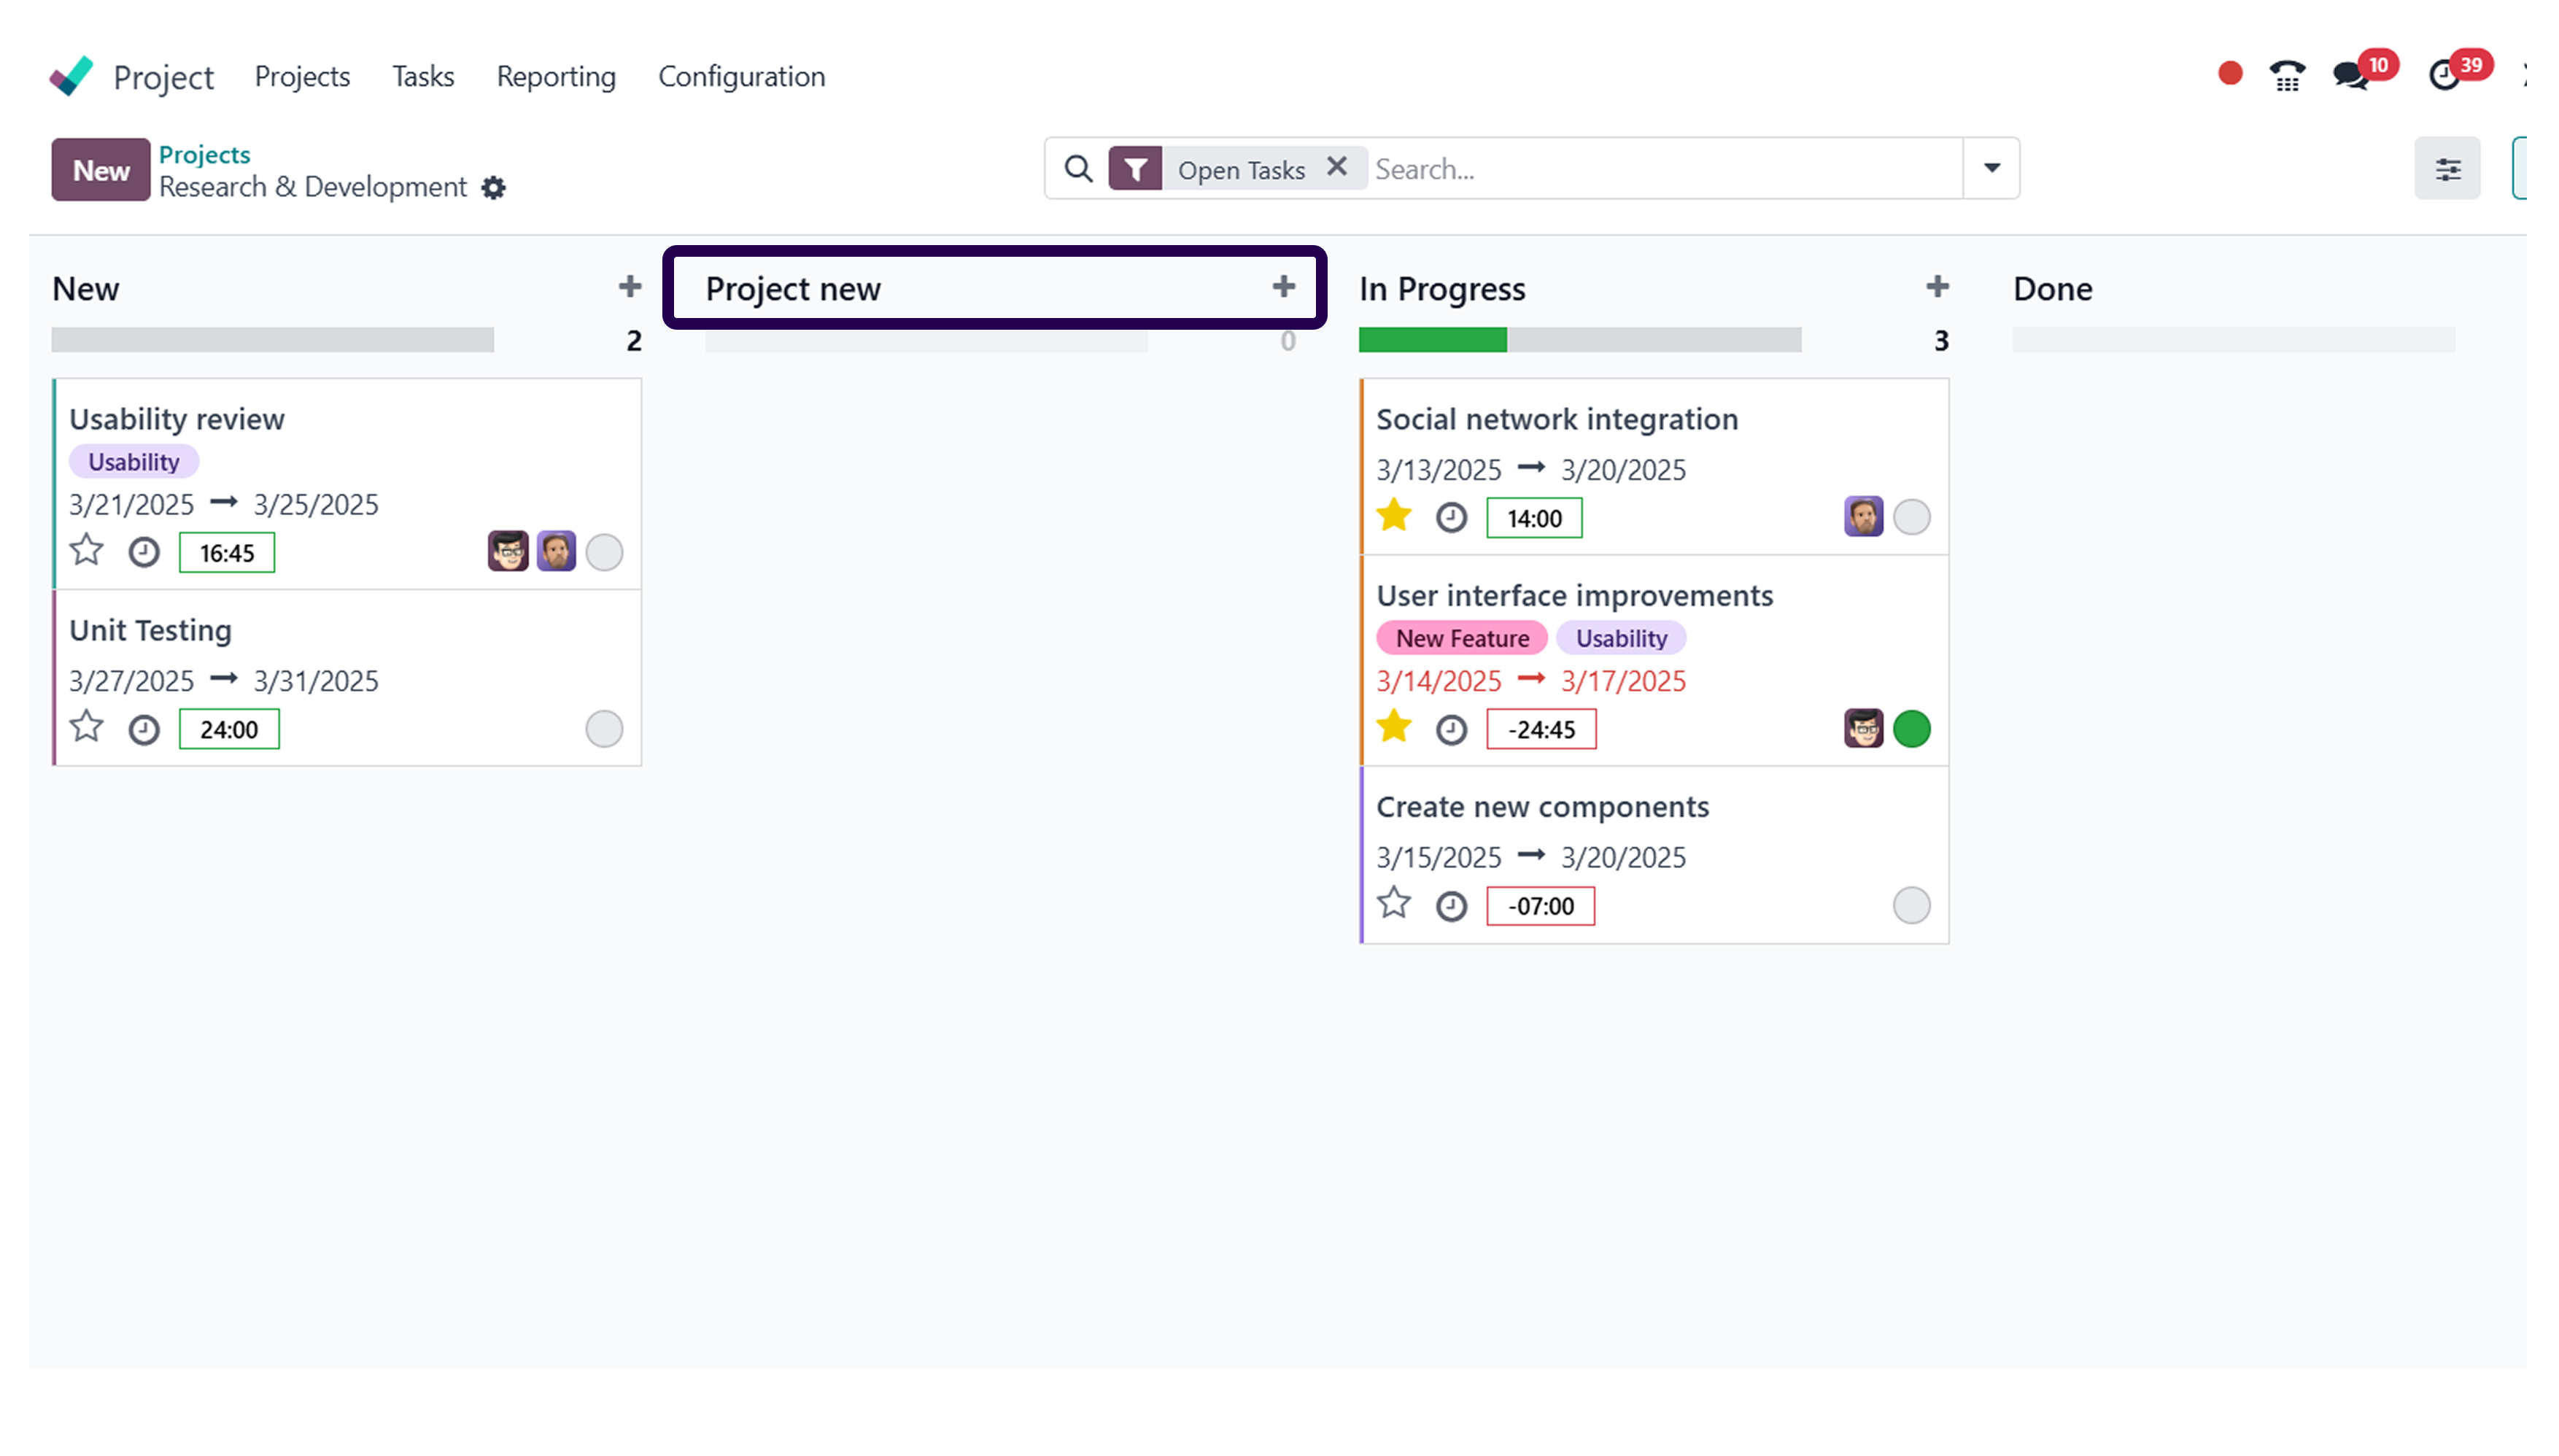
⇒ If you want to add a new column, then click on ‘Add a column’.
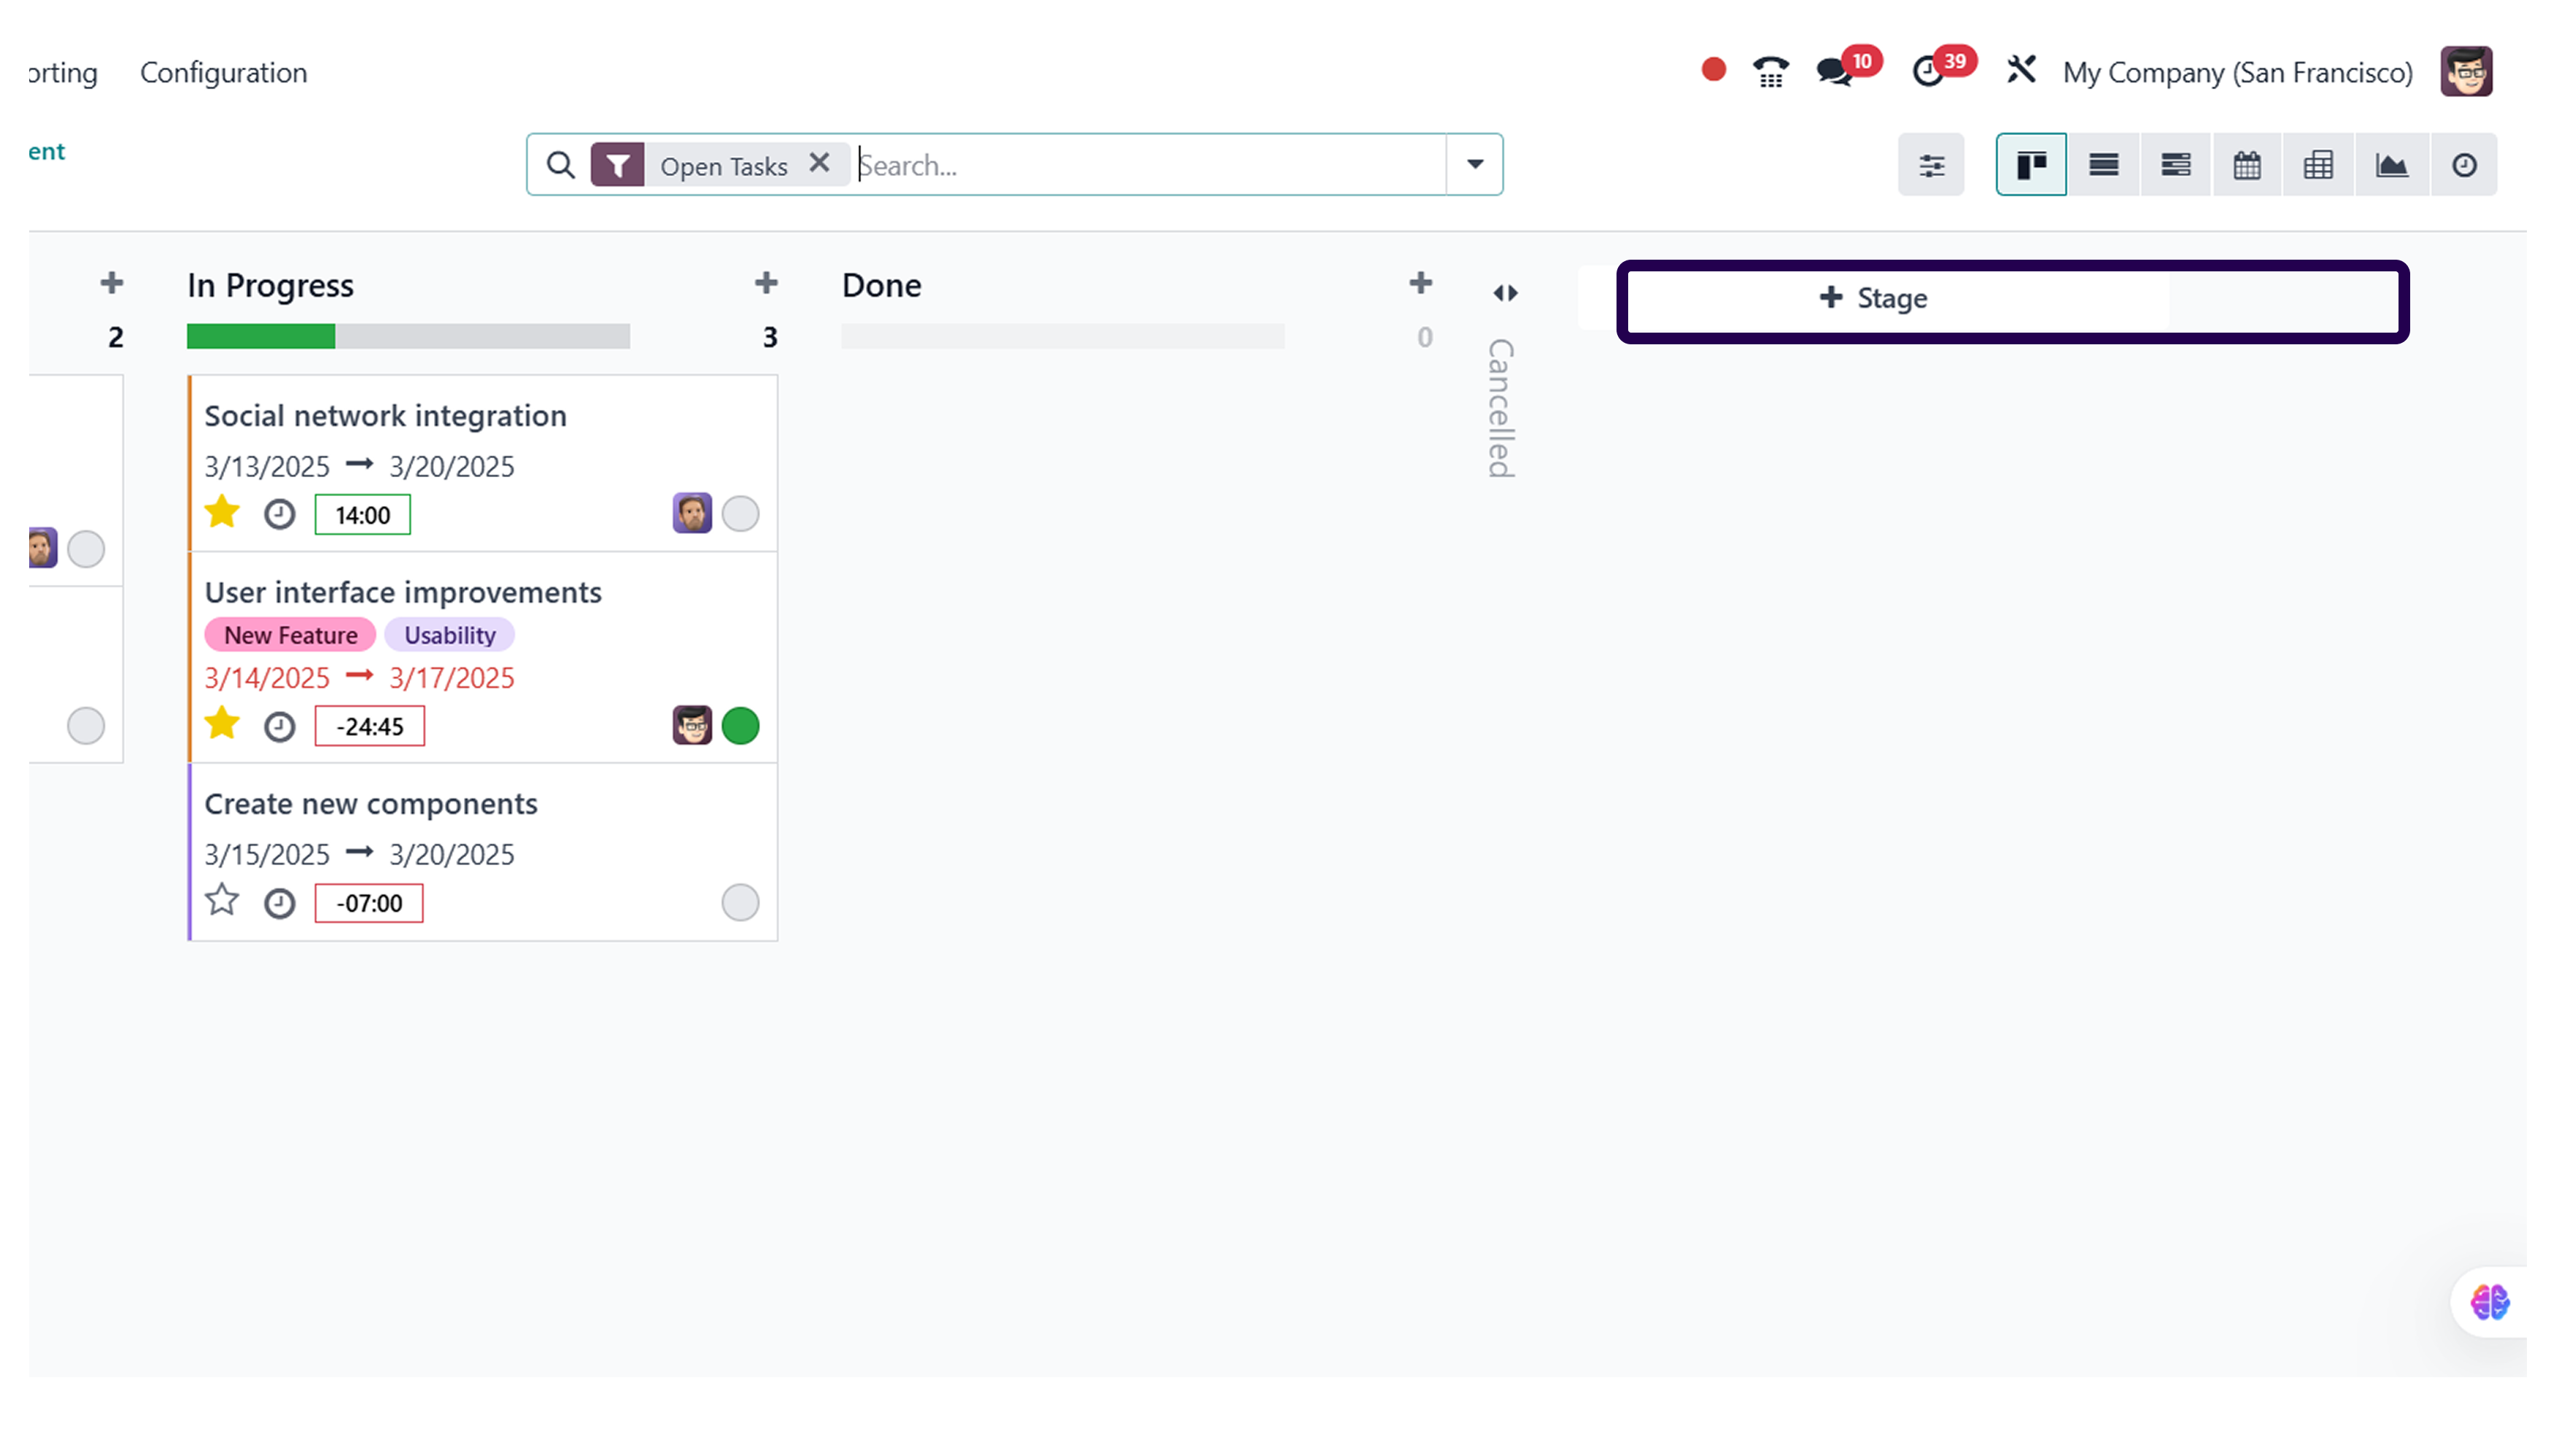
To add a new column, click on the ‘Add a column’ on the right side of the screen.
Step 9: Fill in the column name and click add button for creating.
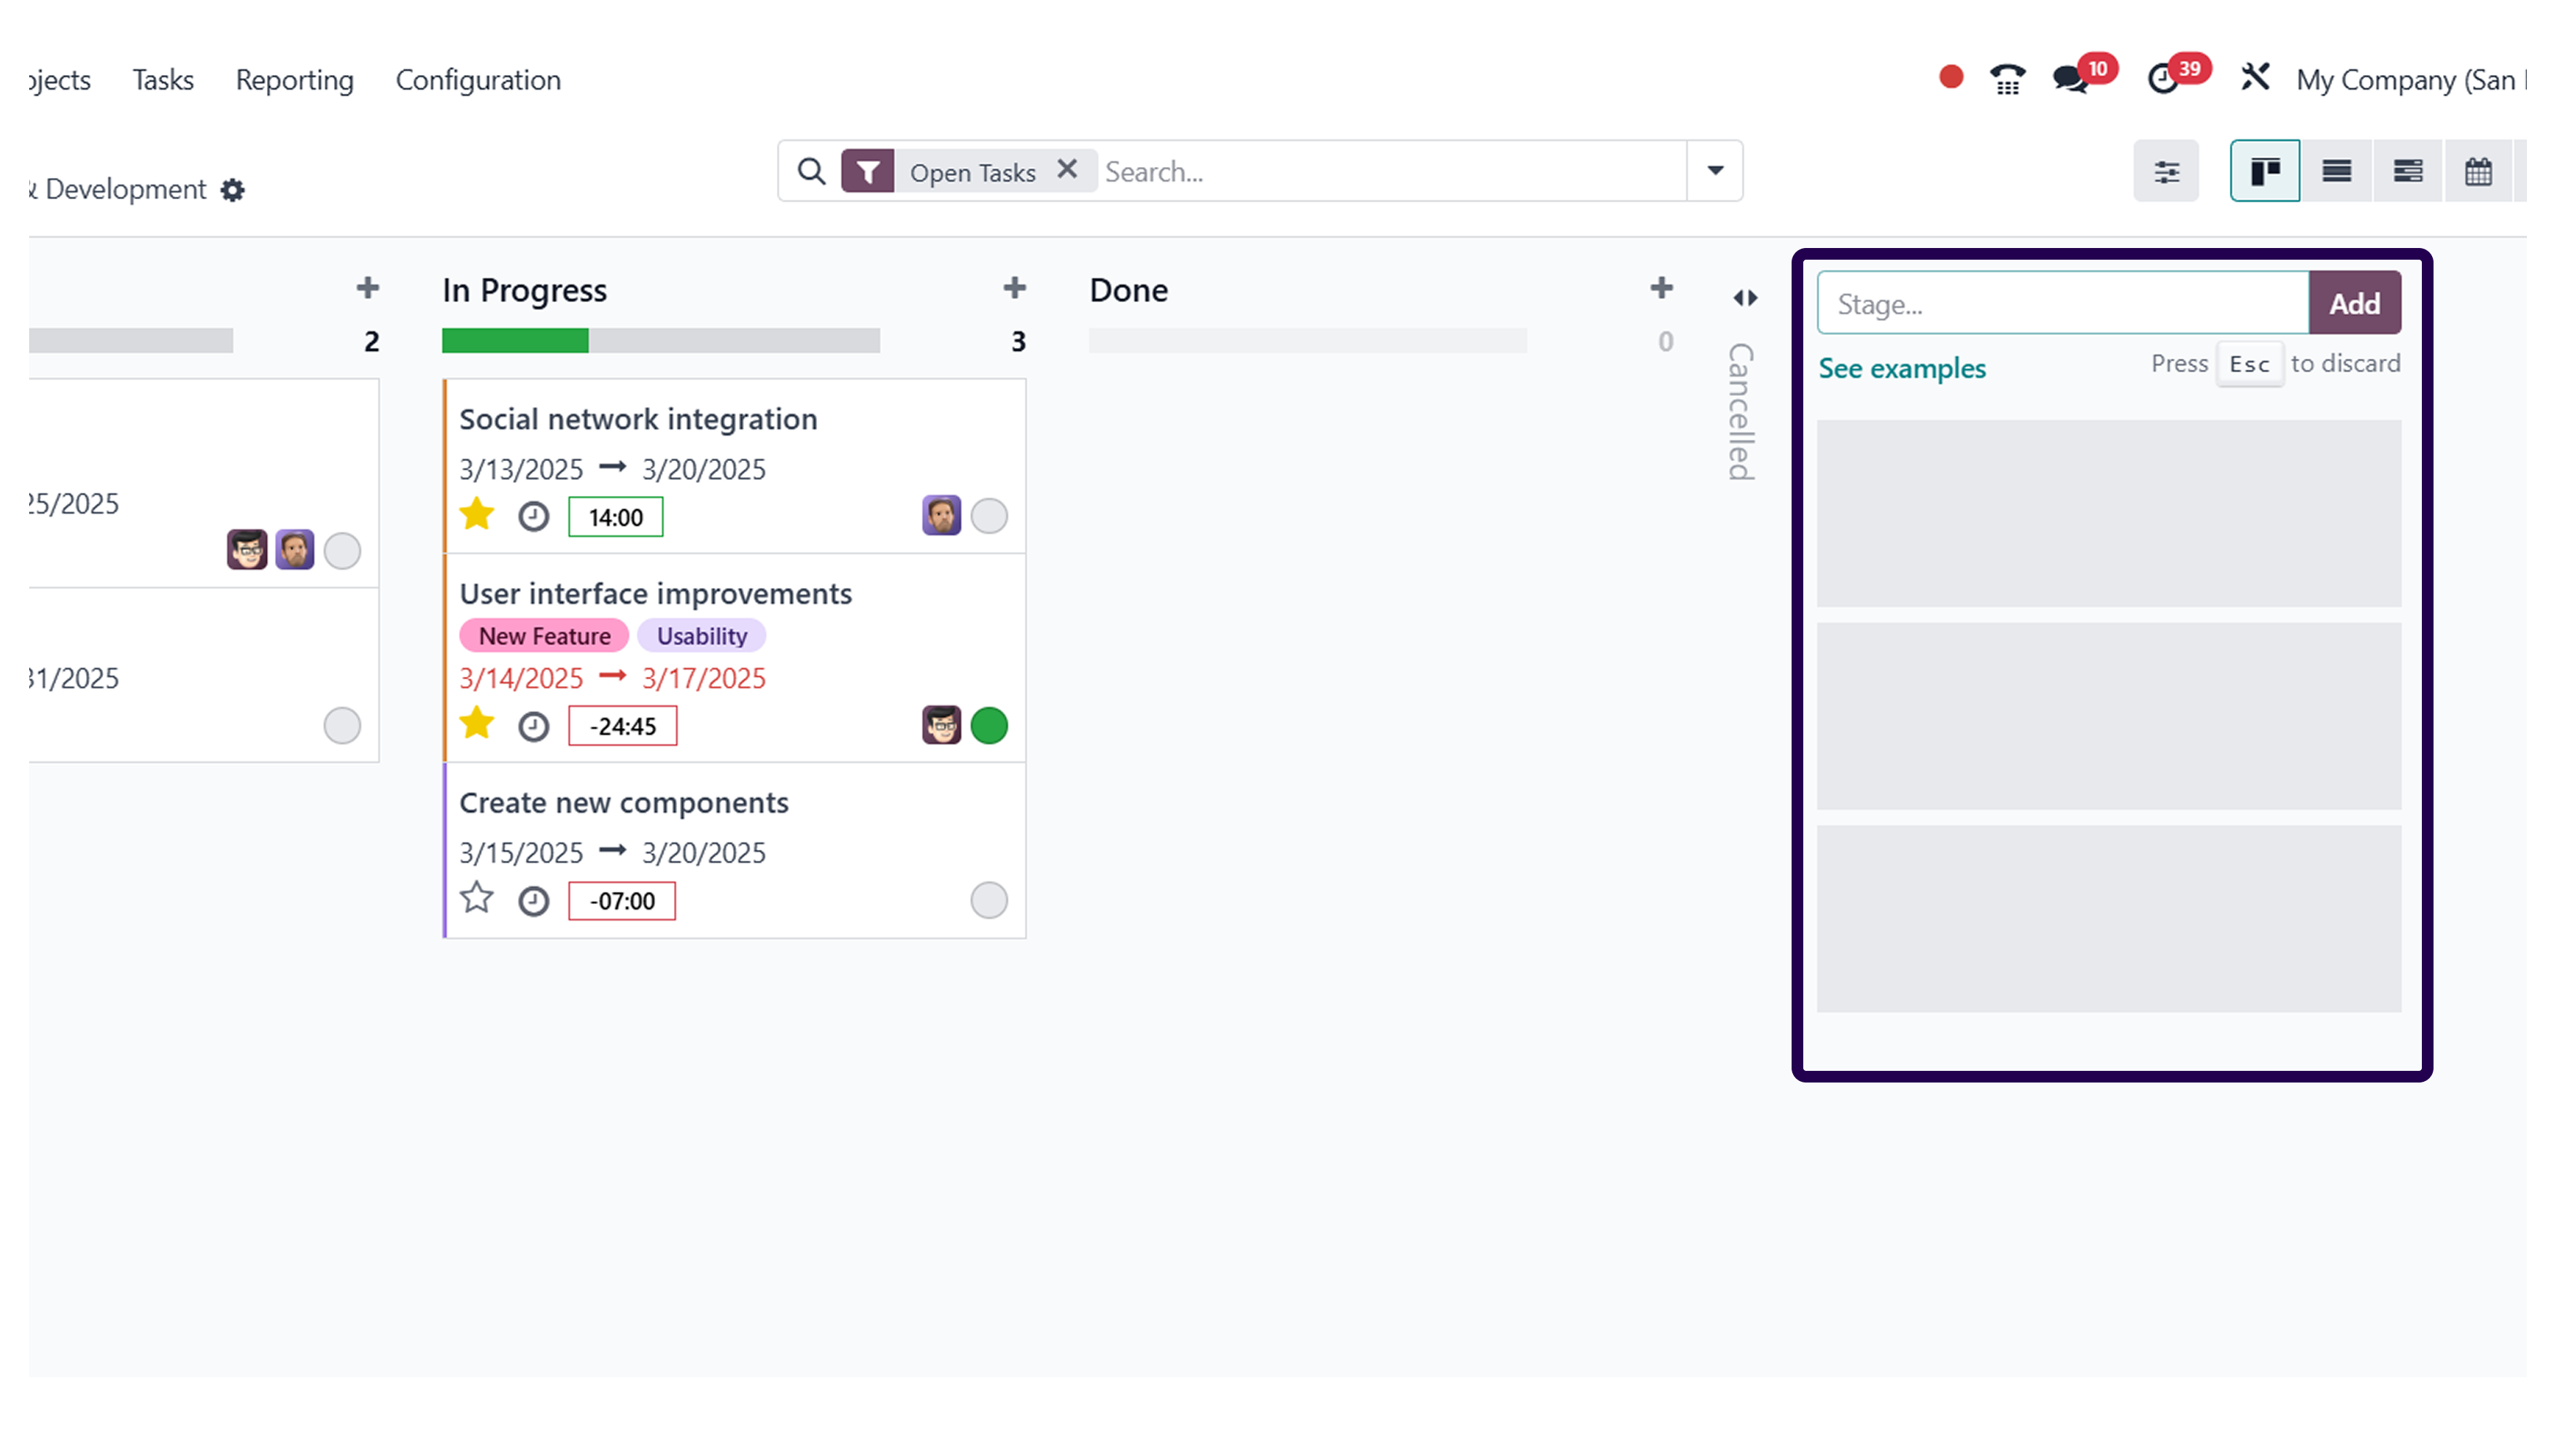
After adding the column, you need to add a column name. Once that is done, click on the ‘Add’ button.
⇒you can also drag and drop the stage for moving.
It is also possible to drag and drop the stage if it is in the moving status.
Want to start a project with us?
Empowering businesses to achieve greatness through strategic guidance and innovative solutions.
Book A Demo

About Author
Kalpesh Gajera is the Chief Technology Officer at UNCANNY Consulting Services, specializing in Odoo, ERP, and eCommerce technologies. He focuses on building scalable enterprise solutions that help organizations streamline operations, improve efficiency, and accelerate digital transformation initiatives.
Kalpesh Gajera is the Chief Technology Officer at UNCANNY Consulting Services, specializing in Odoo, ERP, and eCommerce technologies. He focuses on building scalable enterprise solutions that help organizations streamline operations, improve efficiency, and accelerate digital transformation initiatives.